
HA! No way…she’s crazy you say. But it’s true. It is much easier than you think to make your own pizza dough. Especially when I have taken all the guesswork, time trials, marginal successes and some downright failures in perfecting this Pizza Dough recipe for you. I had gradiose ideas of wanting to use just whole wheat flour, but it ended up being just like making 100% whole wheat bread. It turned out heavy, chewy, no flavour and was almost suitable for boat anchor material (*almost* – it wouldn’t be because the fish will have eaten it once you threw it overboard, fish will eat anything you know). It wasn’t light and crispy like a pizza crust should be. So I grudgingly abandoned the idea (much to the delight of my white flour loving husband) and settled on a ratio of white to whole wheat that we both liked AND more importantly, that I could live with.
If you have 30 minutes to prep something for dinner, then you already have time to whip up a healthier, home-made pizza for the entire family. Or just for yourself, if you find yourself lucky enough to be home alone.
You can also enlist the kids to help chop up their favourite toppings (if they are old enough to use knives – that is your discretion, I take no responsibility for lost digits!) to help get the job done sooner. In no time at all, you will have a hot, steaming, delicious pizza out on the table for everyone to devour. You will save mucho dinero by not heading to the local pizza joint too, money which can be used to buy the kids ice cream instead.
Homestead Health-ier Pizza Dough
Ingredients
1 Cup All-Purpose Flour + more for kneading
1 Cup Whole Wheat Flour
1 Cup Warm Water
1 ½ tsp. Sugar
½ tsp Salt
2 Tbsp Olive Oil
2 tsp. Pizza Dough Yeast (available in the baking aisle)
Directions
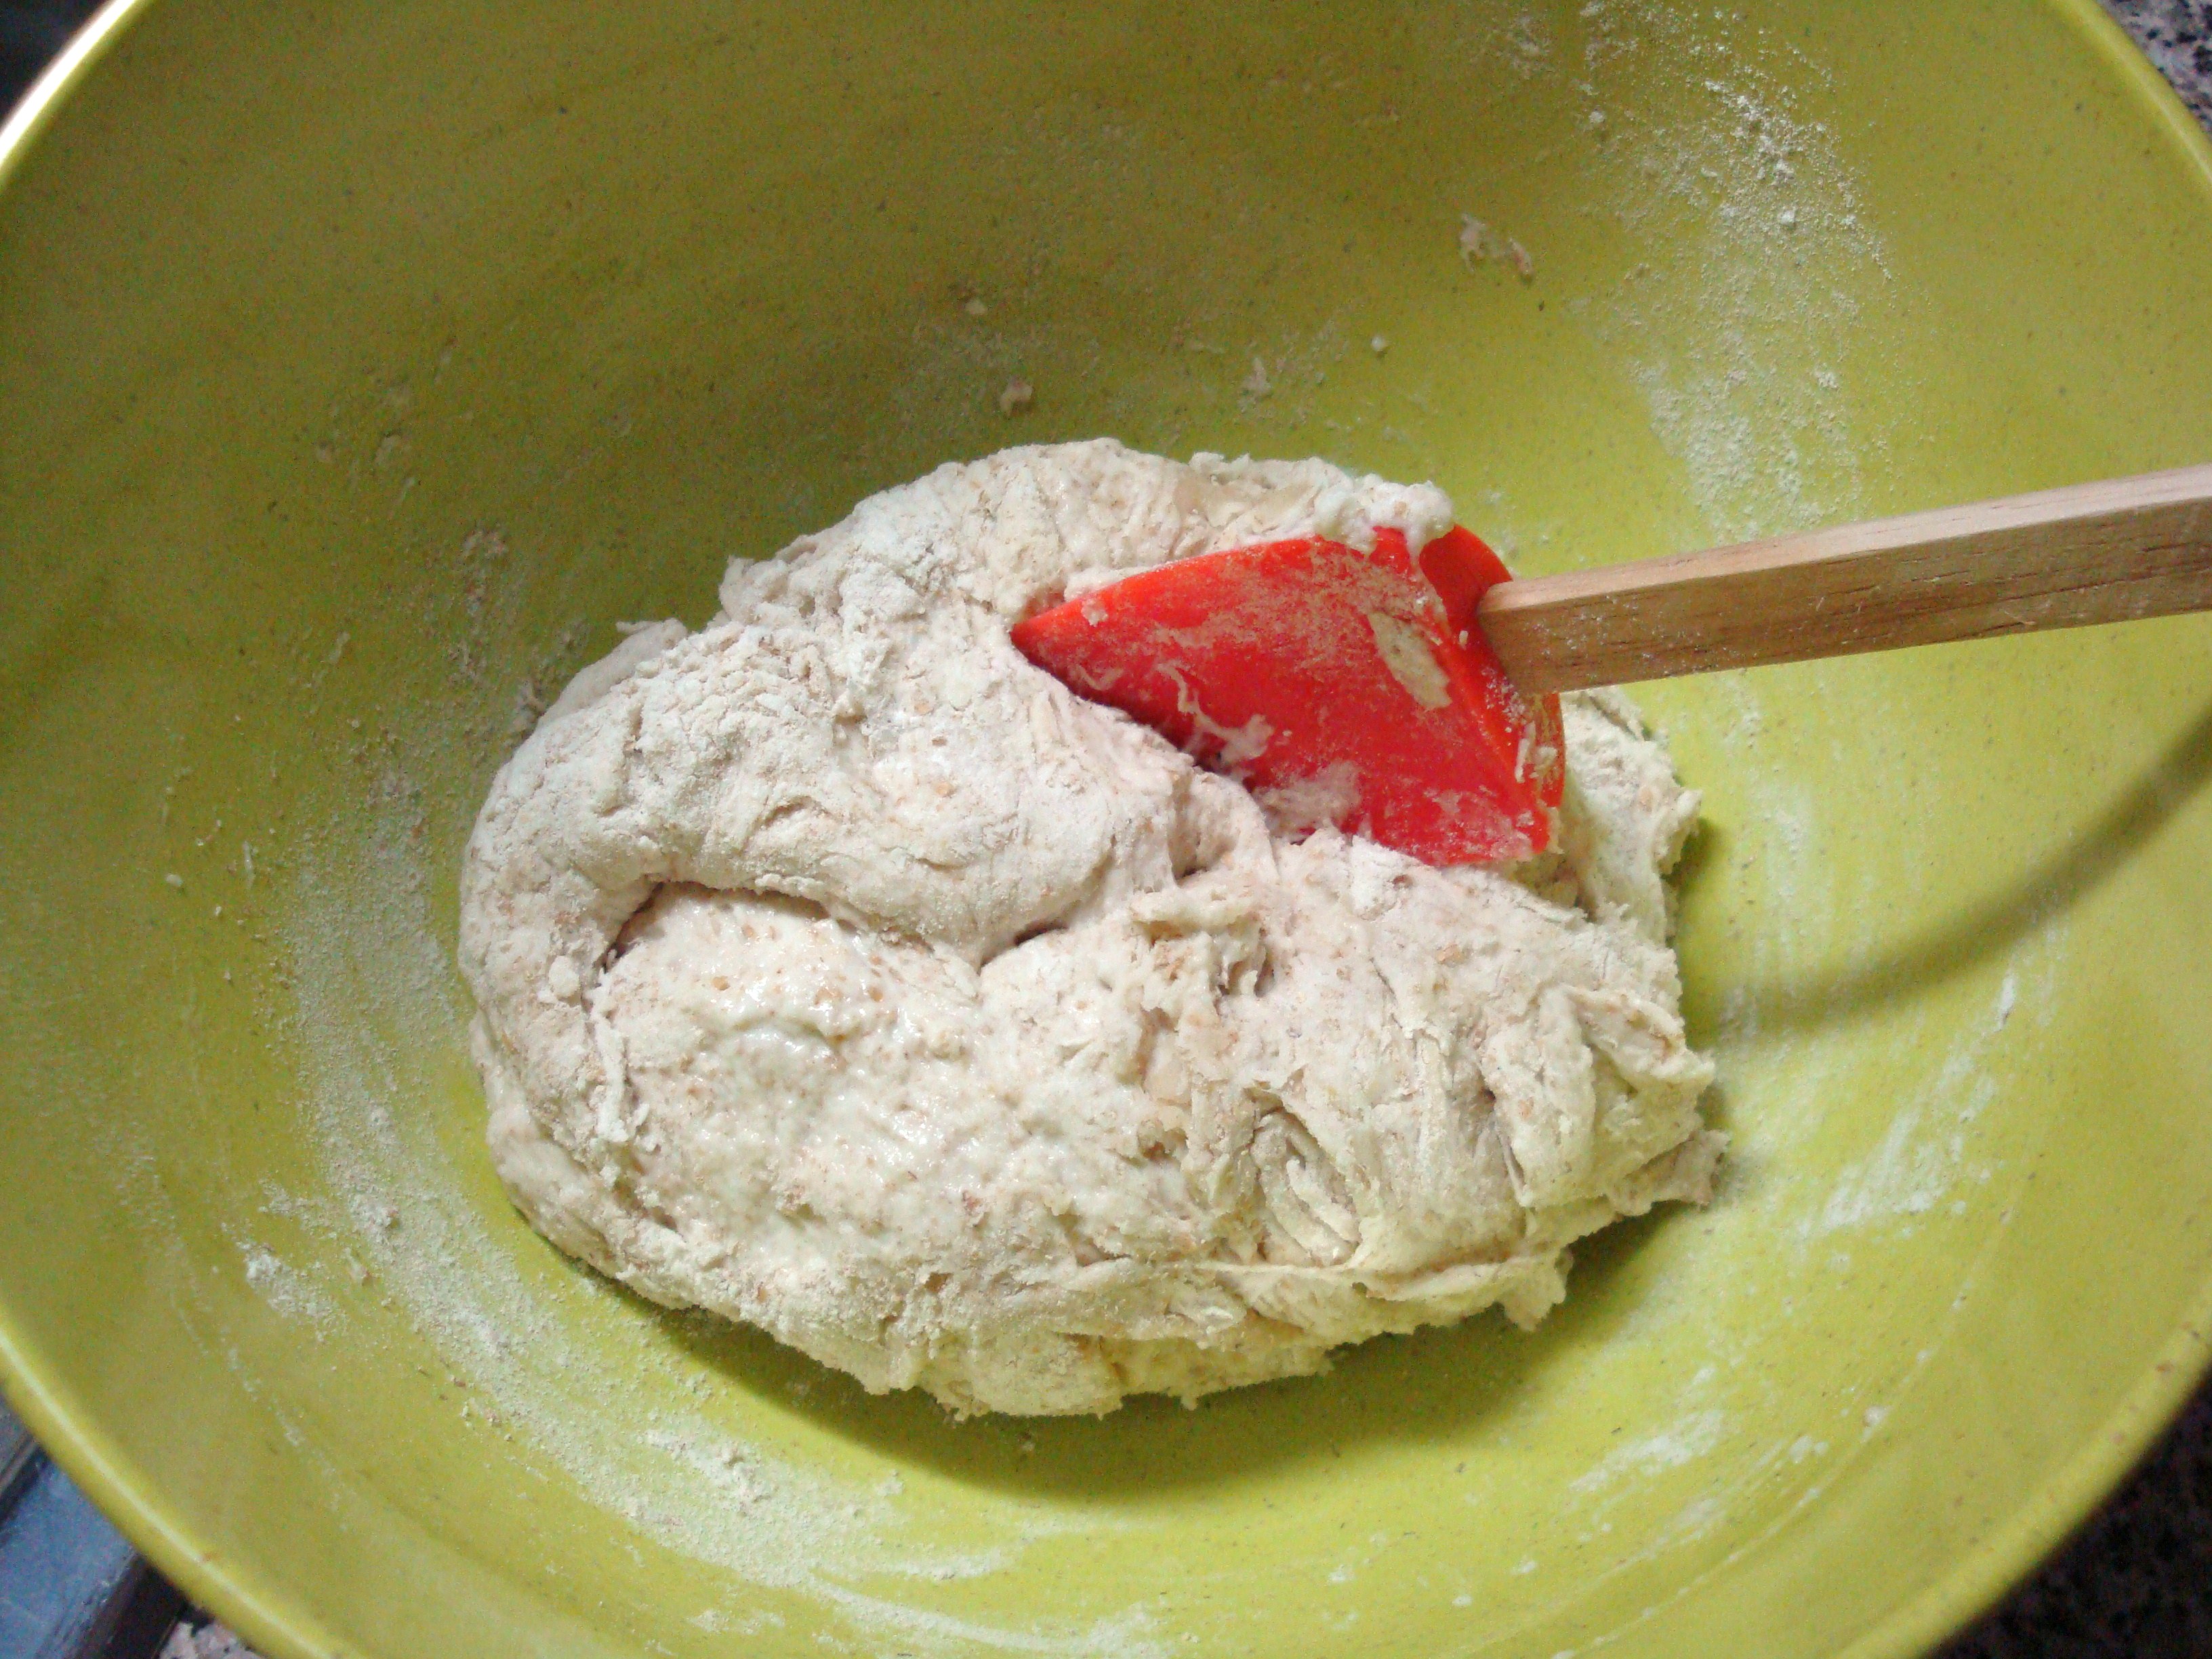
In a large bowl, combine 1 cup of all-purpose flour and 1 cup whole wheat flour, sugar, salt and yeast. Stir to mix well. Add water and oil and mix with a spatula until dough starts to come together, it will be sticky at this point.

Don’t panic.
 Turn the dough out onto a well floured surface and start adding a handful of flour at a time, kneading the dough until it is no longer sticky and becomes smooth and satiny. This can take as little as 5 minutes to as long as 10 minutes. Be patient, you can’t rush a good pizza dough. You will know it is ready when you don’t have it all over your hands, in your hair, or on the dog anymore.
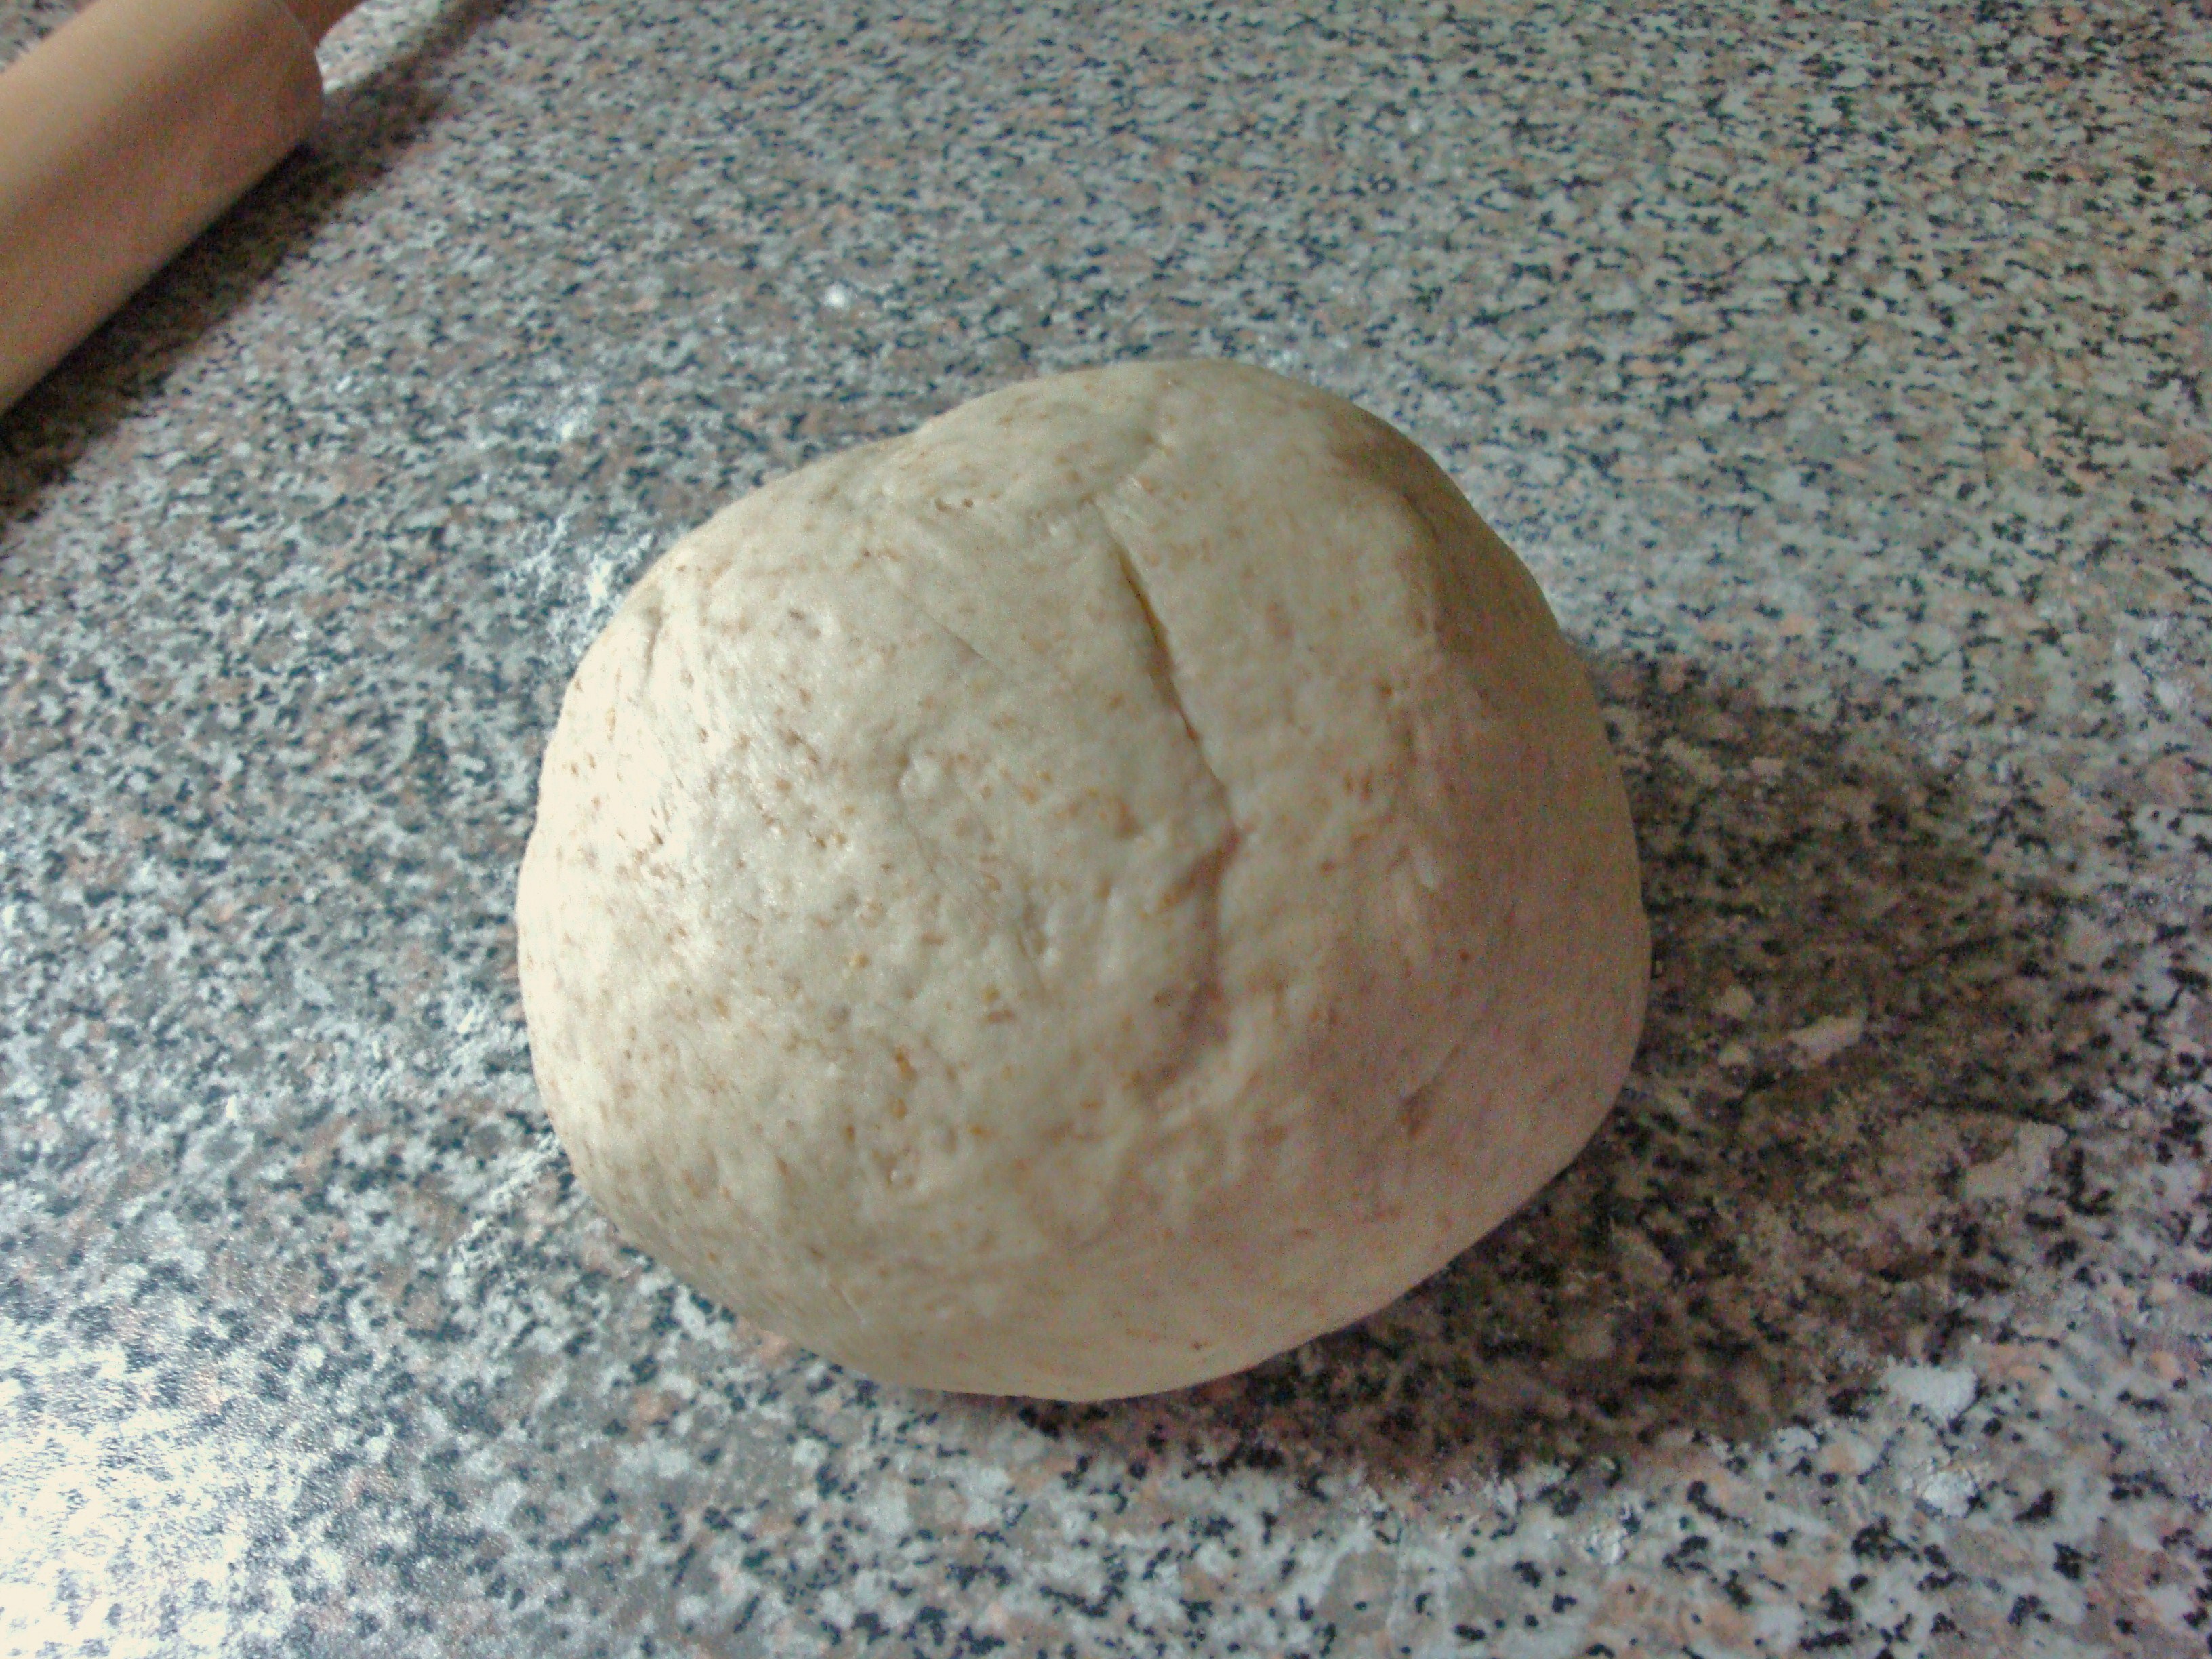 Place your precious dough ball back in the bowl and drizzle VERY lightly with Olive Oil and swirl the dough ball around in the bowl to coat all over. Cover with a tea towel and let it rest for 10 minutes, OR, you can freeze it at this point for another day. Just place it in a Ziploc® and toss in the freezer.
 You are now ready to roll out your dough and get your pizza(s) going. You can make one big pizza, or divide it into 4 pieces to make small, individual sized pizzas. Great for when you have kids that can not agree on what they want on their pizzas.
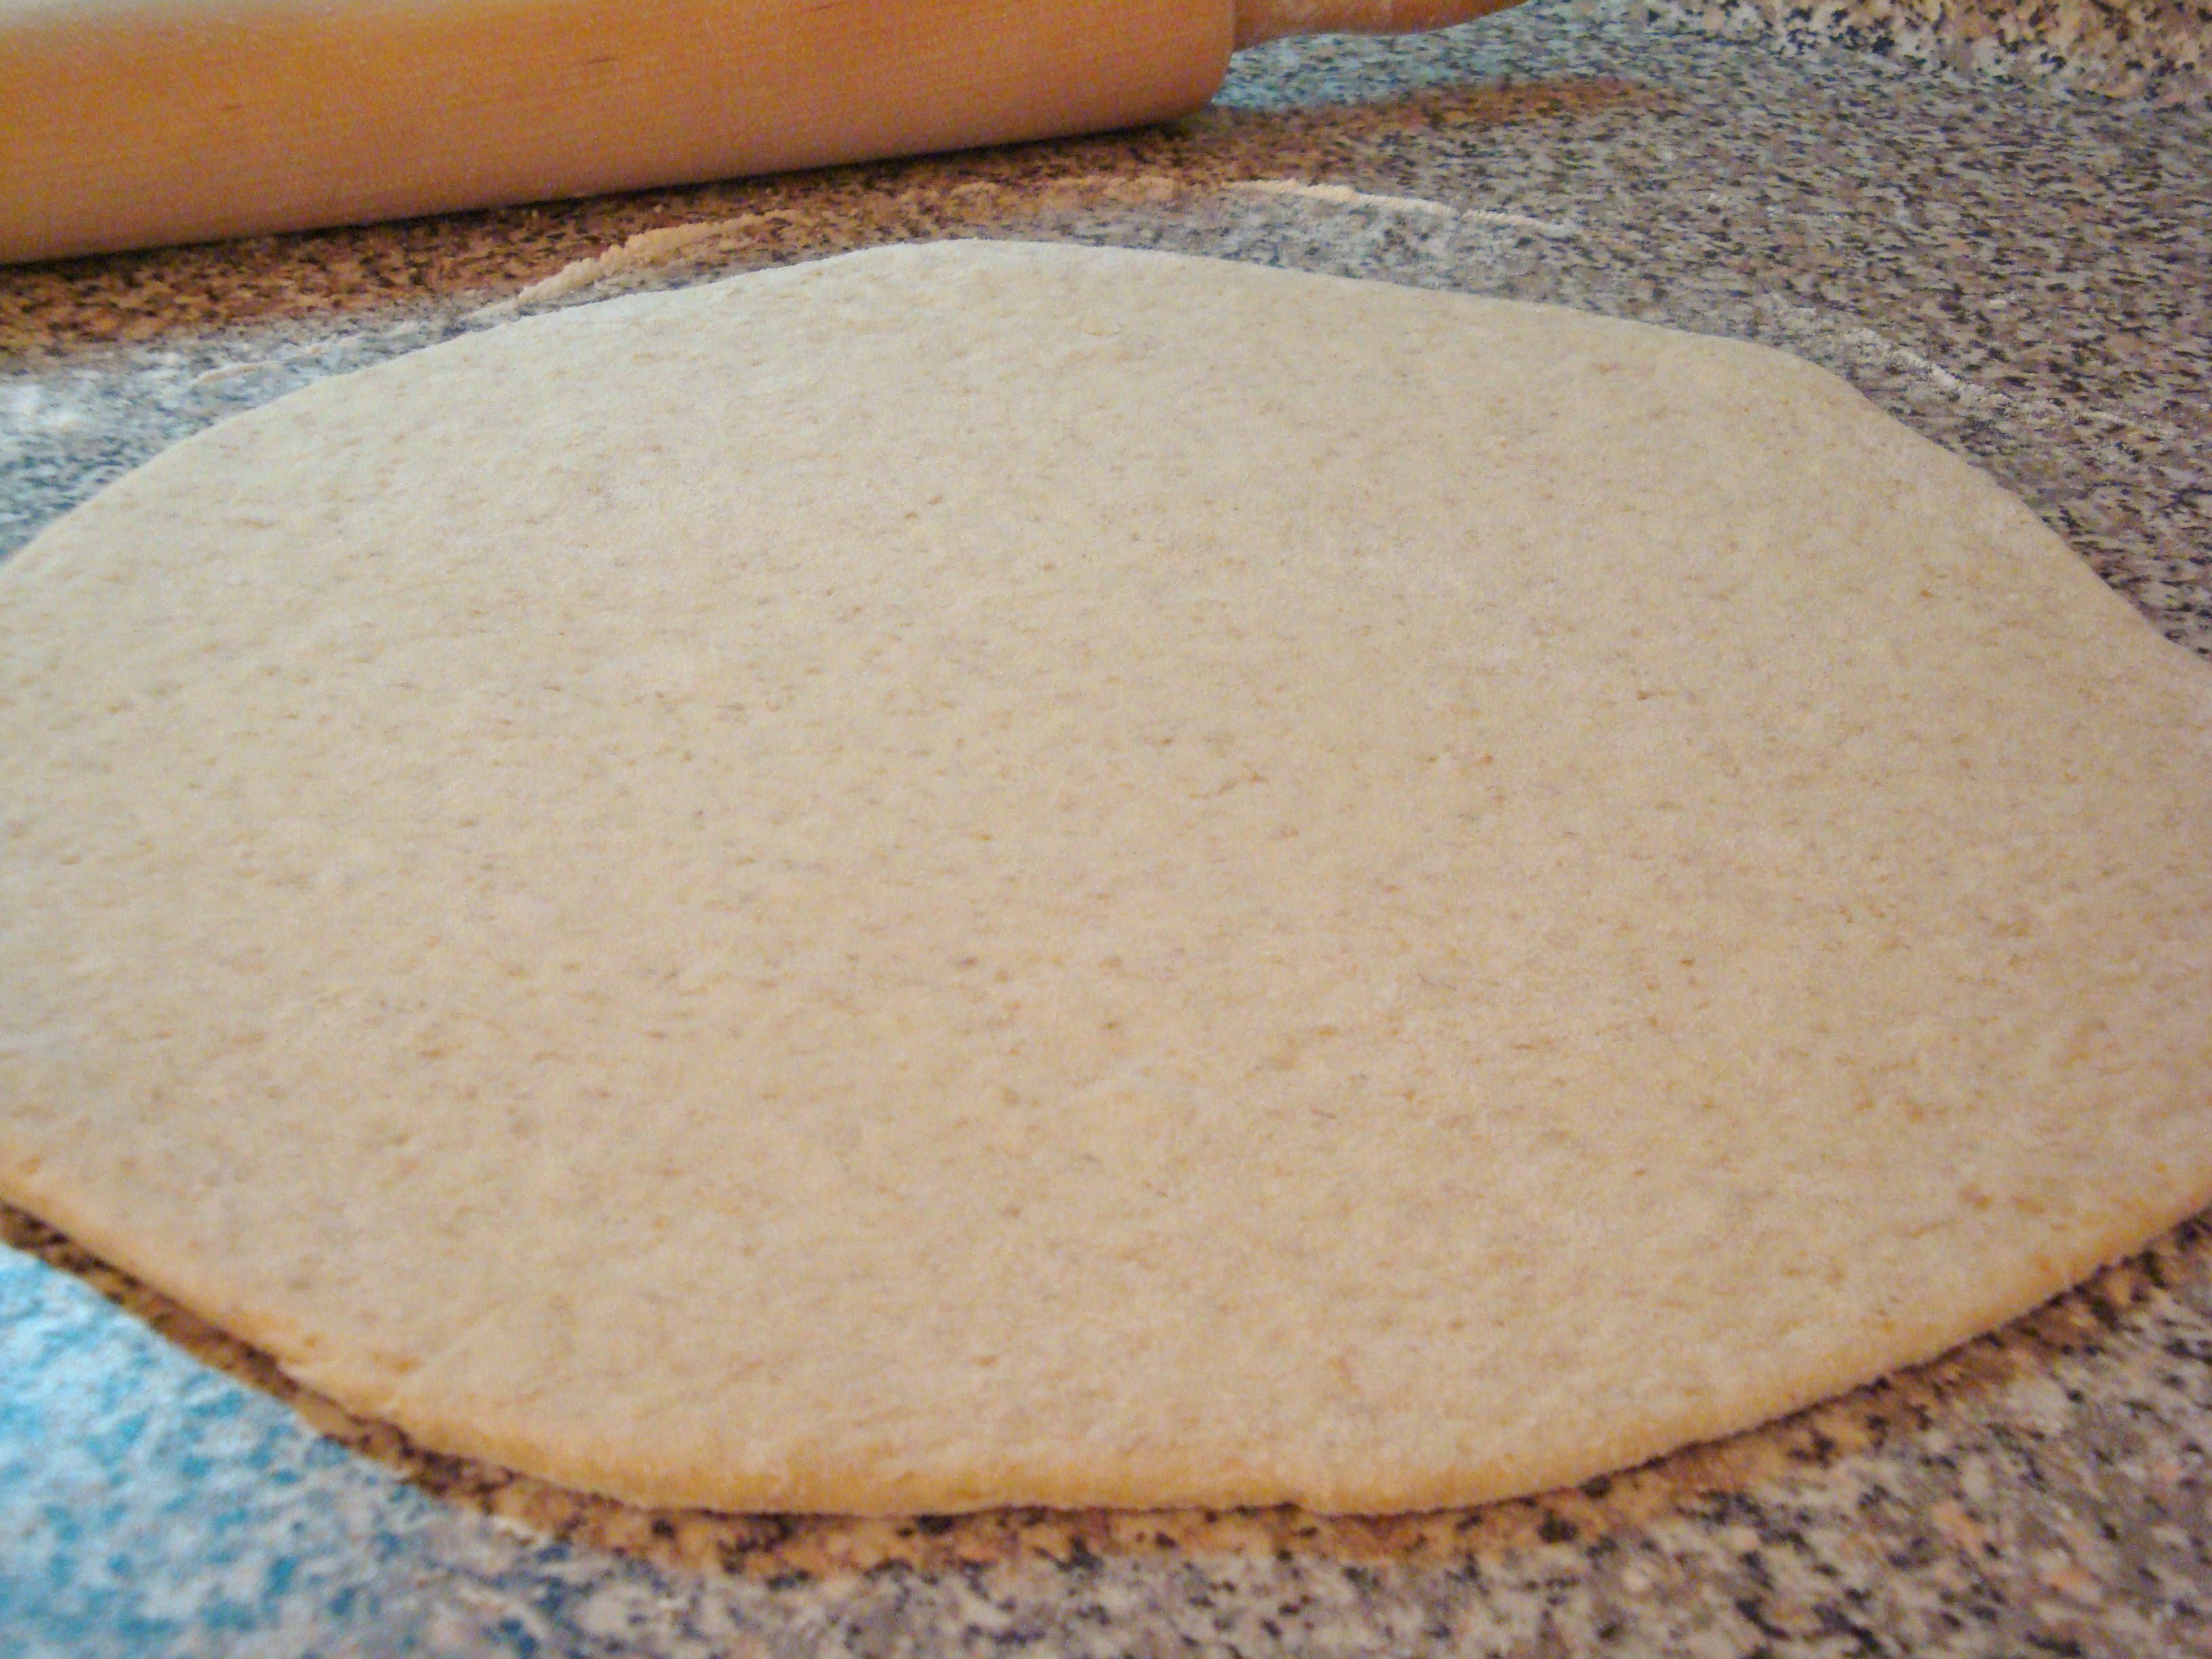 Back on the floured surface, take your dough ball and give it a light dust-over of flour, then using a rolling pin, roll it out into the shape of your pan. It can be as thick or as thin as you like. I like mine thin and try to get it as thin as possible without it resembling a lace negligee.
If you don’t have a pizza pan, a regular cookie sheet does the trick too. Make sure to line your pizza pan with parchment paper (or foil and then use cooking spray) and then the dough will not stick while cooking.
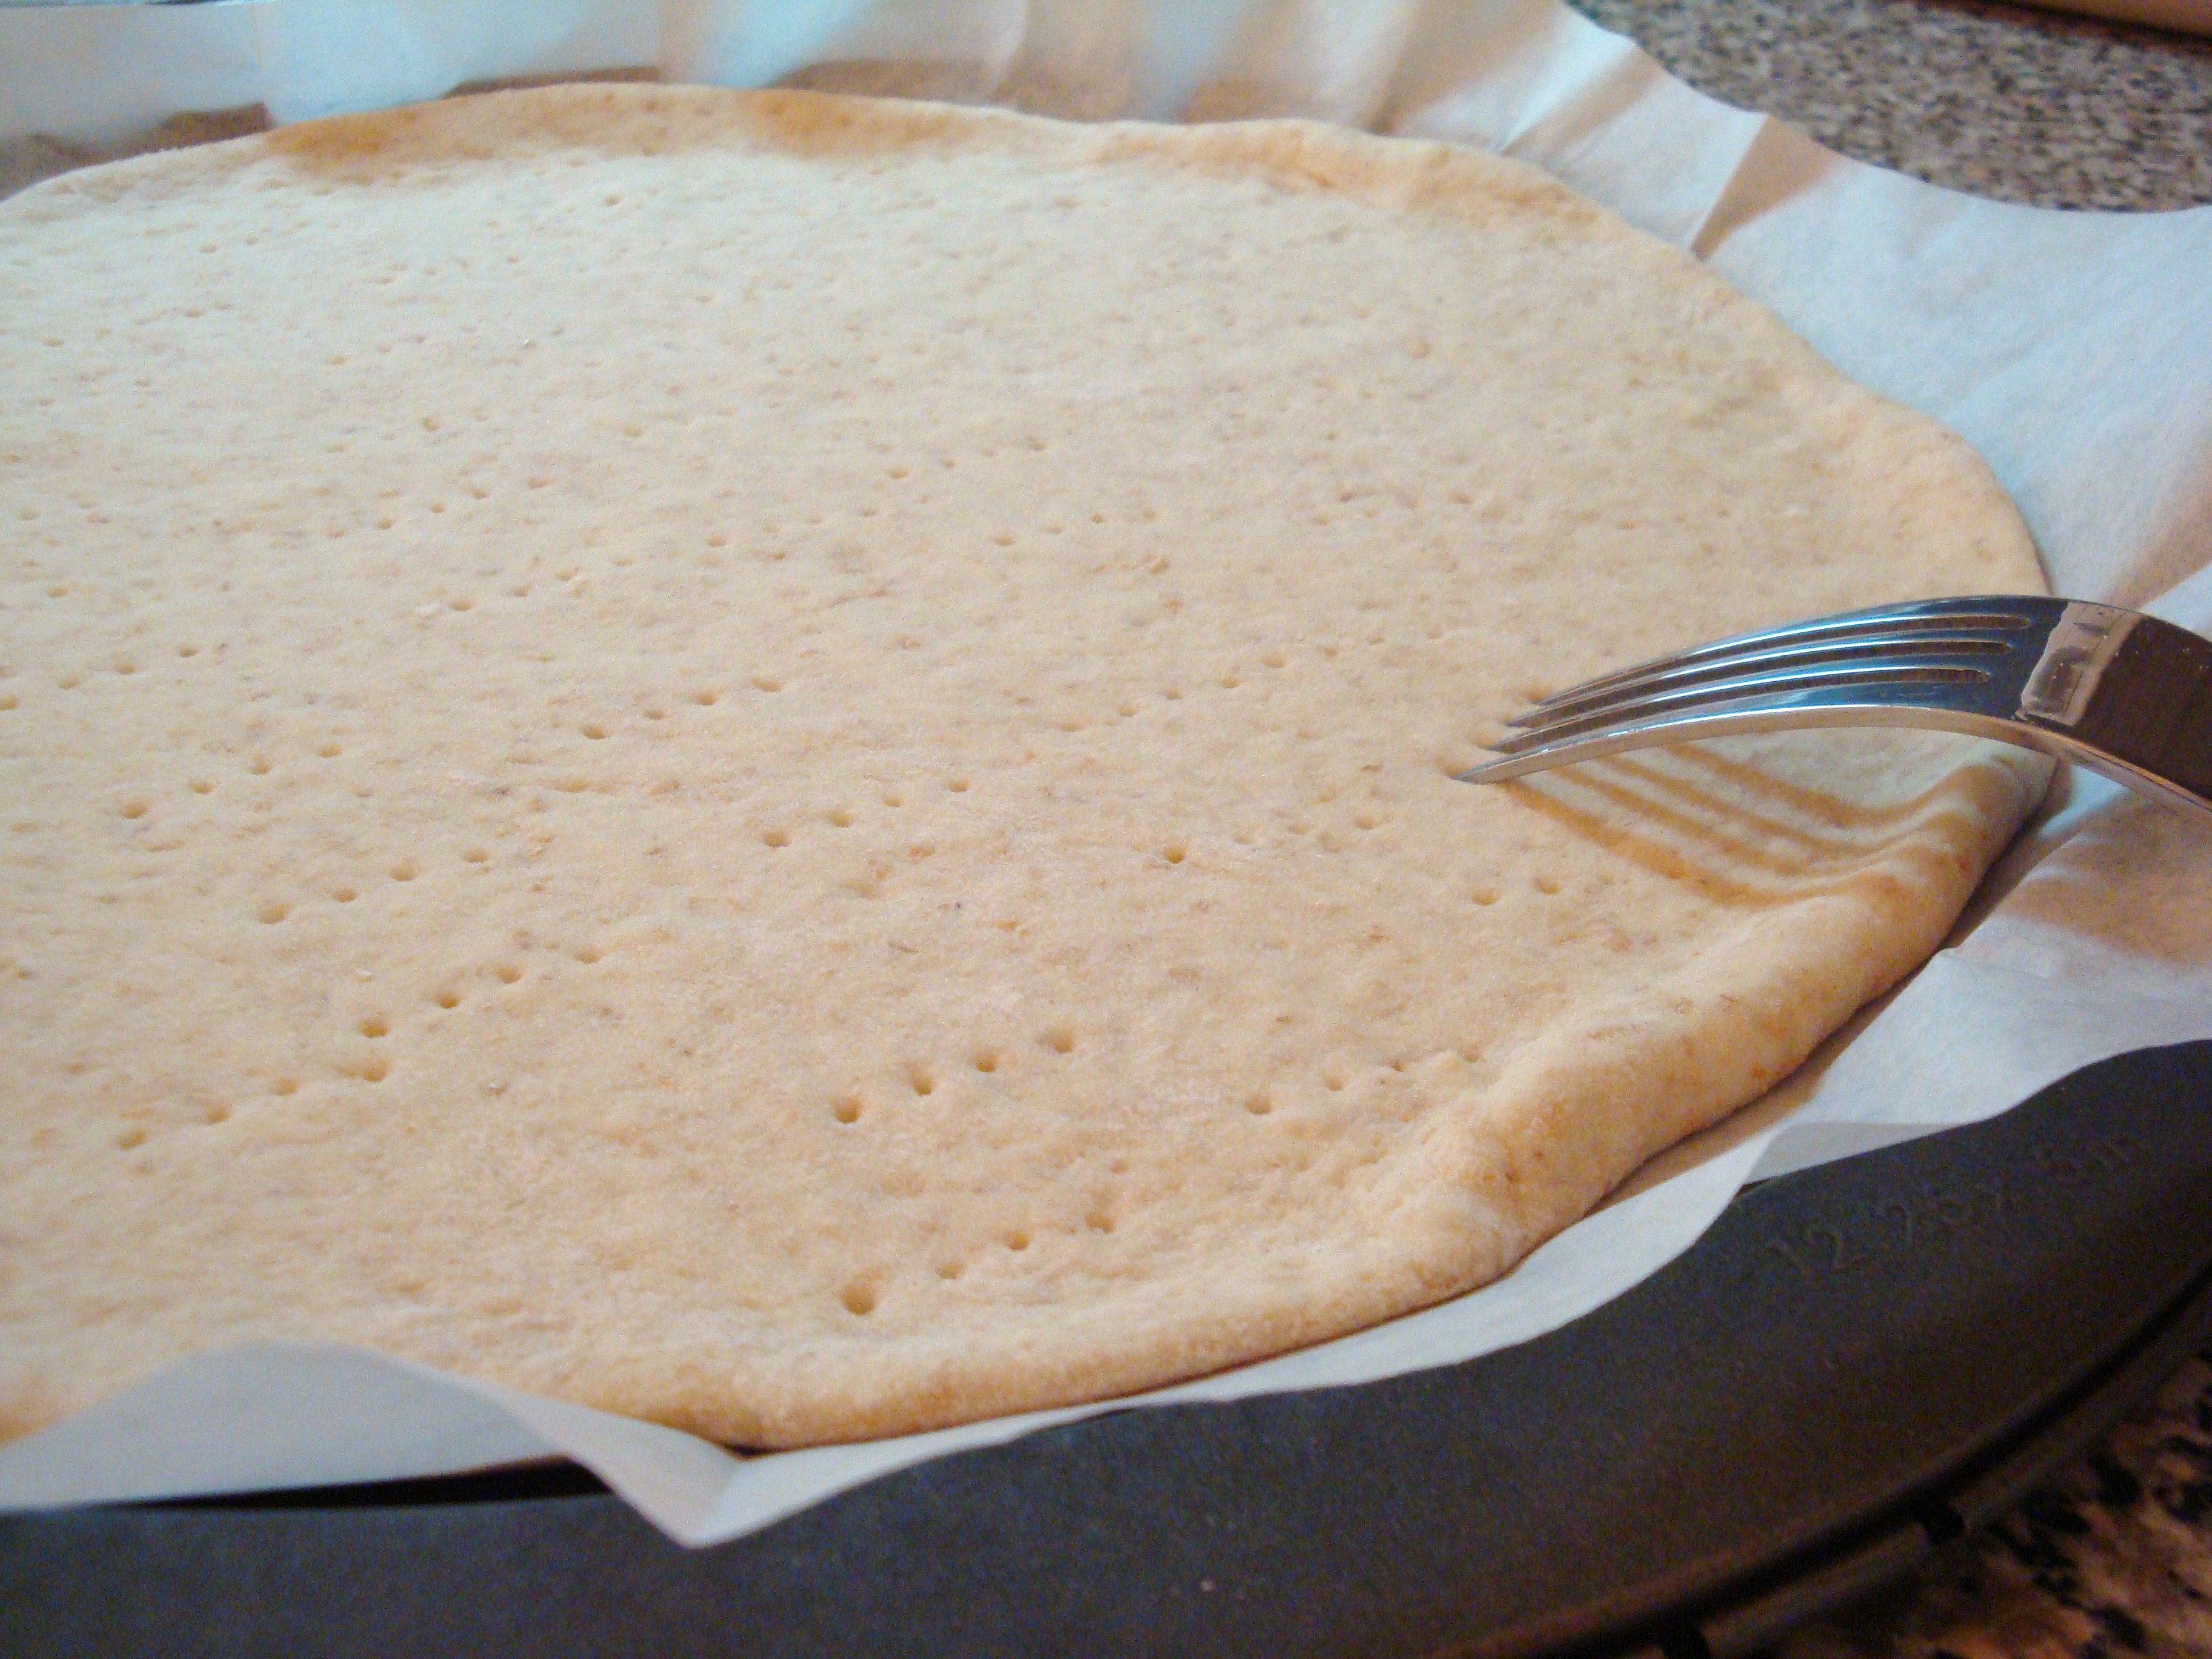 Once the dough is in the pan, you need to prick it all over with a fork (like pie dough) or big air bubbles will appear and you will end up with a gigantic pita pocket. This is less than desirable for pizzas.
Place your prepared pizza dough (naked, do NOT put the toppings on yet) into a 425°F oven and bake for 5 minutes.
Take the pizza crust out of the oven and then top with your favorite sauce, a little cheese, your toppings, and then more cheese.

Place back in the oven for another 6-9 minutes, depending on the thickness of your pizza crust. You will know you are getting close when all the cheese is melted and the crust is starting to get golden around the edge.
But WAIT!
Don’t take that pizza out just yet! There is one more CRITICAL step to the perfect pizza.
Now turn the oven OFF and turn the broiler ON.
Let the pizza sit there for up to 2 minutes (depending how hot your broiler gets) until it is really bubbly on top and the crust is a deep, golden brown.
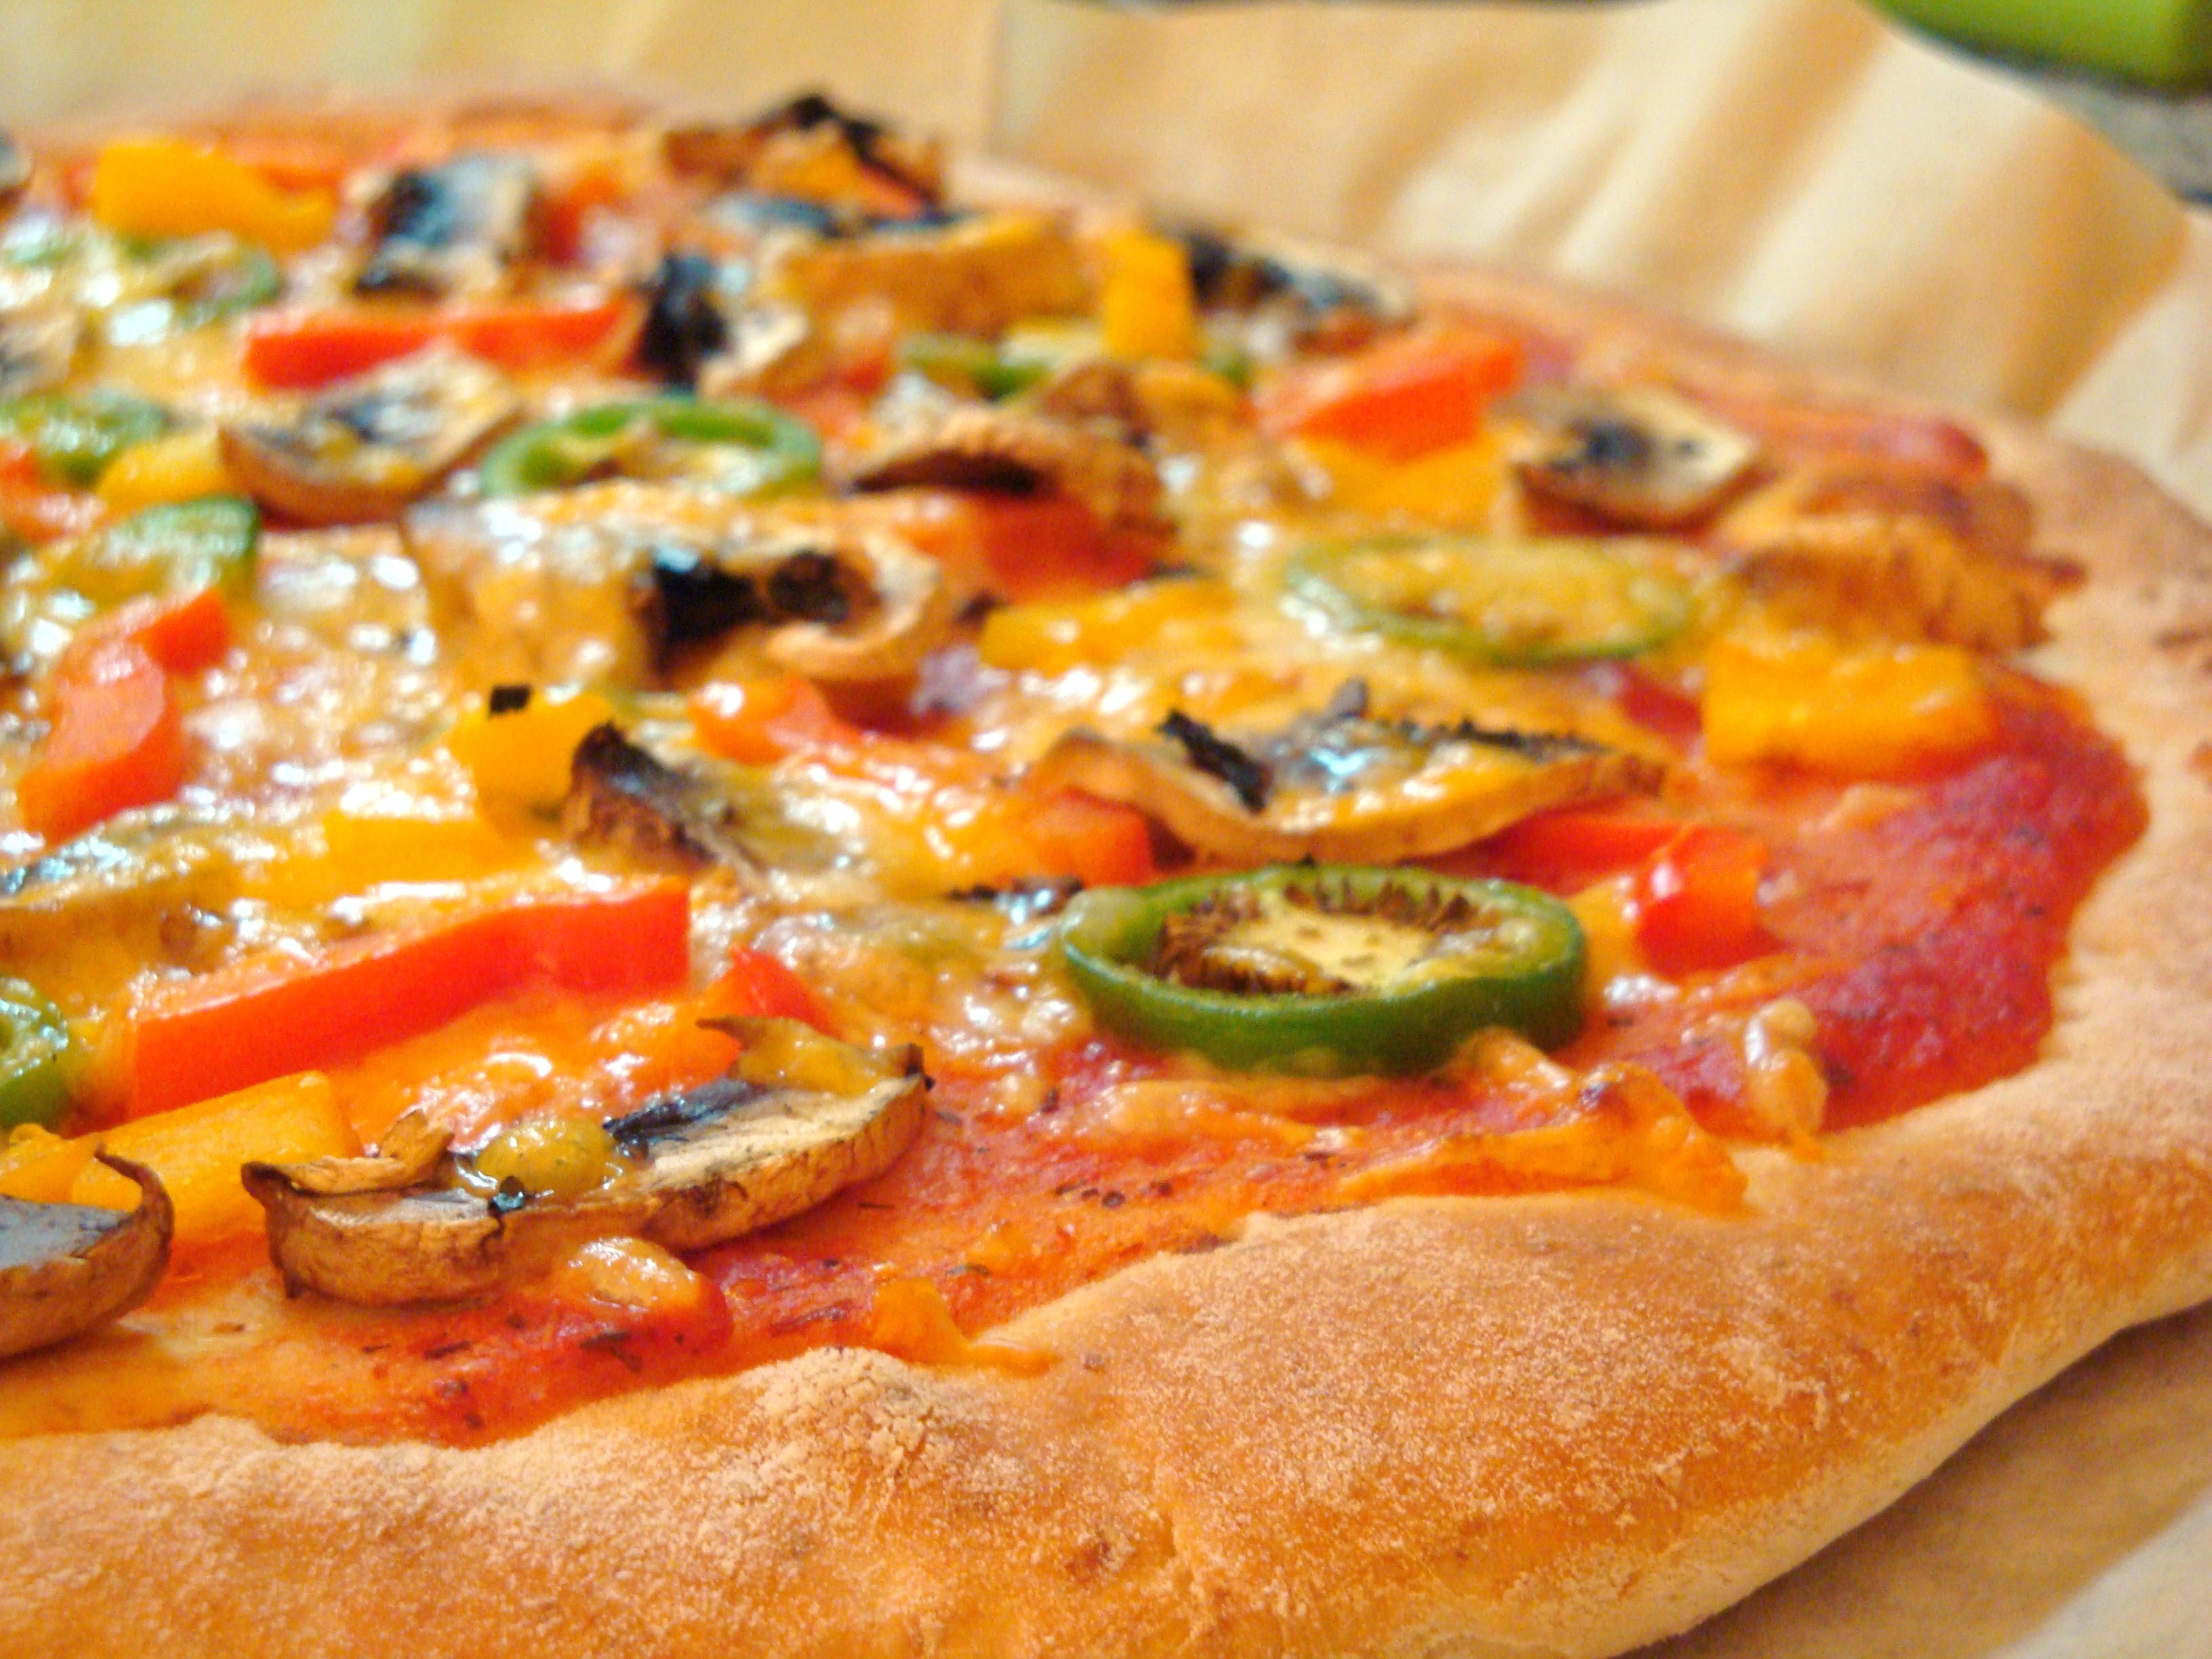
NOW it is finally ready.
This final step gives the pizza that ‘just-out-of-the-wood-fired-oven’ taste and texture.
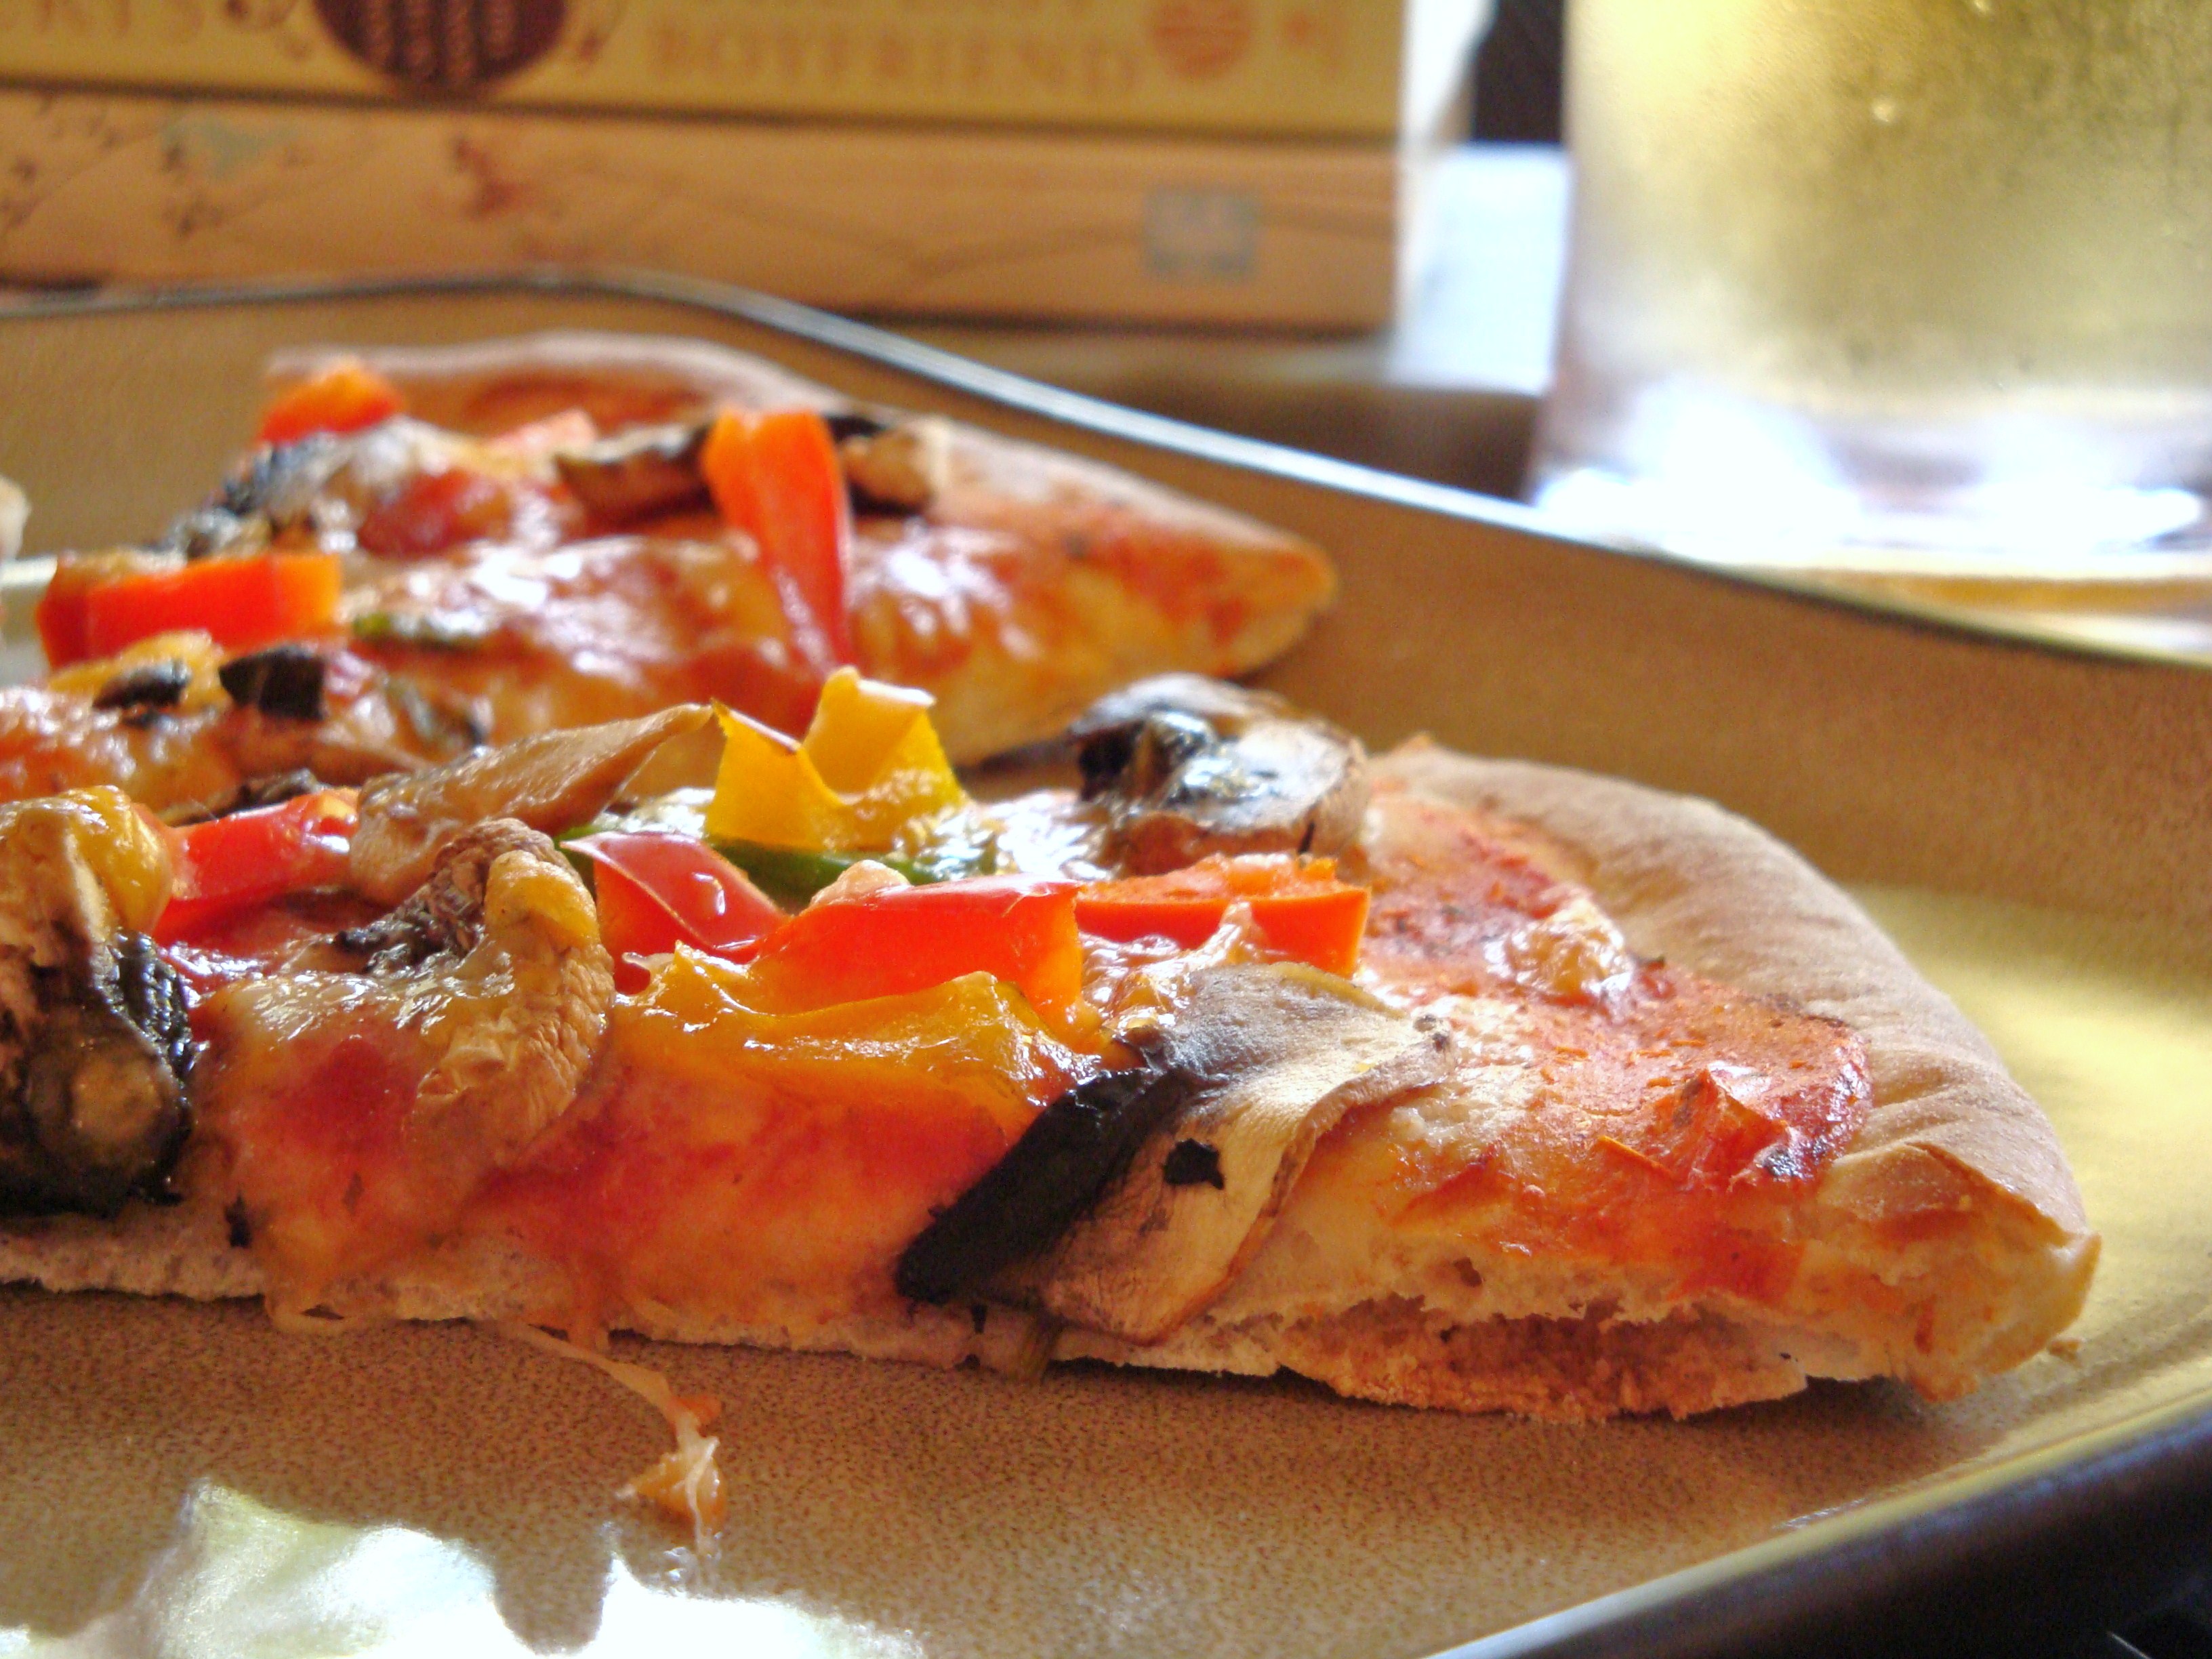
Slice and serve to the masses….then stand back whilst the family devours, and then applauds you for making them the perfect, health-ier pizza.
Awesome !! Been wanting a pizza dough recipe for so long an learned the necessary tricks now !! Thank you so much and my kids will love you for this 🙂
Ha! You will curse me when they want pizza everyday of the week 🙂 Enjoy!
I don’t know how I missed this before Chica! My apologies – sincere ones too! Very clean looking website, well organized and simple enough to navigate. I’m proud of ya! I will look at your recipes and let you know how I do with making my faves !
so glad to have you back from your techno vacation. We love pizza, and since we live 15 miles from any type of civilization, the 30 minutes or it’s free logo does not apply to us. Frozen pizza tastes like cardboard so make it on your own has become a tried and true obsession
Pingback: I Can’t Believe He Ate The Whole Thing… | The Homesteading Realtor®
Pingback: Next Week’s Menu |
Pingback: Next Weeks Menu |
Pingback: Our Northern Homestead