
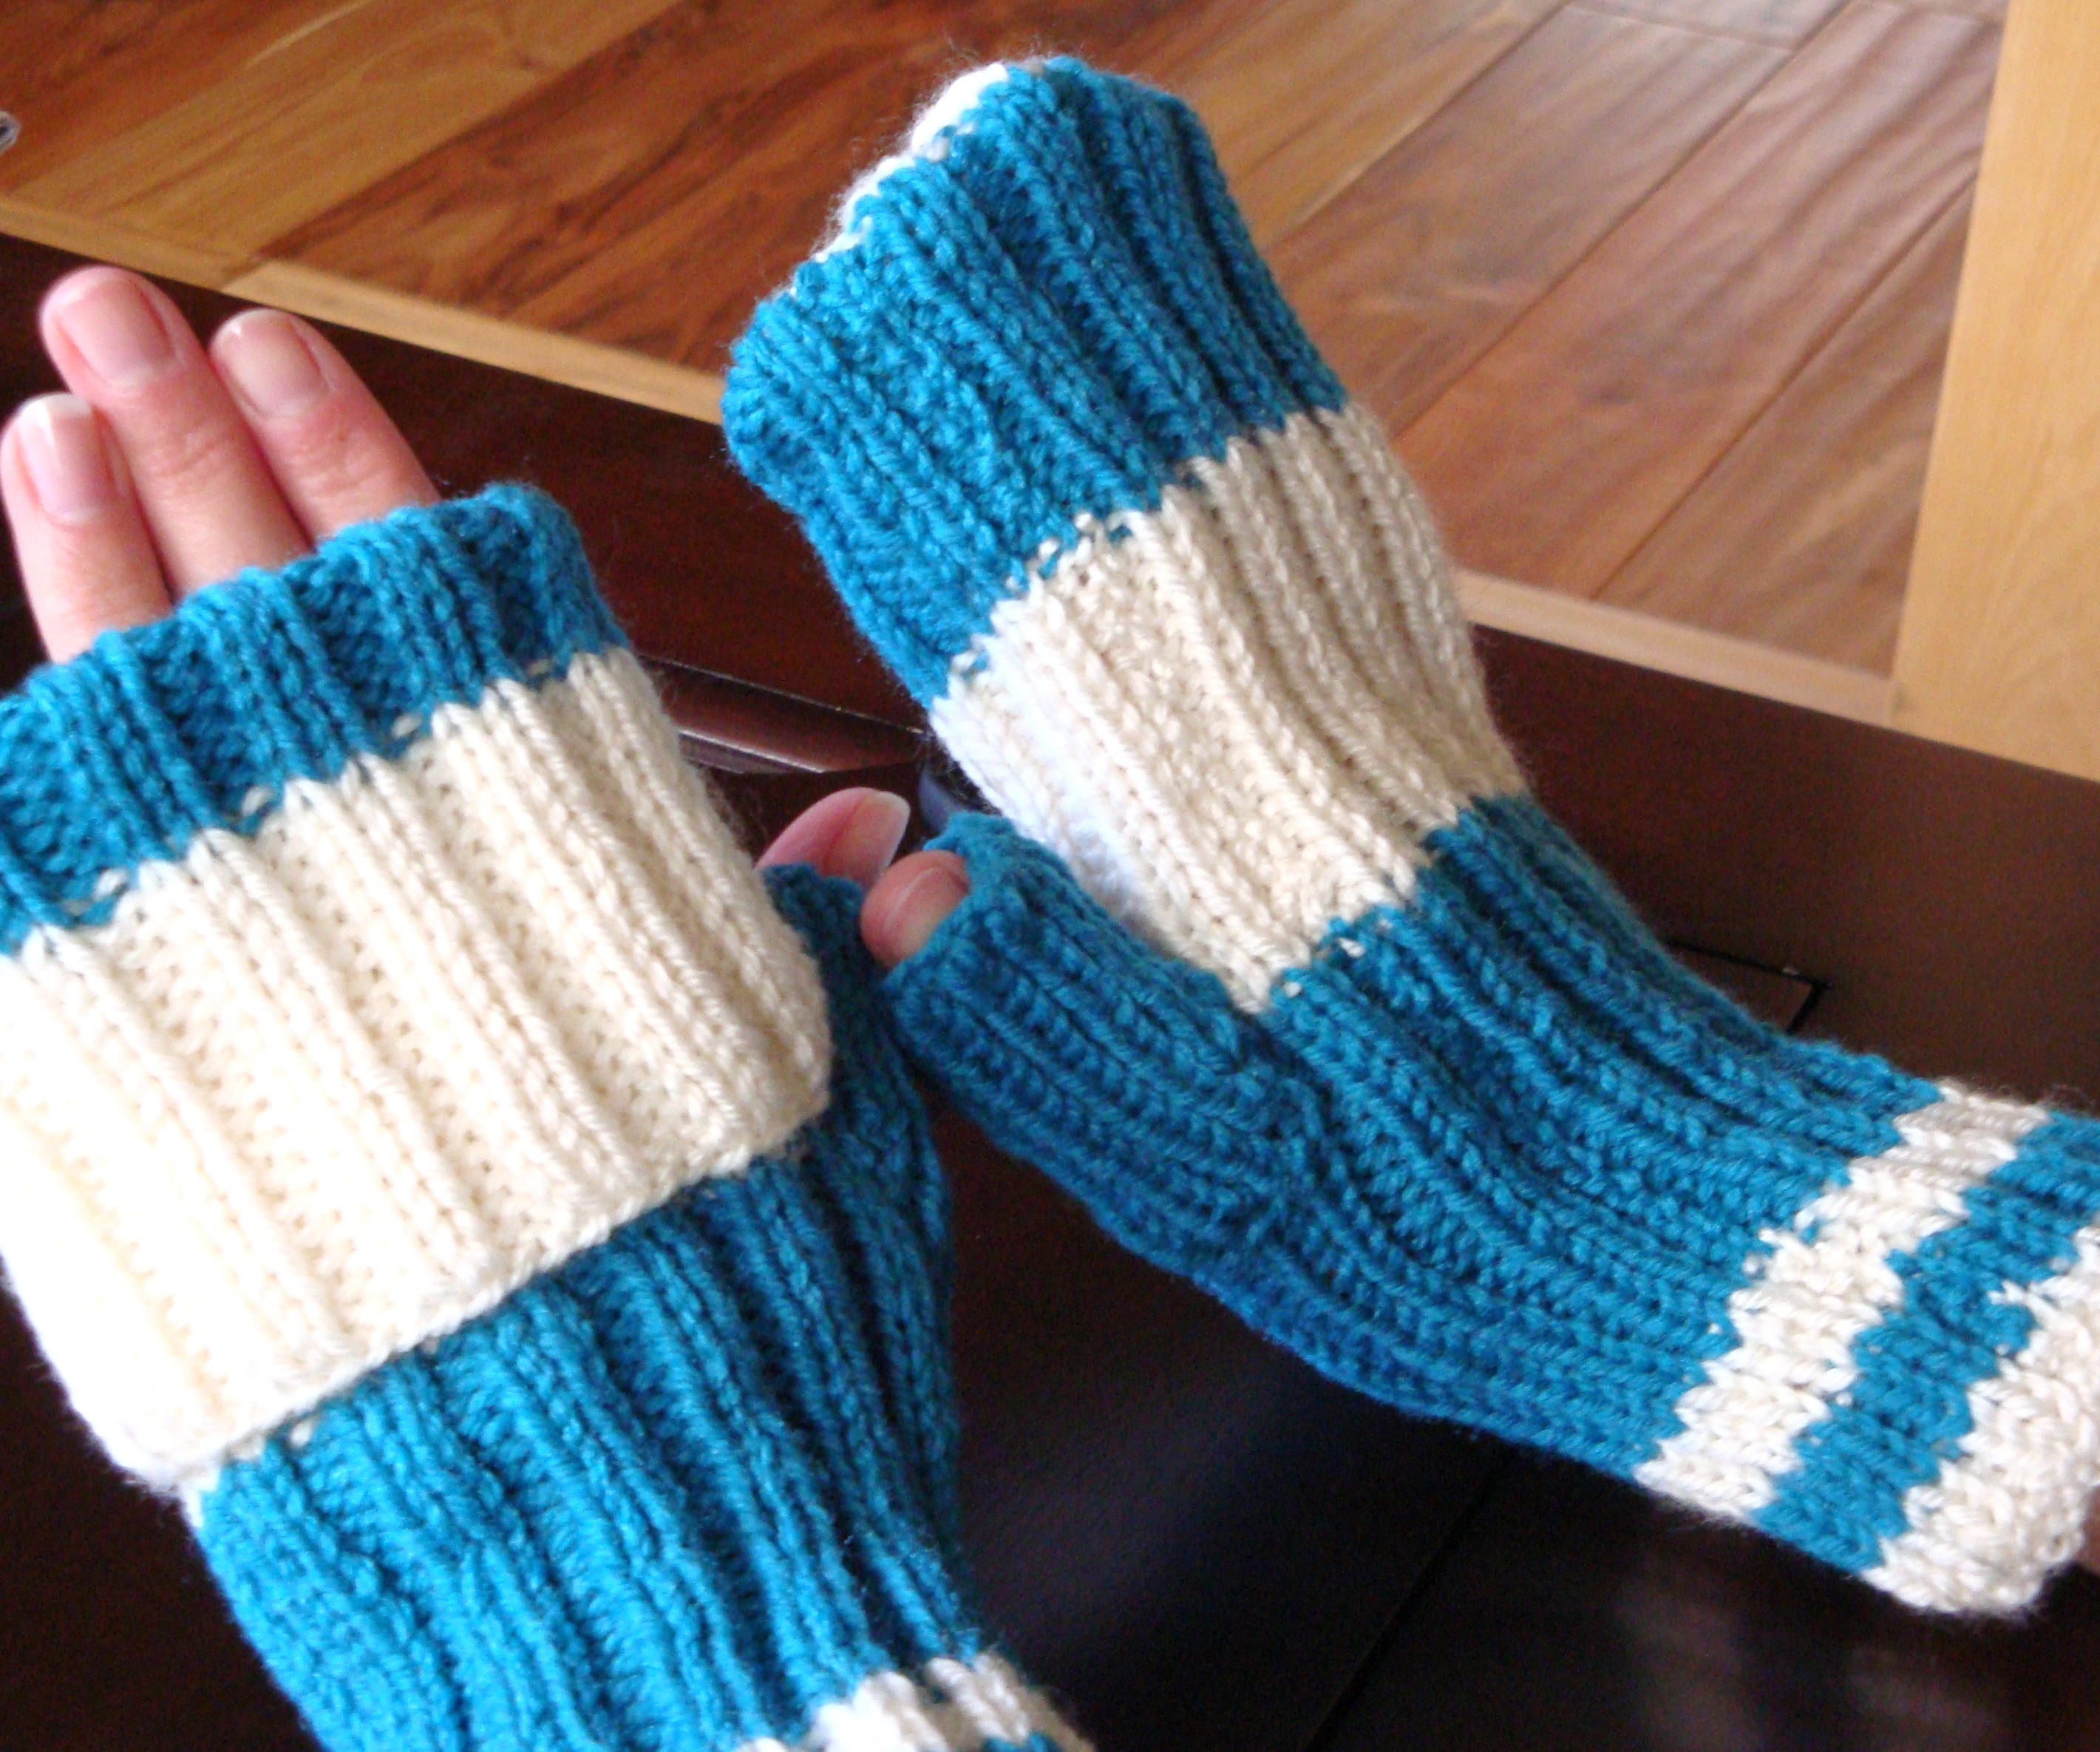
Warm, fuzzy, practical mitts for iPhone users, or any other touch screen electronic device. No longer will you have to pull off your gloves to answer an email or a phone call. Just slide your fingers out the end and you have instant access to your touch screen. All the while, keeping the rest of your hands warm and cozy. When you need to keep your fingers warm, fold the upper portion in to envelope your fingers.
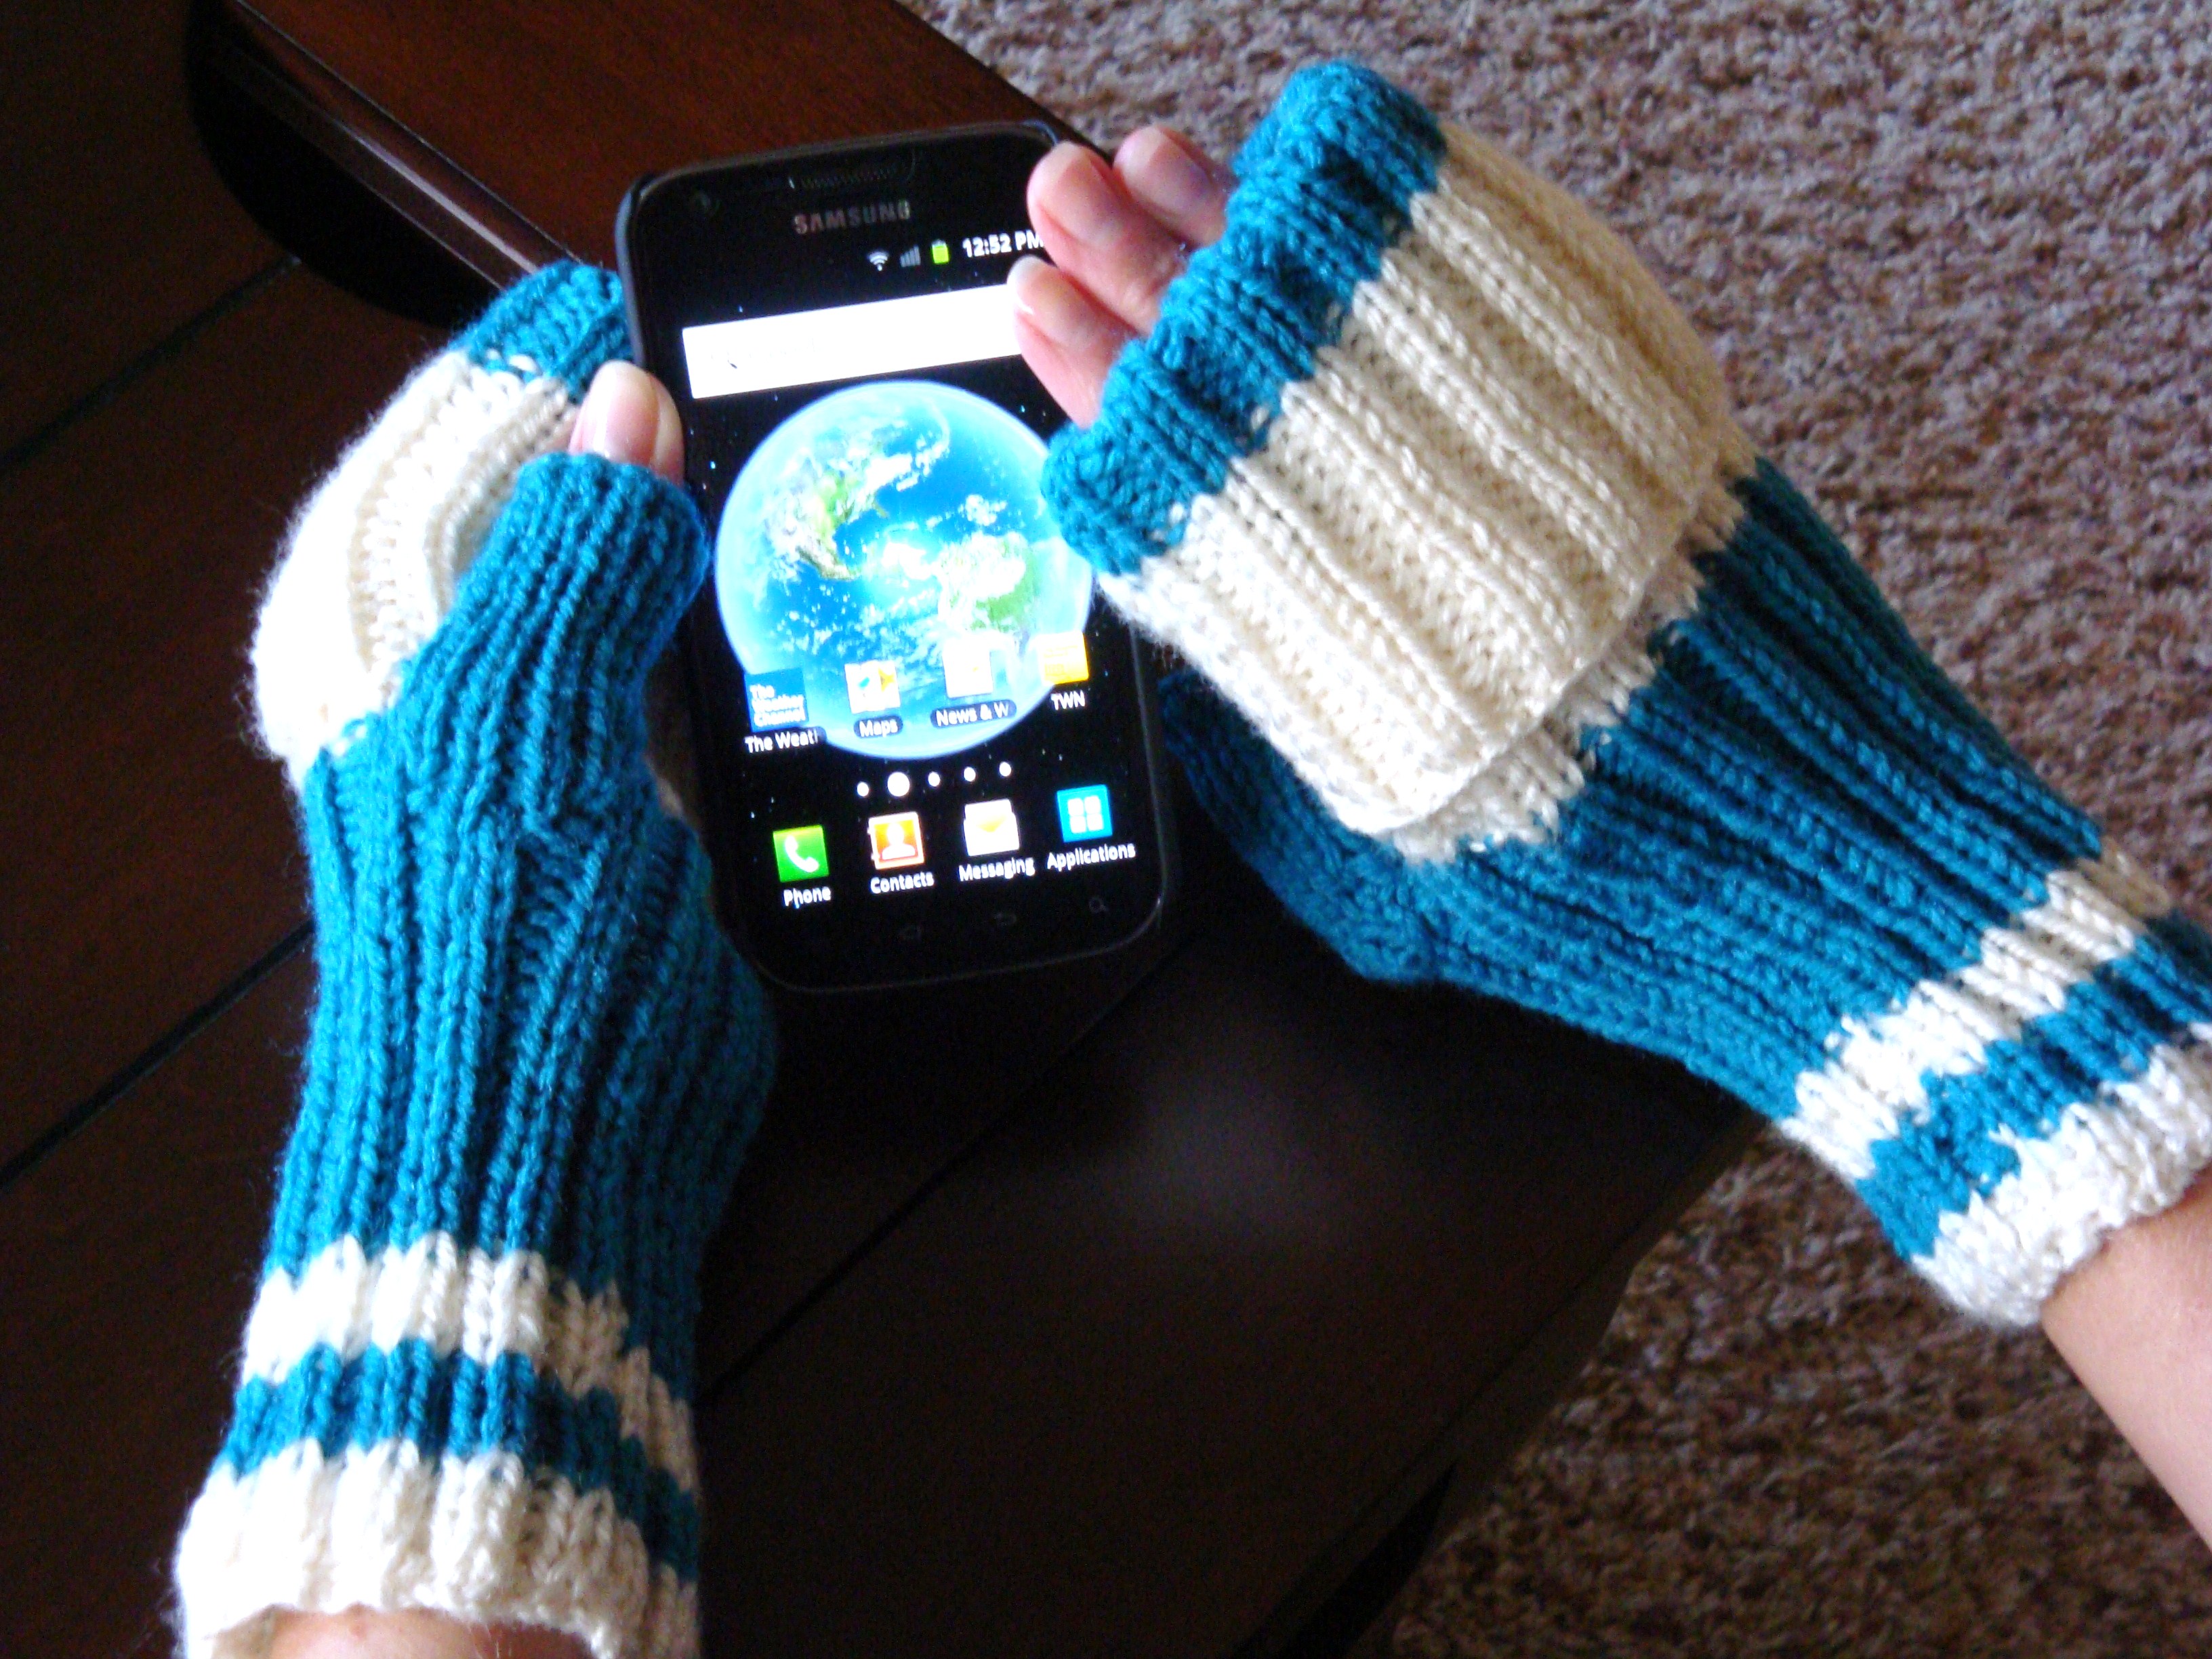
Whether you are digging for your keys in your purse or trying to insert change into a parking meter, these are ideal for anyone that needs quick access with their bare fingers. Also ideal for Realtors trying to open a lockbox in frigid weather as there is nothing worse than your hands going numb while trying to get one of those blasted things open. Trust me!
Pattern is for Ladies Small-Medium Size. Adjust Thumb Gusset sizing as necessary for larger hands.
Materials
3.0 mm and 3.50 mm Standard Knitting Needles
3.25 mm DPN (Double Pointed Knitting Needles)
2 balls each colour of 4 ply Knitting Worsted weight yarn
Stitch Markers
Yarn Needle
Tension: 16 Rows = 2.5” inK2, P2 rib * To Save time, take time to check tension!
Abbreviations
M1 = Increase 1 Stitch
K = Knit
P = Purl
RB = Ribbing
PM = Place Marker
MC = Main Colour
CC = Contrasting Colour
MM = Move Marker
Directions
With 3.0 mm knitting needles and MC, cast on 50 stitches. Work 4 rows K2, P2 ribbing. Change to CC and work another 4 rows K2, P2 ribbing. Change back to MC and work another 4 rows ribbing.
Change to 3.50 mm needles and work 18 rows K2, P2 ribbing in CC.
Next Row: K2, P2, K2, PM, M1 Purlways, K1, P1, K1, M1 Knitways, P2, PM, Work in established rib to end of row.
Next Row: Work in K2, P2 rib to marker, P1, K1, P1, K1, P1, K1, PM, P2, K2, P2.
Next Row: K2, P2, K2, M1 Knitways, P1, K1, P1, K1, P1, K1, P1, M1 Knitways, P1, MM, K2, P2 to end of row.
Next Row: K2, P2 to Marker, K1, P1, K1, P1, K1, P1, K1, P1, K1, P1, P2, K2, P2.
Next Row: K2, P2, K2, M1 Purlways, PM, K1, P1 to next marker, MM, M1 Purlways, P1,K2, P2 to end of row.
Next Row: K2, P2 to Marker, K2, P1, K1 to other marker, P2, K2, P2.
Next Row: K2, P2, K2, Place next 10 stitches on a stitch holder, Remove other Markers, P2, K2 to end of row.
Next Row: Change to MC, K2, P2 rib to end of row.
Work 16 rows total of MC. Change to CC and work 16 rows in established rib pattern. Change to MC and work 16 rows rib pattern.
Cast off in Rib.
To make Thumb: Place 10 stitches from stitch holder onto DPN, Pickup 3 Stitches spaced evenly on either side of thumb gusset. Equally divide stitches onto 3 DPN.
Work K1, P1 rib starting with established thumb gusset pattern. Work in rounds until thumb measures 2.5 inches. Cast off in Pattern.
To Make Up: Fold mitt in half lengthwise with thumb inside, sew seams flat using matching coloured tails. Turn right-side out.
these are awesome little mitties, been using them for years for hunting. Thanks for the instructions, could make some cammo coloured ones for all my guys-grandsons would love them. They could look like their uncles.
oh Camo mitts! Now why didn’t I think of that for you last Christmas? 😀