
Last weeks Flip Flop Fashion Fad post was a teaser, like those trailers for every blockbuster movie that ever comes out touting it as THE must-see movie of the year.
My Flip Flop Project is no different.
I bet you were impatiently waiting all weekend for it too.
After Beta testing the flip flops fashion fad last week, I decided there had to be a better way to make these straps. The on-line tutorial I found called for way too much fabric and the straps and knots ended up too bulky. I like thin and streamlined straps. Plus, there were no finished edges, so once you cut the fabric, all the edges started fraying while I was attaching the straps to the flip flops. I was covered in threads from head to toe. Annoying to say the least, not to mention I had to get the vacuum out afterward to clean up myself and the sewing room. The finished project was messy looking and not at all attractive.
If the flip flops were for Bigfoot they would have been fine, but for my little size 6 feet, they were overpoweringly h-u-g-e. For those wanting to see the first pair I made, look here.
Hence my desire to make them a little classier and refined. This project was super easy and done in an hour from start to finish, my kind of project as I hate things that take forever.
Here is what you will need for this project:
A standard pair of Flip Flops (Michael’s Craft Store sells flip flops for $2.00!)
1/4 meter scrap fabric and matching thread (Scrounge the remnant bins at your local fabric shop, 75¢ is what I paid for mine)
**Note, do not use stretchy fabric! Preferred fabric should be cotton or polyester
Sewing machine
Glue gun
Knitting needle
Large ruler
Fabric pencil
Directions
 First, snip the plastic straps from the flip flops
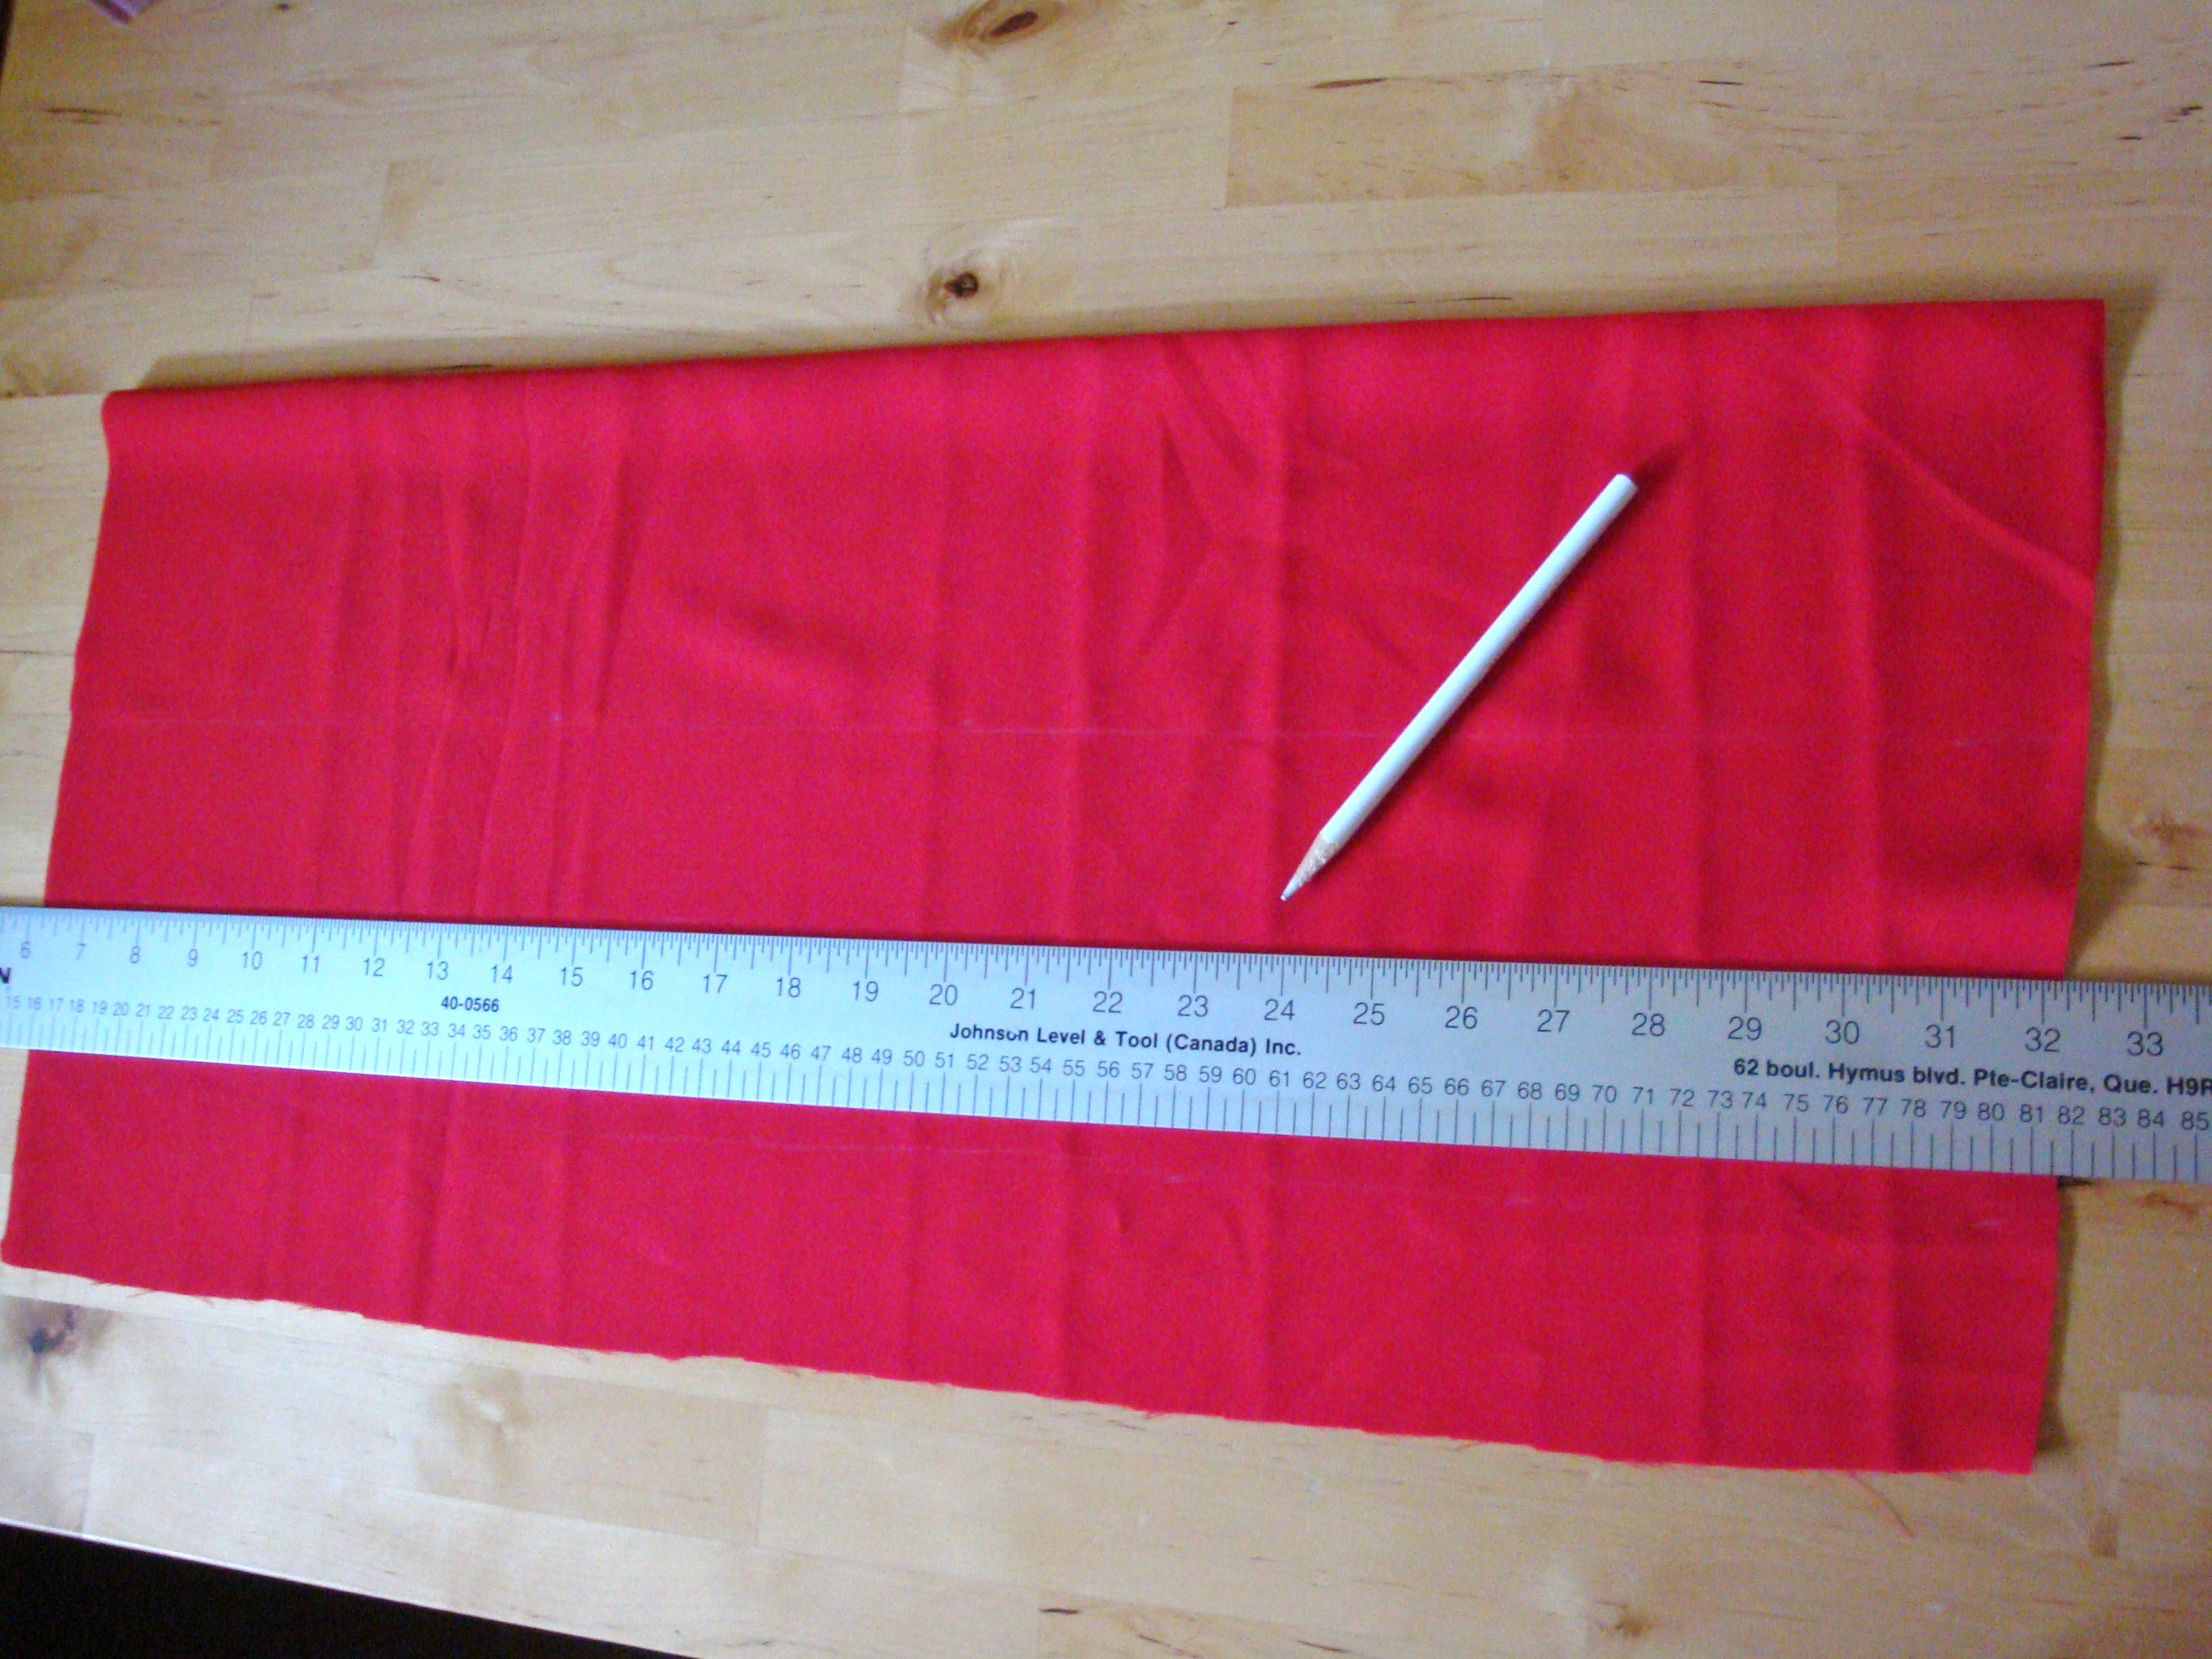 With fabric folded in half lengthwise, measure and mark strips of
fabric 26″ long and 2 1/2″ wide
 Cut your strips, you will need two per flip flop (I cut extra as I wasn’t sure how many I was going to use as I was still in the design stage at this point).
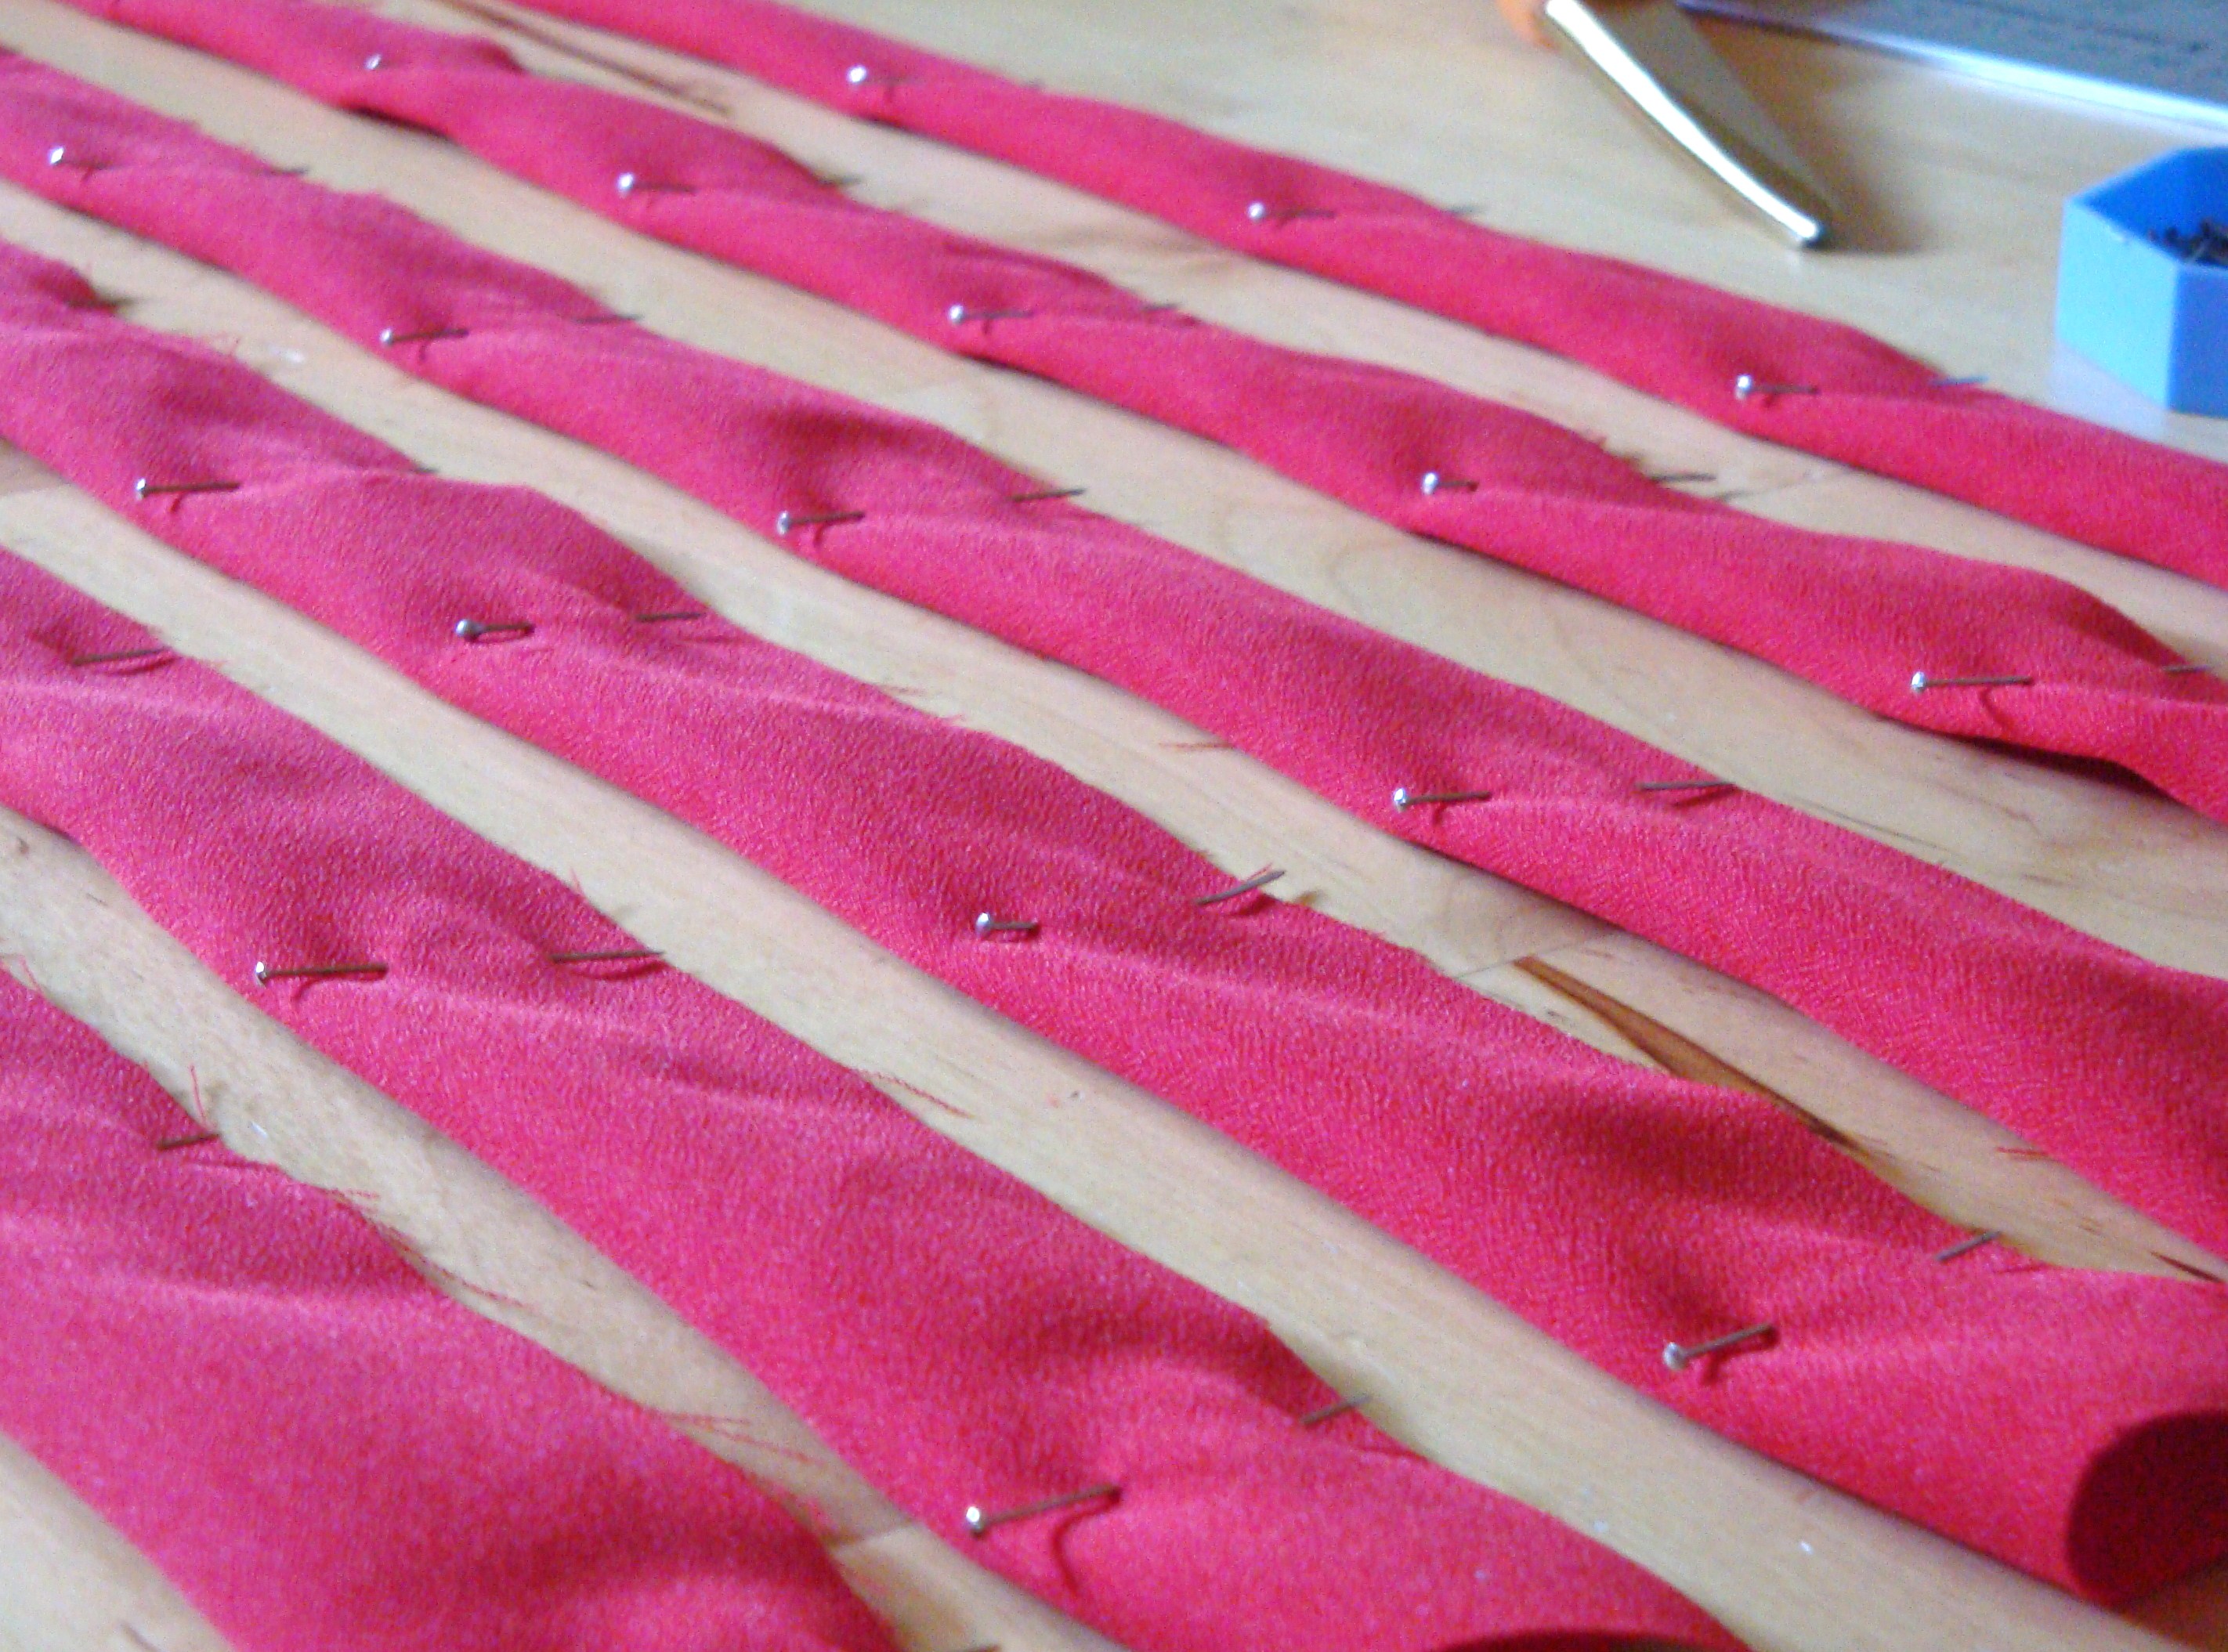 Fold each strip lengthwise (right sides together) and pin.
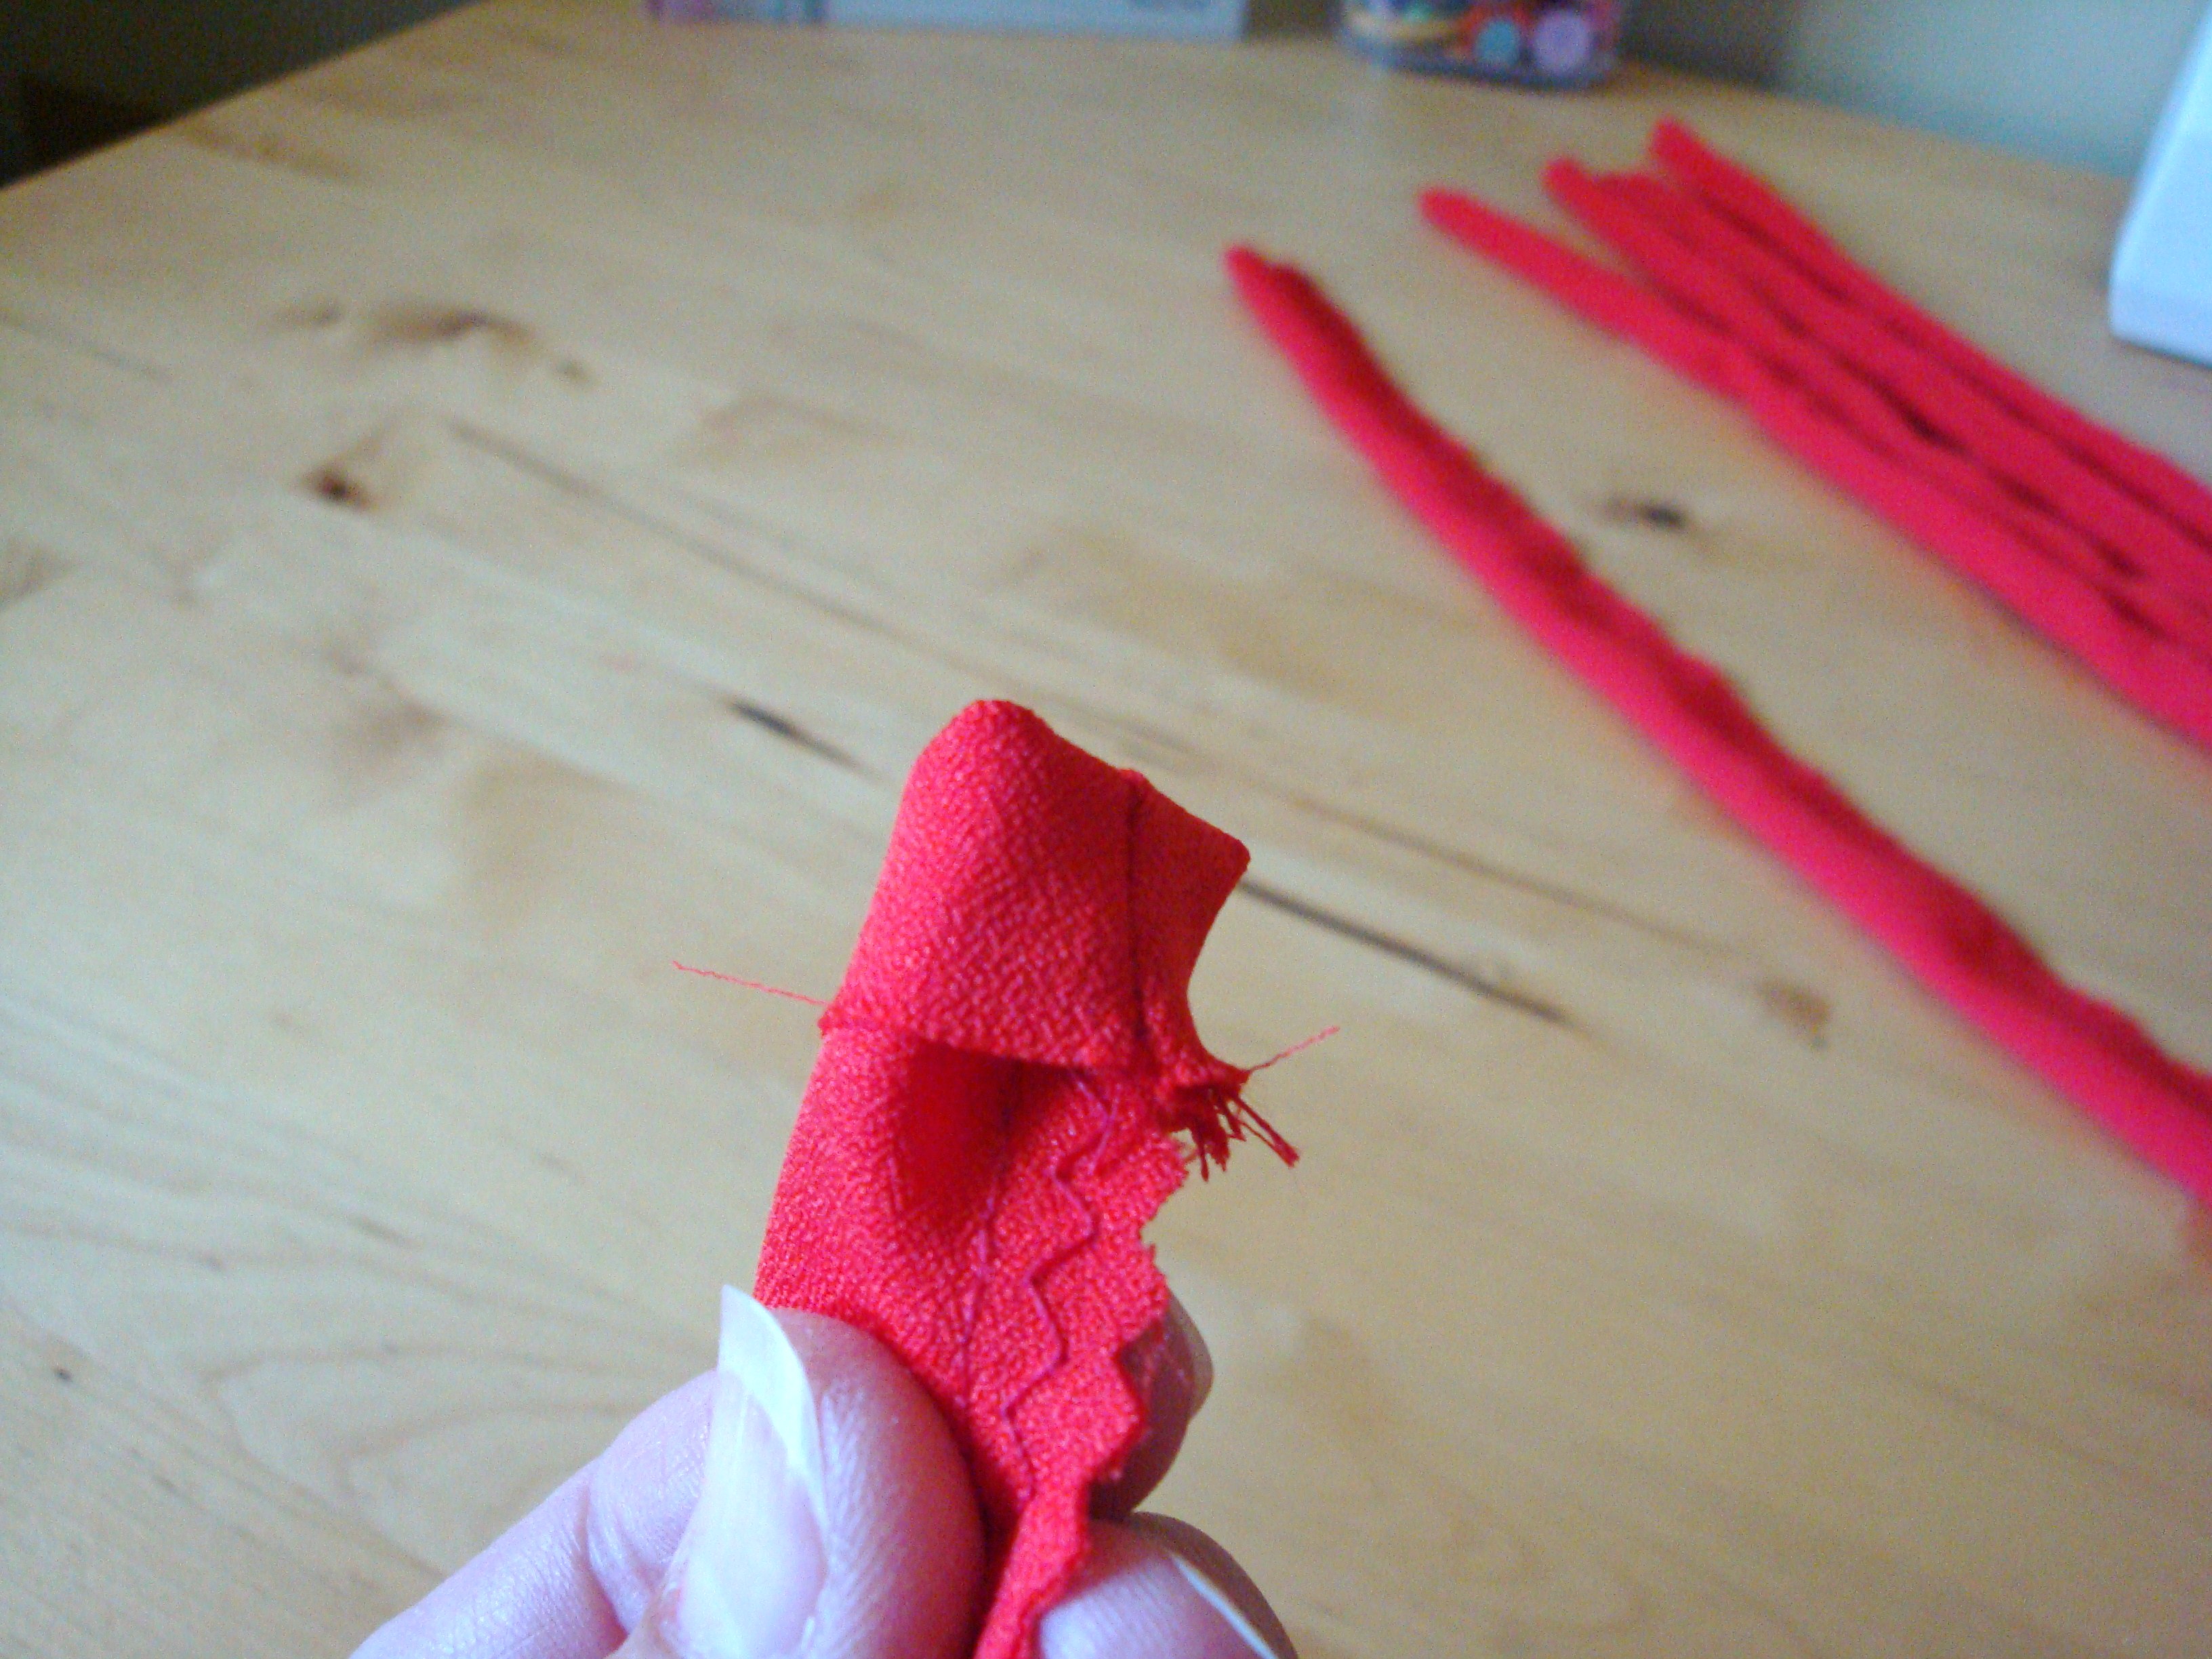
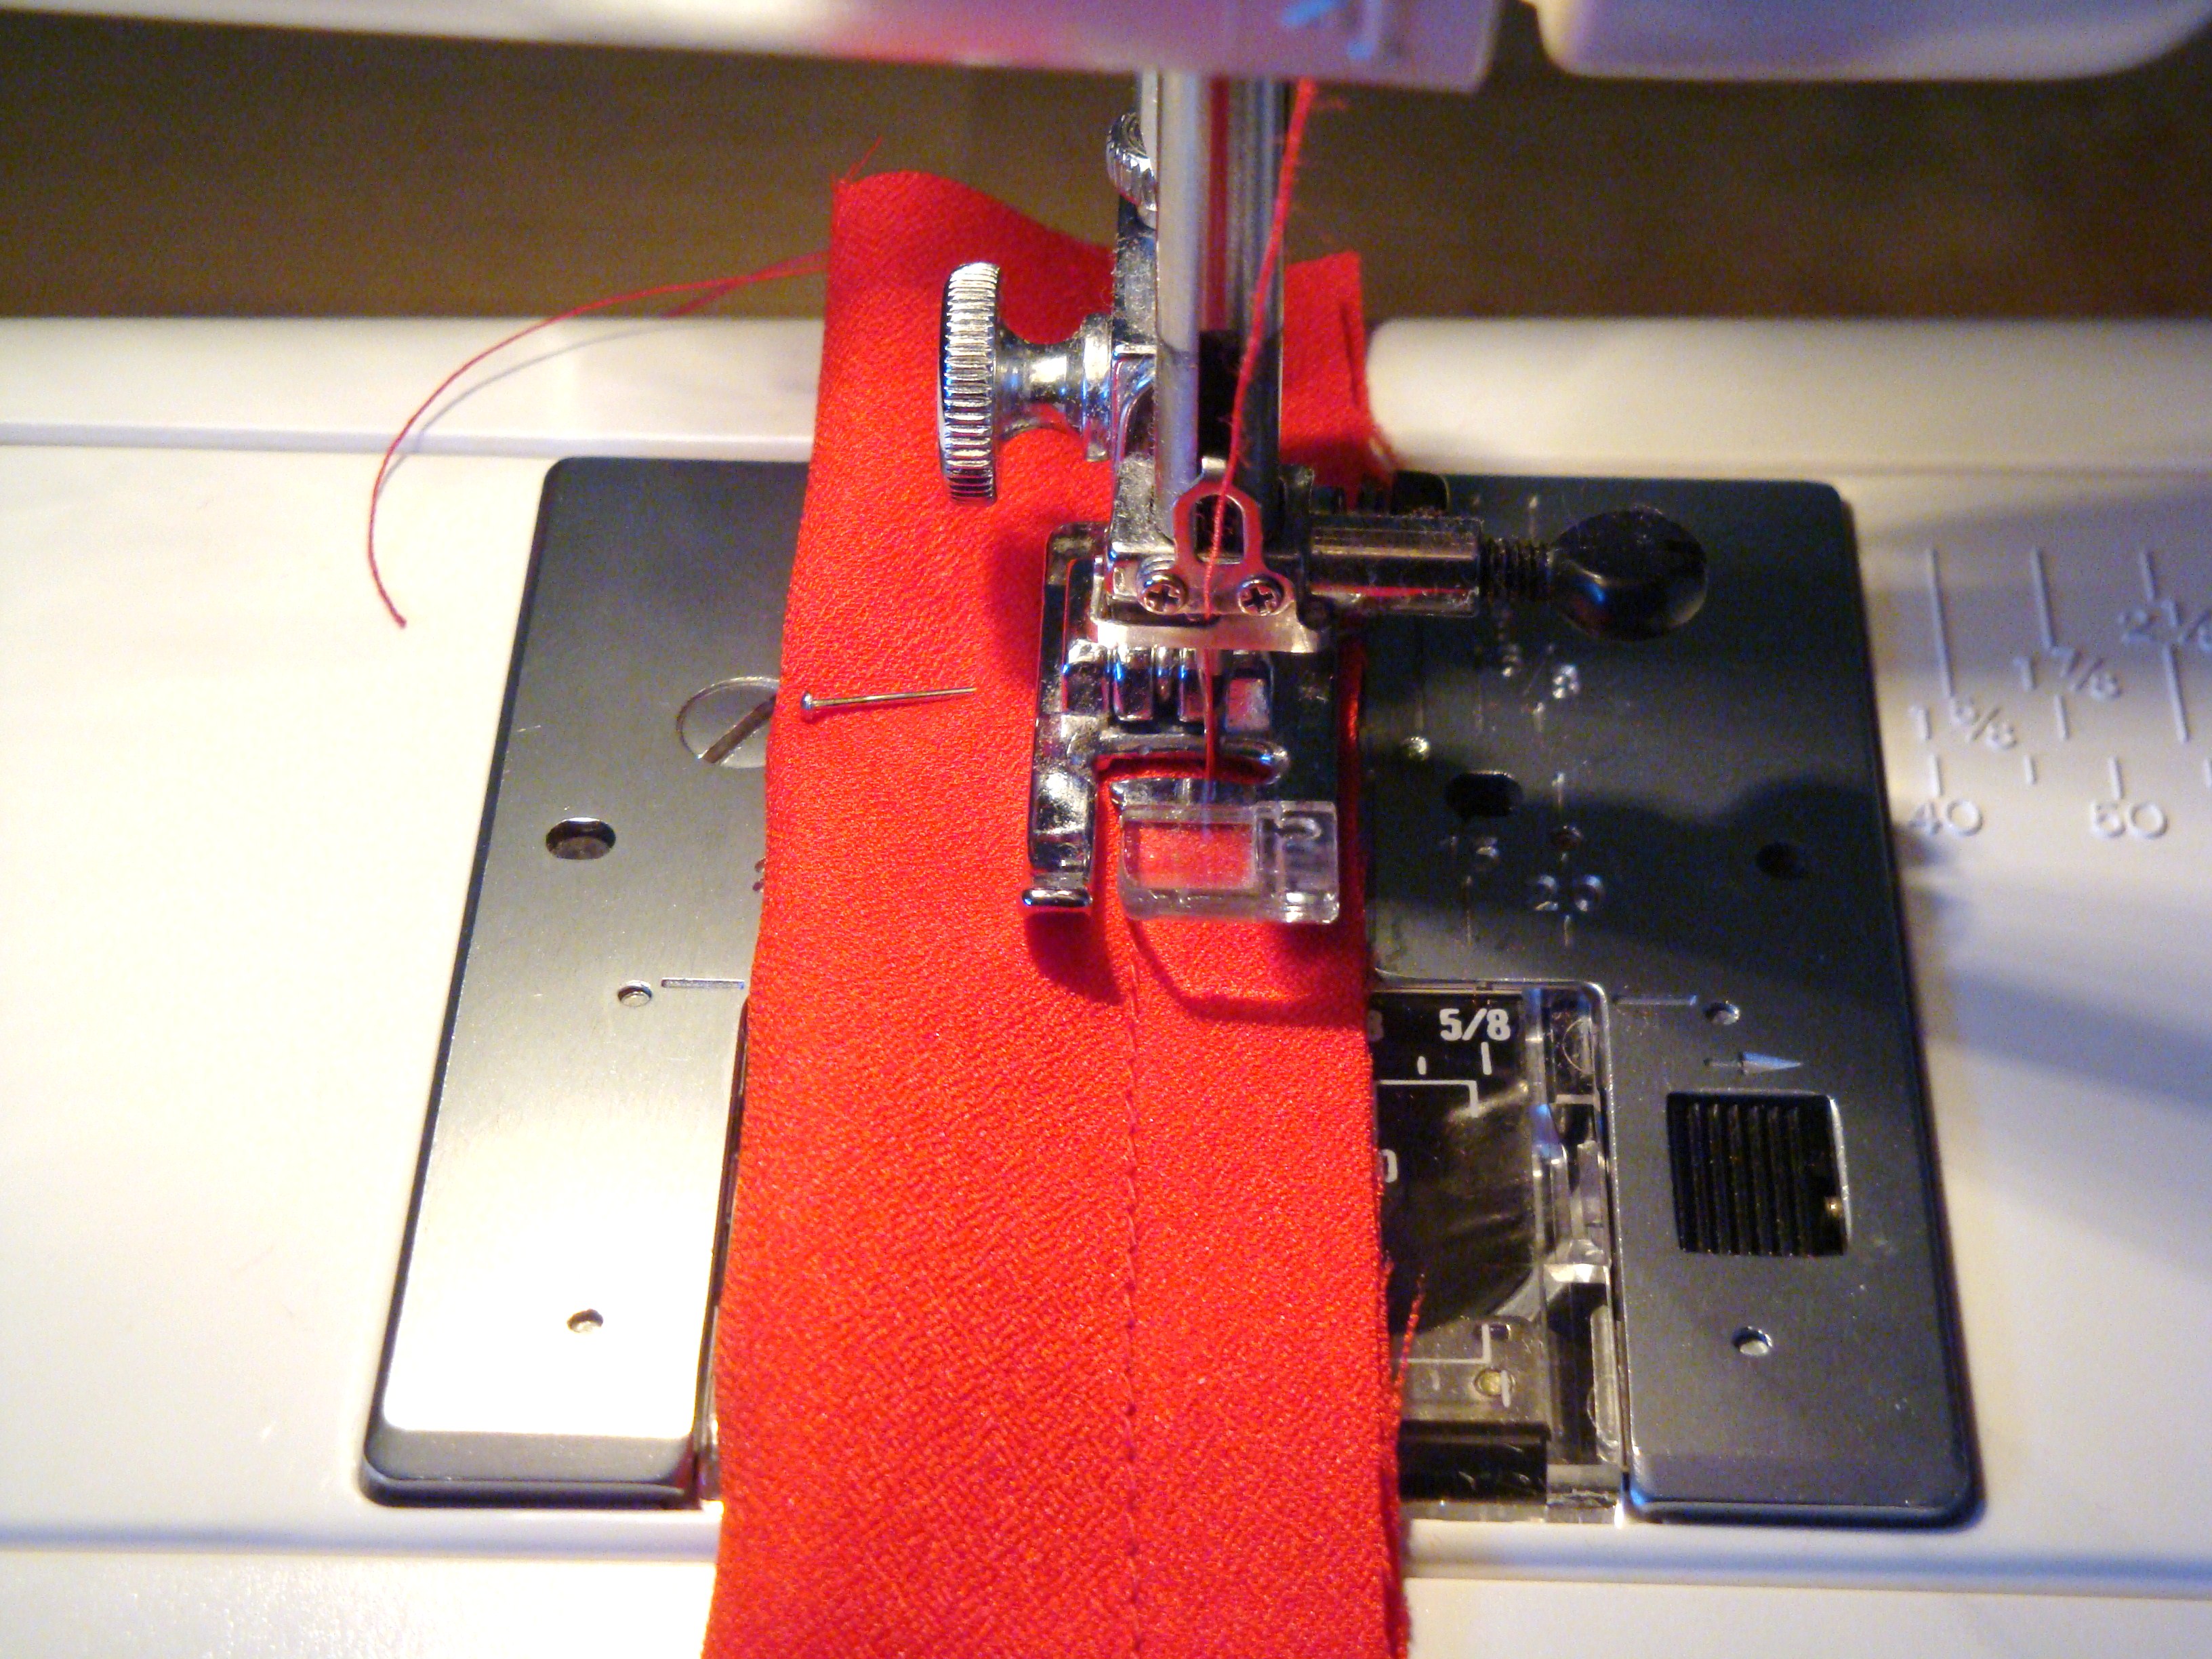 Stitch a 1/2″ straight seam, followed by a 3/8″ zigzag seam (to stop fabric from fraying)
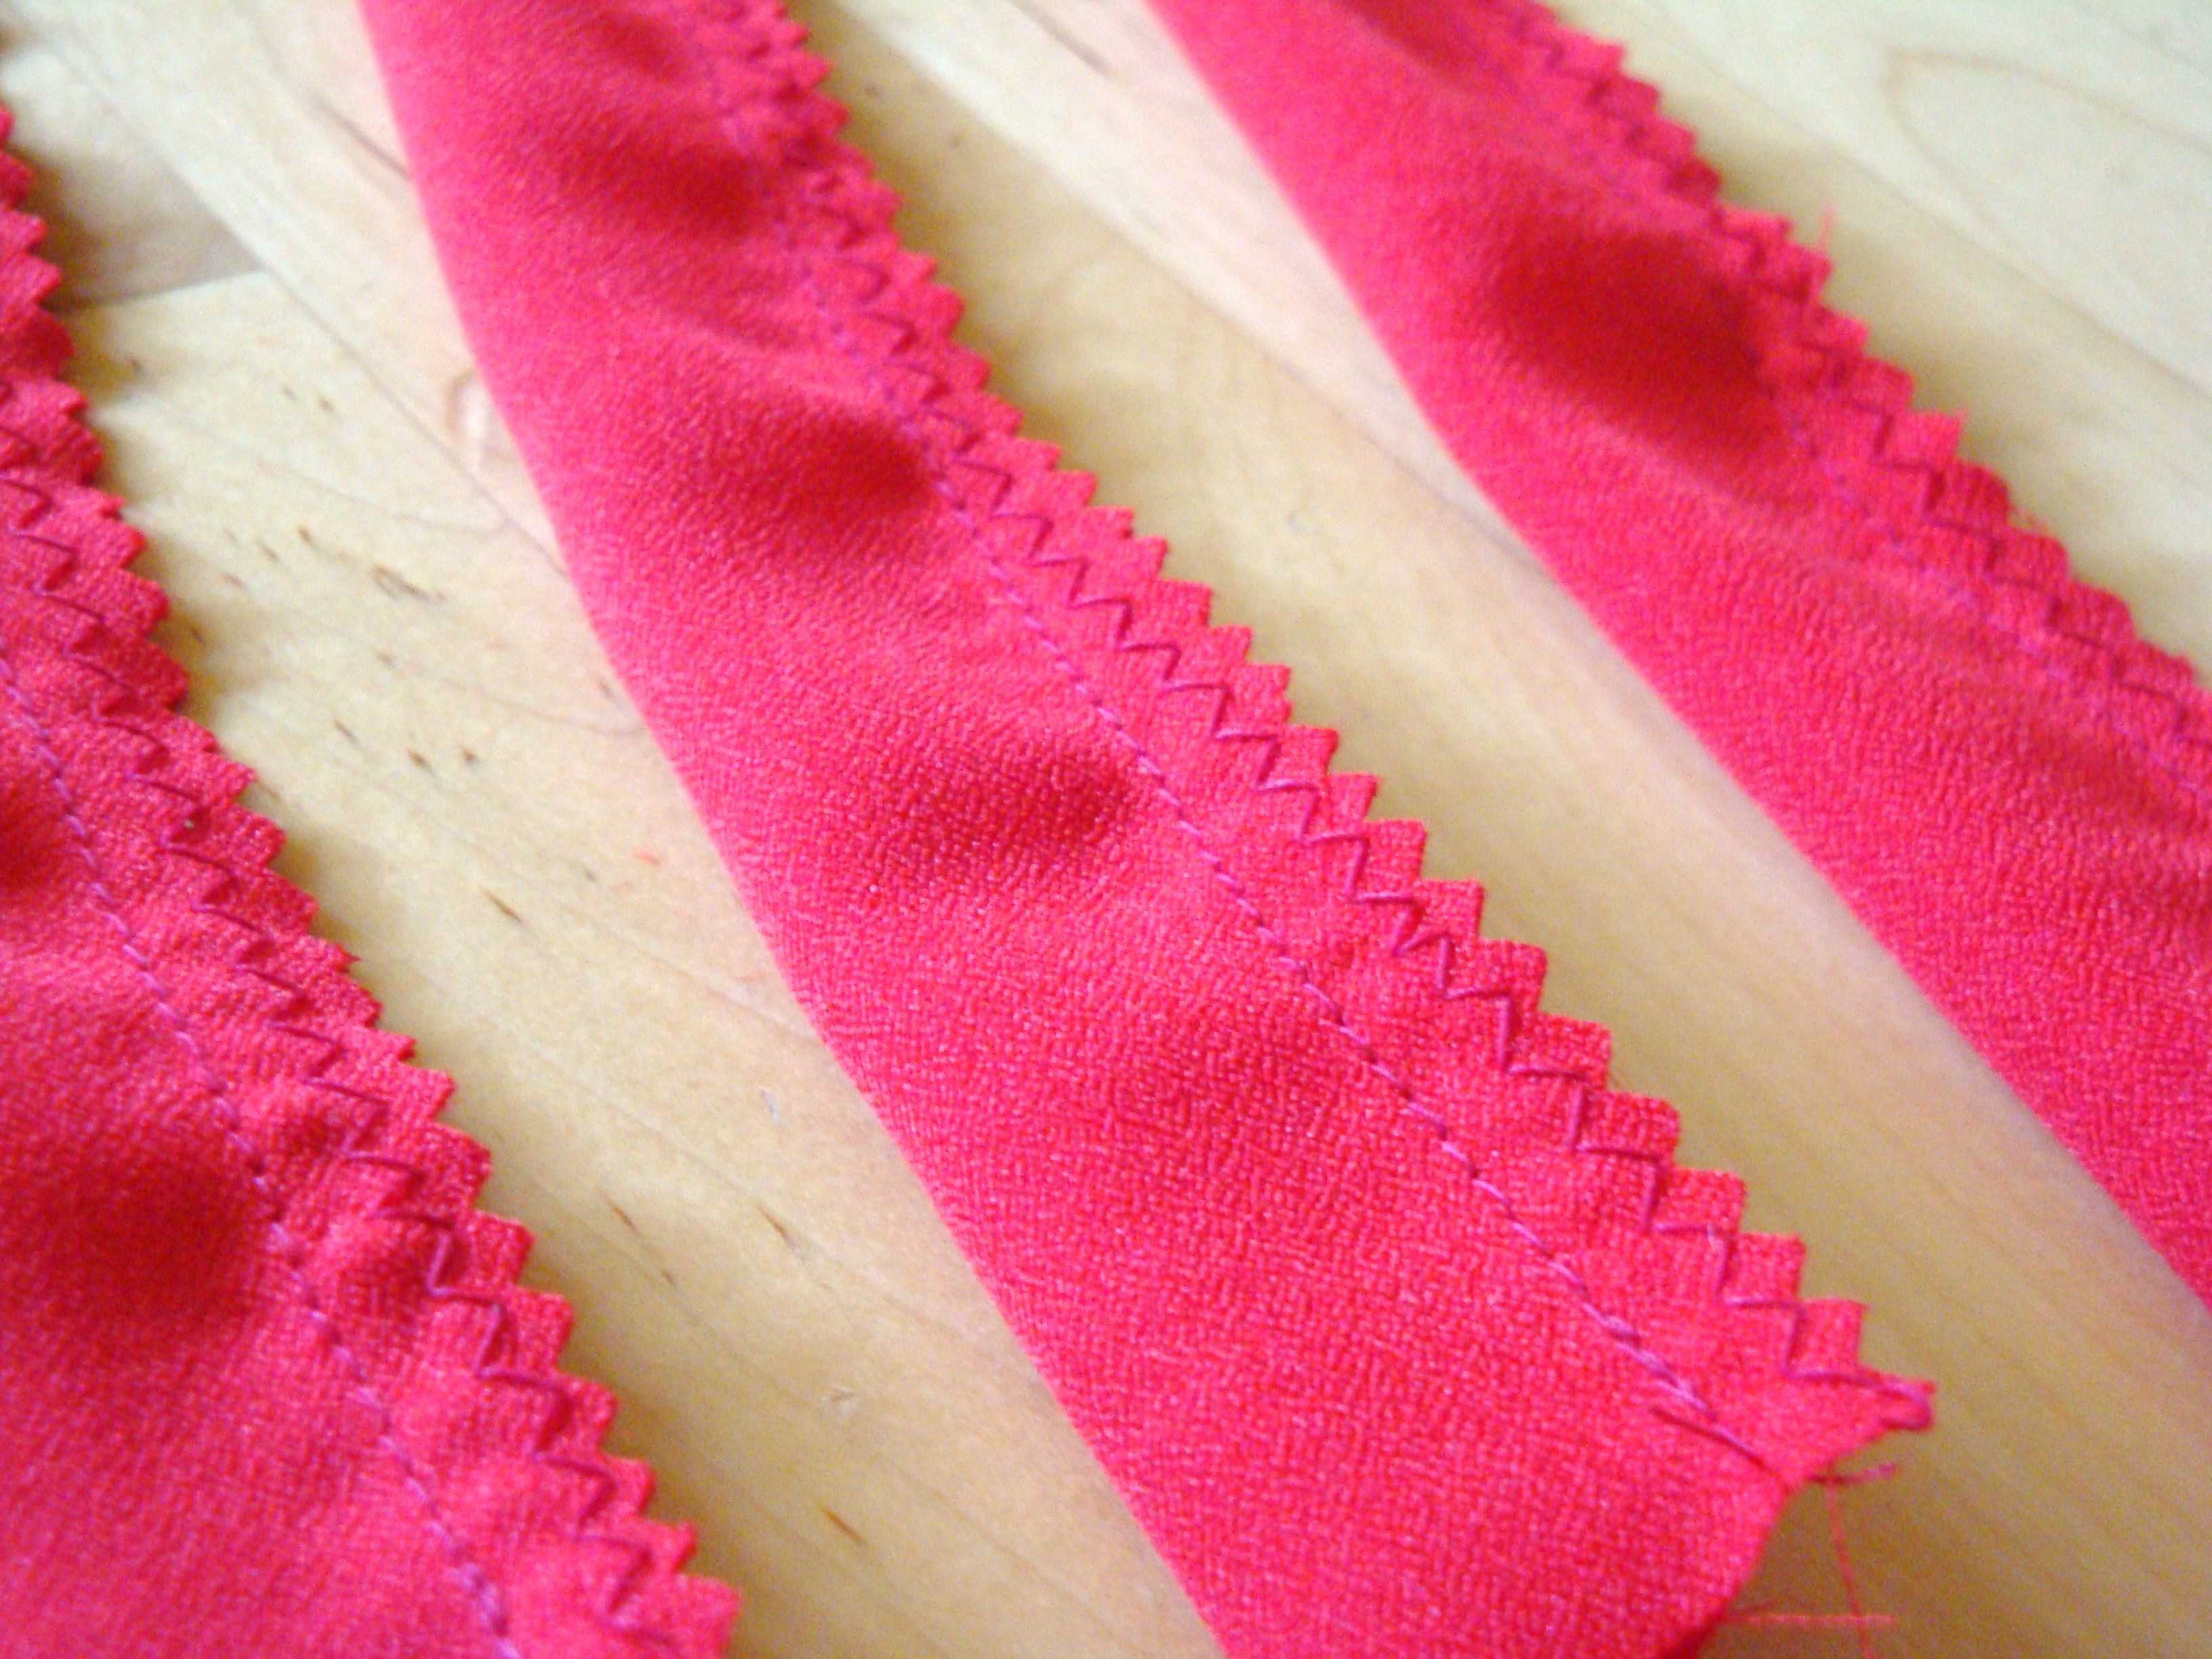 Trim the seam allowances with pinking shears.
 Turn each strap right side out by folding one end out and over, then insert a knitting needle (not the pointy end) under the folded over edge.
 Pull the fabric end down while pushing the knitting needle up through the tube.
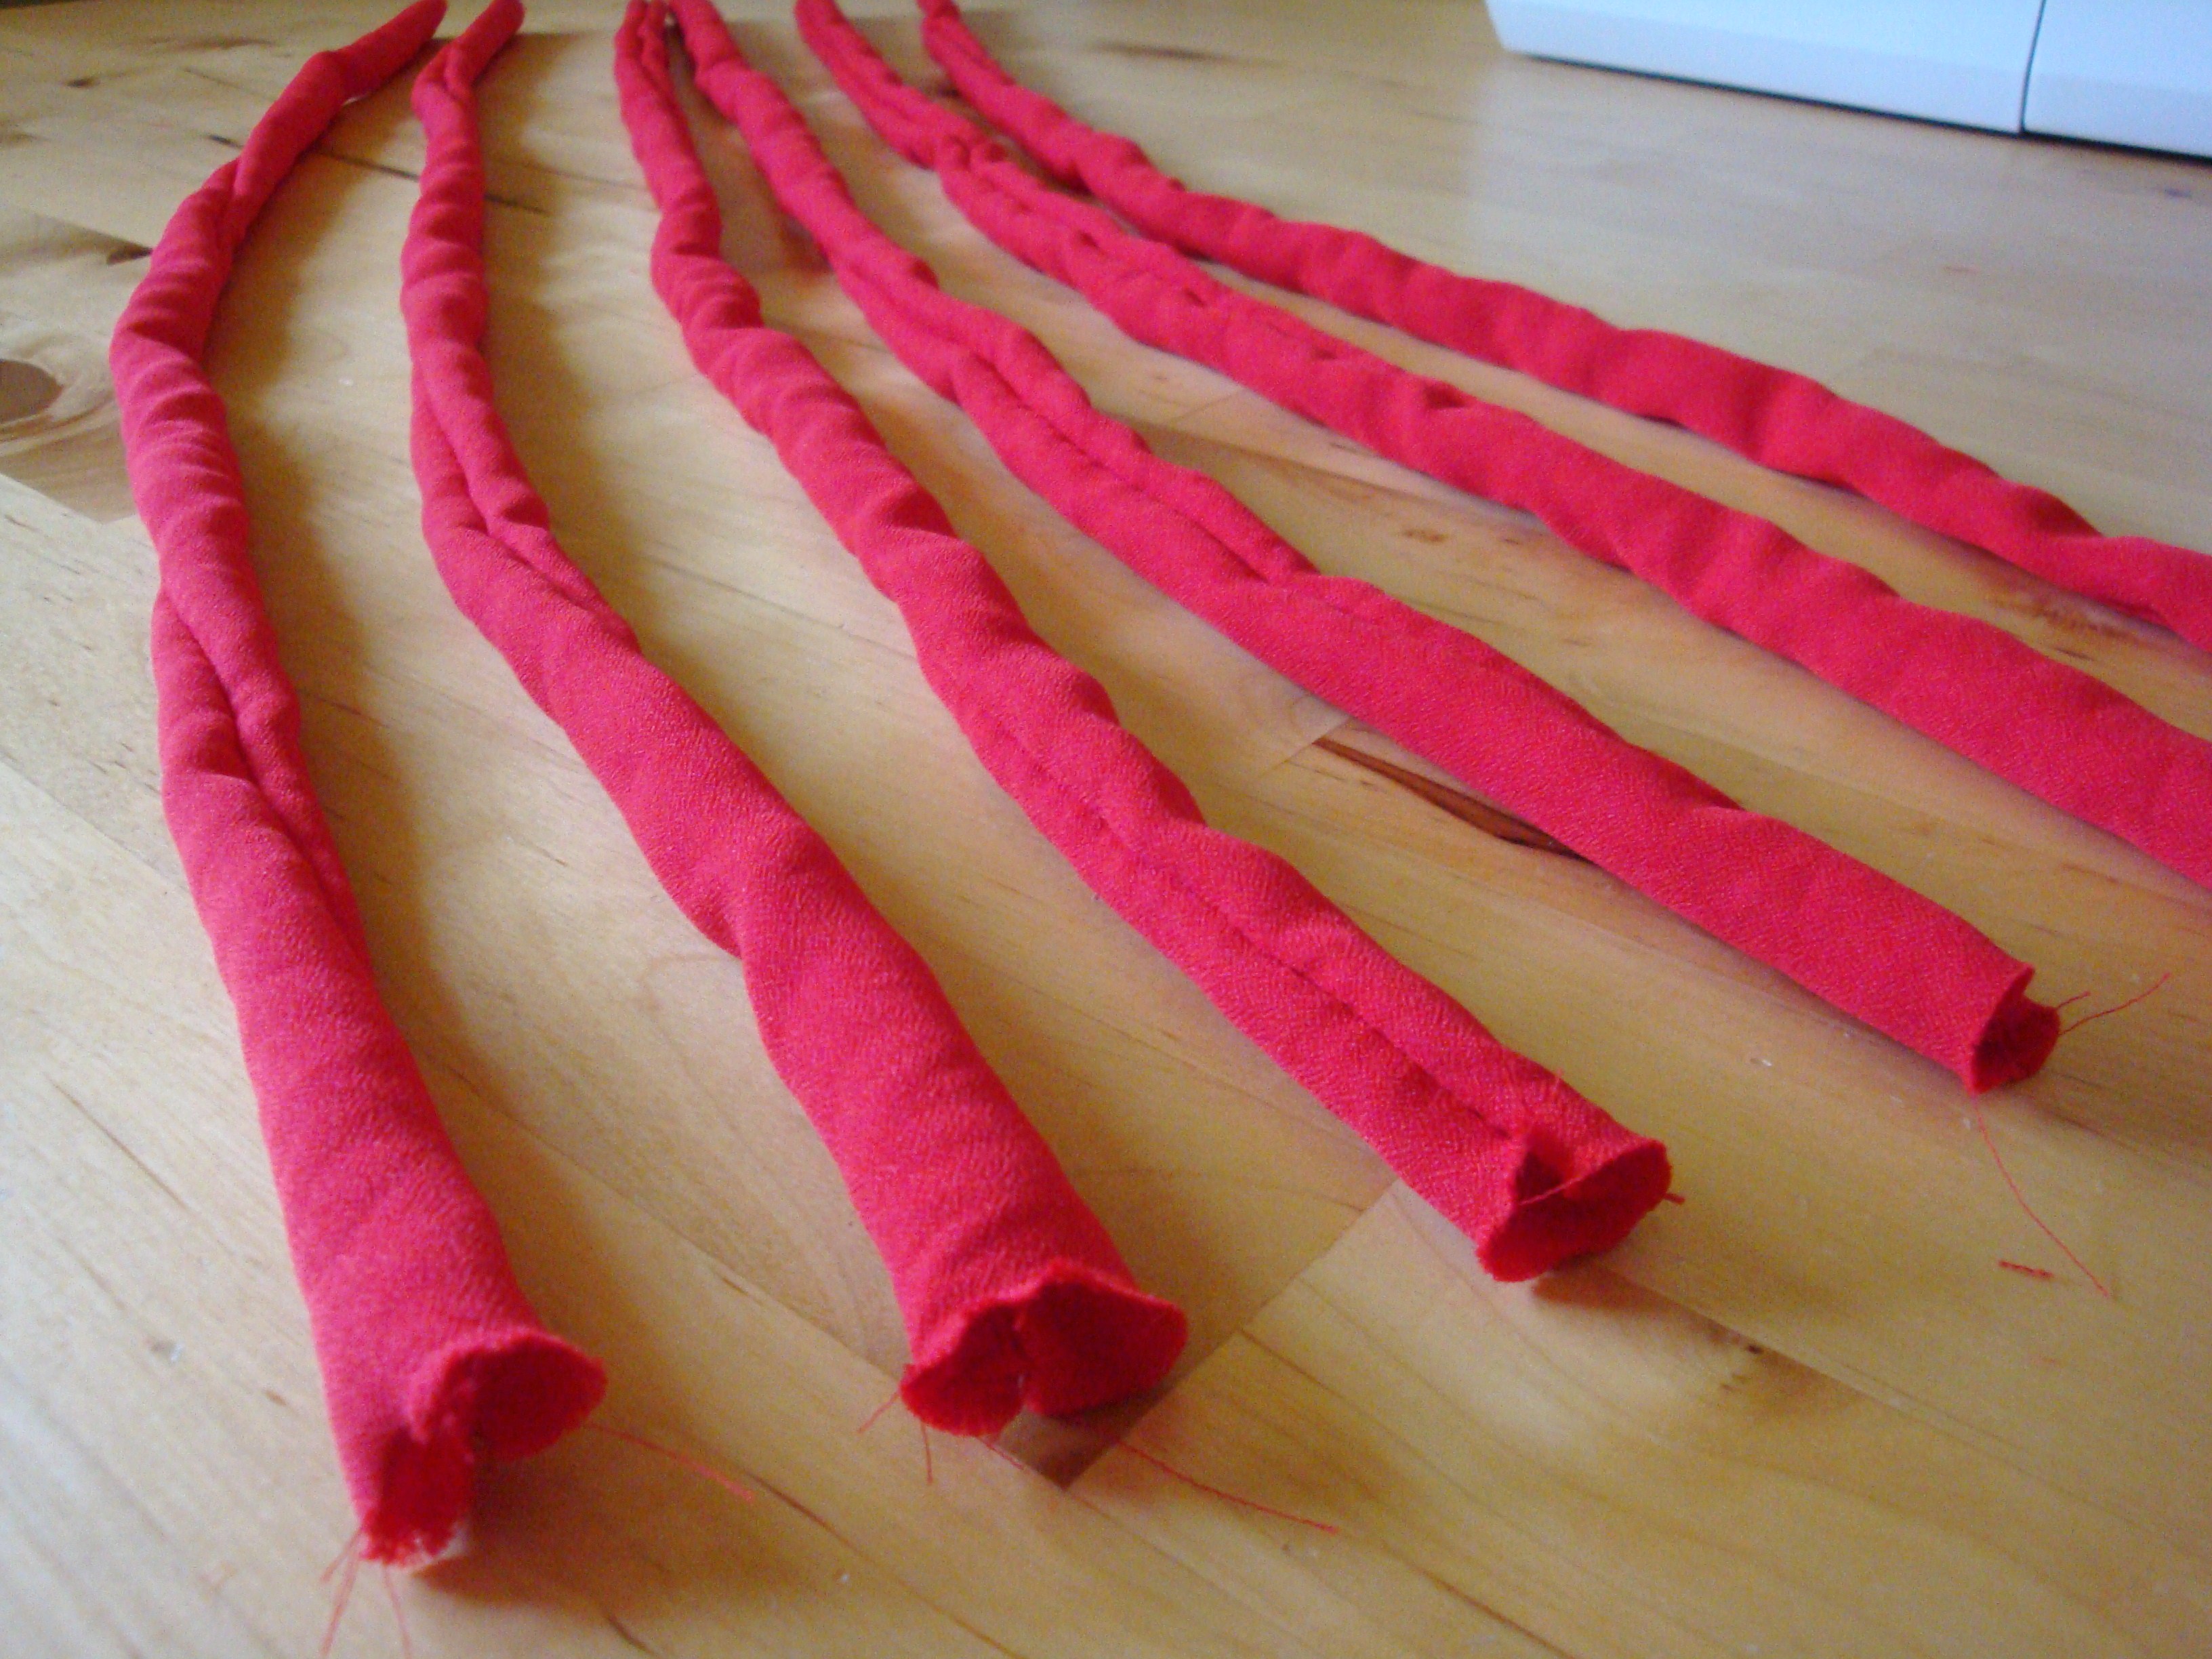 Voila! straps are now right side out.
 Snip the ends of each strap diagonally so they will fit easier into the holes of the flip flops.
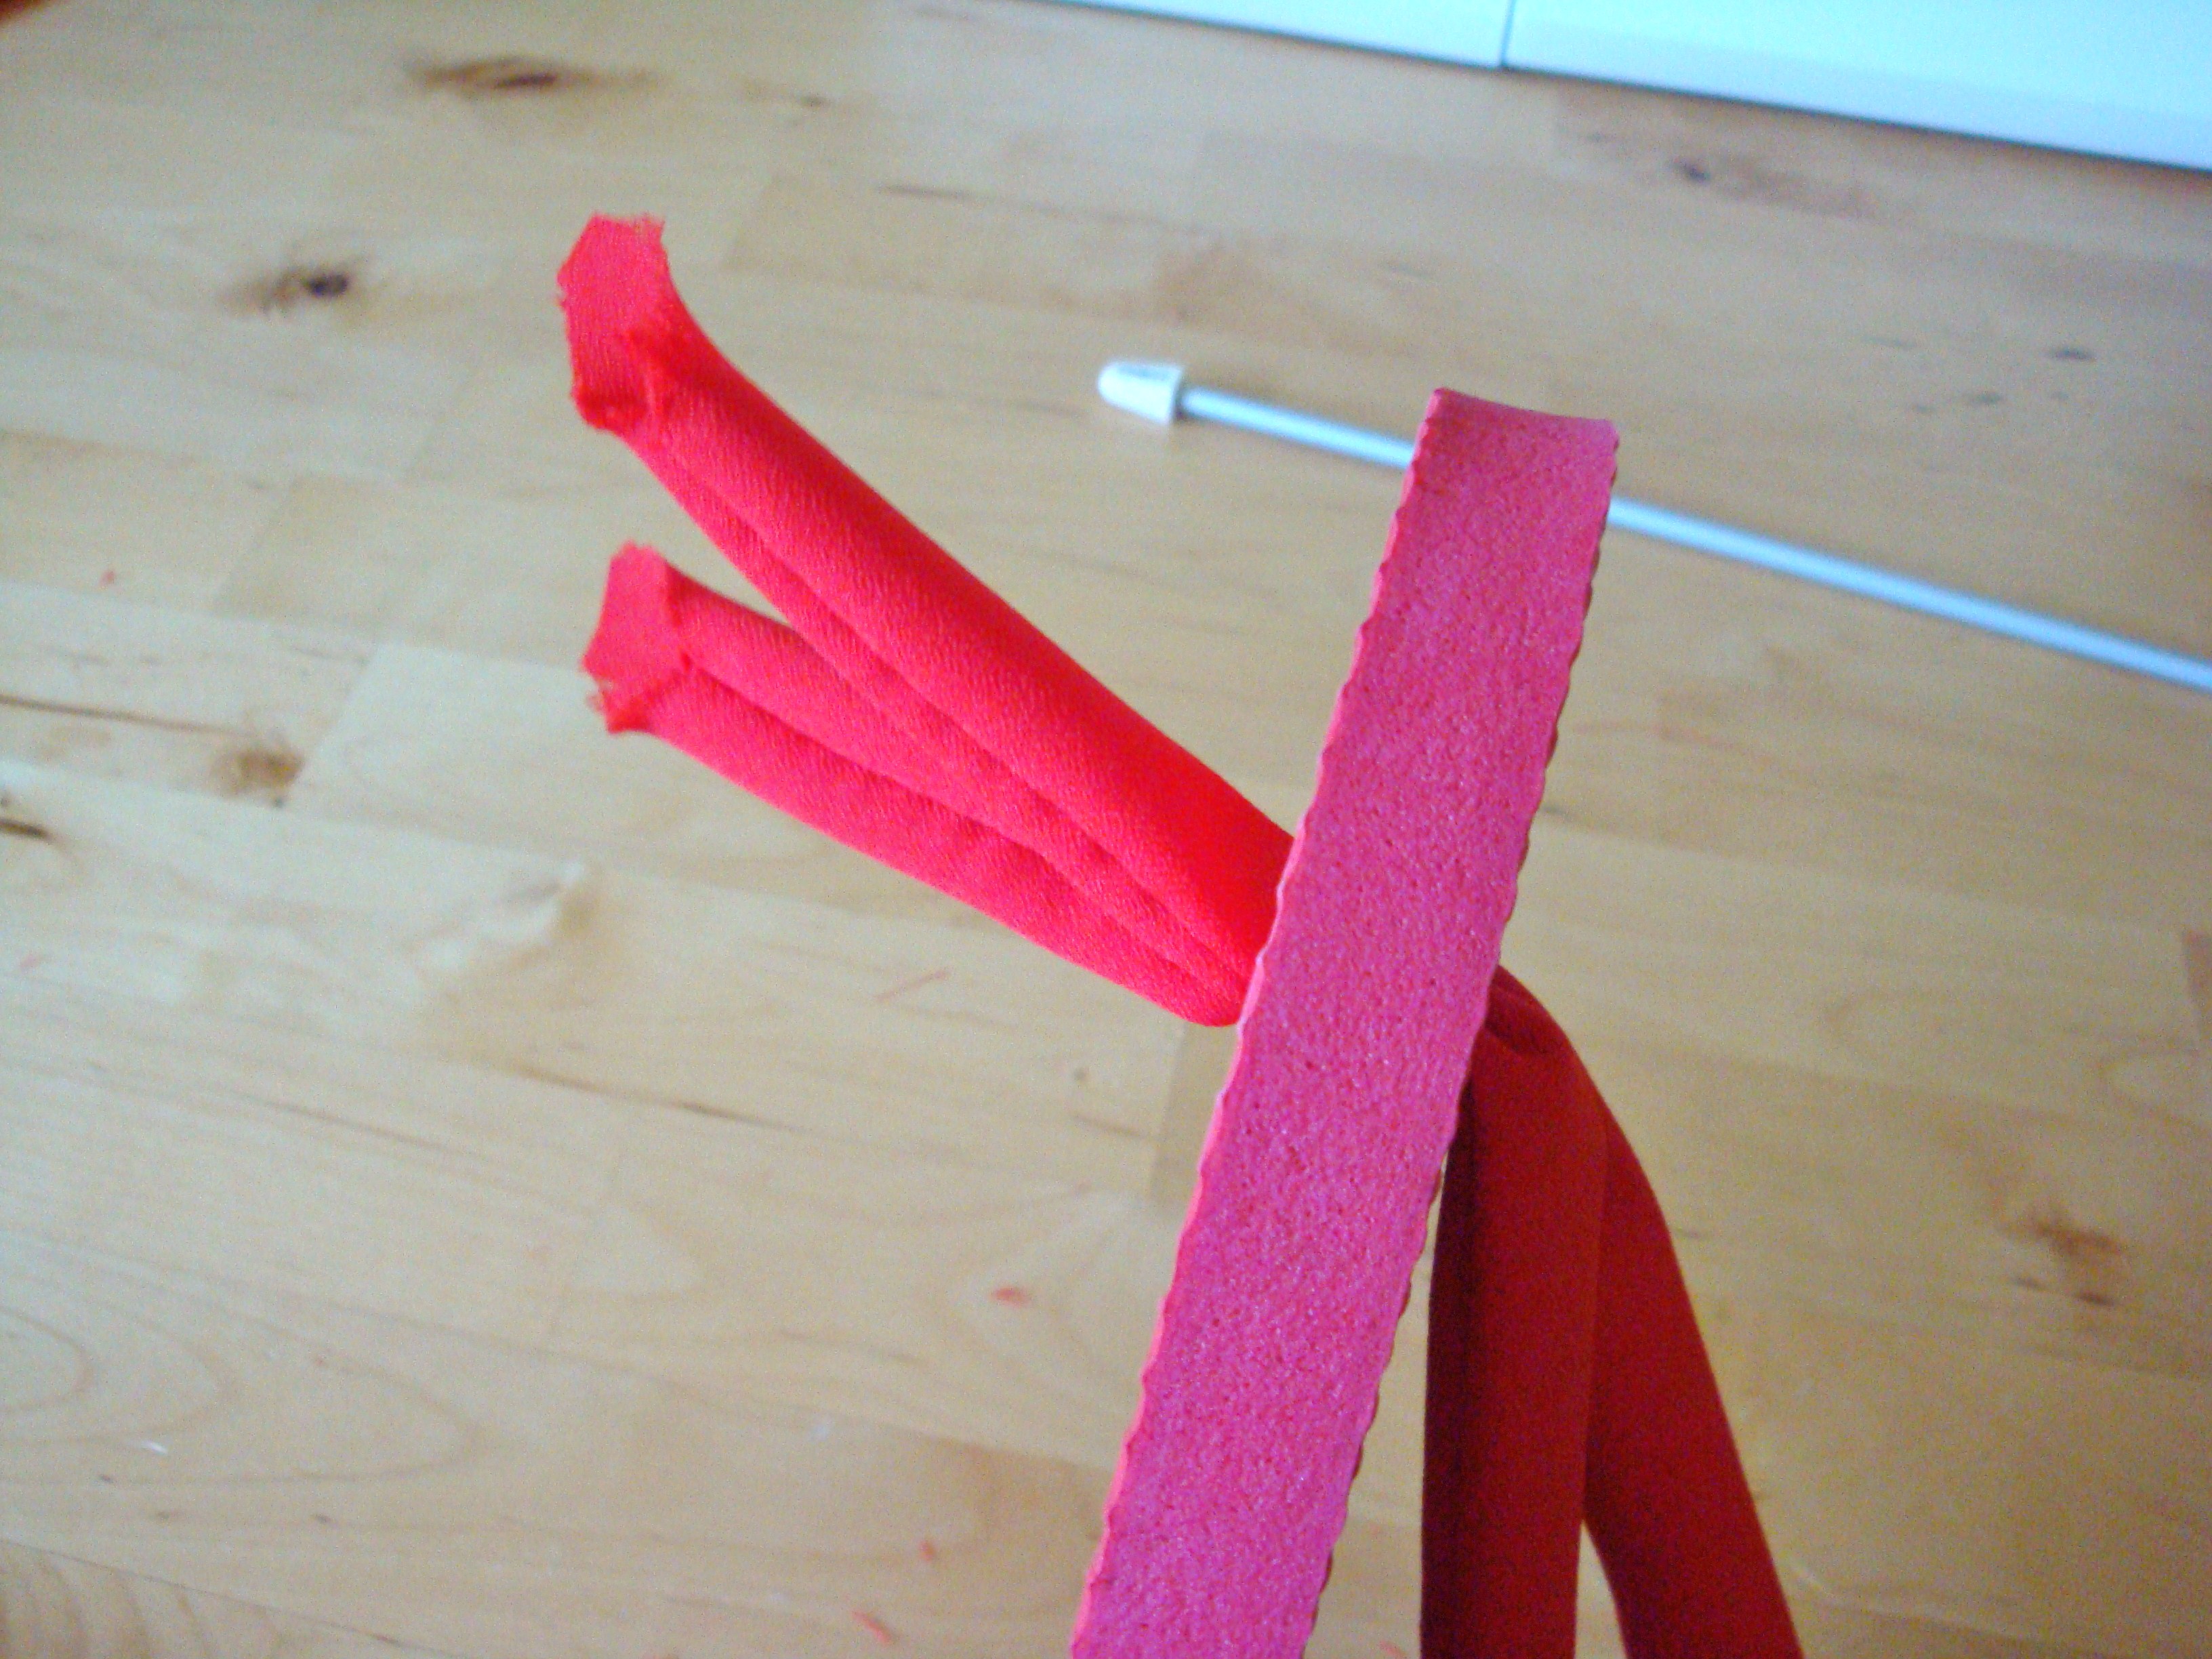 Poke 2 straps through the toe hole (use the knitting needle to help if your fabric is thicker)
 Tie a knot and tighten down as much as you can.
Don’t worry about the bulk of the knot, it will sit into the divot of the flip flop.
 Snip the ends off close to the knot.
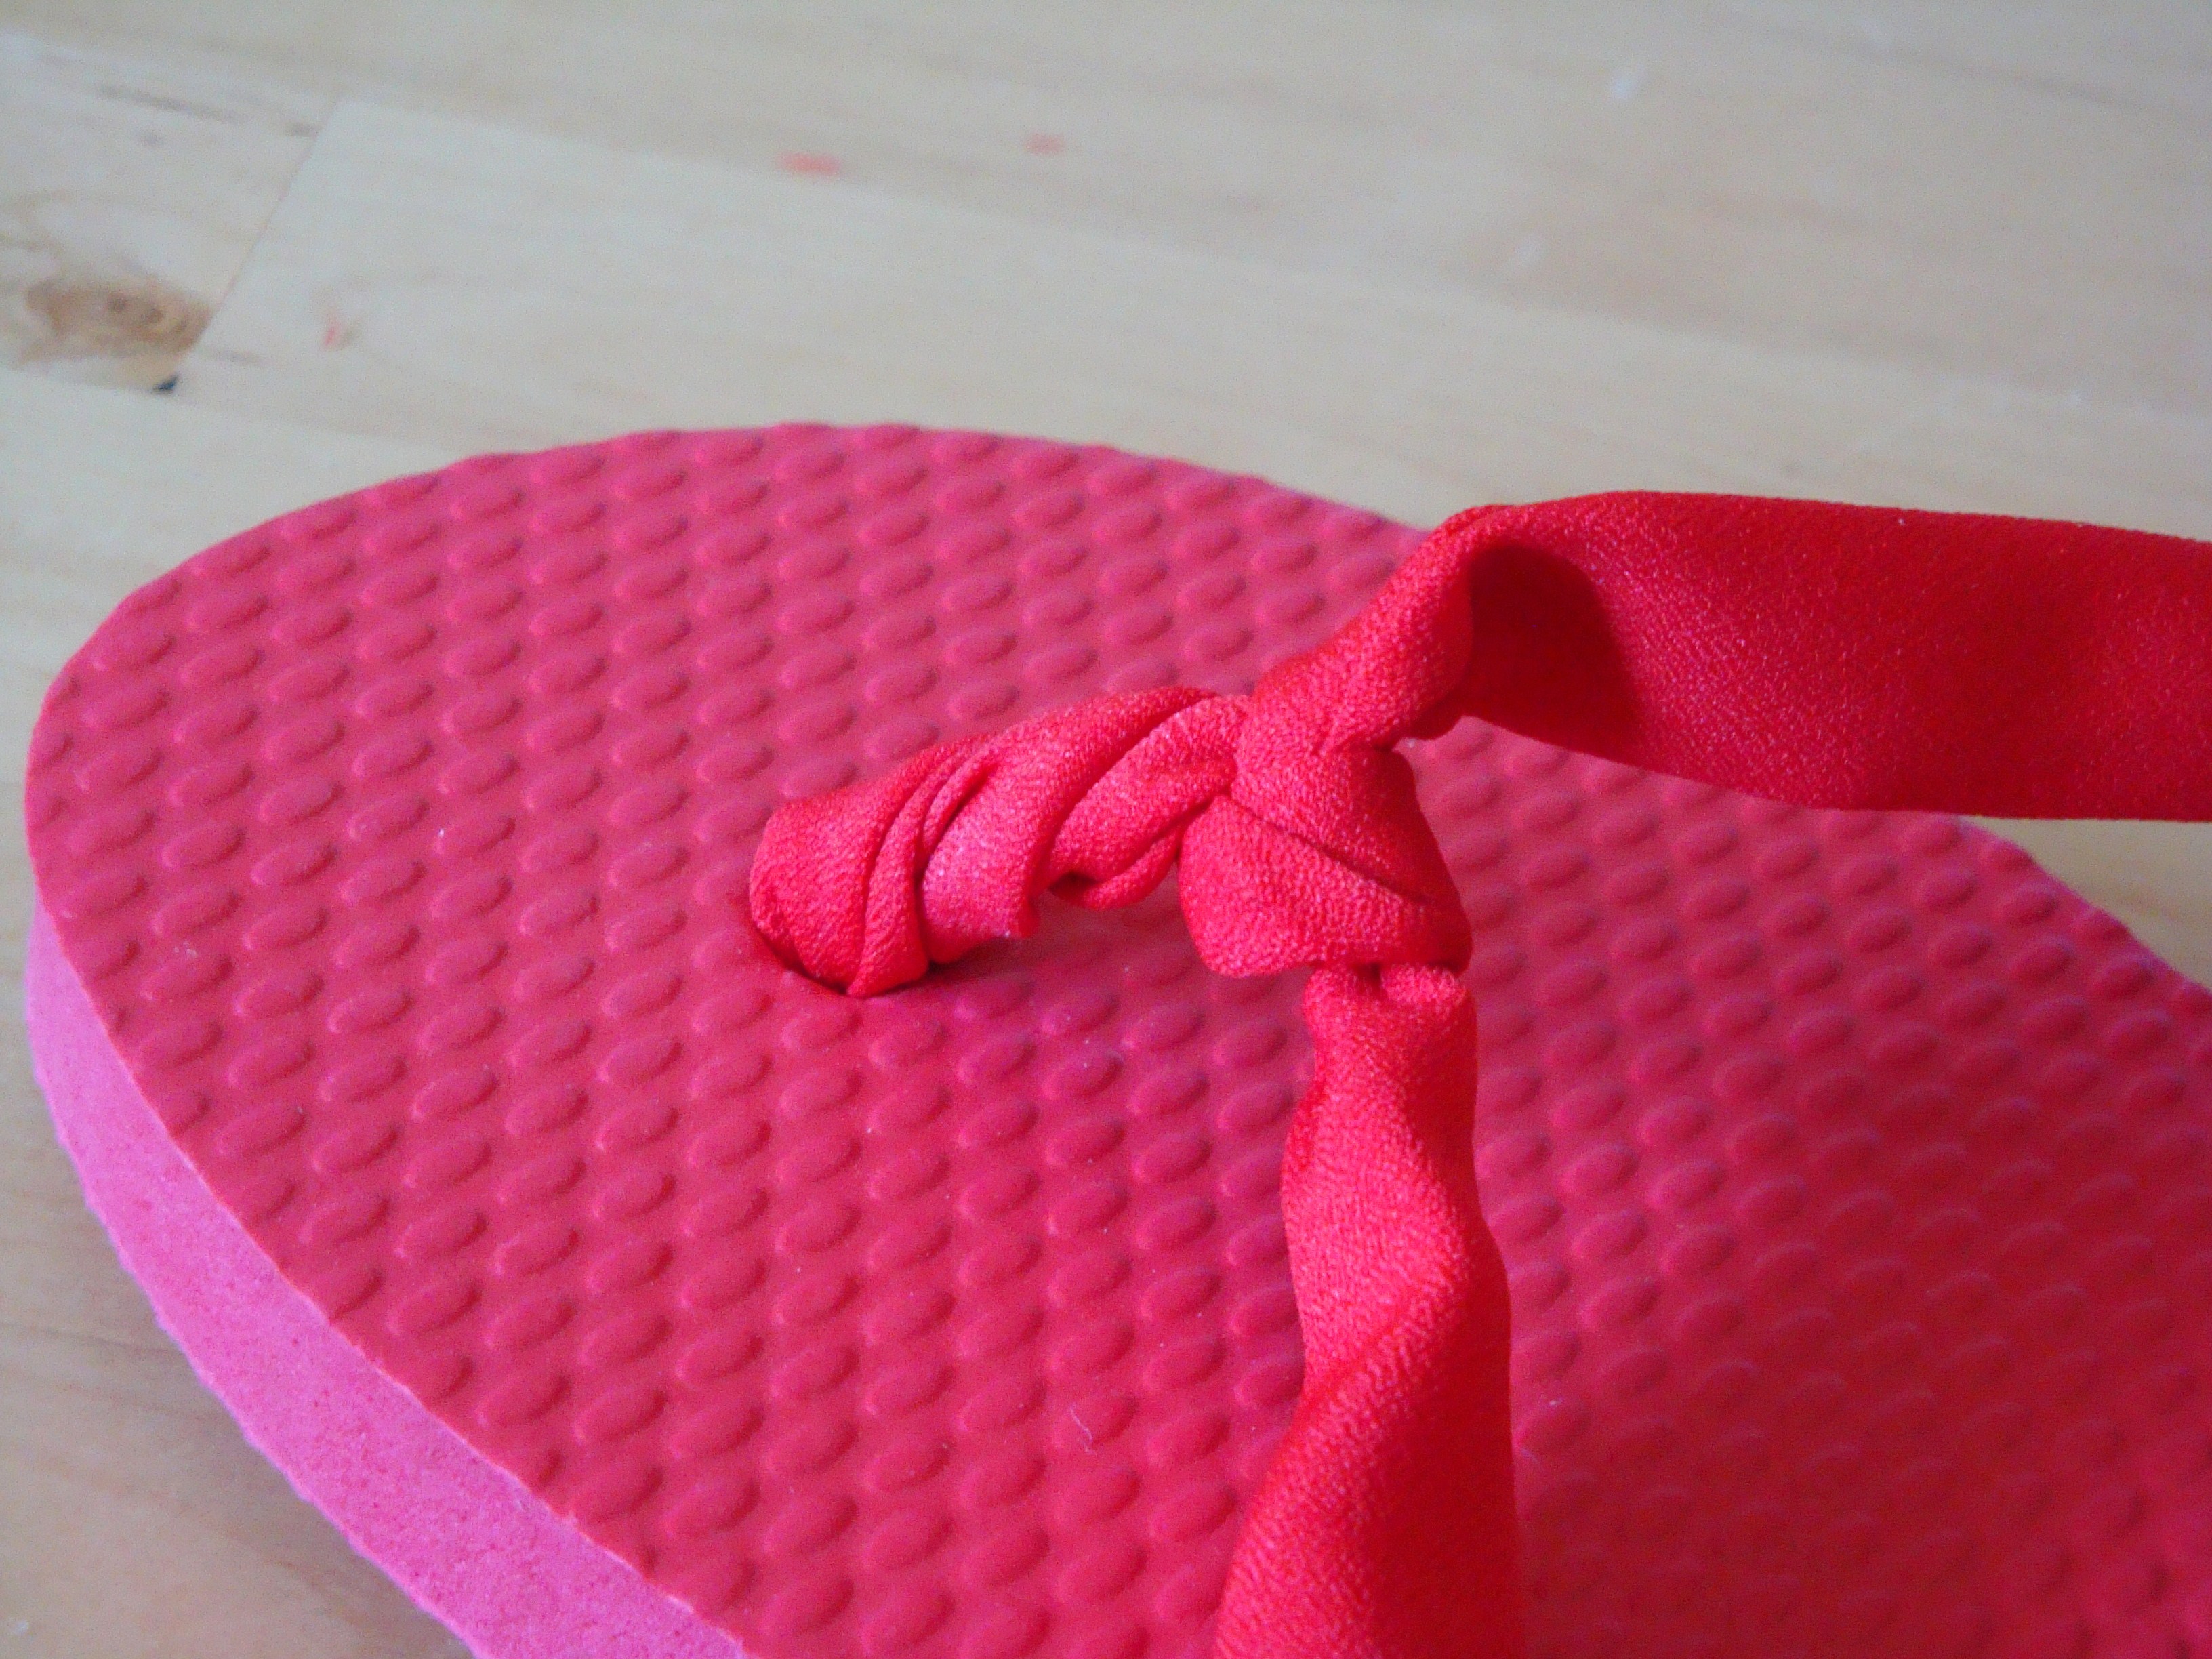
Twist the 2 straps together for 3 rounds and do a half knot to secure
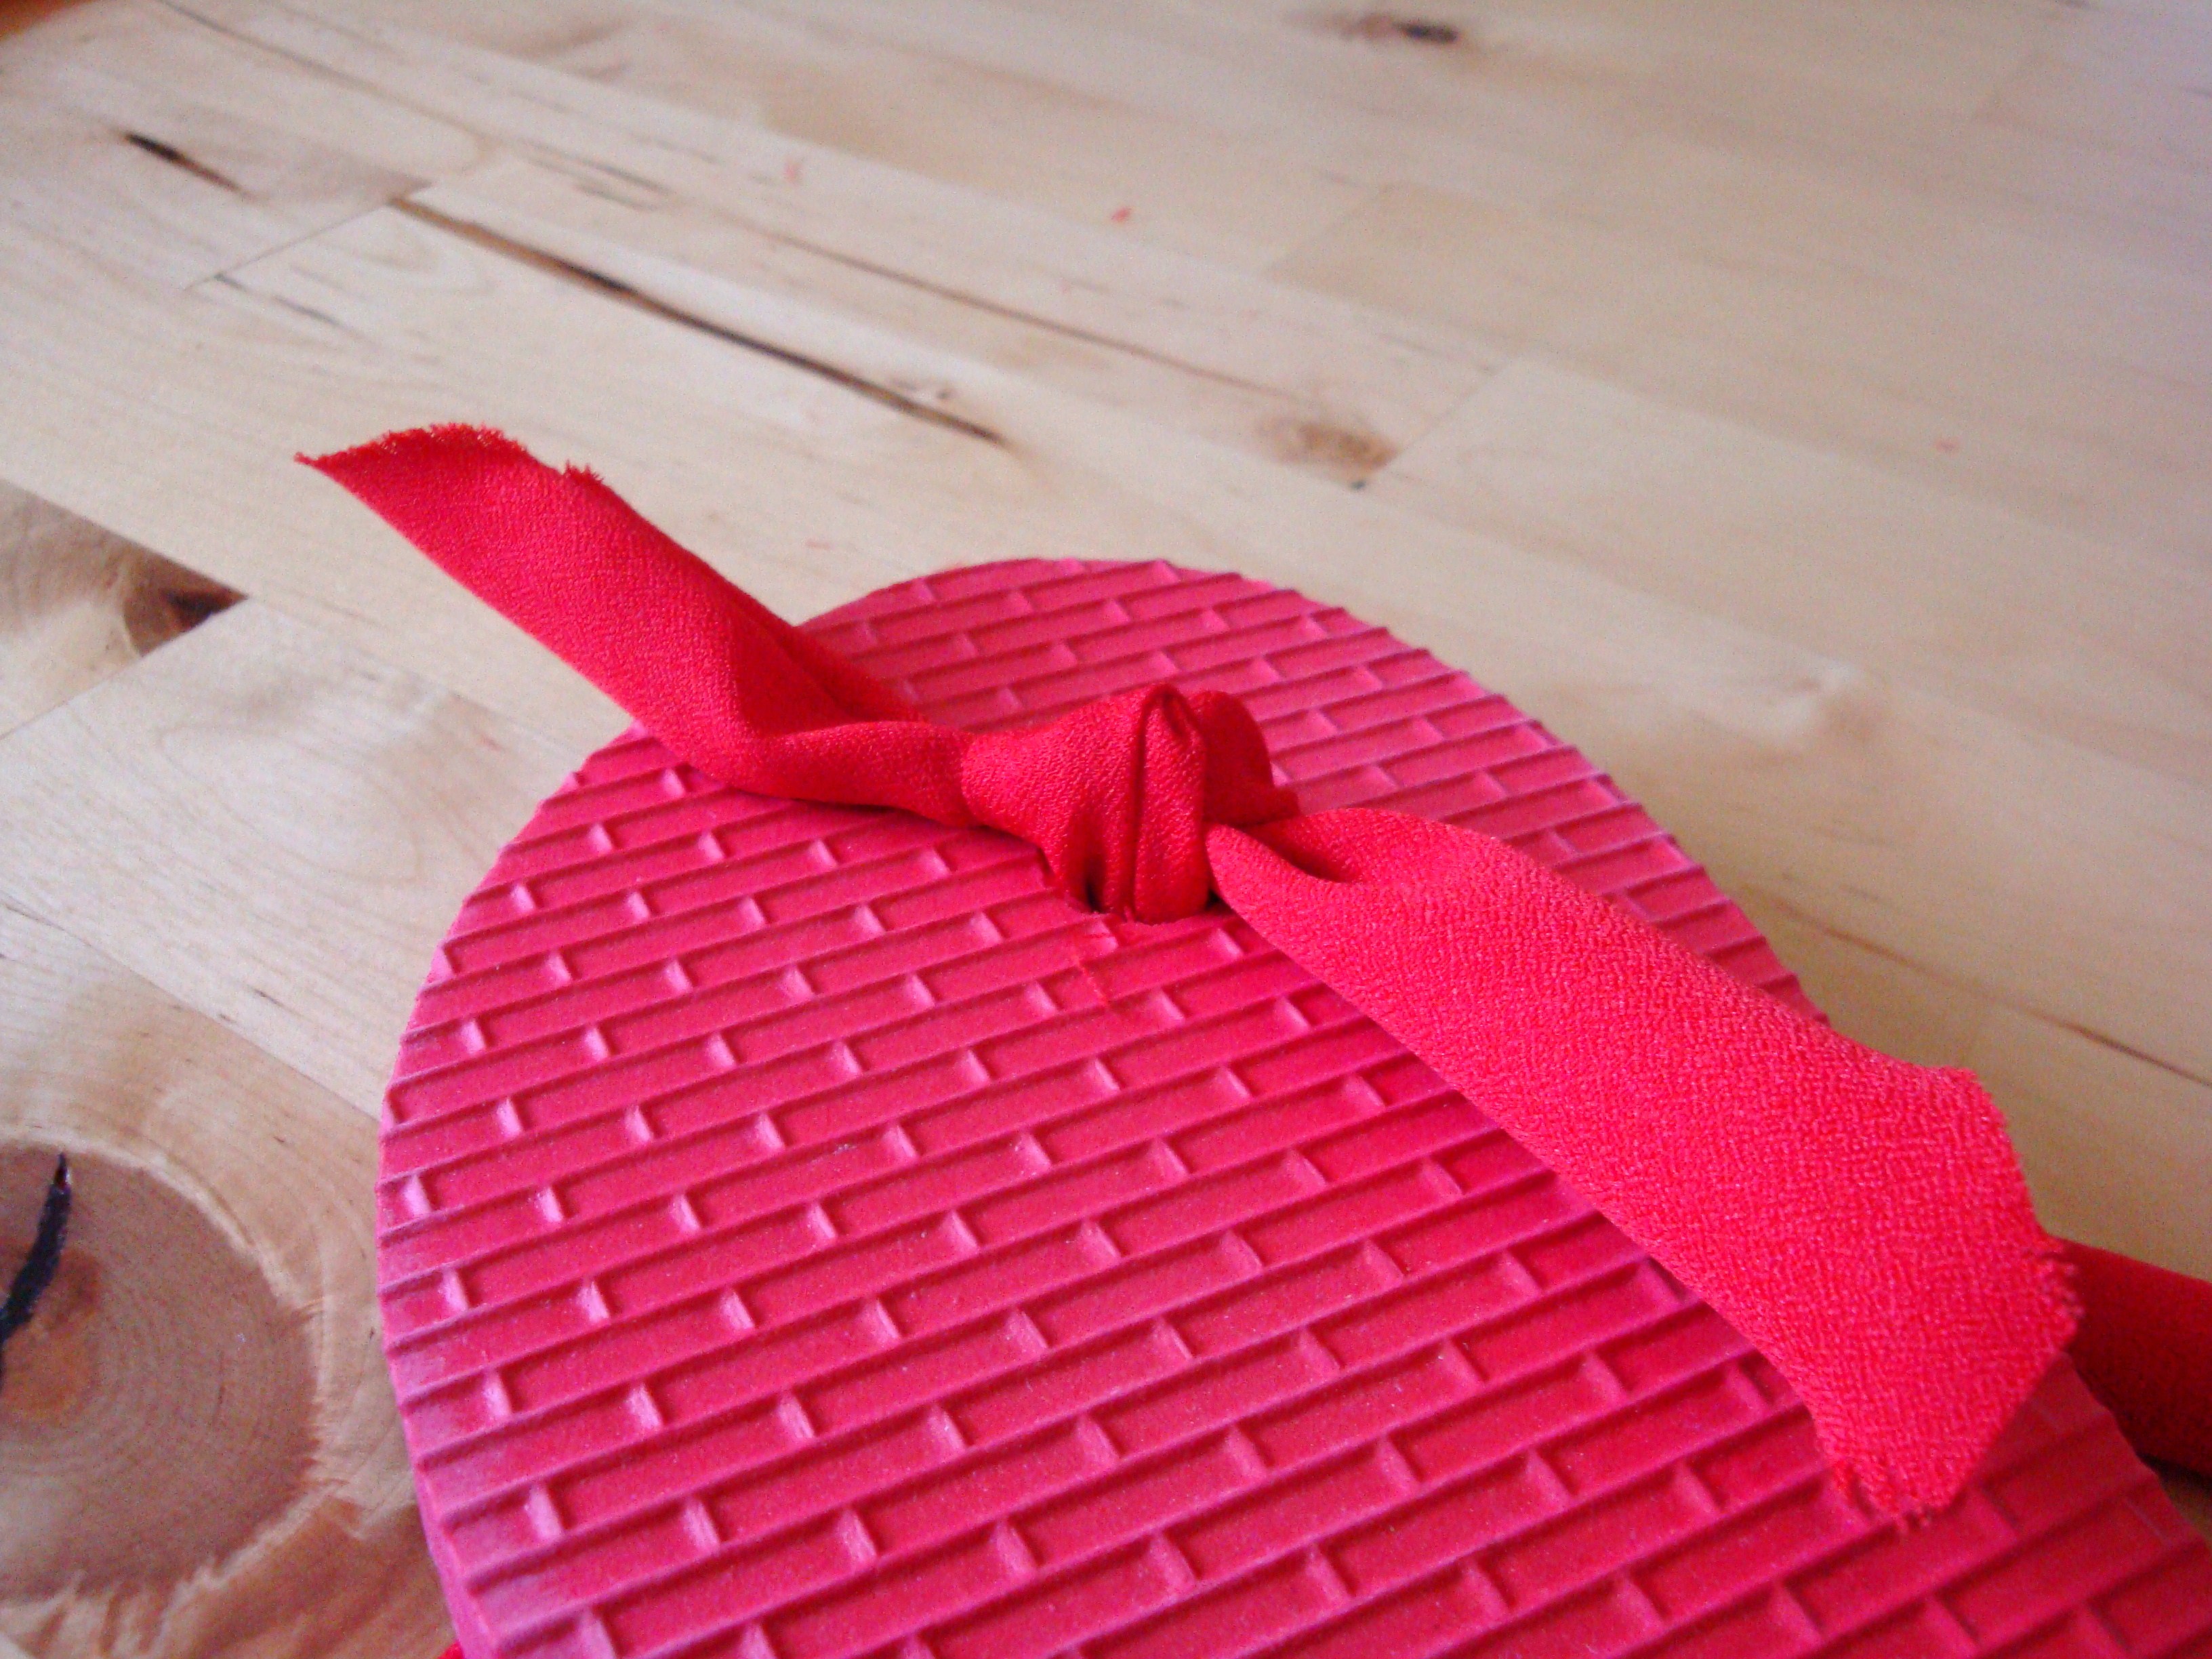
 Insert the other end of the straps into the 2 other holes. Try the flip flops on and snug the straps up fairly tight (the fabric will stretch some and you don’t want them too loose).
 Tie a loose knot and then test drive the flip flops by
walking around in them to ensure they are tight enough.
 Double knot each strap tightly, pulling on the straps from both sides of the flip flops to ensure it is tight and secure.
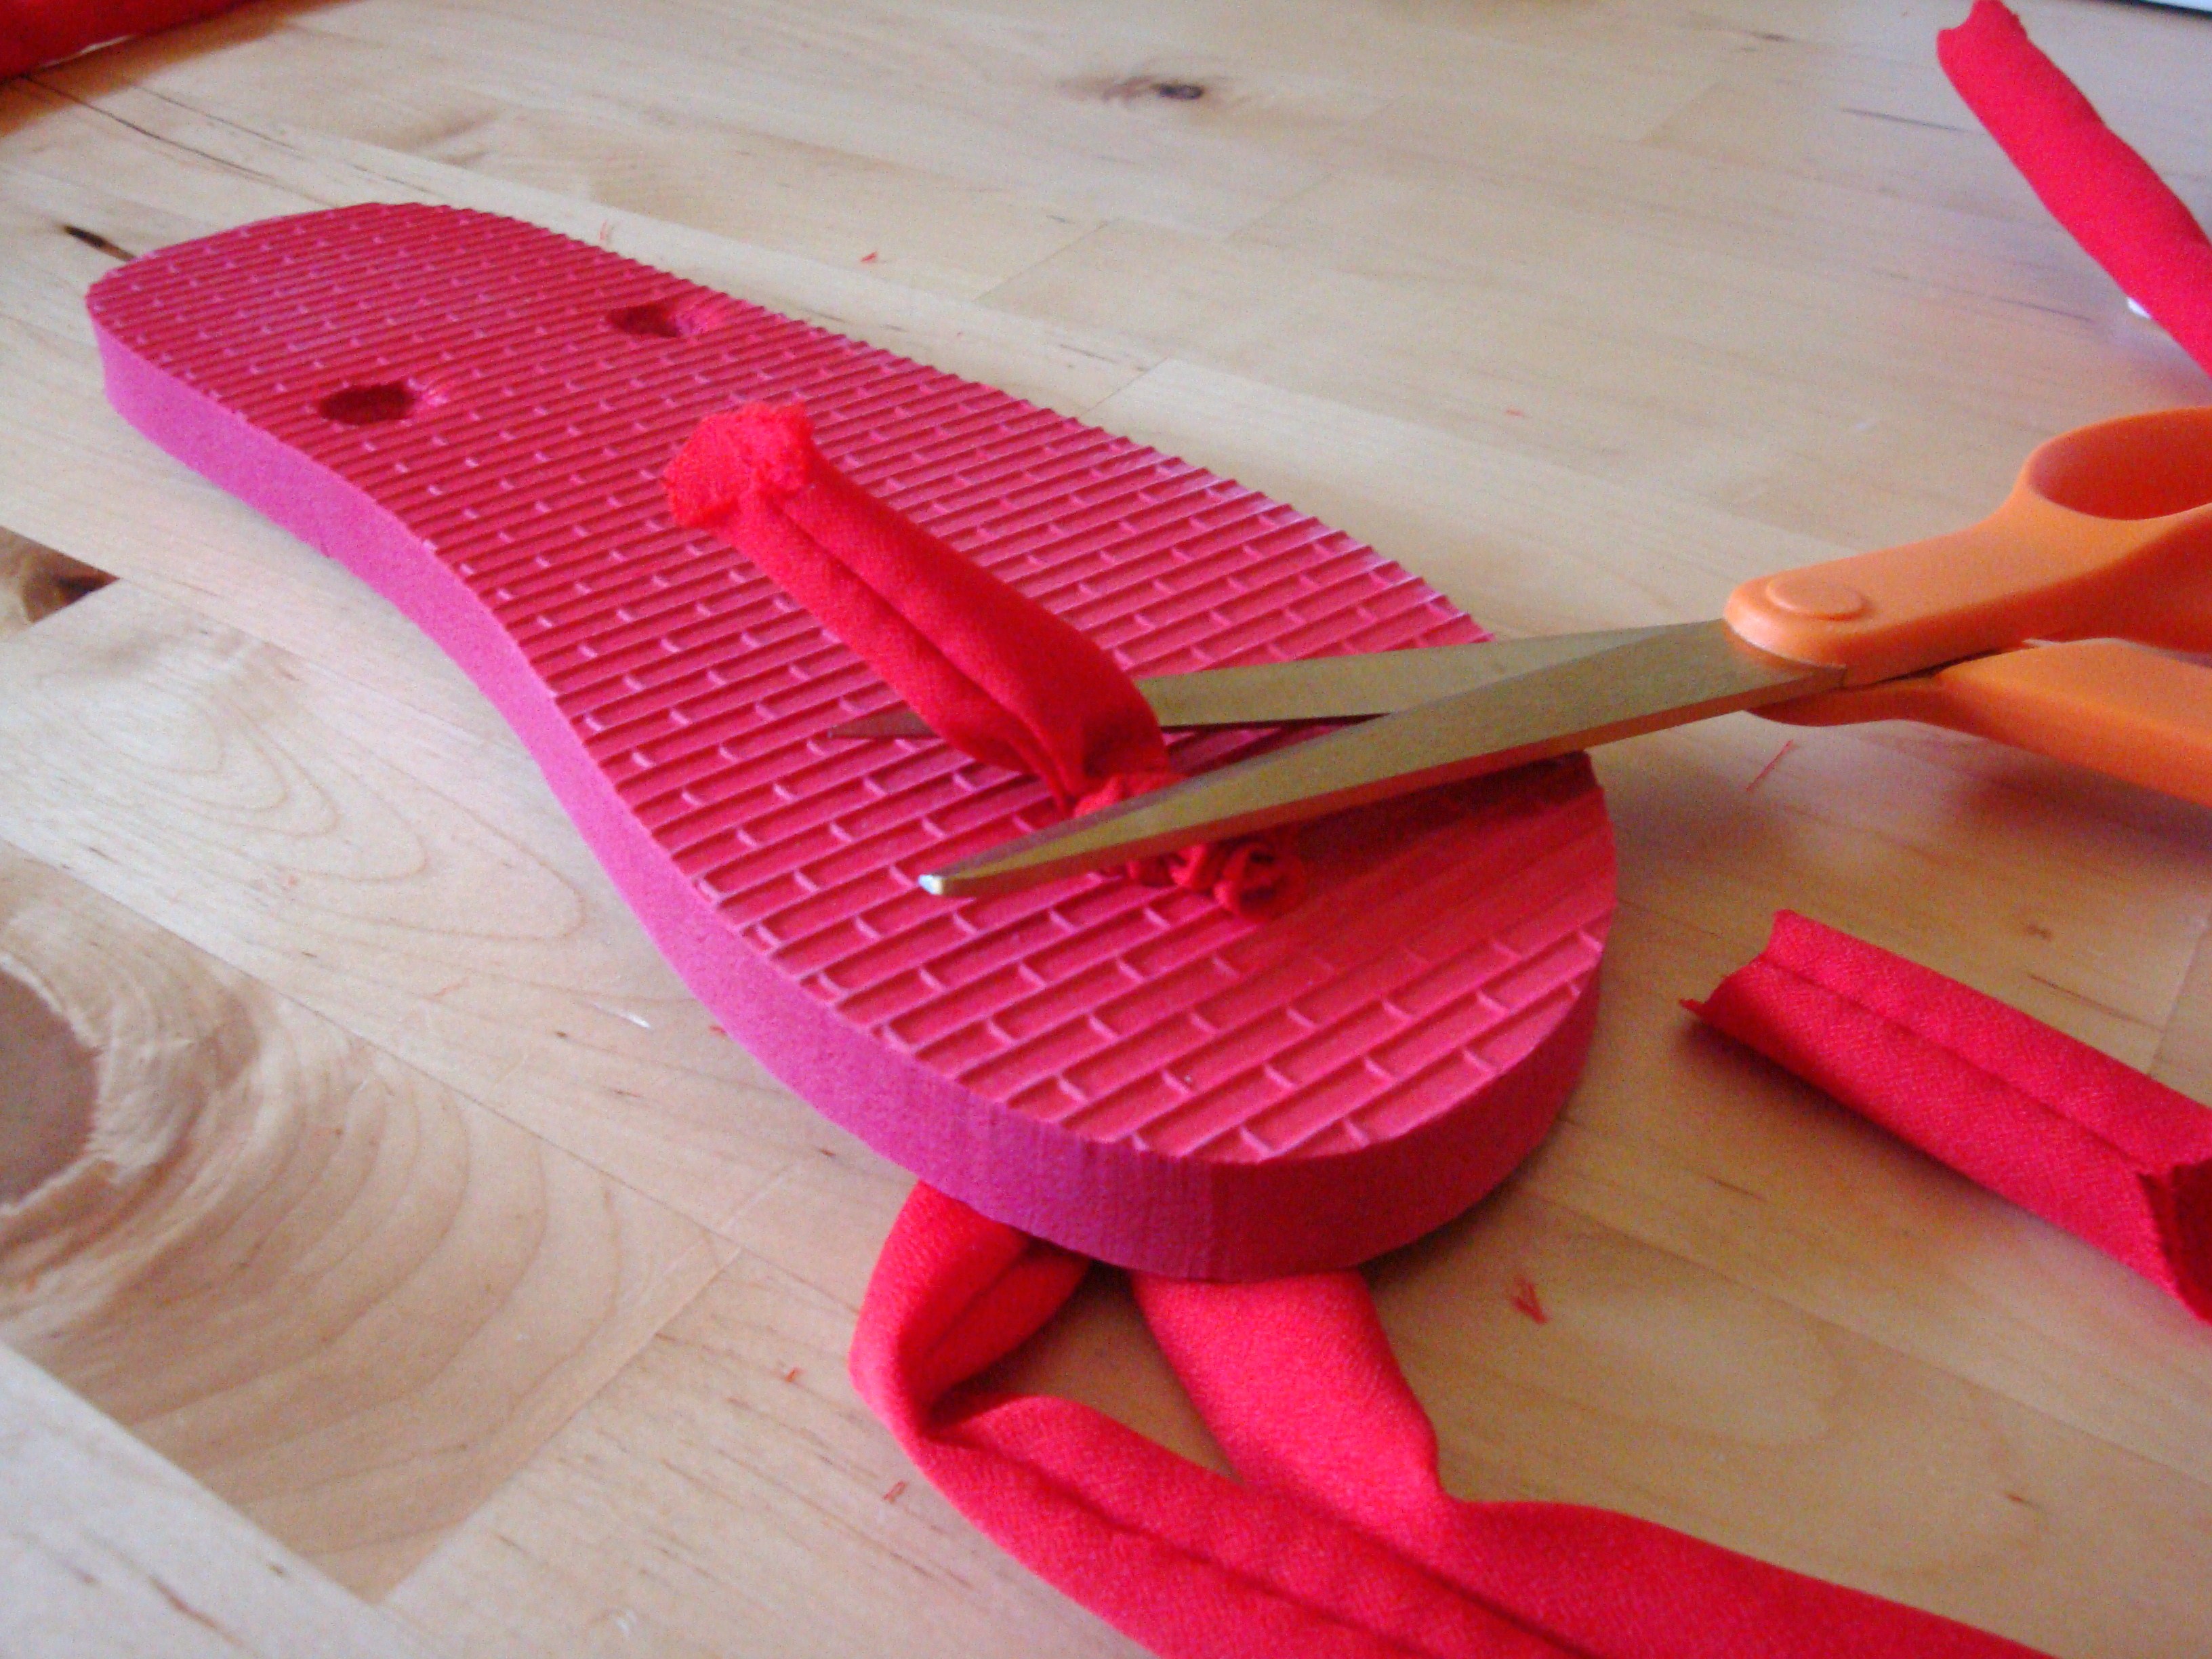
 Cut off the tails and then using your glue gun, dab some glue into the divot before snugging the knots back into each hole. Do the same for the toe hole.
Let the glue dry and Voila!
You now have a rejuvenated pair of flip flops that will NOT give you blisters!

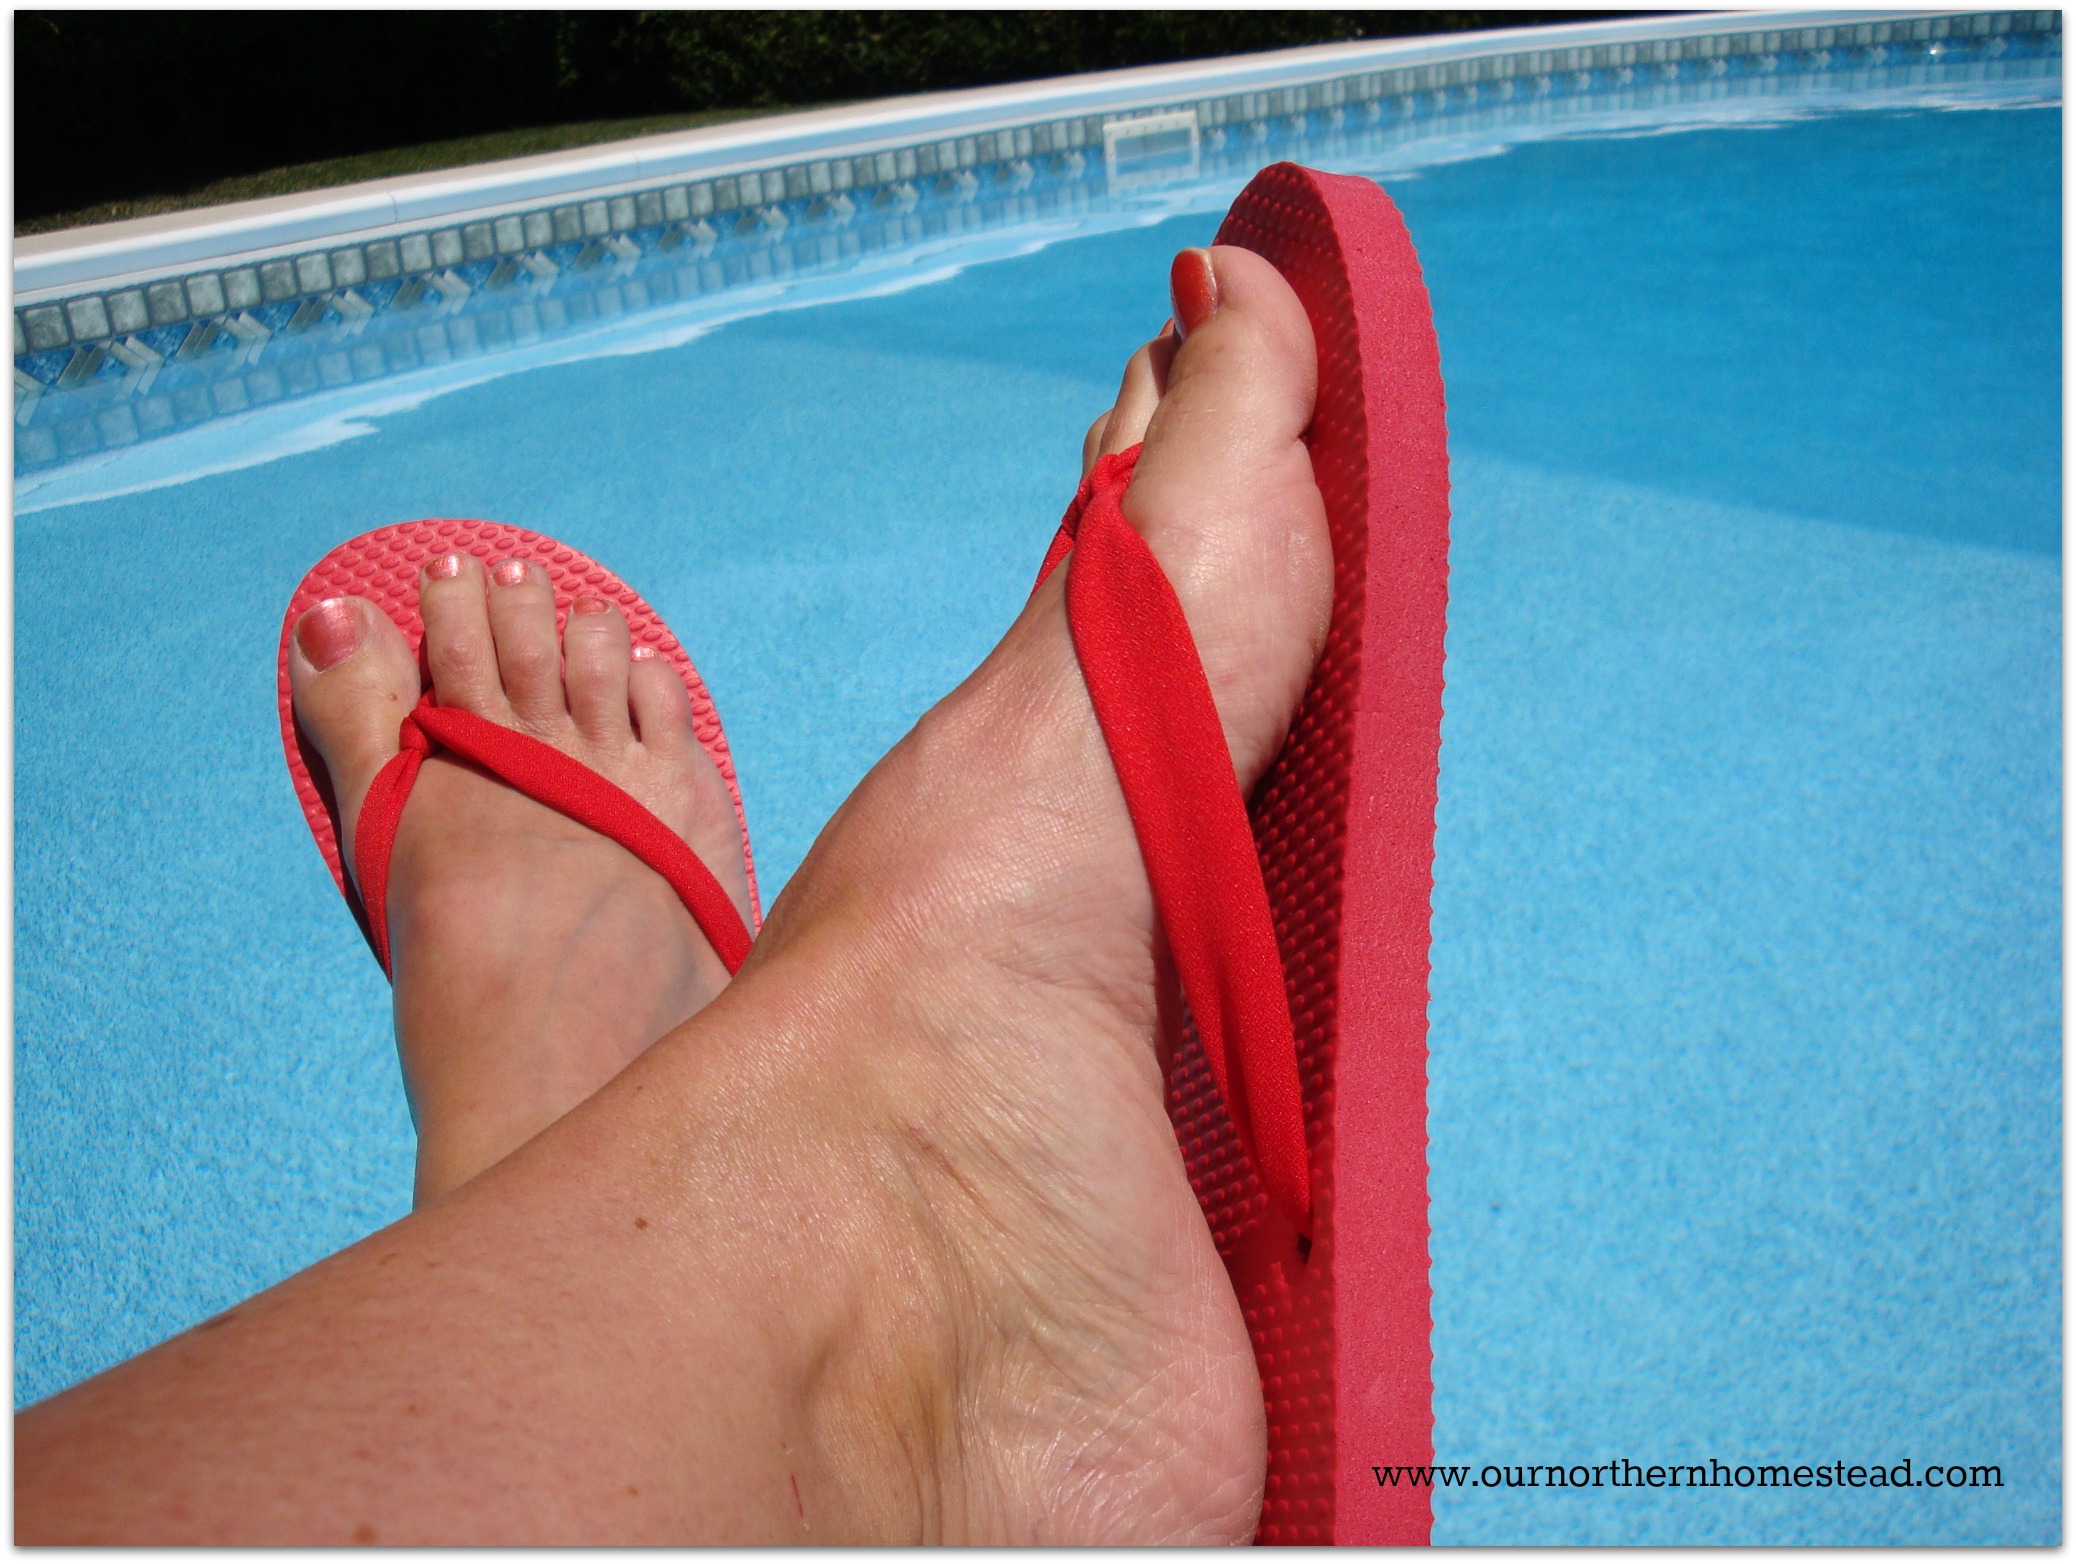
 Total cost: $2.75 for the pair.
What is even better is if you get bored with the fabric,
it will be easy to swap the straps out for a new fabric choice.
That is brilliant! Old Navy had all of their flip flops on sale for $1 yesterday!