
Apparently, there is a rumour going around that some people are actually AFRAID to make these wonderful Italian Cookies… Pfft! The word “Biscotti” need not strike fear into the heart of a fledgling or even seasoned Baker. These luscious cookies are so easy to make you will be on your way to becoming a Biscotti Queen (or King) in no time.
The actual making of biscotti cookies is only just a wee bit more time consuming than making regular cookies, and believe me, I have made plenty of “regular cookies” that are HARDER to make than Biscotti (Belgian Cookies come to mind, every Christmas I torture myself making them). It is literally a piece of cake in getting a batch of warm, crunchy Biscotti ready to be plunked into your hot cup of coffee or tea. This, by the way, is the BEST way to enjoy fresh Biscotti.
Most Biscotti recipes are a cinch to follow. Once you choose one as your “base dough recipe”, from there…the possibilities are as endless as your imagination in marrying flavours.
Almond Biscotti is great base recipe to work from as you want one that uses butter in place of vegetable oil, as in my opinion, it gives a far superior end result. If you want to experiment with different recipes, look for ones that use butter only.
Once you have mixed up your batch of dough, the most important step and not very many biscotti recipes I have come across let this little tidbit of knowledge be known, is to refrigerate the dough for 30 minutes. This makes the dough much easier to work with. Just wrap the dough with plastic wrap and place it in the fridge.
After 30 minutes of chillin’, shape your dough (wet your hands slightly if necessary if the dough seems a little sticky) into a log on a cookie sheet that has been lined with parchment paper. Ideally, your logs (yes plural, most recipes say to split the dough in two and make two logs) should be about 12 inches long by about 3 inches wide and flattened slightly to about an inch in height…like these guys pictured here….
 Now you are ready for the first baking. See? That wasn’t so hard was it?
Bake as directed in the recipe and then remove from the oven and let cool slightly for about 5 minutes. Gently place logs on a cutting board and carefully slice into ½” slices (on the bias) with a sharp, serrated knife. Place slices cut sides down back on the cookie sheet like these…
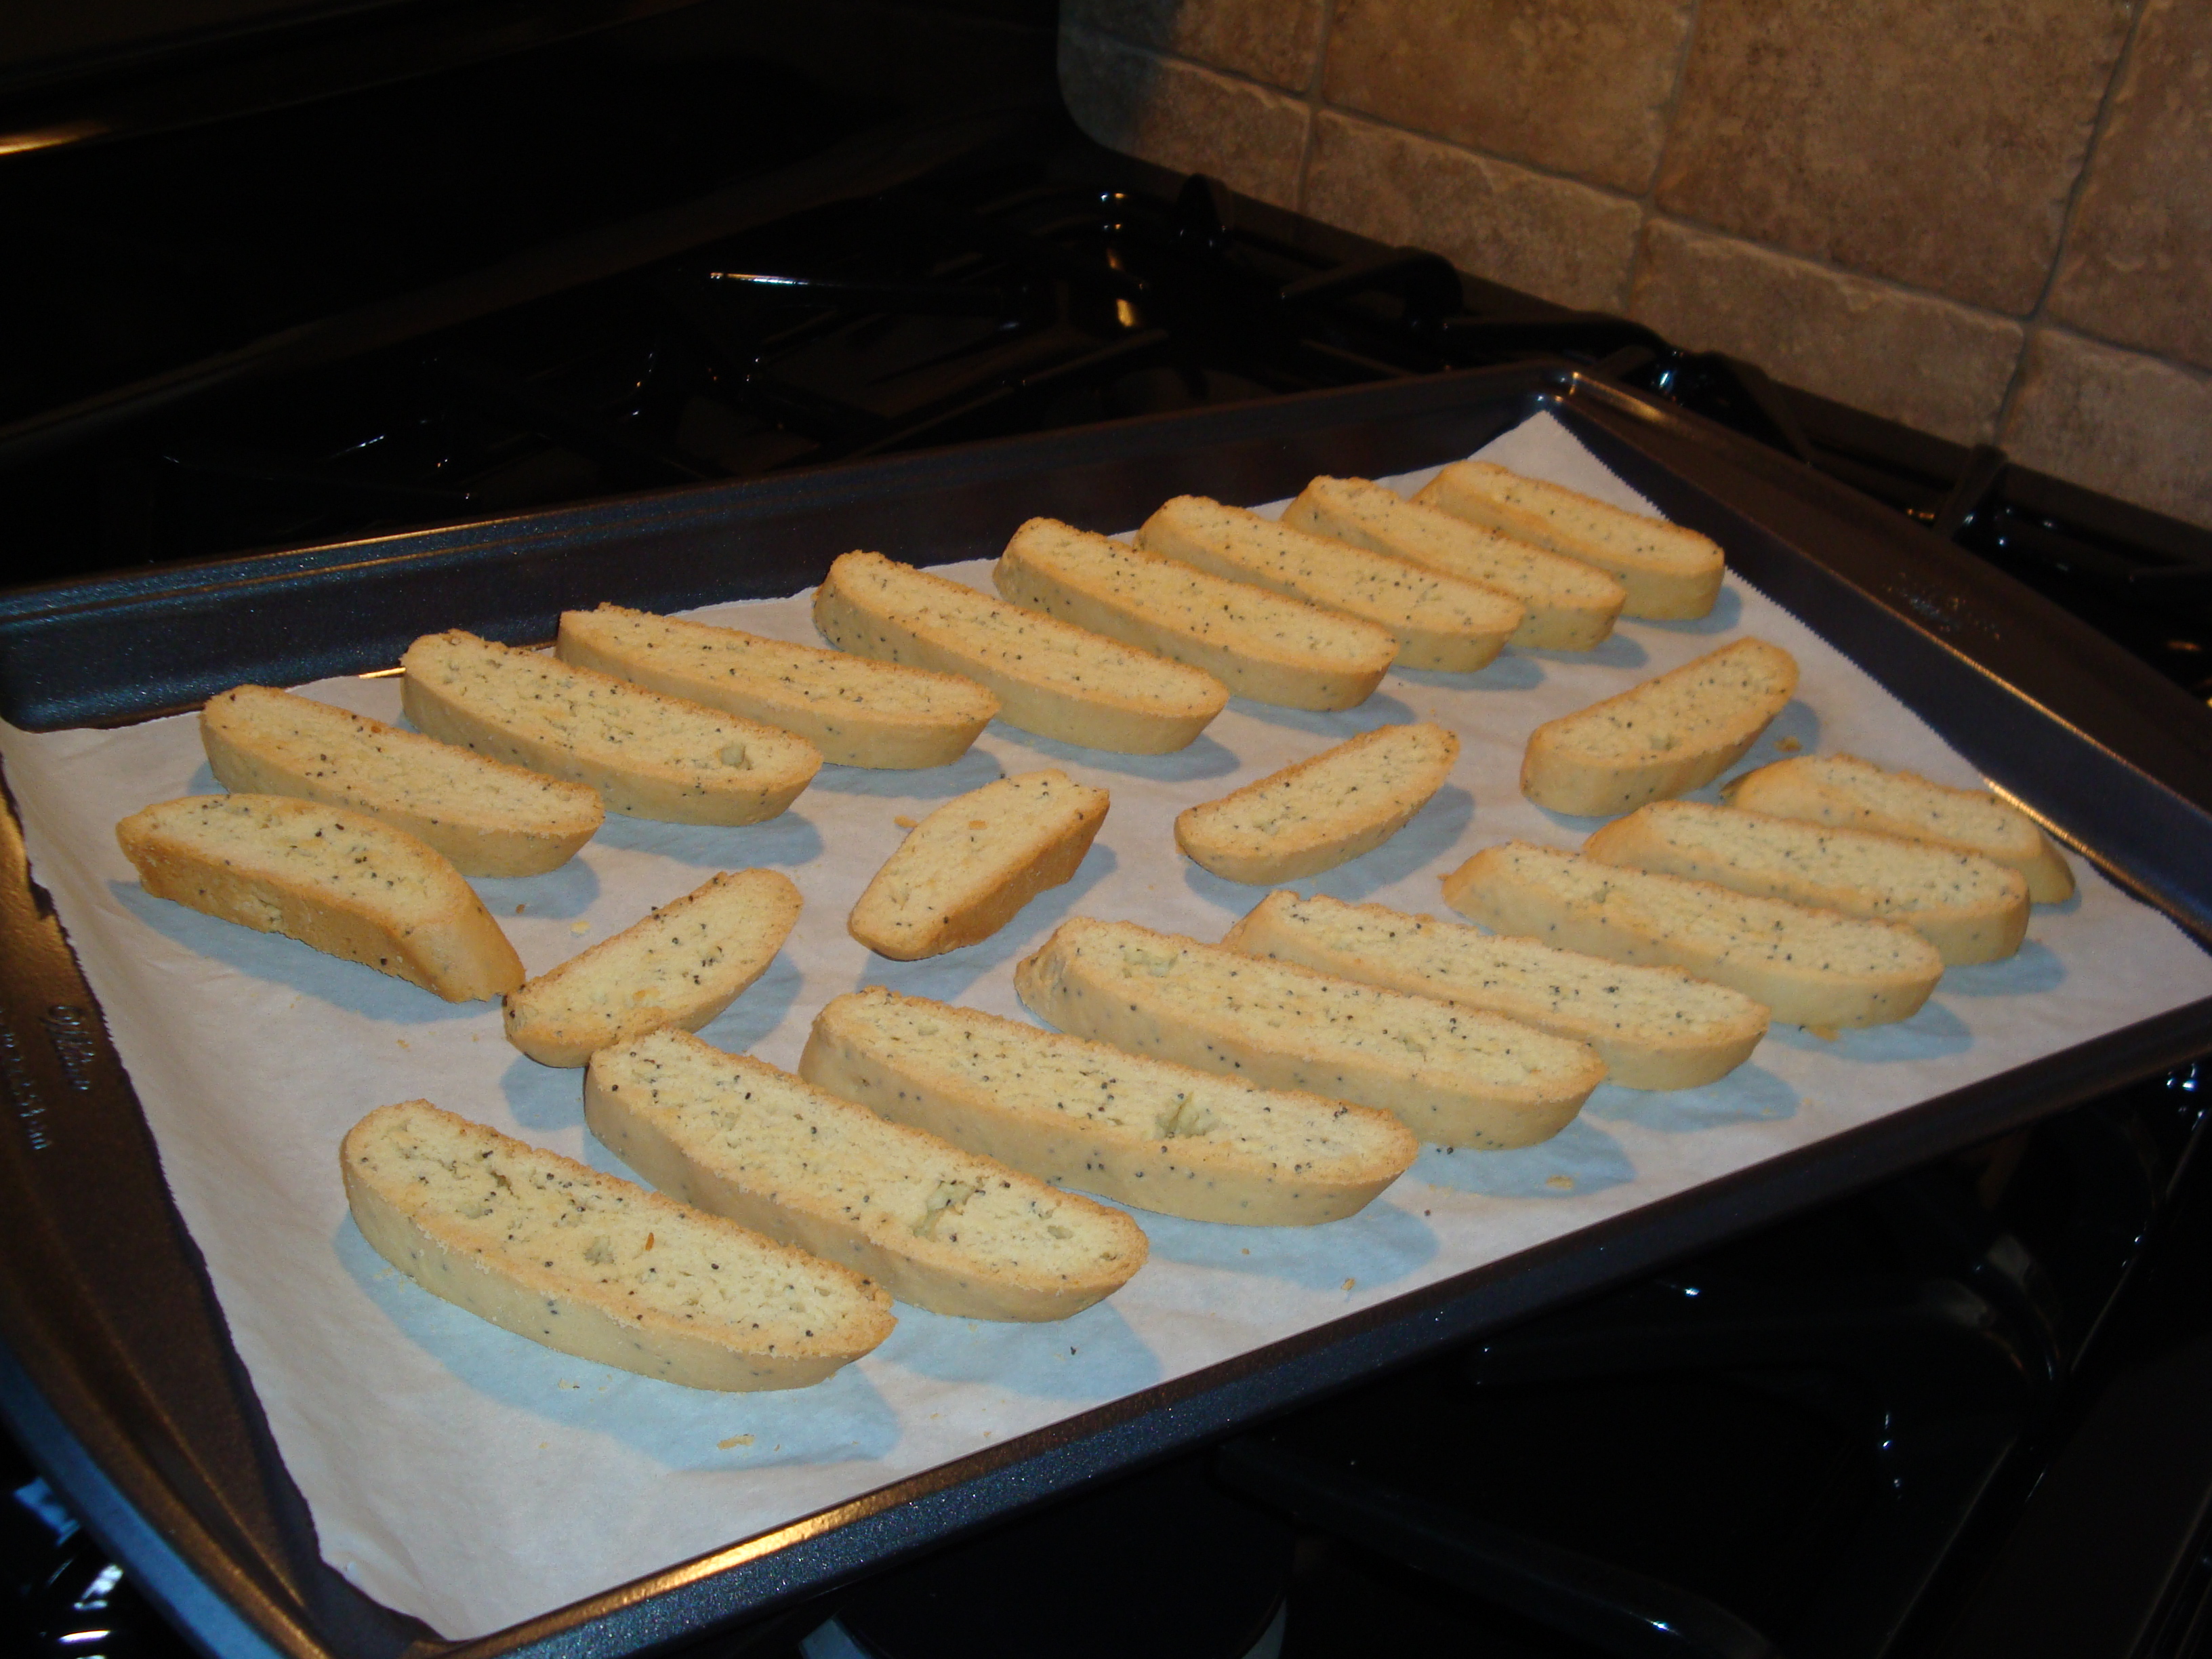 NEXT, bake the cookies again for about 10 minutes or so until they start to get golden on the bottom (biscotti bottoms really are sexy looking), remove from the oven and flip the biscotti’s over and bake until those bottom’s are golden as well.
And………VOILA! You have perfected biscotti-luscious baking without shedding a tear, pulling your hair out or throwing your Kitchen Aid across the room. Hmmm…. where did I leave my cuppa tea….?
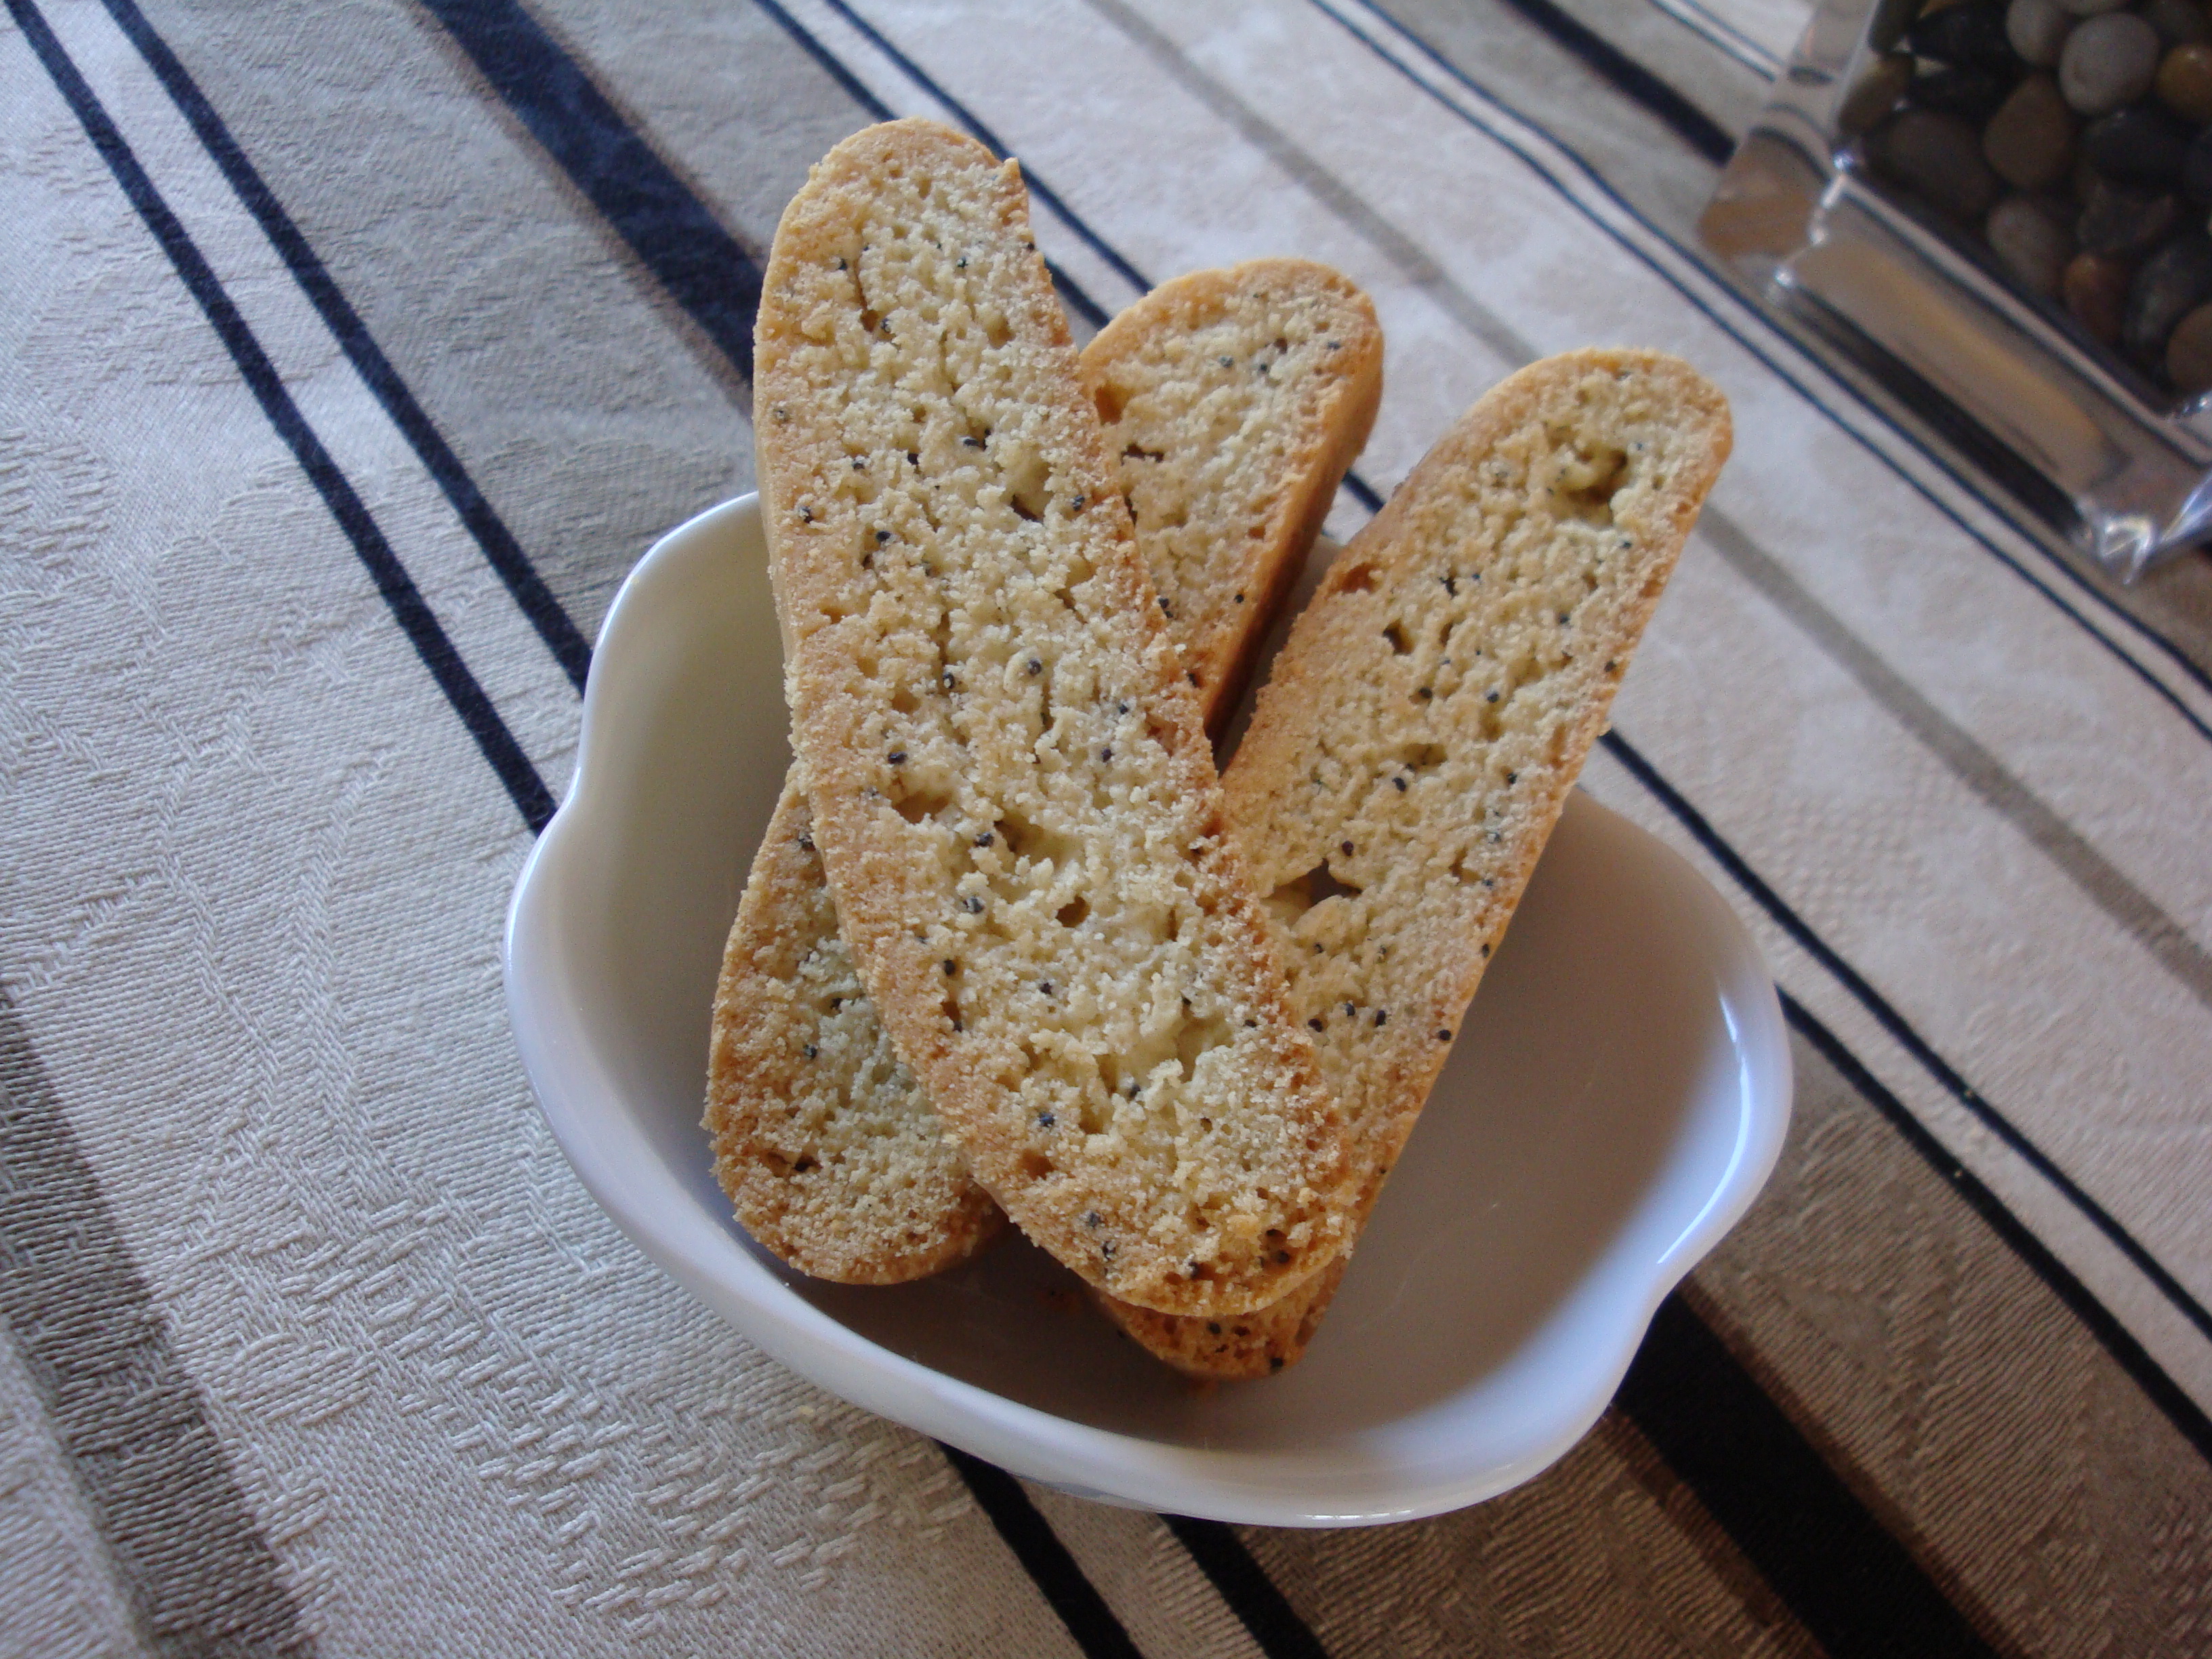
Lemon/Poppy Seed Biscotti
Now how much easier can all this be? As for flavours, I have listed a bunch of variations on the Base Biscotti Recipe for you to try out, or I am sure you will have plenty of ideas floating around in your own head – let loose your creativity!
Tip # 1: When adding dried fruit, chocolate and nuts to ANY biscotti recipe, make sure they are chopped into small pieces as they will have a tendency to make the dough crumble when slicing after the first baking.
Tip # 2: Biscotti make GREAT gifts at Christmas time…or anytime you want to do something nice for someone. Show the Love…. Pass the Biscotti!
HA! you little Biscotti Bottom Bombshell-great tutorial
I just love a good biscotti, and your tutorial and simple instructions make it seem so very easy. I love mine half dipped in a melted chocolate. Depending on what kind it is, it can be, white, milk, or dark chocolate. Great afternoon treat!
I make a recipe that calls for dried cranberries and pistachio nuts. That is a good combination too.
Ramona
That would be great at Xmas time! yum! 🙂