
WOOOO-HOOOO!
I was waiting….and waiting…and WAITING….until finally…THE day arrived.
Planting Day!
Outside the living room window, the dreary gray skies blocked out the sun and the cold, easterly winds were whipping the branches of my tall Blue Spruce, but inside, it was warm, toasty and with a hot mug of tea in hand, I assembled my cast of characters…
 Seed Starting Mix
Potting Soil
Containers by the dozen(s)
Seed packets
Holding Trays
Plant Labels
Watering Can
Garden Journal Notebook and Pen
Paper Napkins
Step 1 ~ and I can not stress this enough…. If you are re-using pots from past years, first thing to do is wash them in hot soapy water, then soak them in a weak bleach solution for at least an hour, then rinse and let dry. This will kill off any dormant organisms that may have been hanging out over the past year in them. If you are using new pots/peat pots, move on to Step 2!
Step 2 ~ Take a regular paper napkin and cut it in half, taking one half of the napkin, line the bottom of the pot, this will keep dirt from falling out the holes while you fill them. Less mess to clean up later and the paper napkin will degrade slowly. 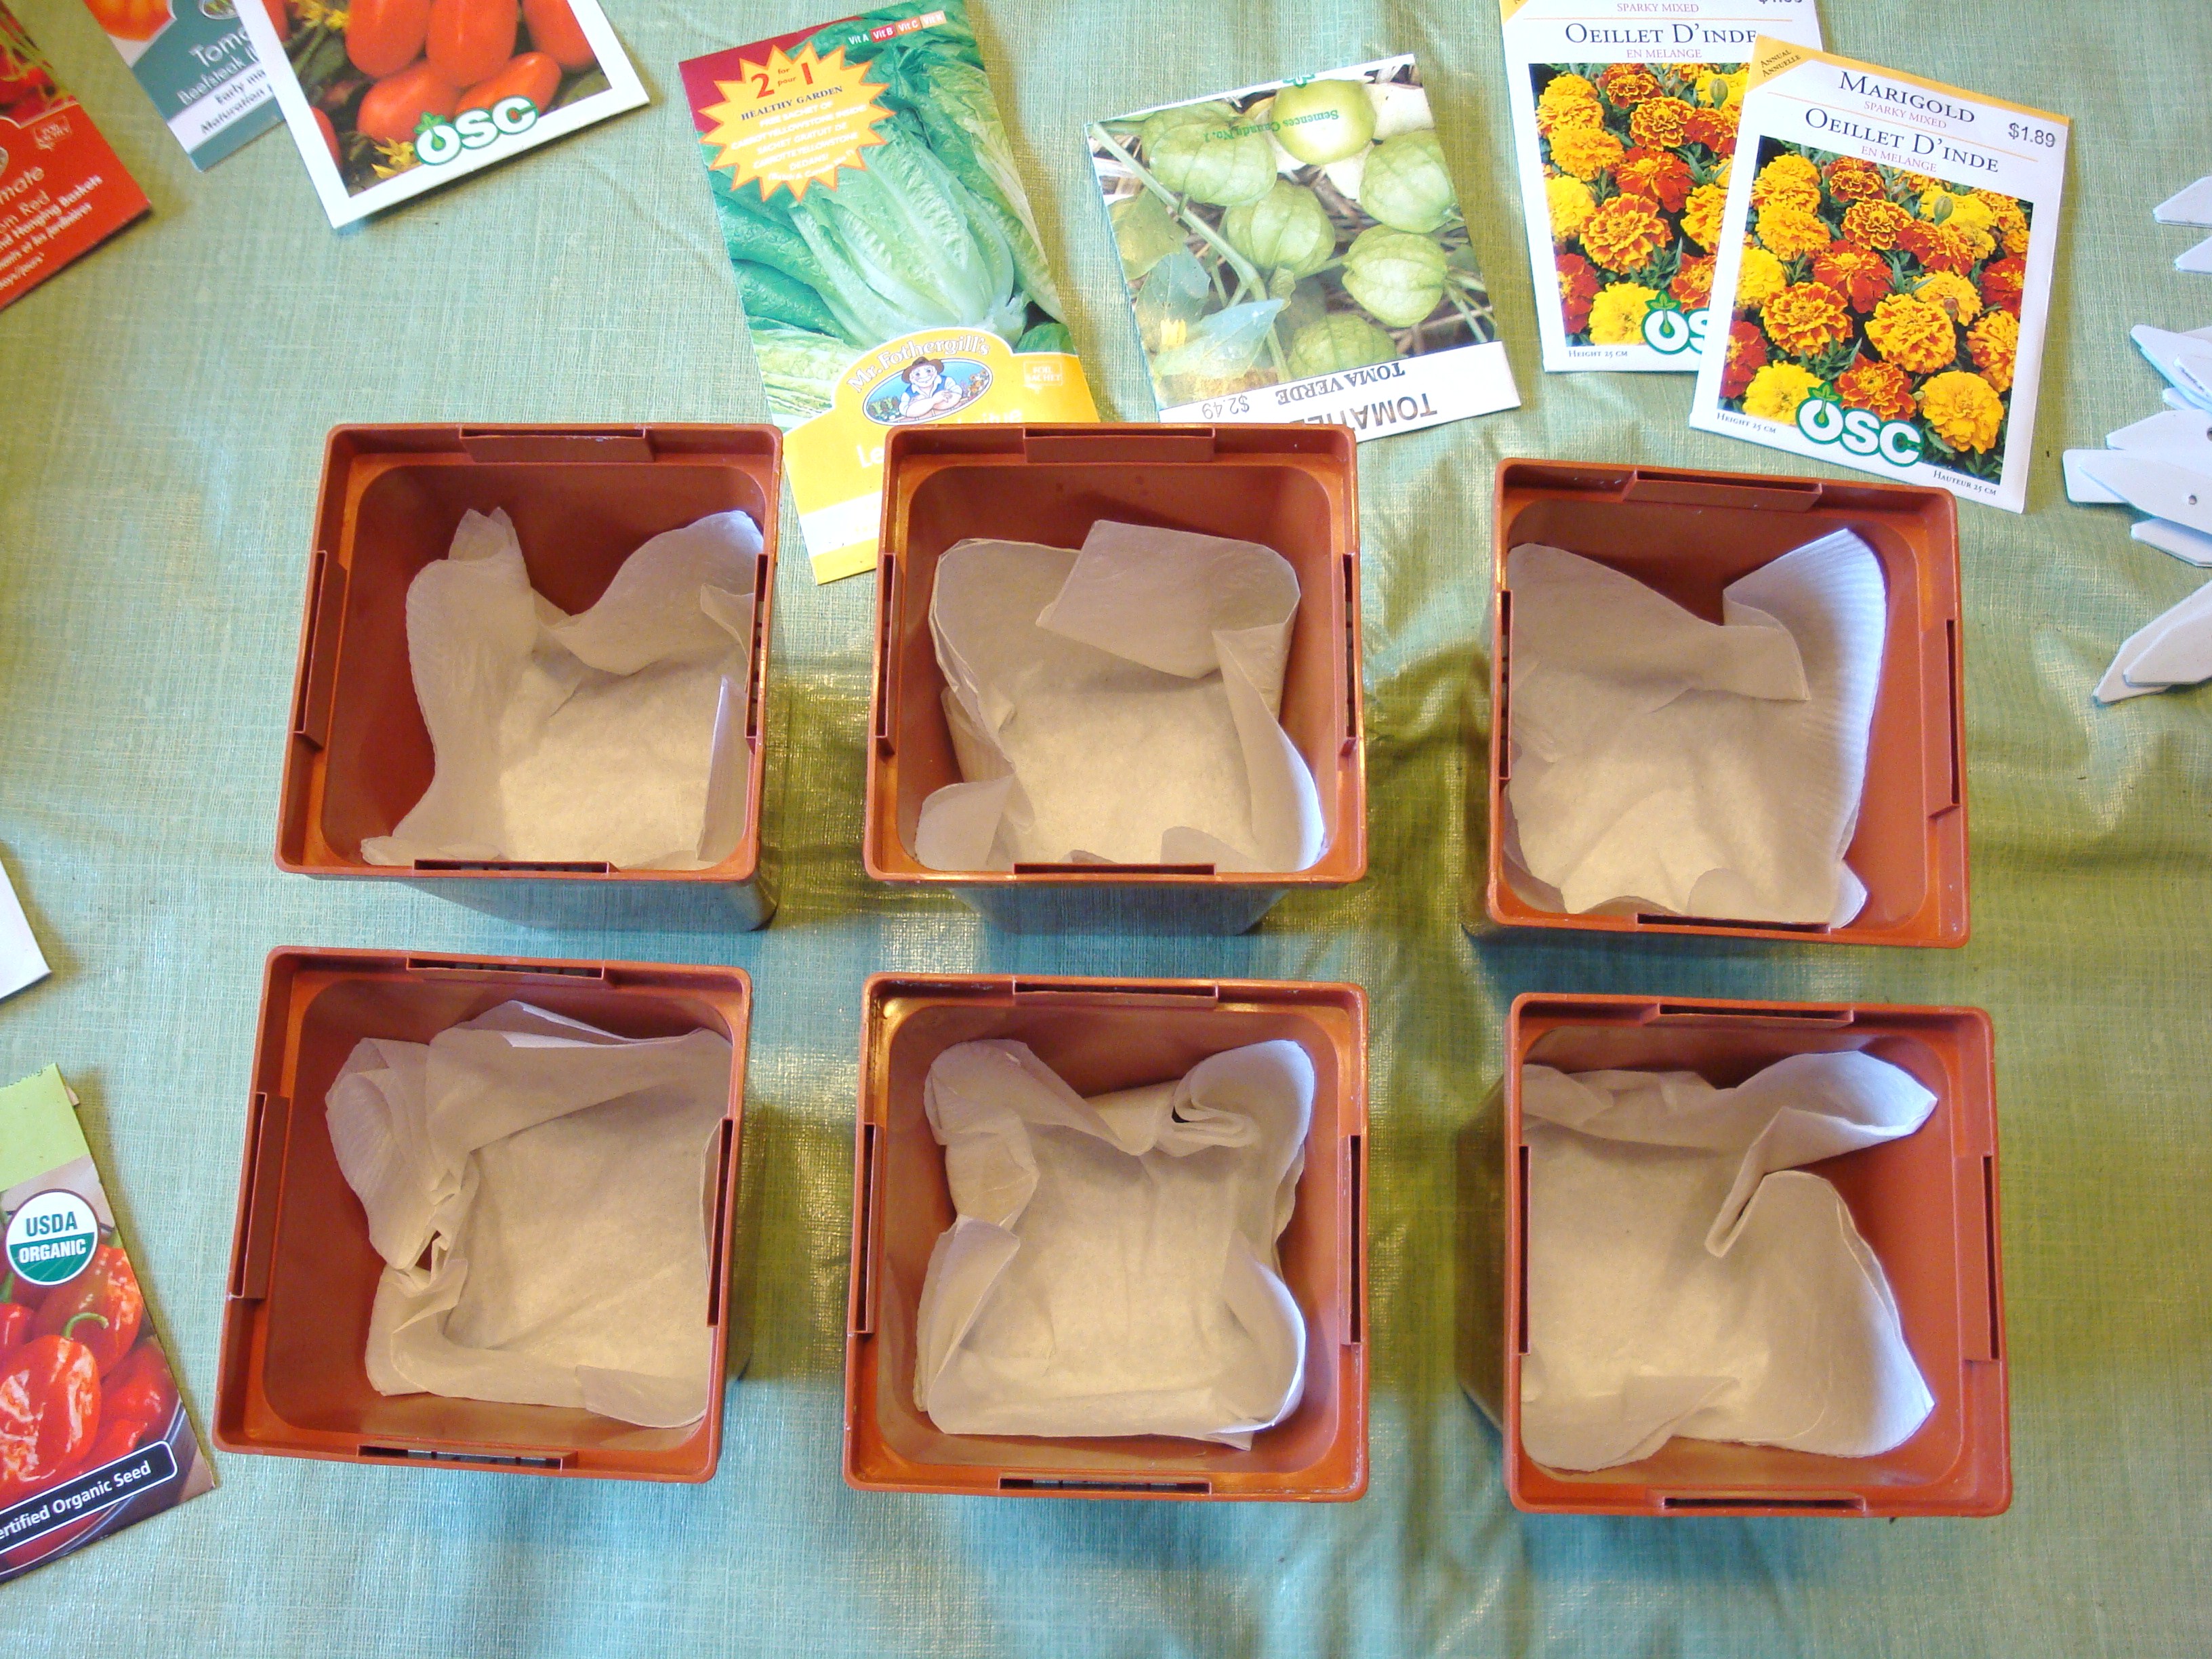 Step 3 ~ Fill the pots 2/3rd’s full with regular potting soil.
 Step 4 ~ Fill the remaining 1/3rd with Seed Starting Mix, this has more peat mixed in and is a more absorbent medium for starting seeds in. Lightly press down the layers, and I do mean L-I-G-H-T-L-Y, no hard squishing here please.
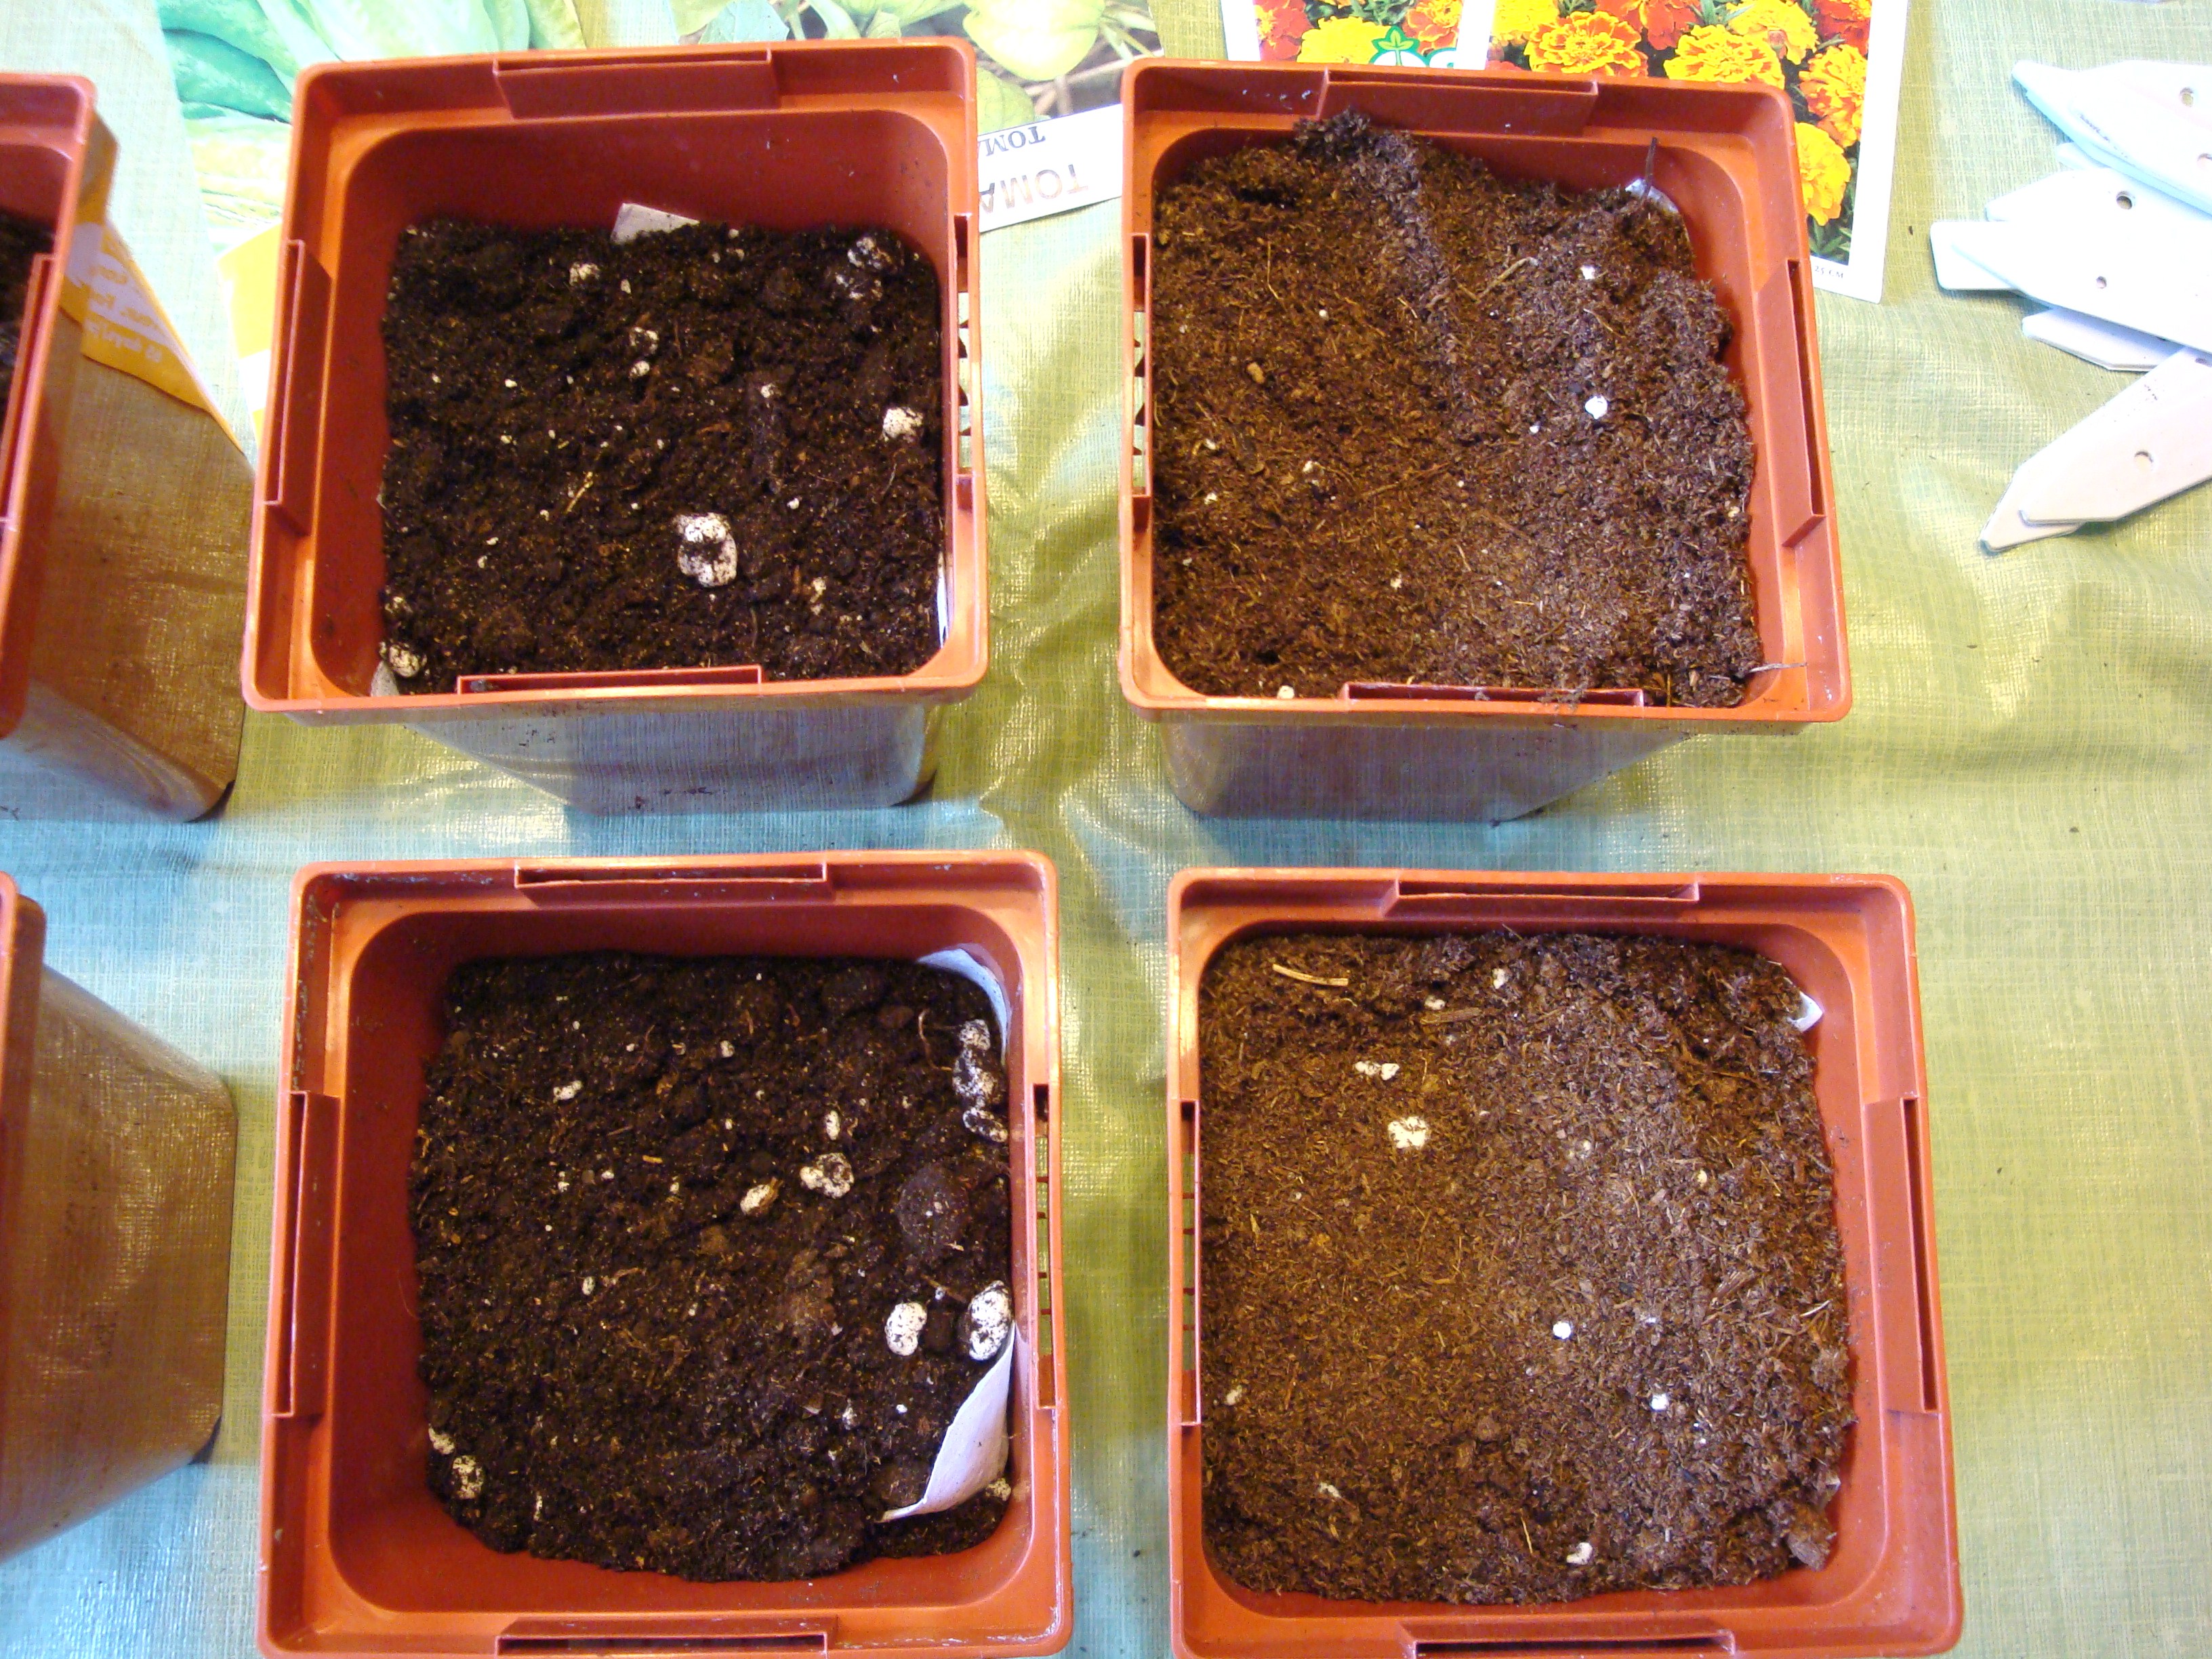 You can see the difference between the regular potting soil on the left and the seed starting mix on the right.
Step 5 ~ Place 4 to 5 seeds in each container, spacing evenly apart. If your containers are smaller, put in 2 to 3. I always err on the side of caution and make sure I have plenty of backup sprouts for future calamities.
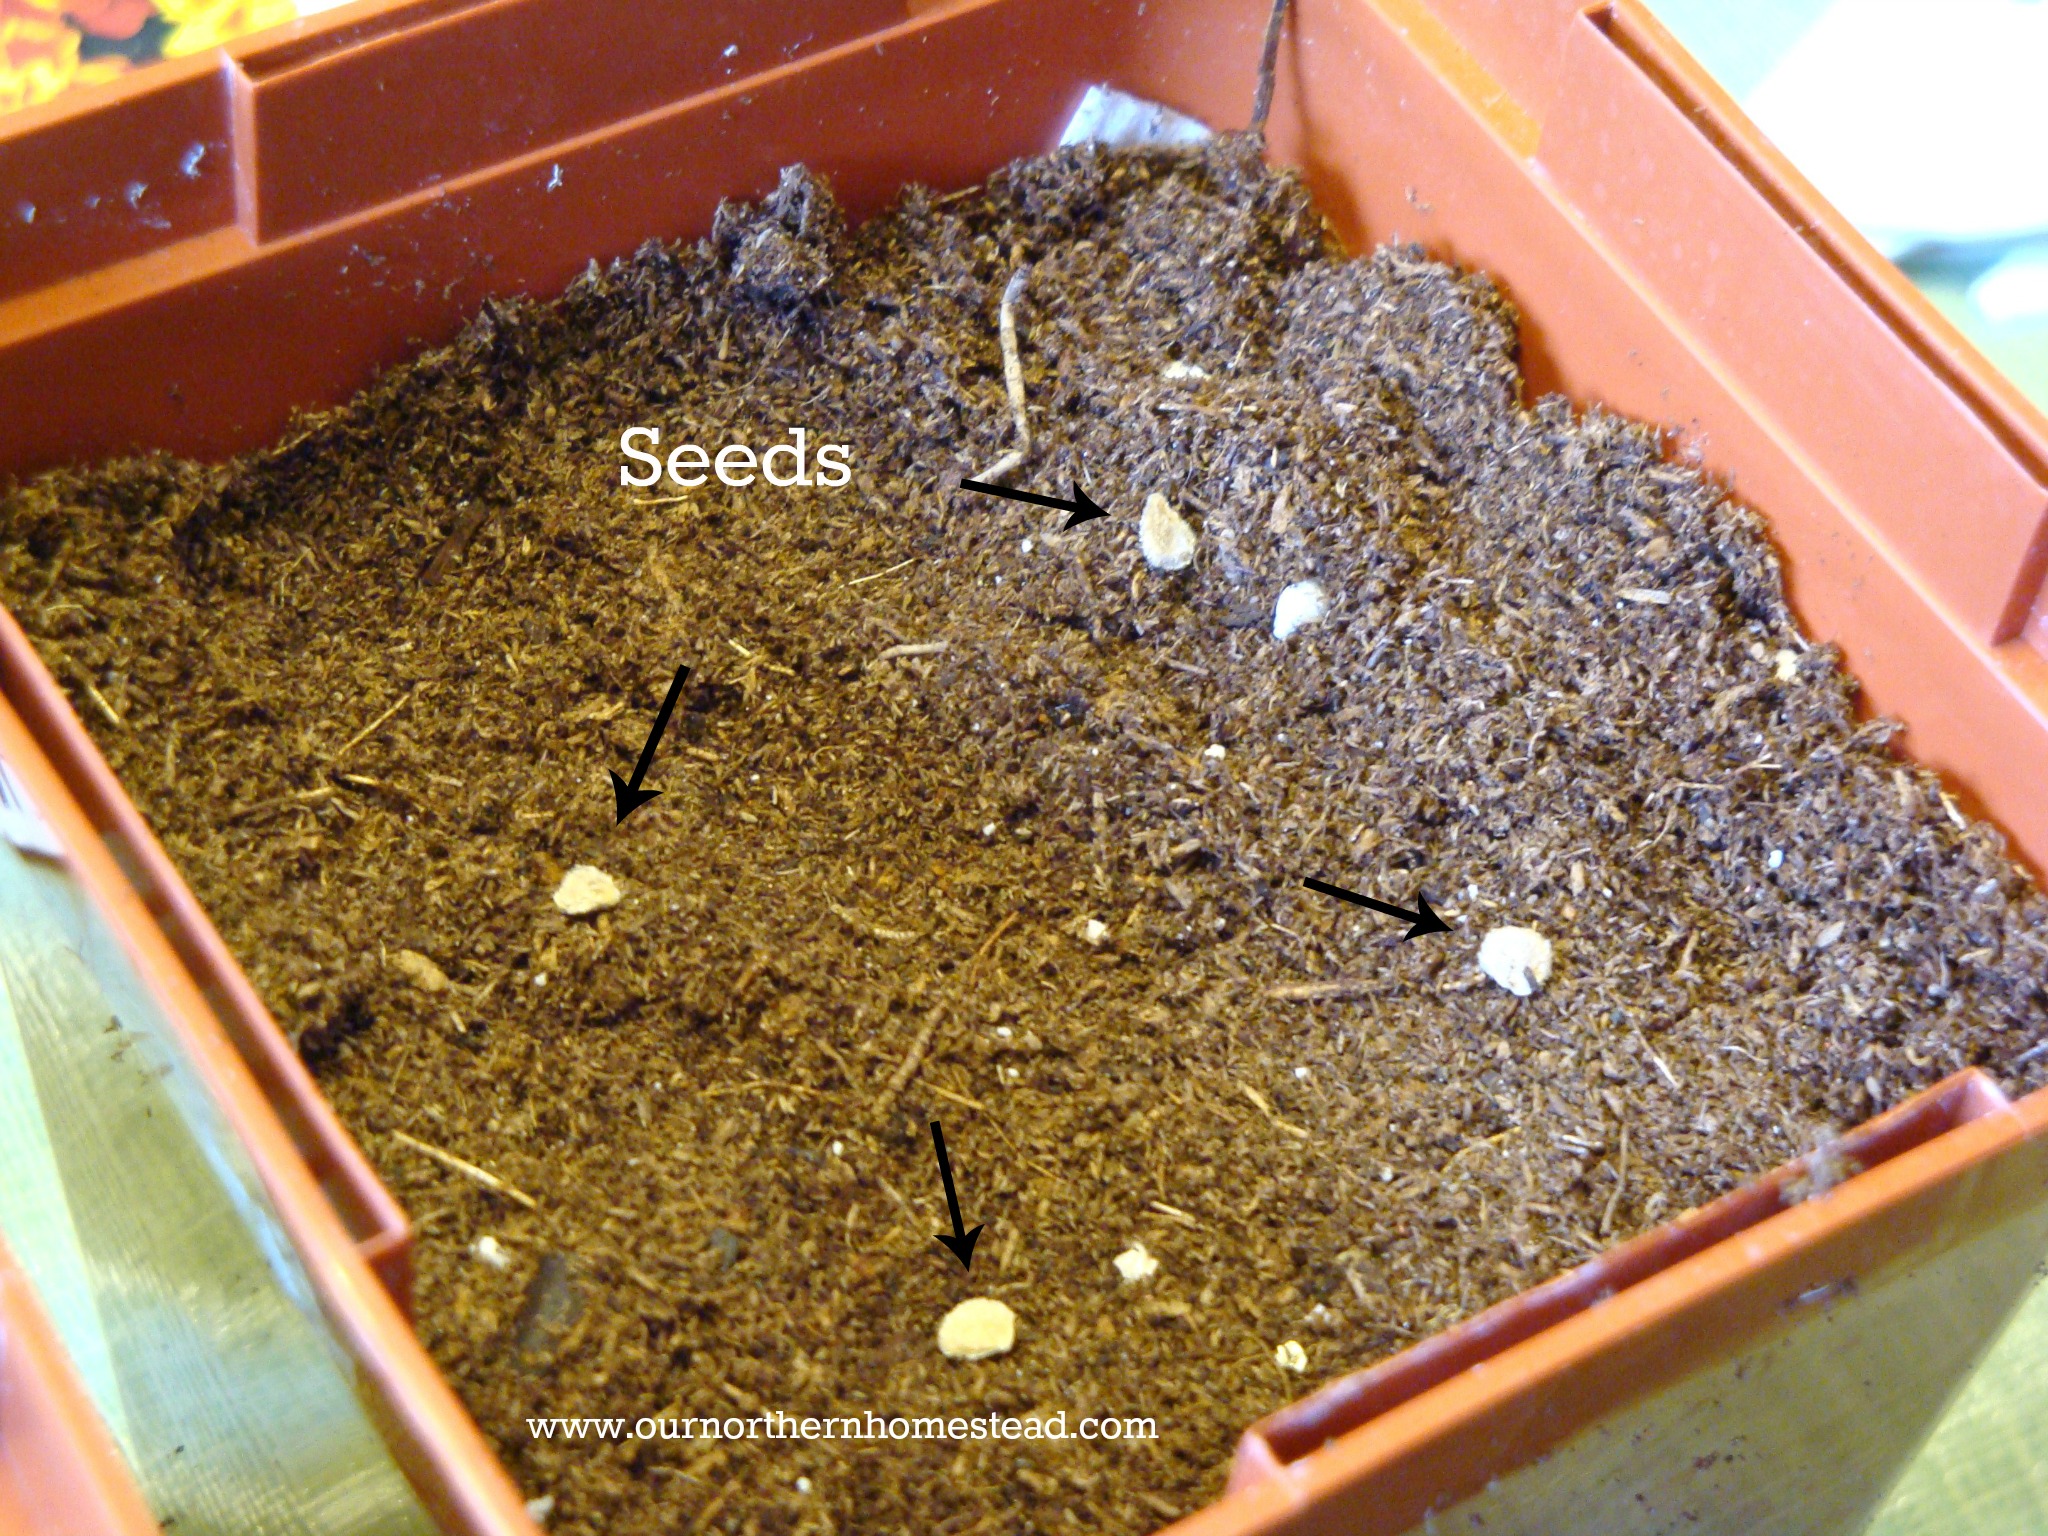 Step 6 ~ Sprinkle a light layer of seed starting mix over top of the seeds and again, lightly press down. Label your pots and water slowly so that the potting medium soaks up the water without floating your seeds.
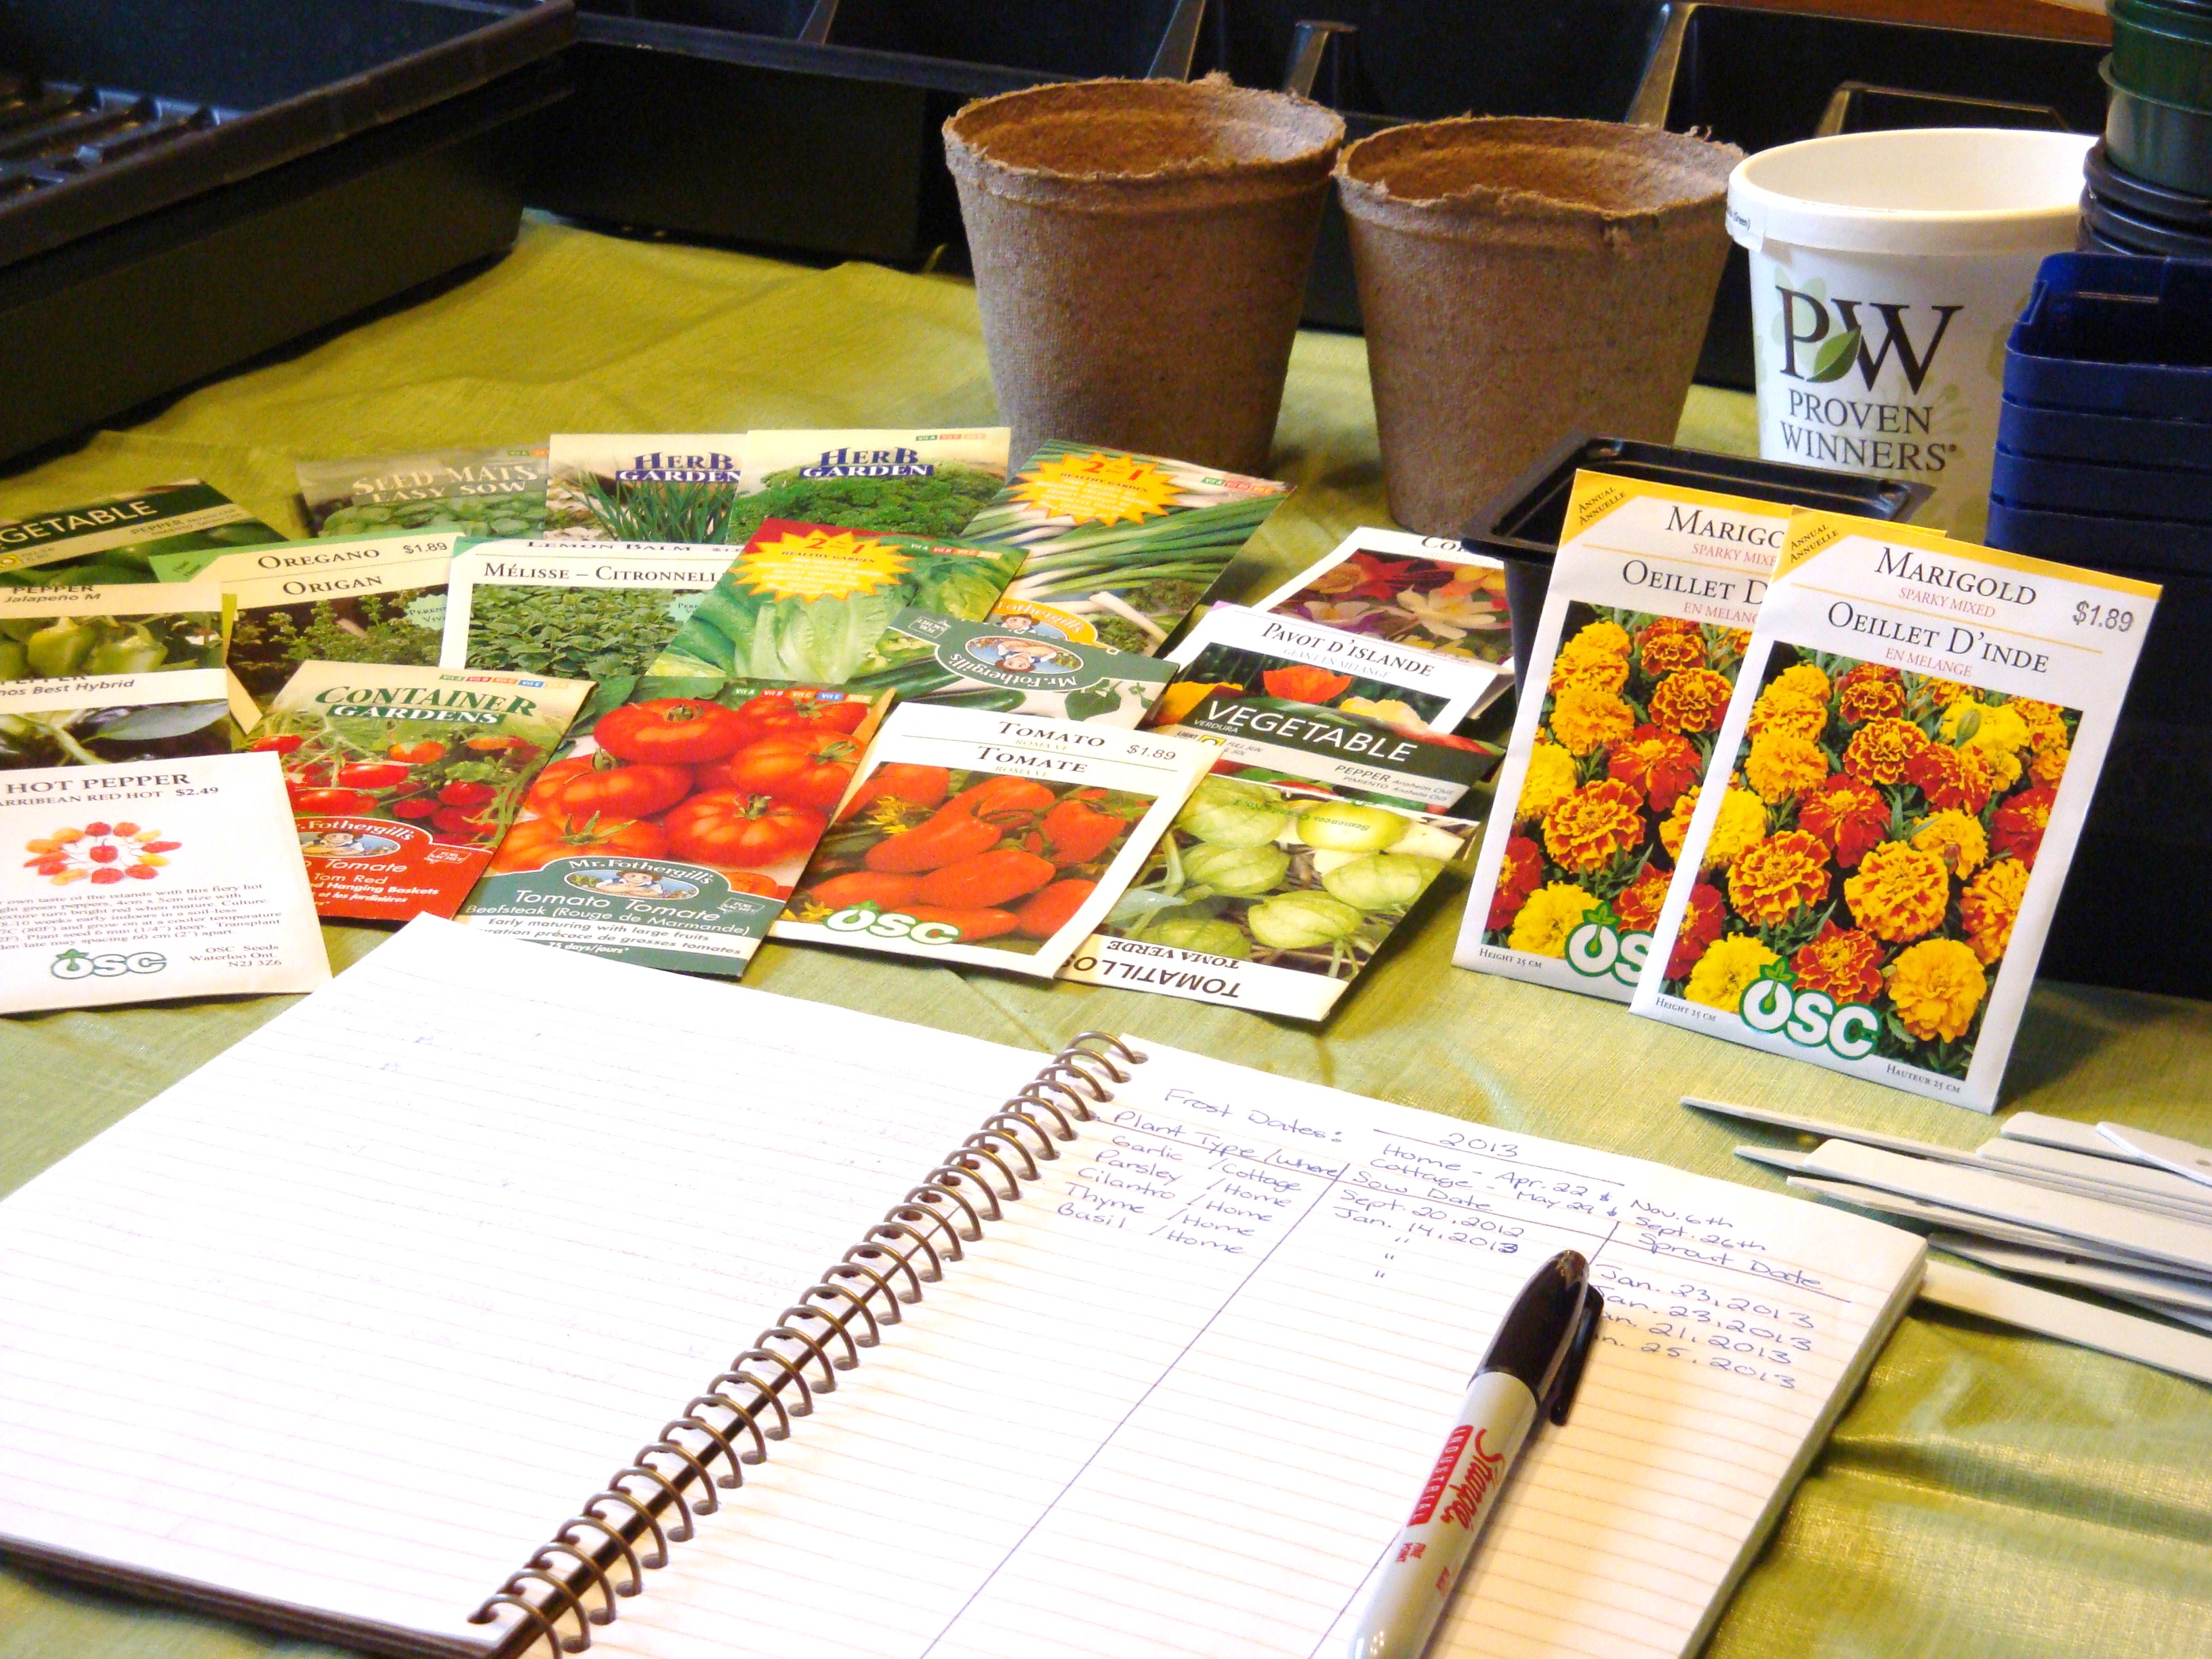 Step 7 ~ Record the date in your garden journal of what you planted, then, when your seeds sprout, you record that date as well. Once you have done this at least once, you can look back at prior years and see how long it took for certain seeds to sprout, which ones didn’t and adjust from there.
Step 8 ~ Load up your trays with your newly planted pots, cover with a dome lid, place in a sunny window or under grow lights if you have them….and then wait…and wait…and wait…
For summer to sprout!
**Note ~ if you are growing pepper plants, they need to be heated to above 75°F (24°C) in order to germinate. I use an old heating pad placed underneath the tray and keep it on the ‘low’ setting.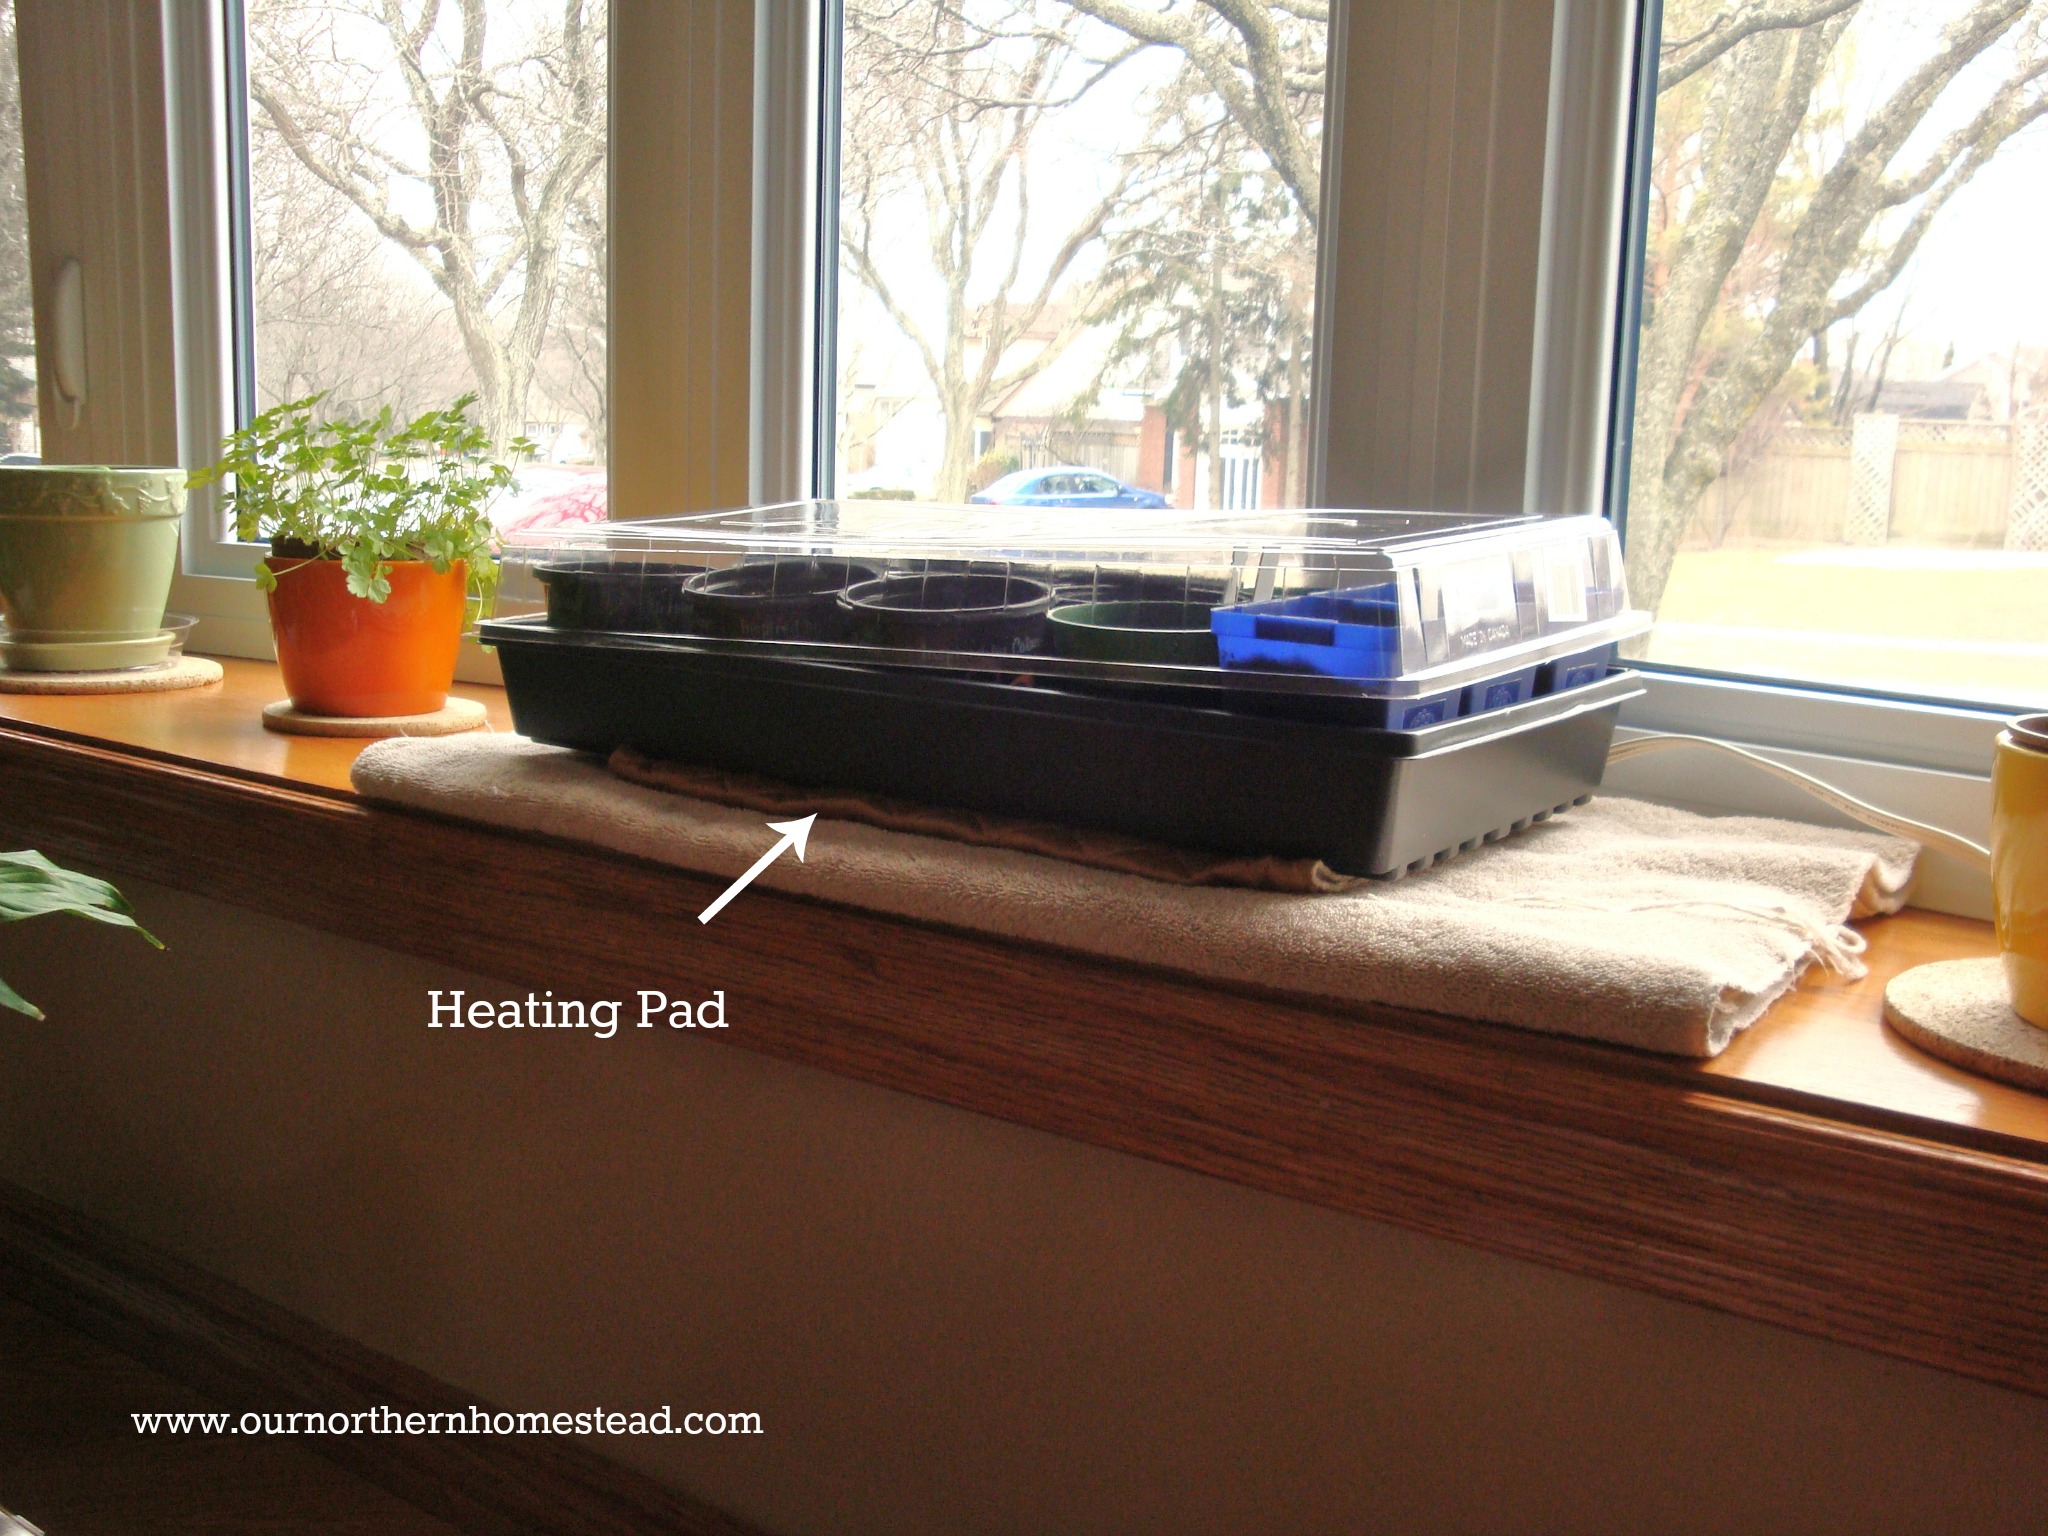 Now what are you waiting for? Get out there and get your supplies and get started!
Happy Growing!