
This post is a long time in the ‘Want-To-Make-List’. Mainly because I could not find a suitable bucket/container to make into an umbrella holder. I am still not 100% thrilled with the one I found. I am about 75% thrilled, but will keep my eyes open for the PERFECT container that I hope to find…someday.
I basically had this put together in under 2 hours. I would have been done sooner but I had to stop and watch a passing thunderstorm here at the lake. Nothing like a good thunder-boomer in cottage country to make you stop and admire Mother Nature.
Back to the project though. I had been scouring just about every store for a galvanized bucket. Not just any galvanized bucket either. I could have gone to Home Depot and picked up a regular bucket, but they were too wide, like milking bucket wide. I don’t have a milking cow so why would I need a milking bucket?
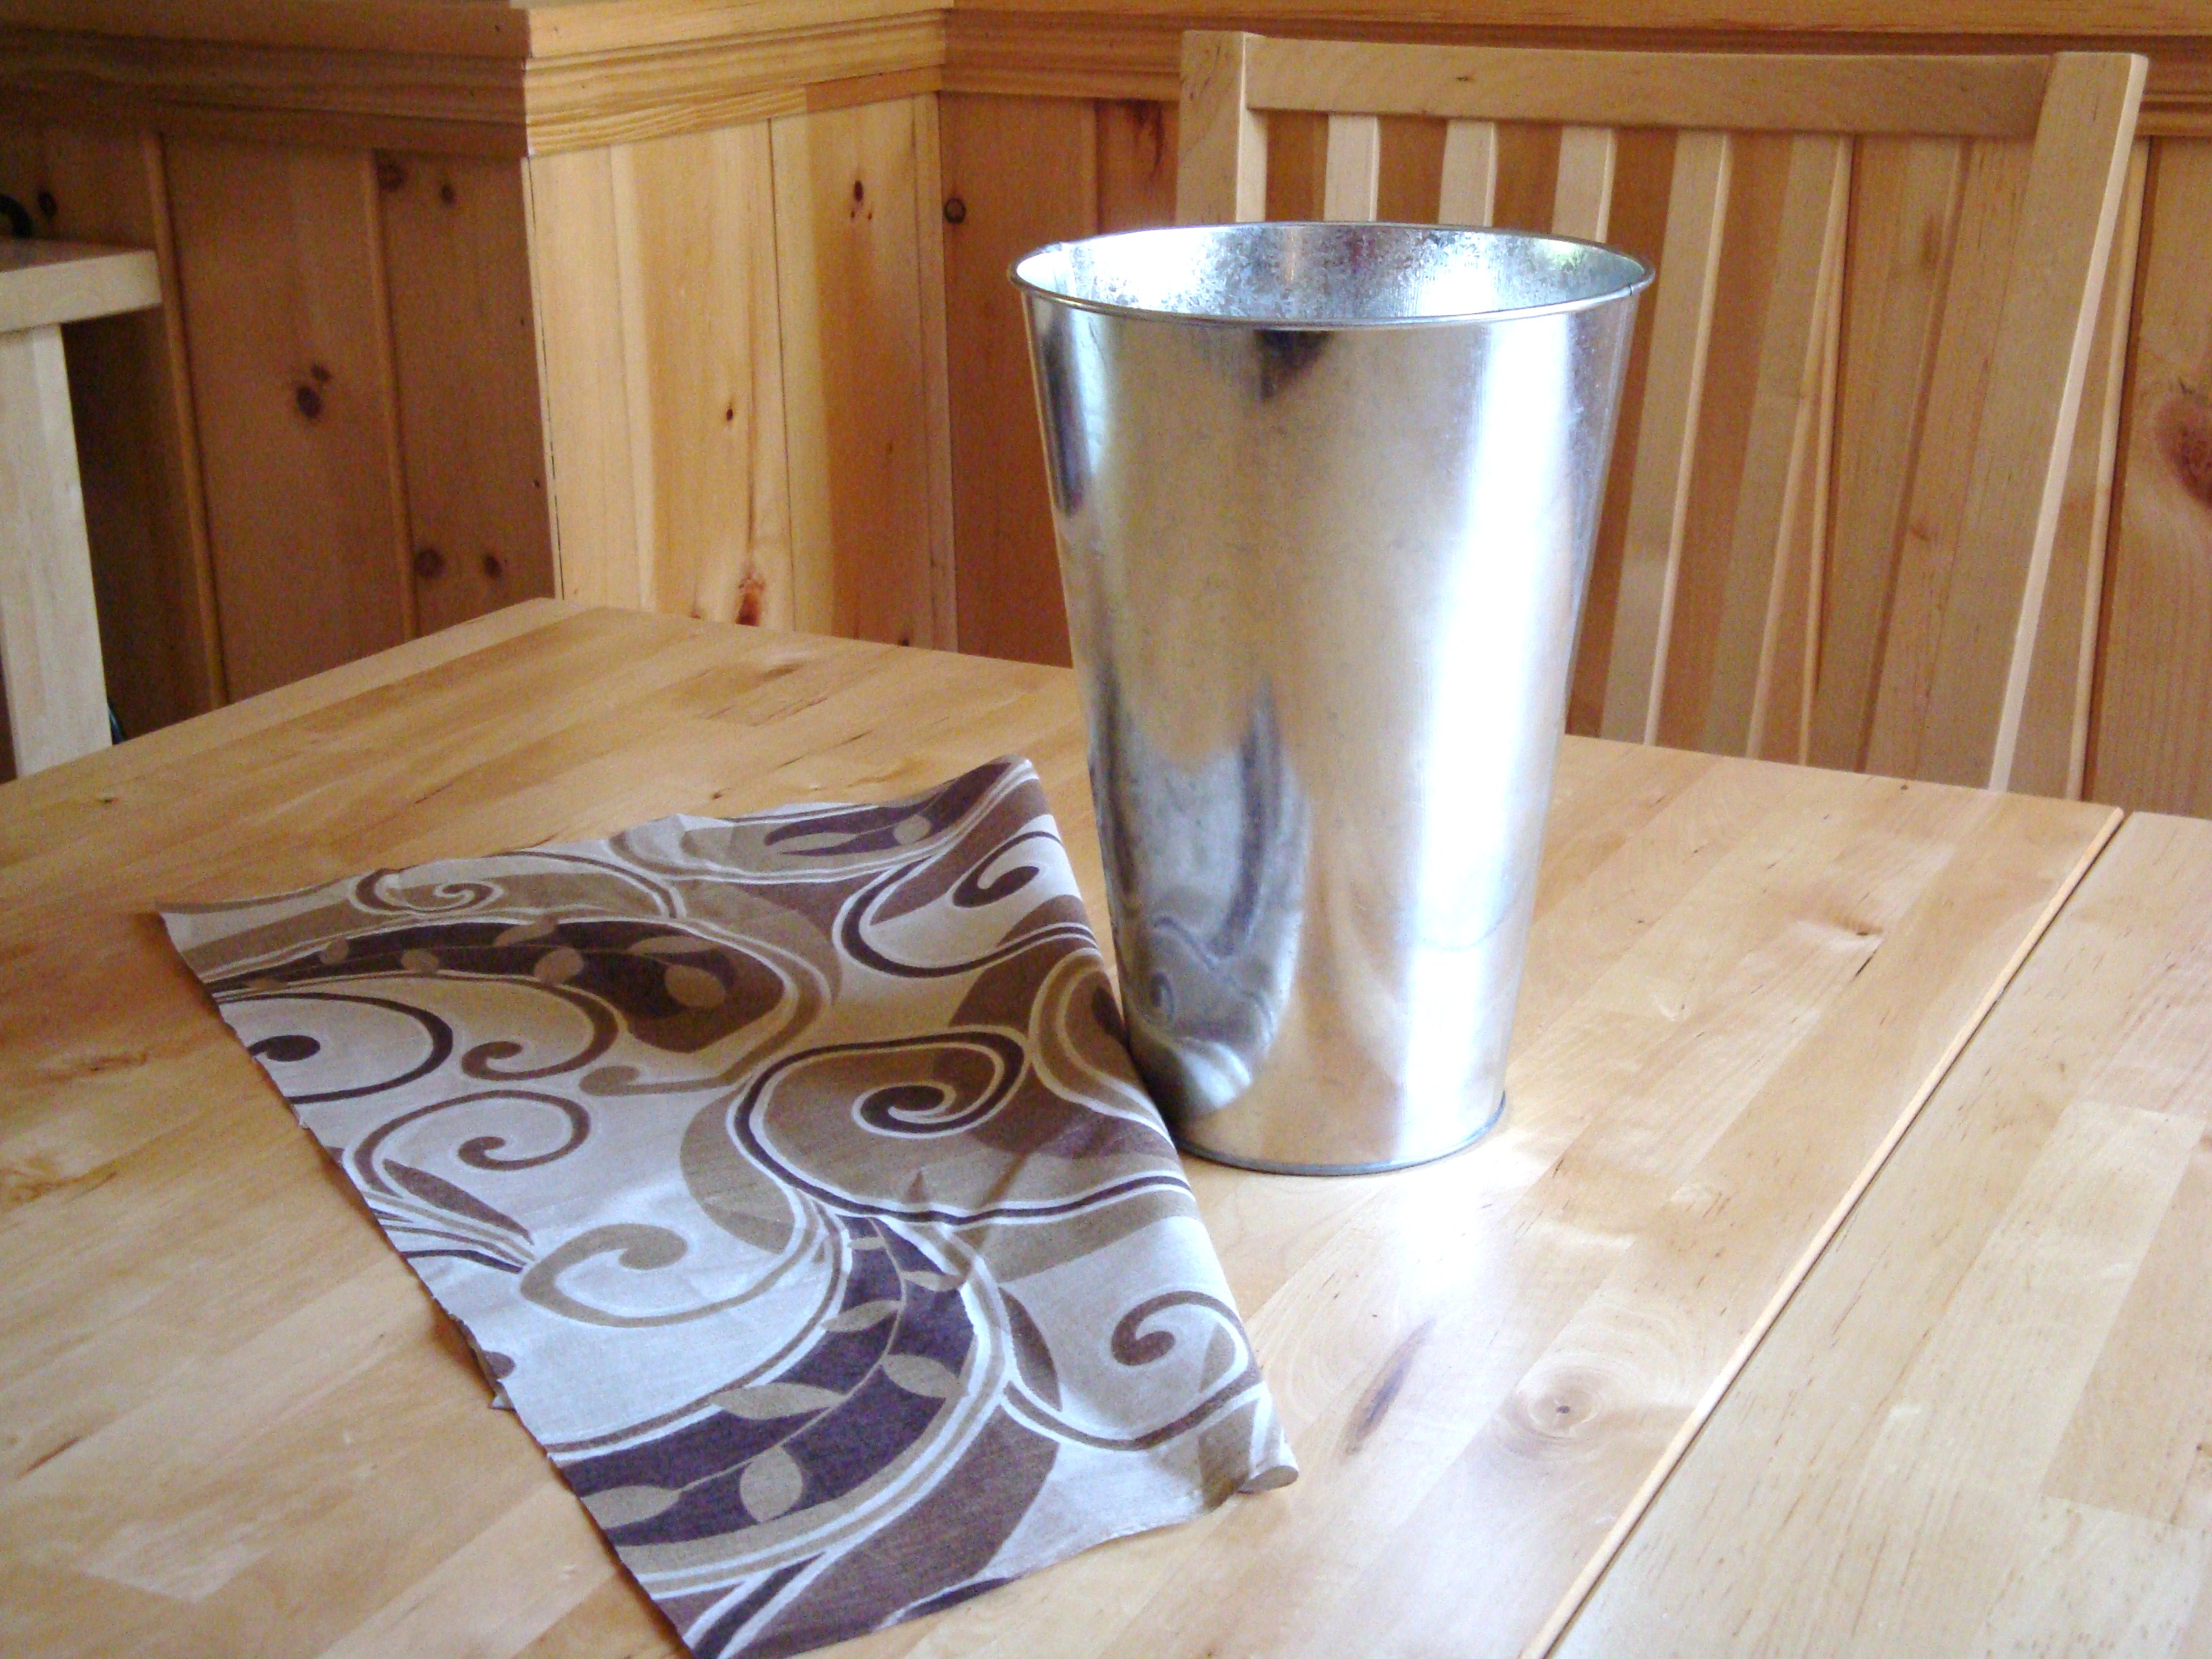
I needed something narrower, and tall. I found a beautiful one in Michael’s, embellished with copper ornamental shapes. But they wanted $27.99!! I am FAR too cheap to pay that much for a bucket. This one is the right shape, just not tall enough. I found this one at the Dollar Store and paid 2 bucks for it. It would do for now.
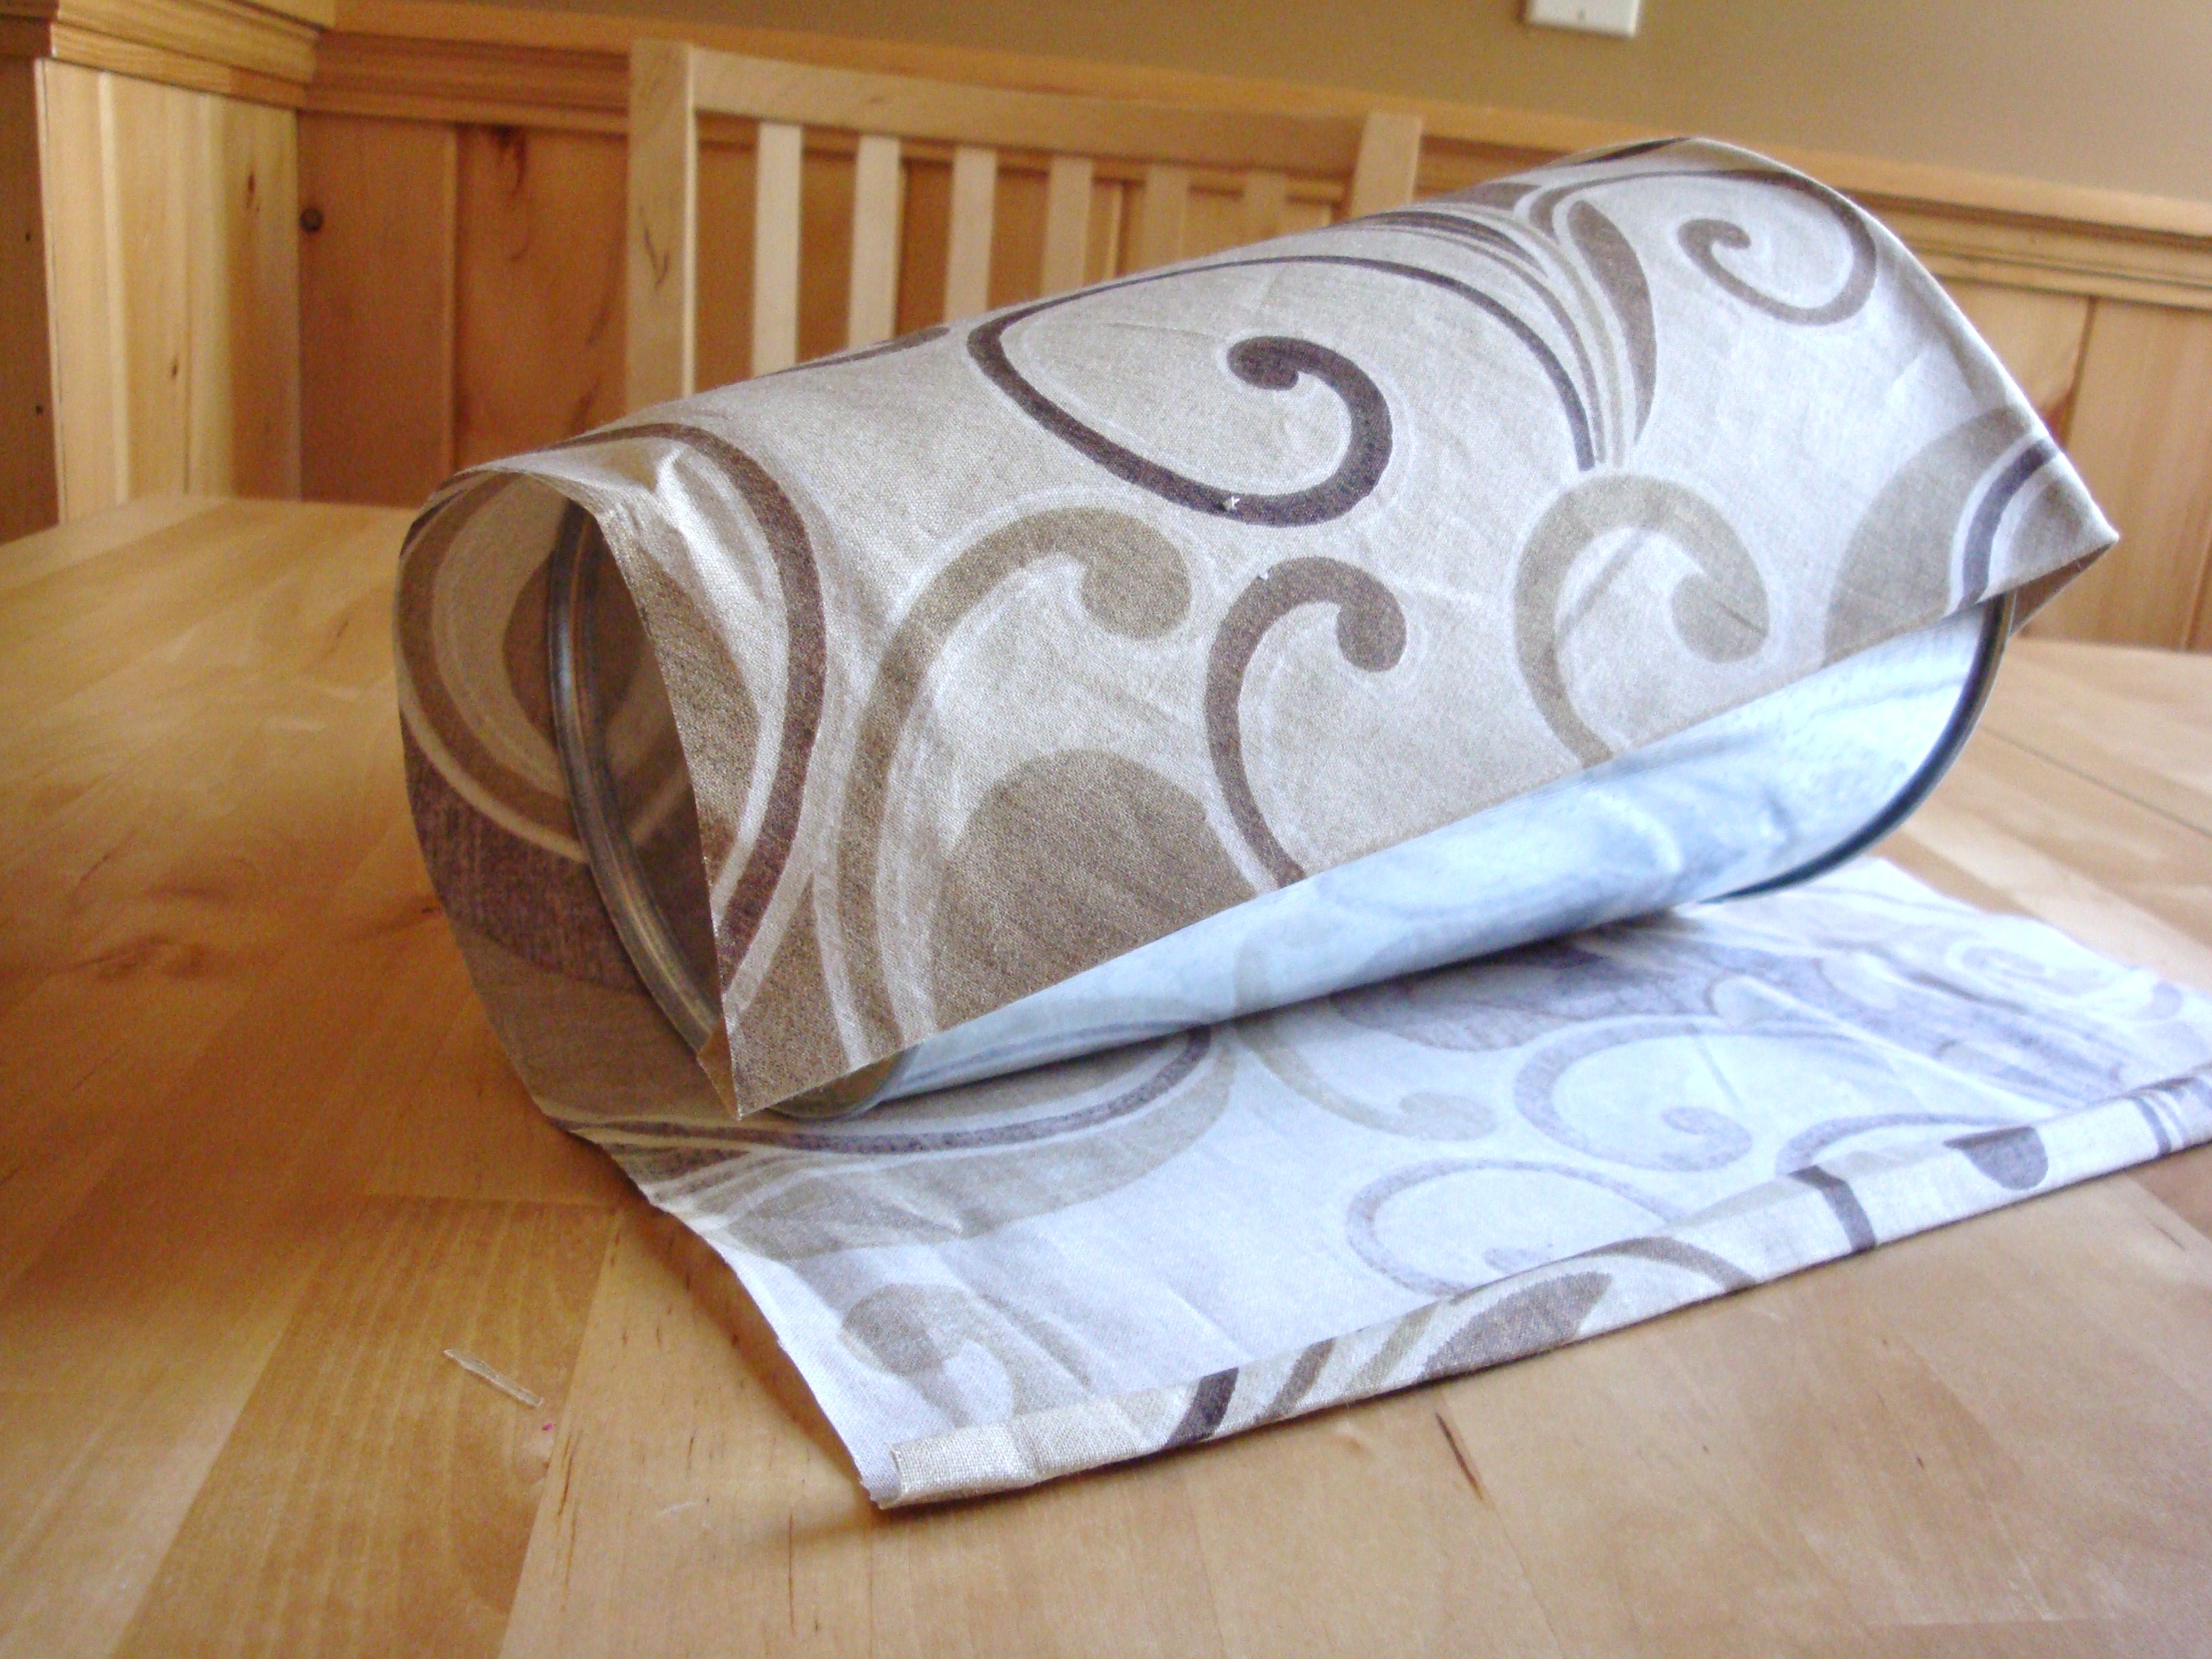
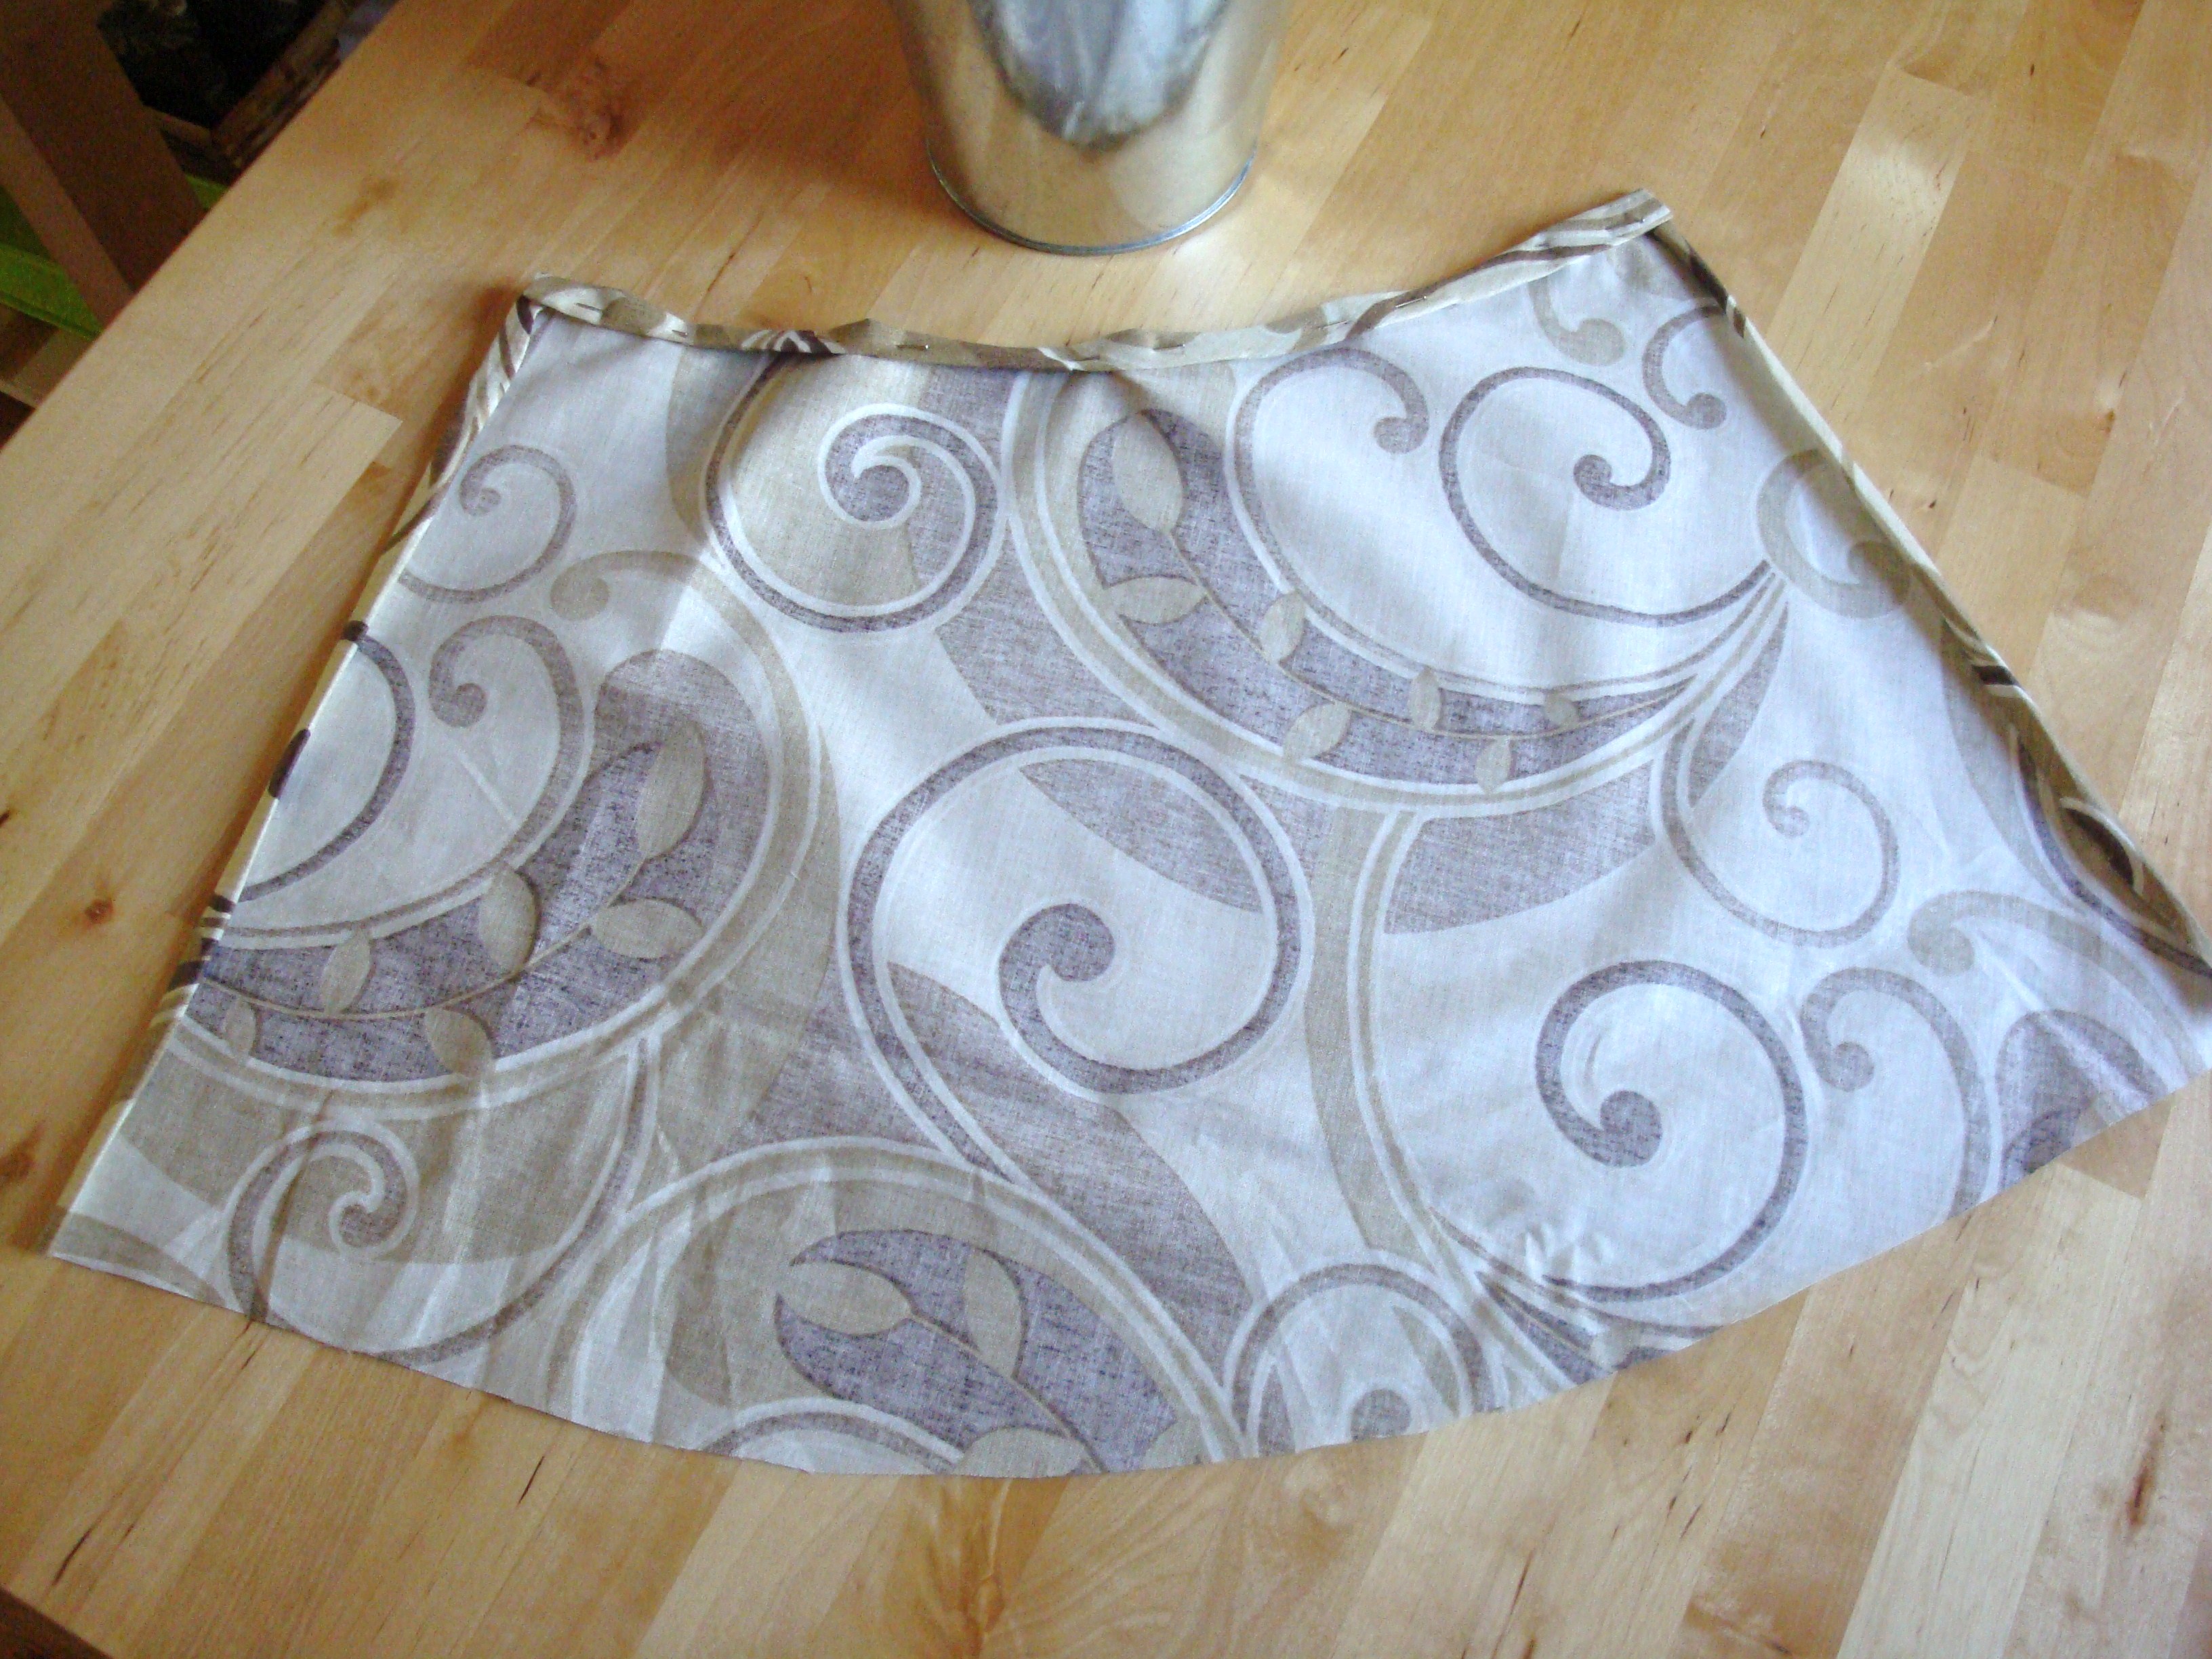
Take your bucket/container and a scrap piece of fabric. All you need is one that is roughly 18″ square (or large enough to allow for the dimensions below). Wrap it around the bucket and mark the fabric leaving a 1″ margin at the bottom and sides of the bucket and at least 2″ at the top.
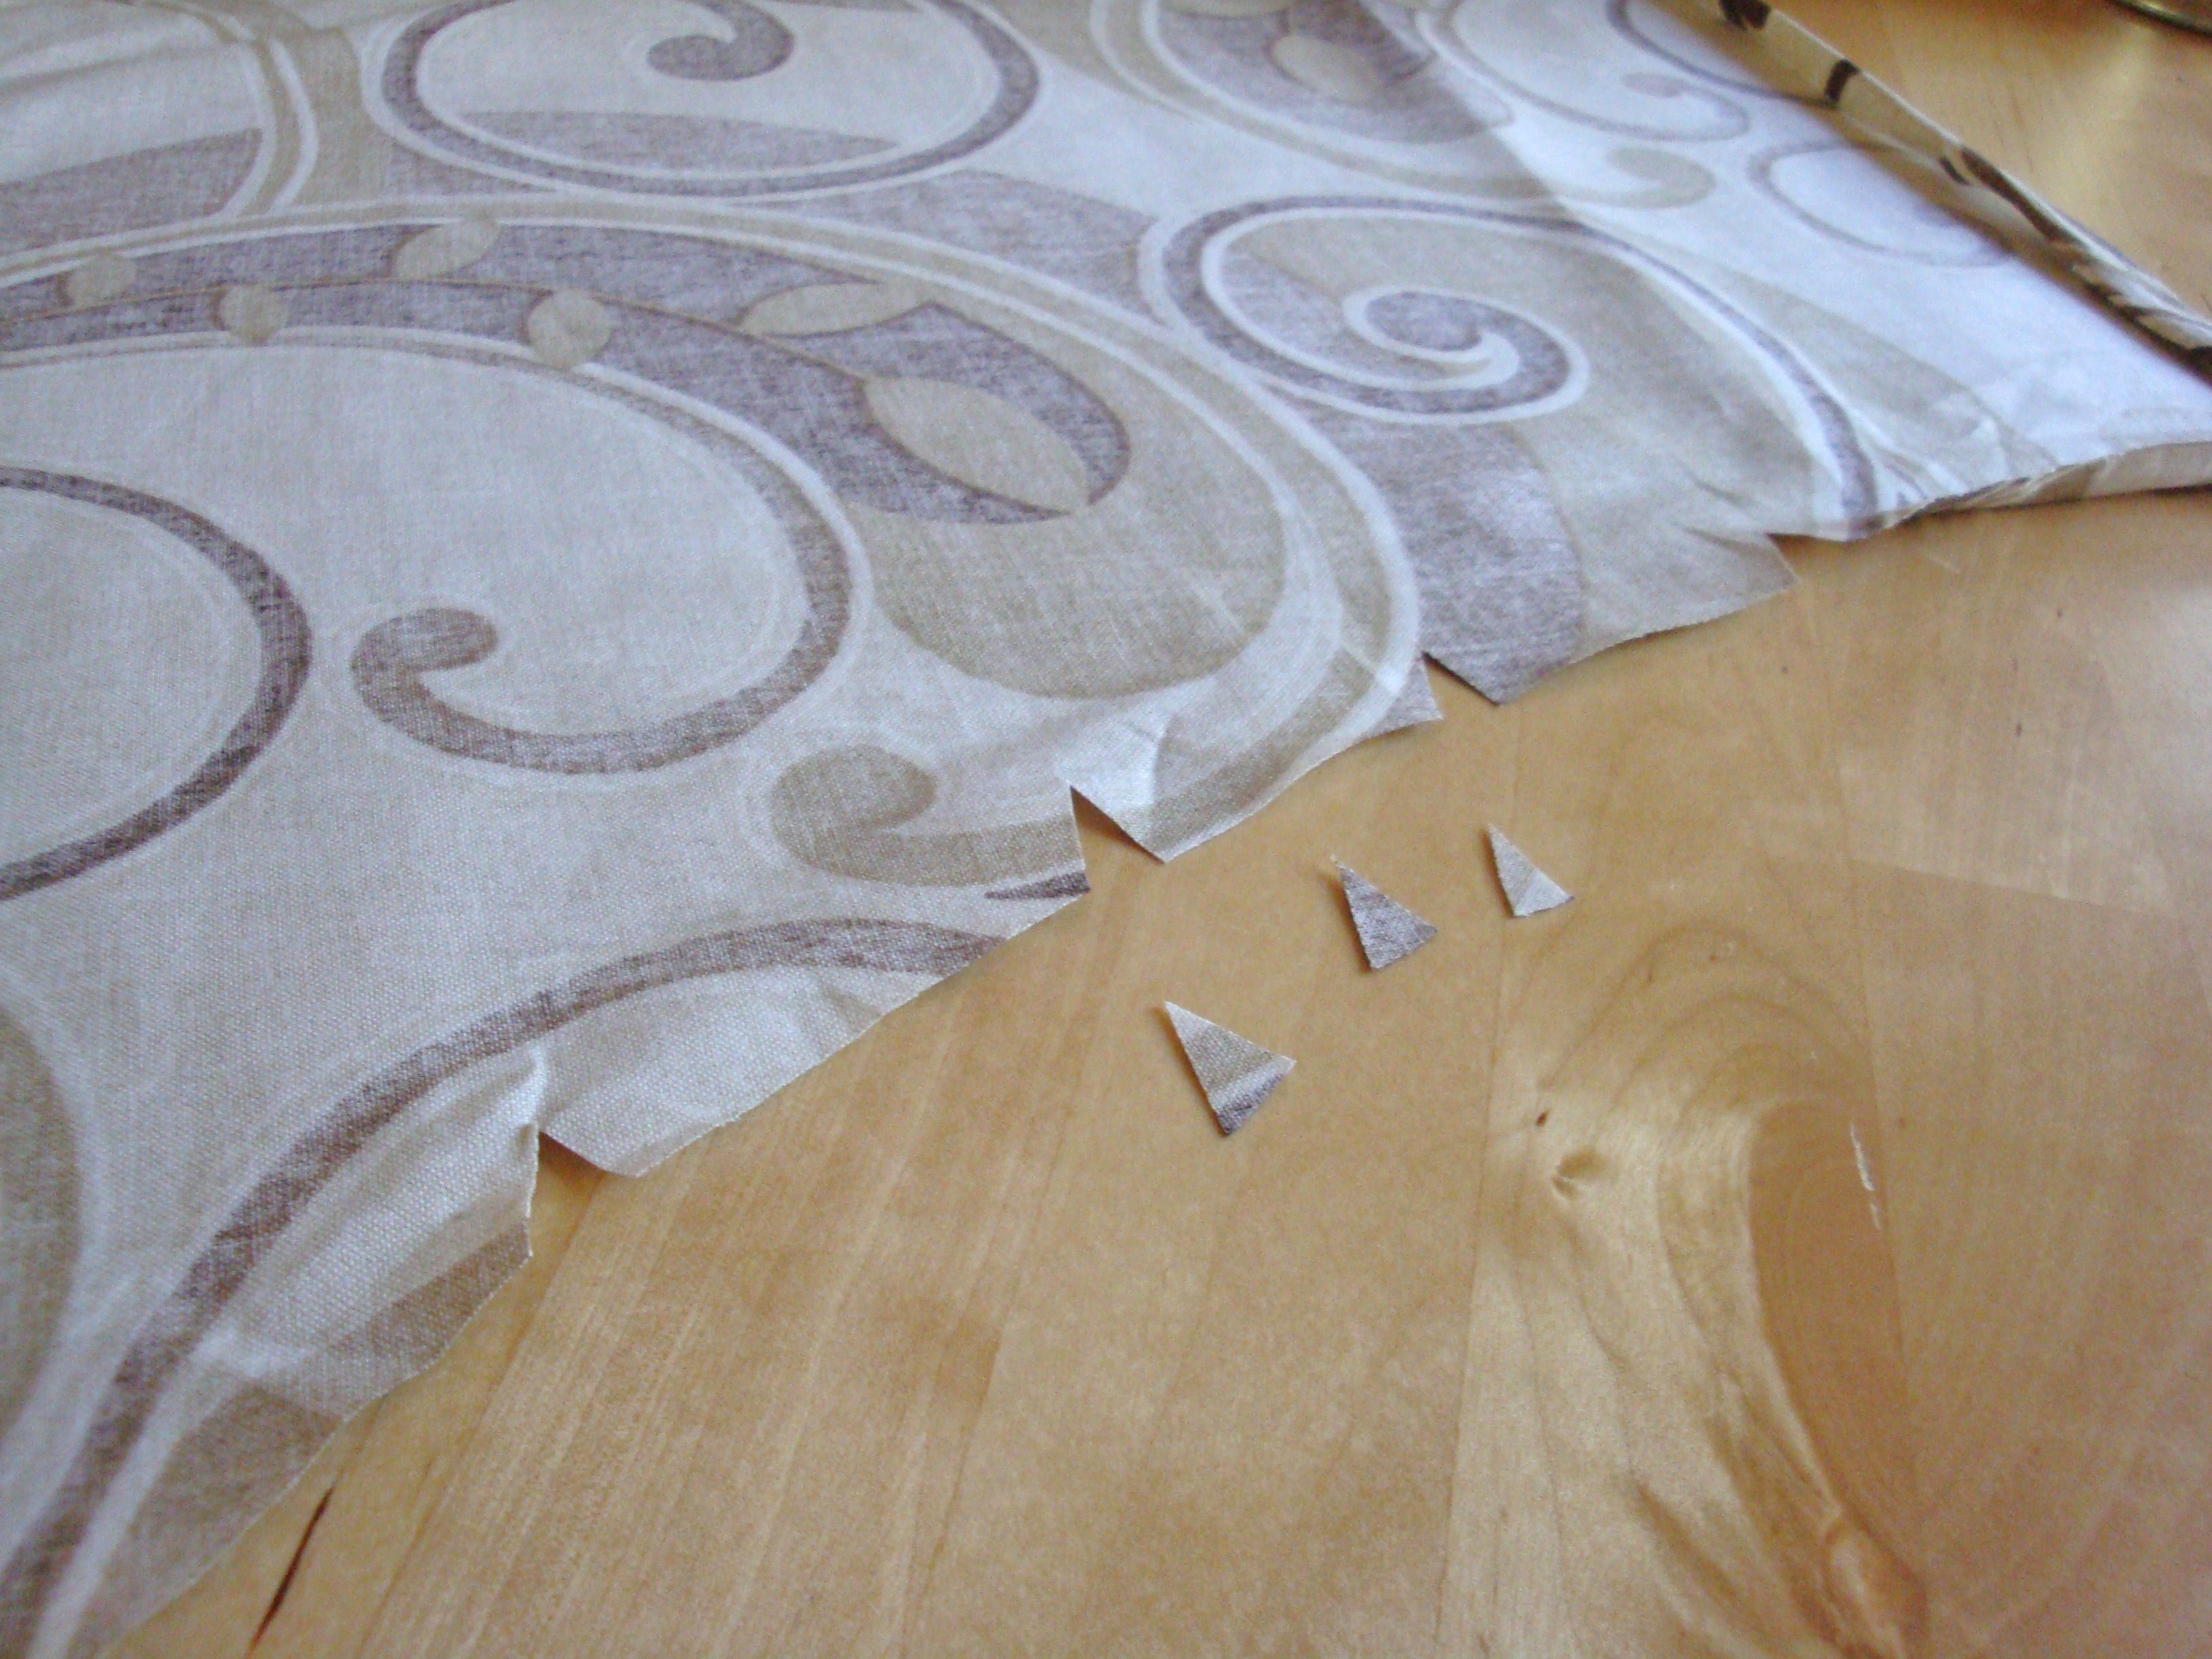
Because the bottom edge is curved, you will need to notch a few pieces up to the first half inch so the seam lies flat when folded and sewn.
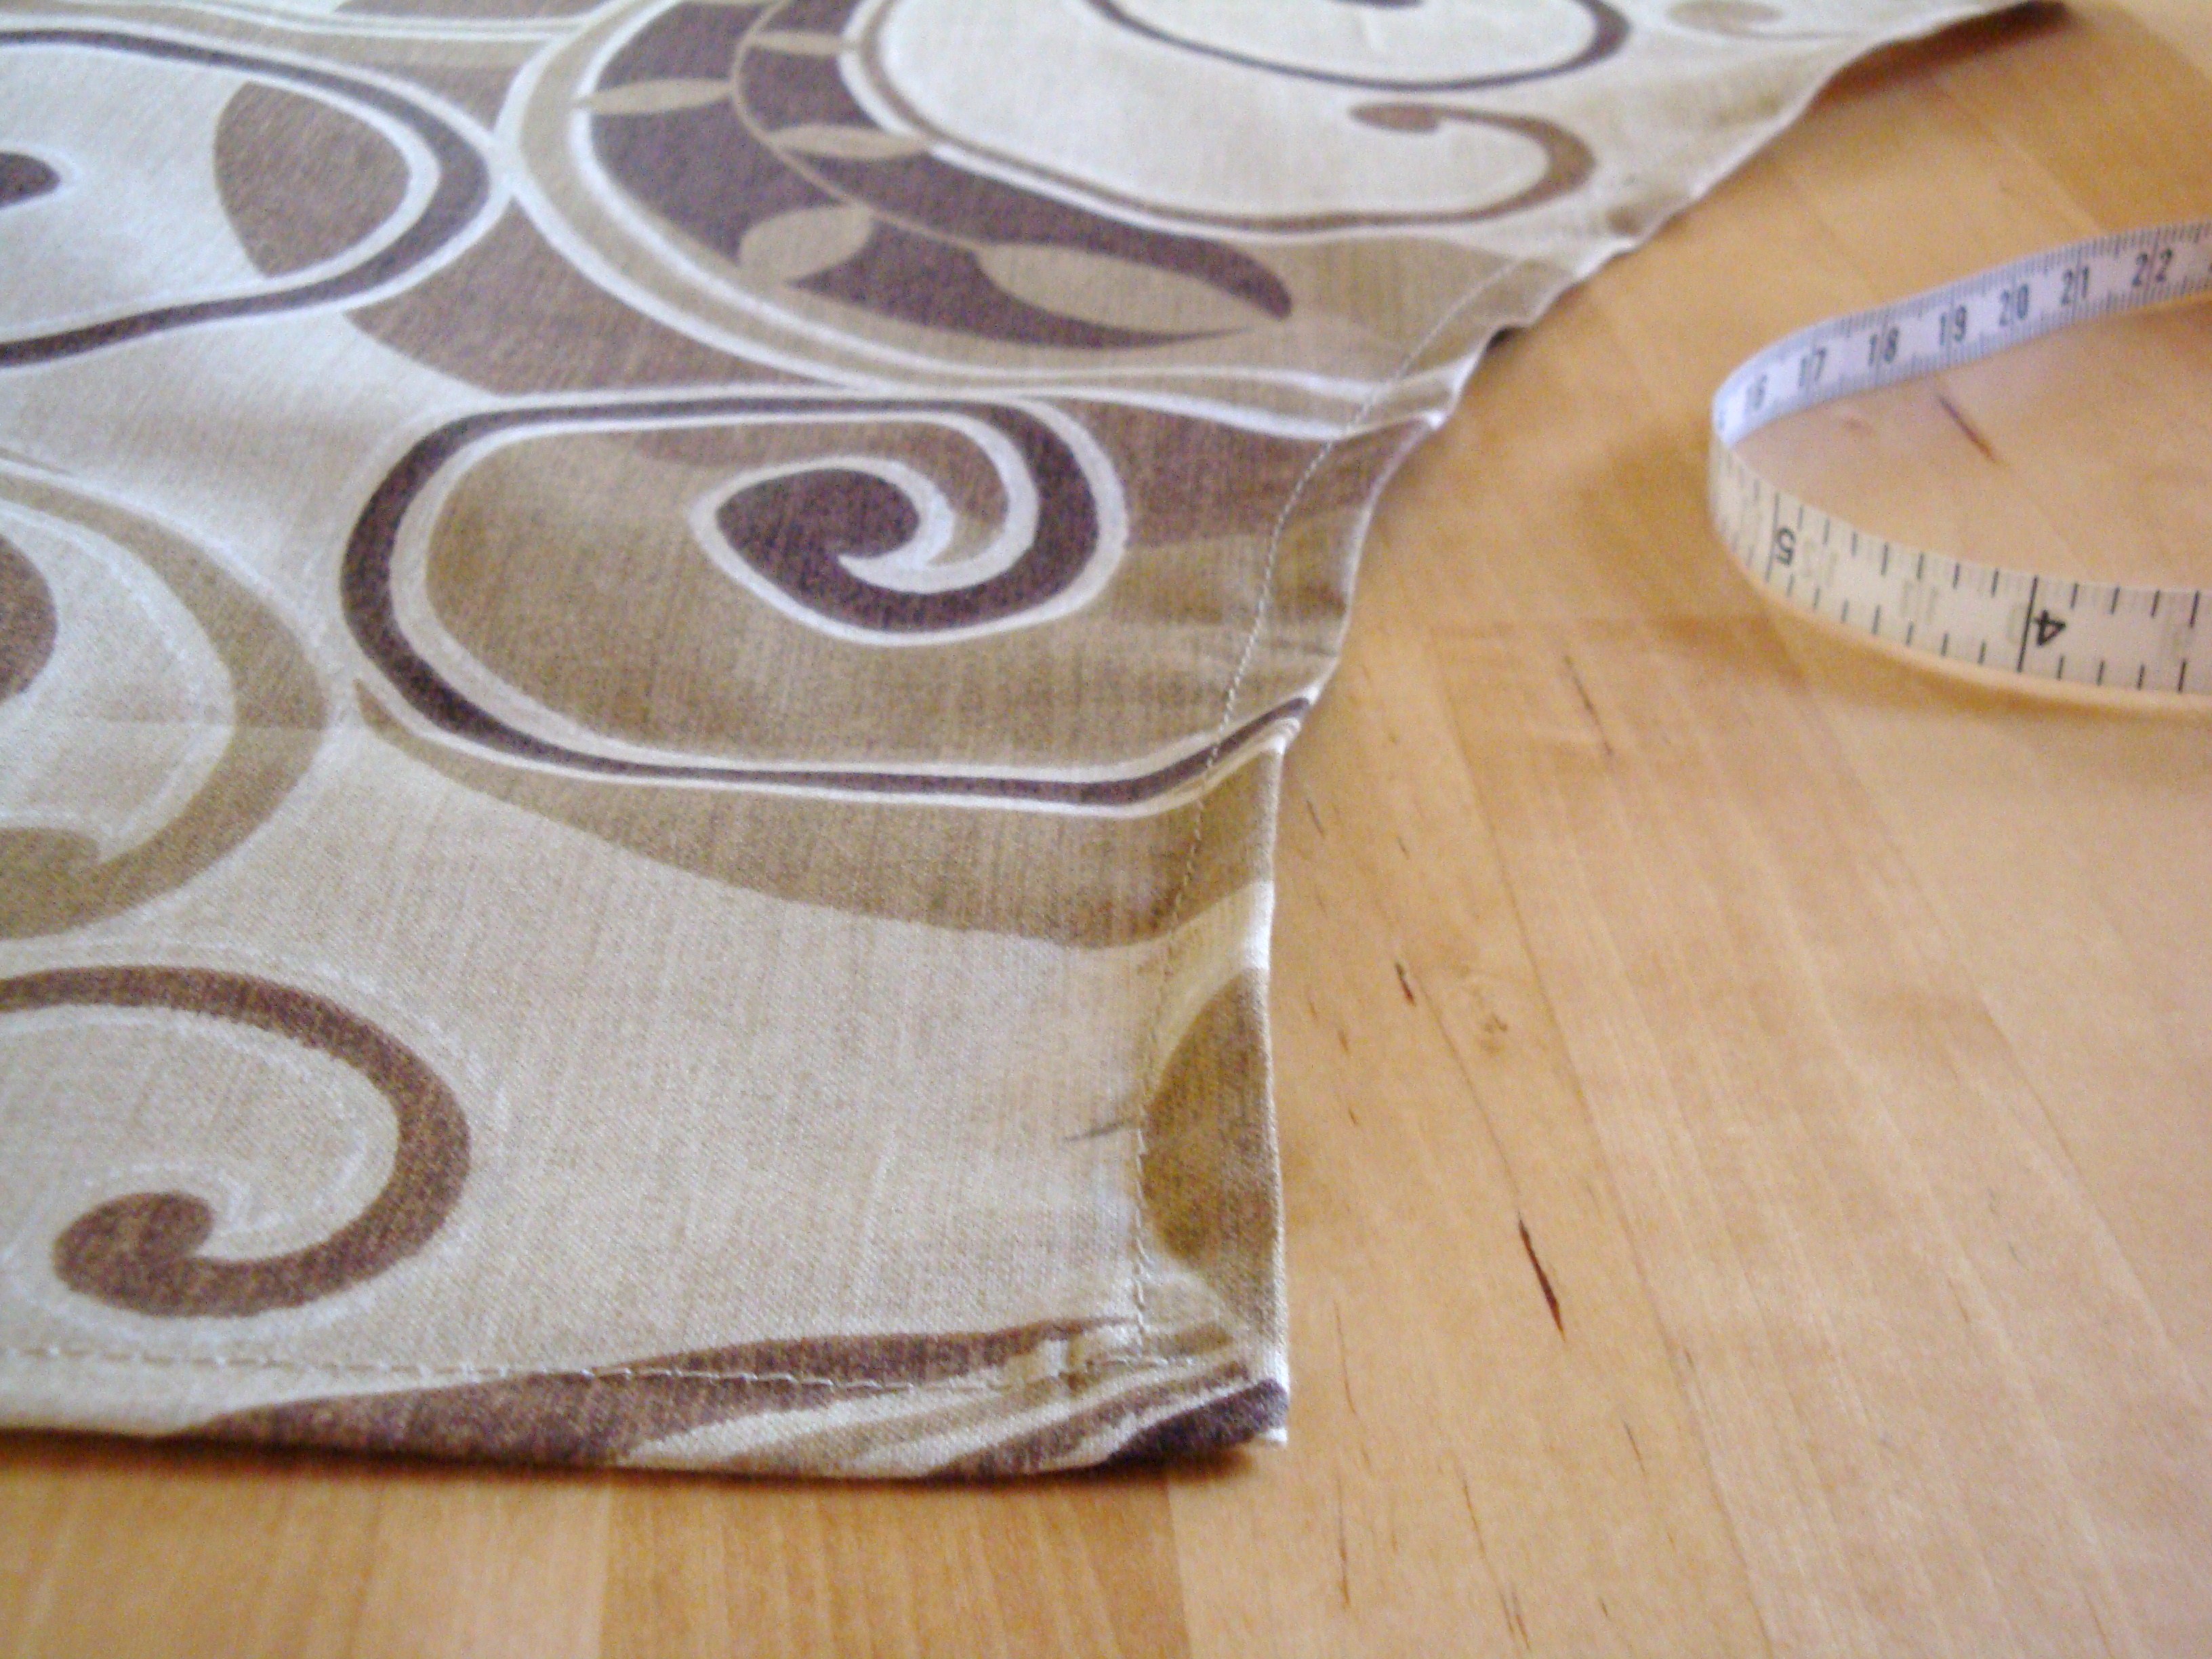
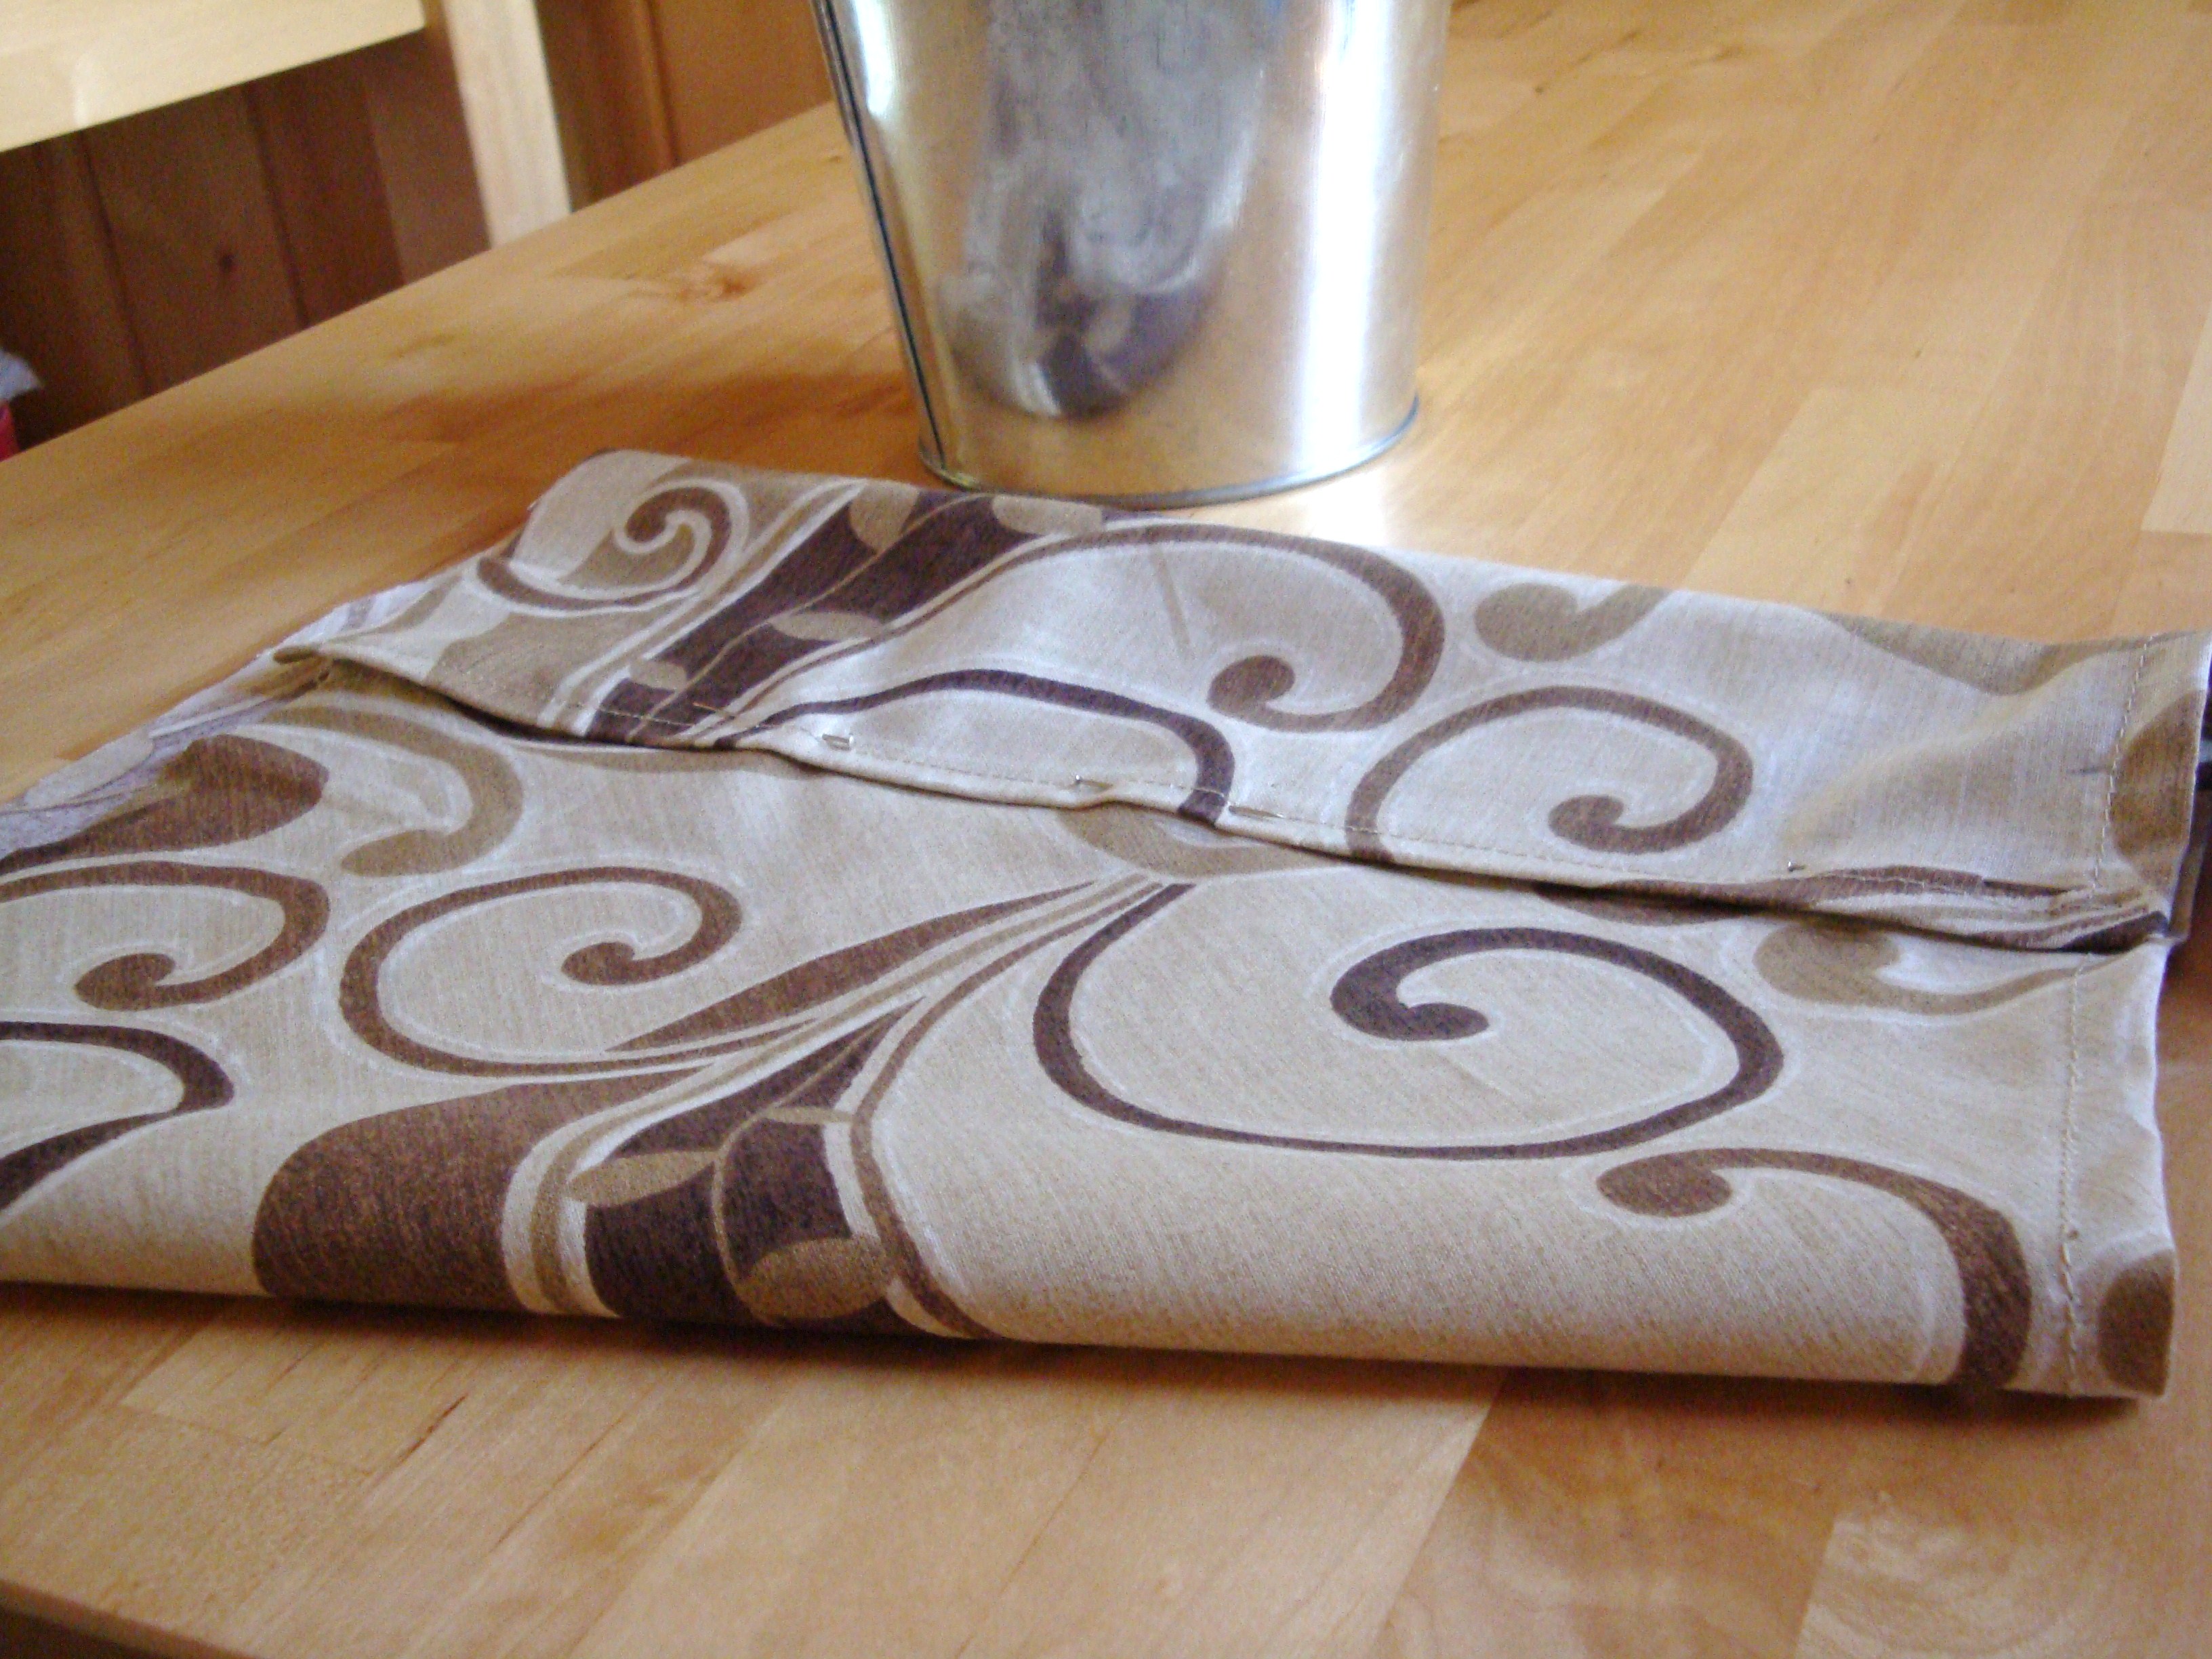
Turn under the side and bottom edges a 1/2″, then fold over again, pin in place.

You should have a shape like this.
Sew the side and bottom edges.
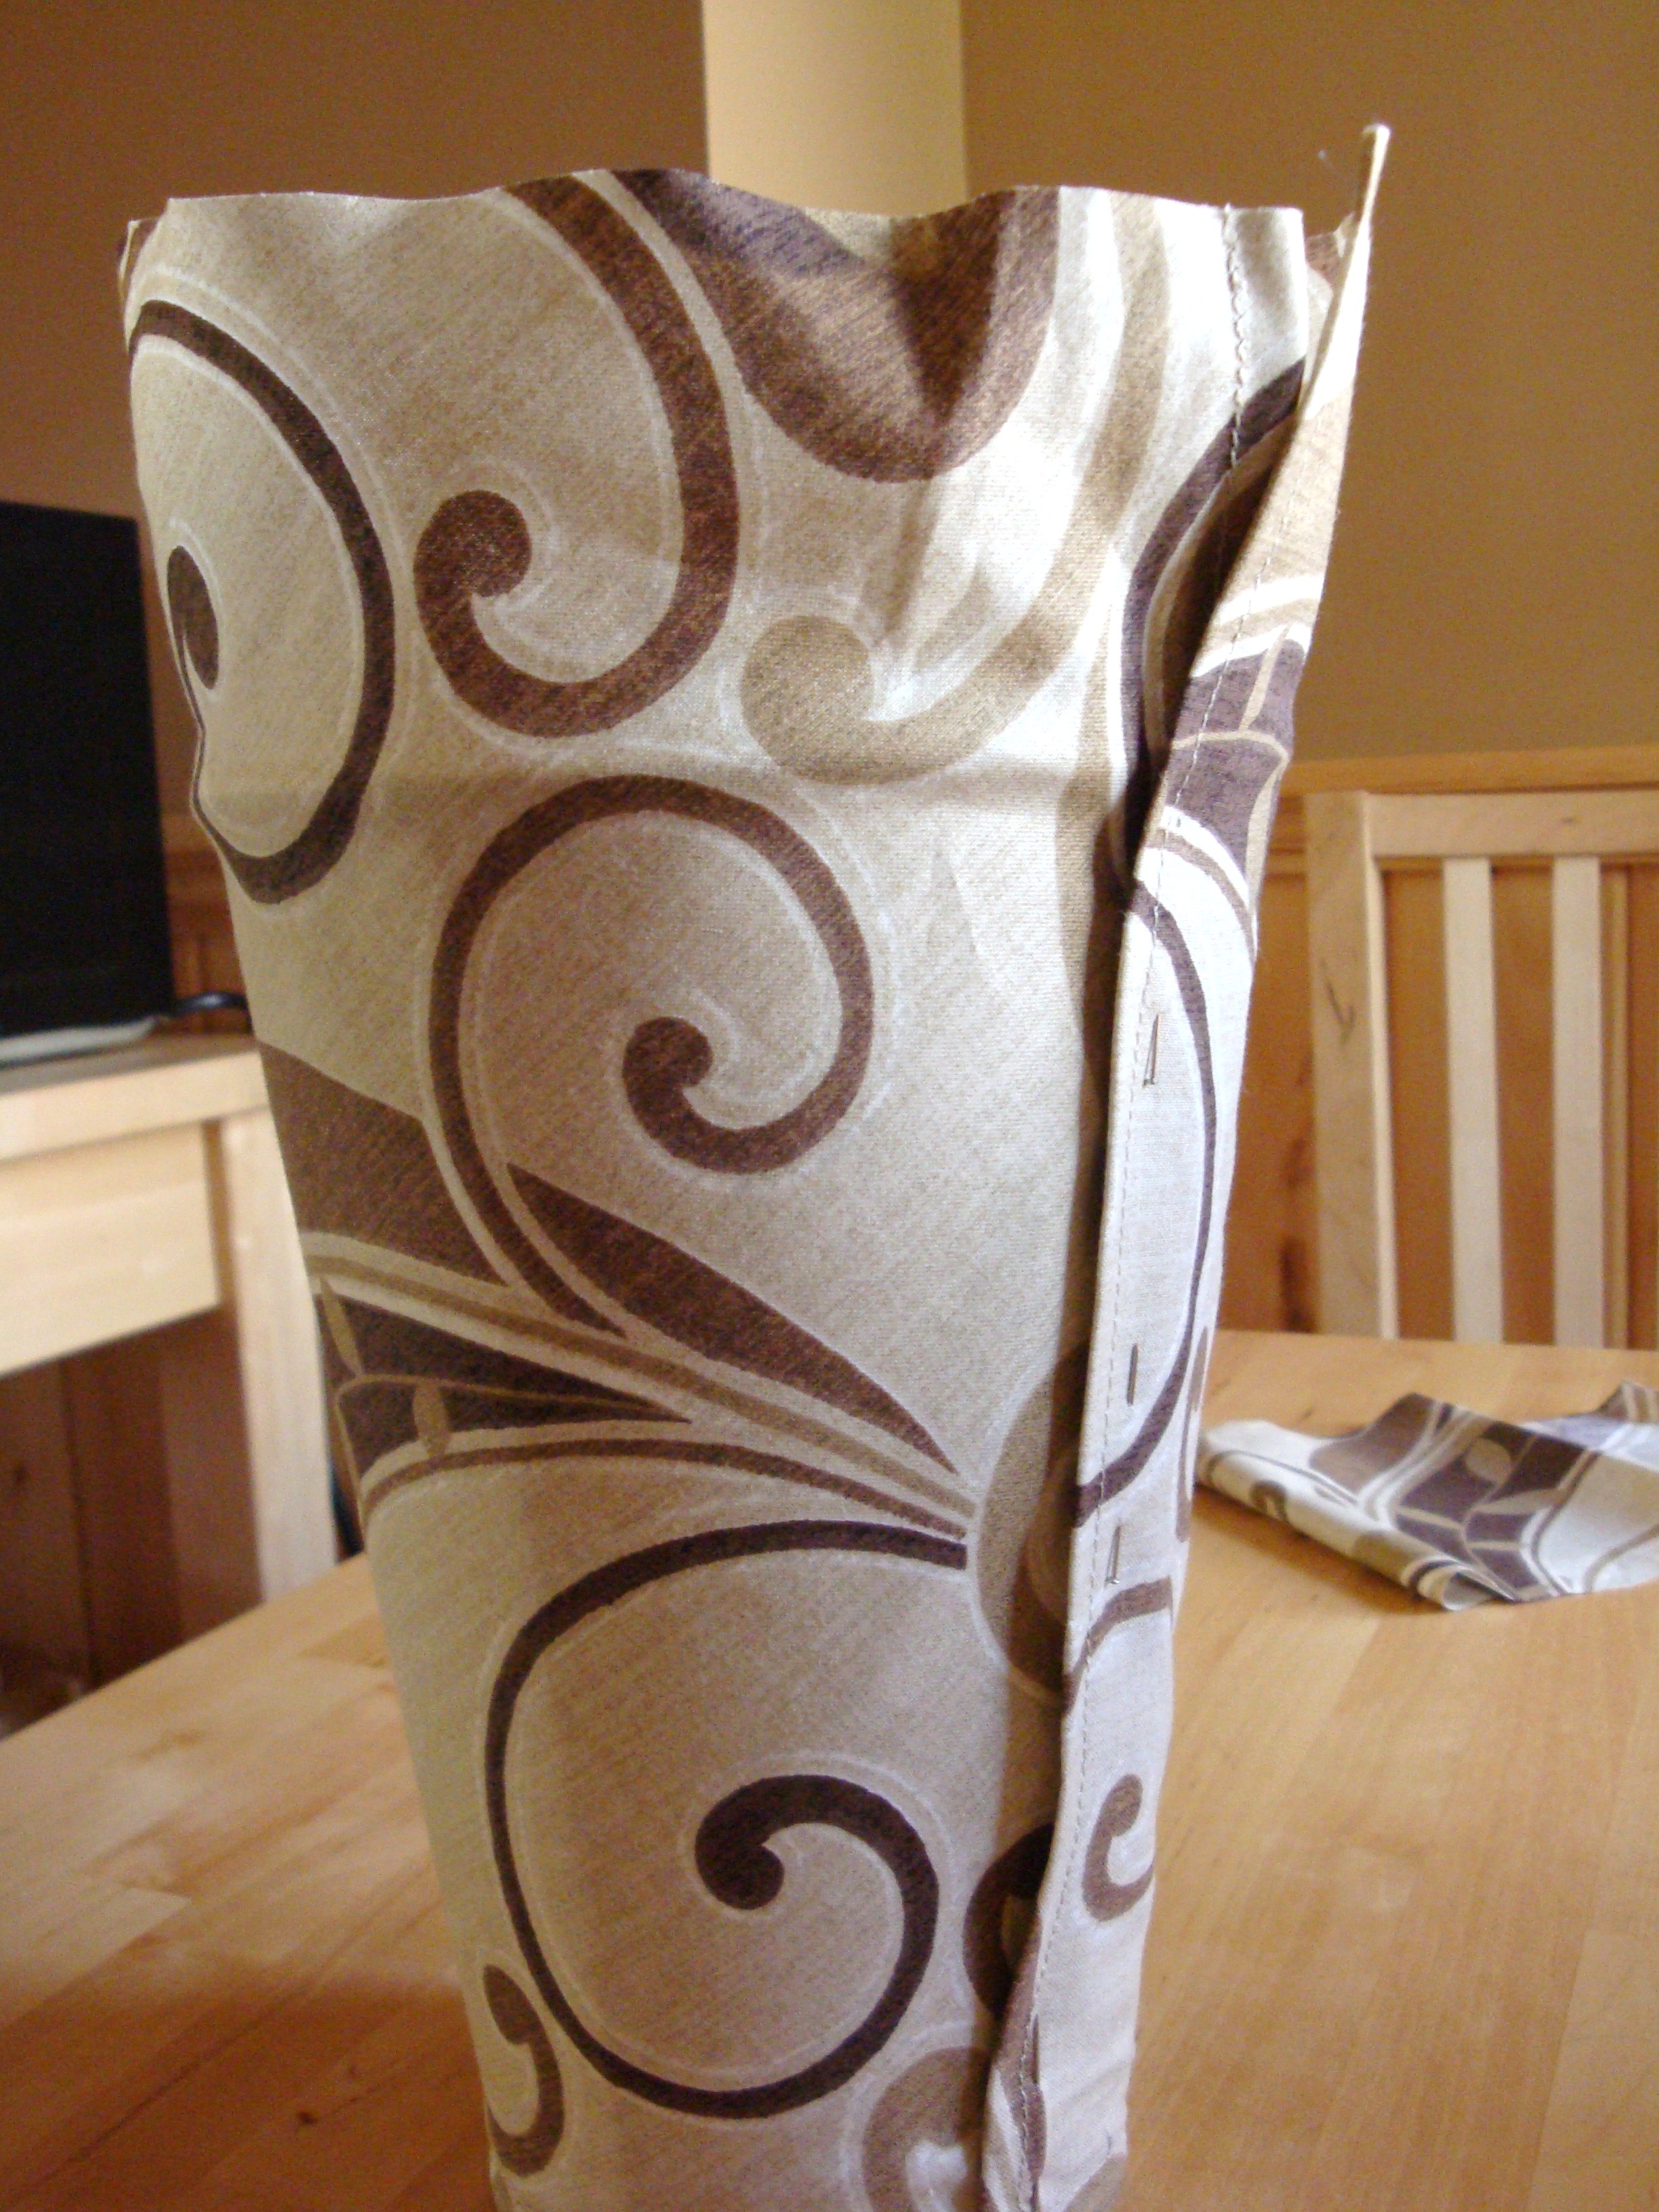
Once the edges are sewn, wrap it around your bucket (wrapping one side edge under the other) with the bottom edge of the bucket even with the bottom edge of the fabric. Pin in place.
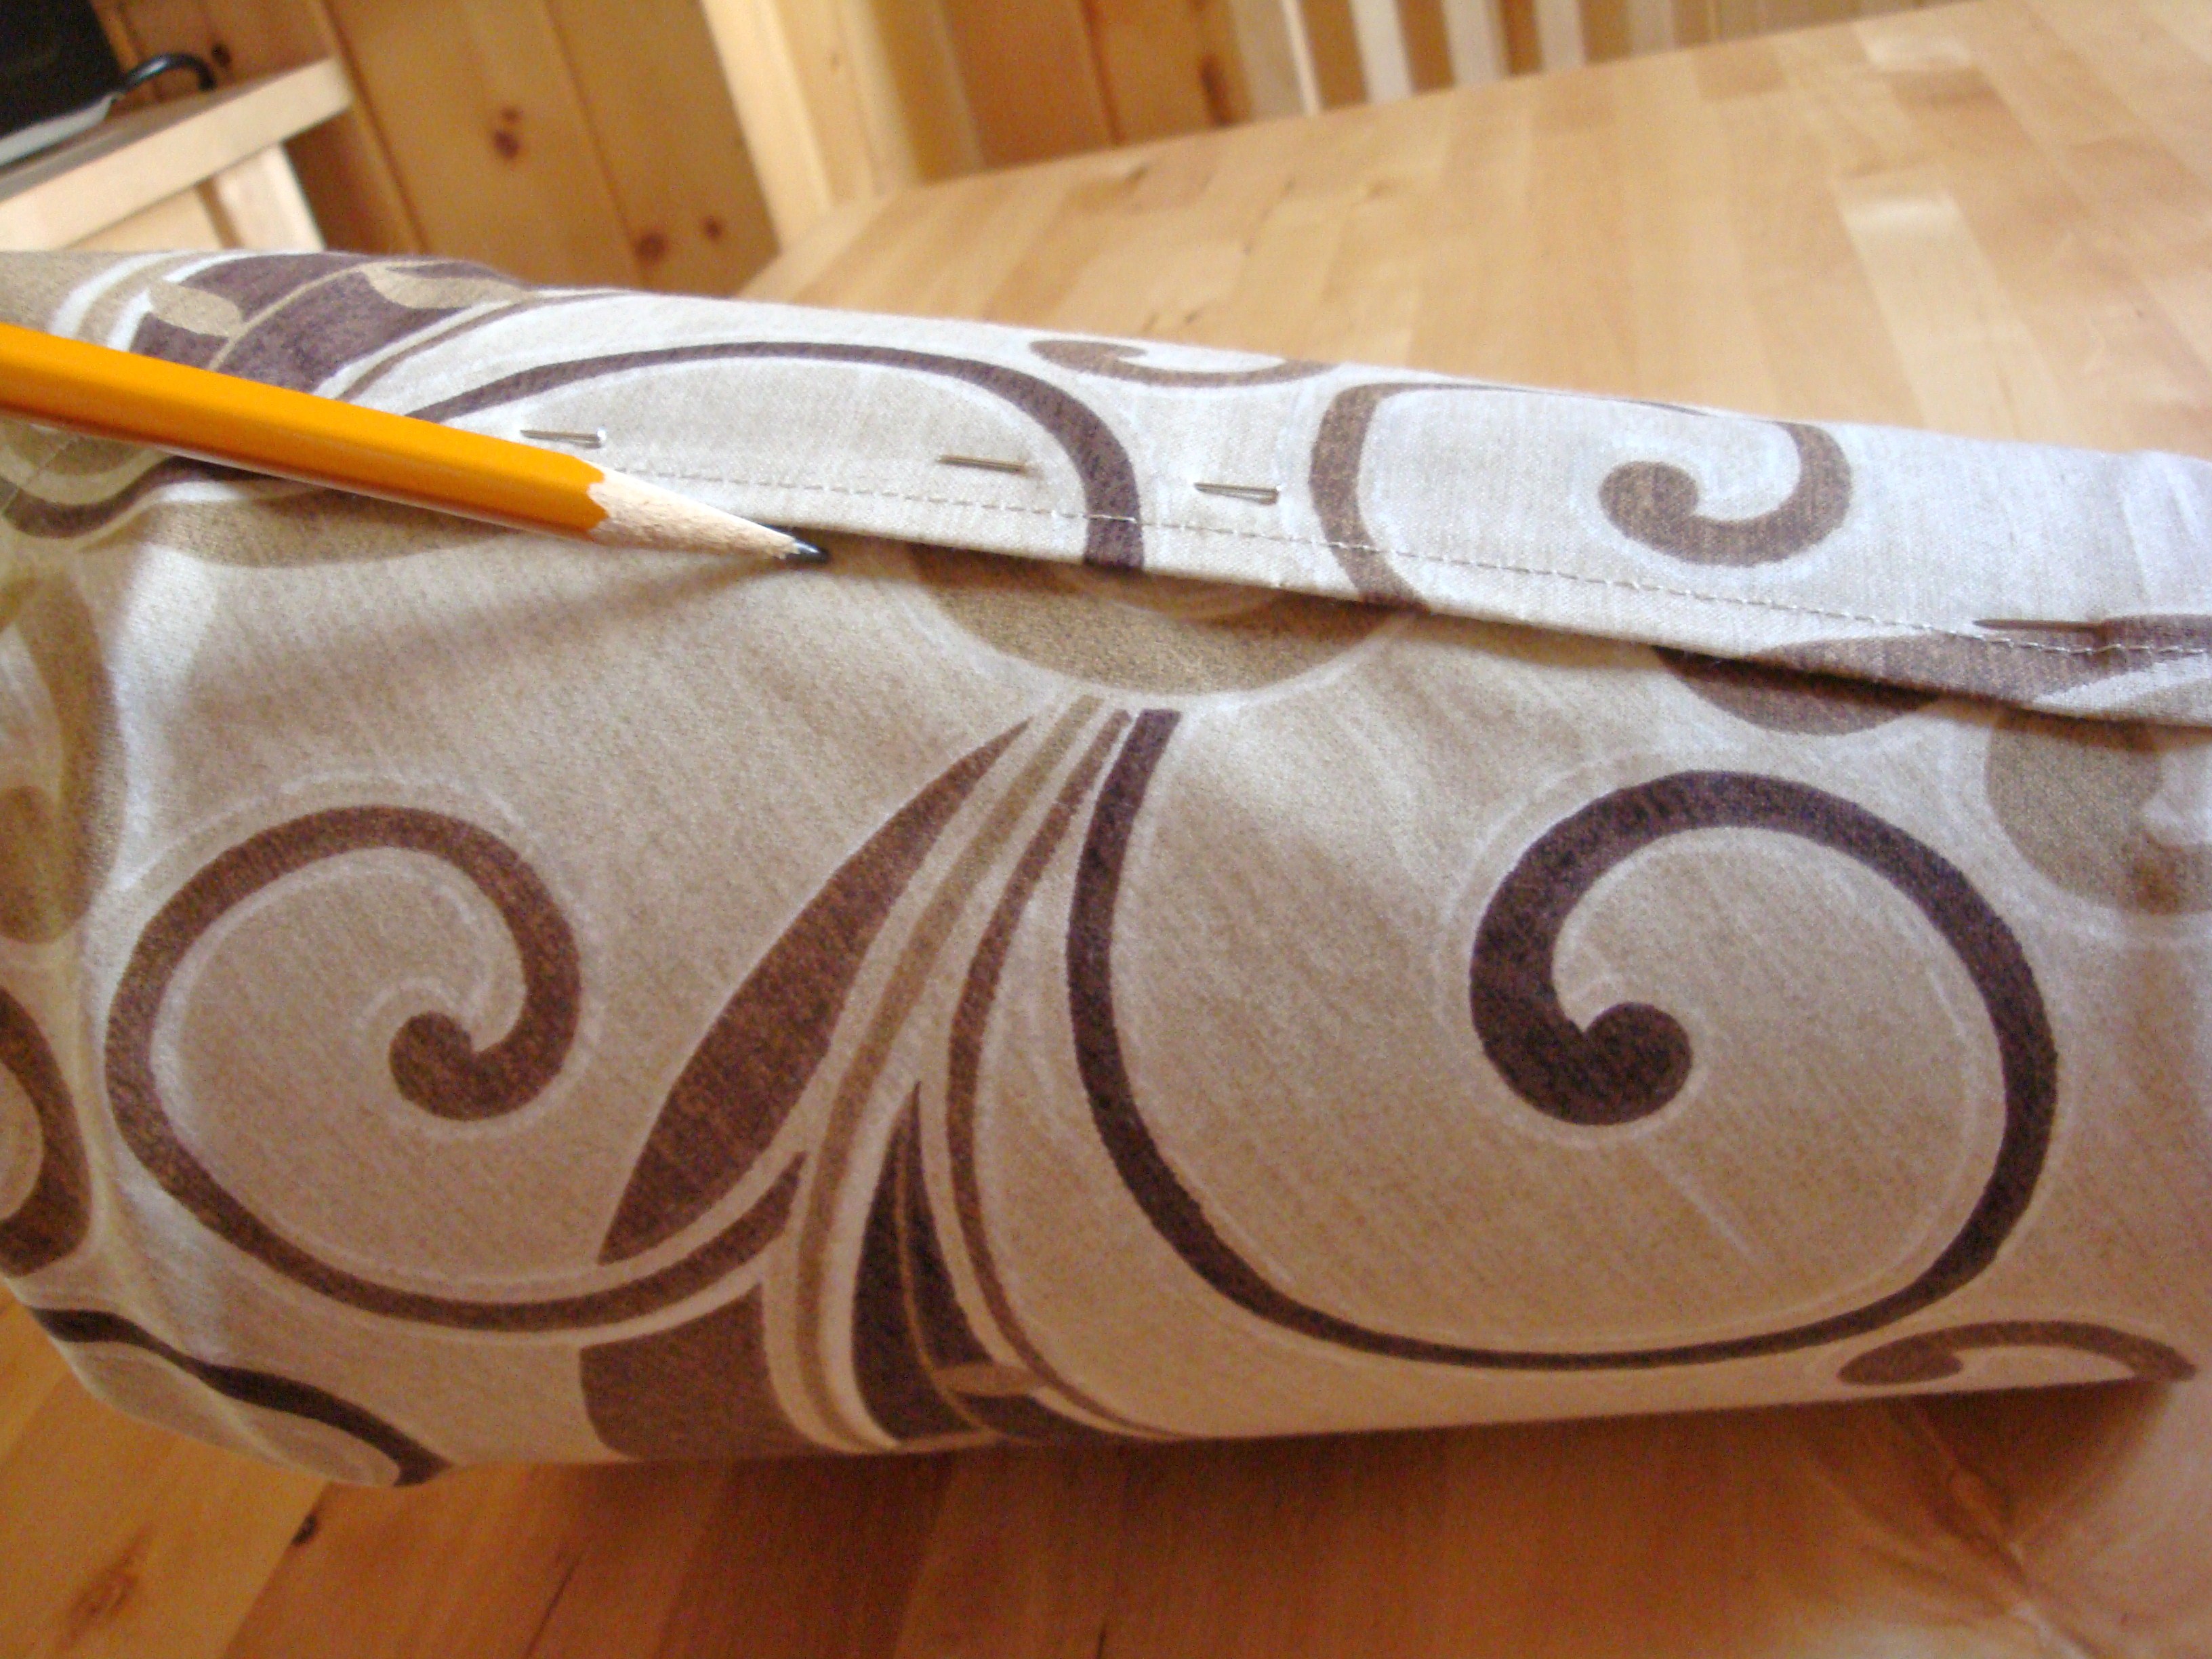
Take a pencil and mark a line (lightly) along the length of wrapped edge. This will be your placement line.
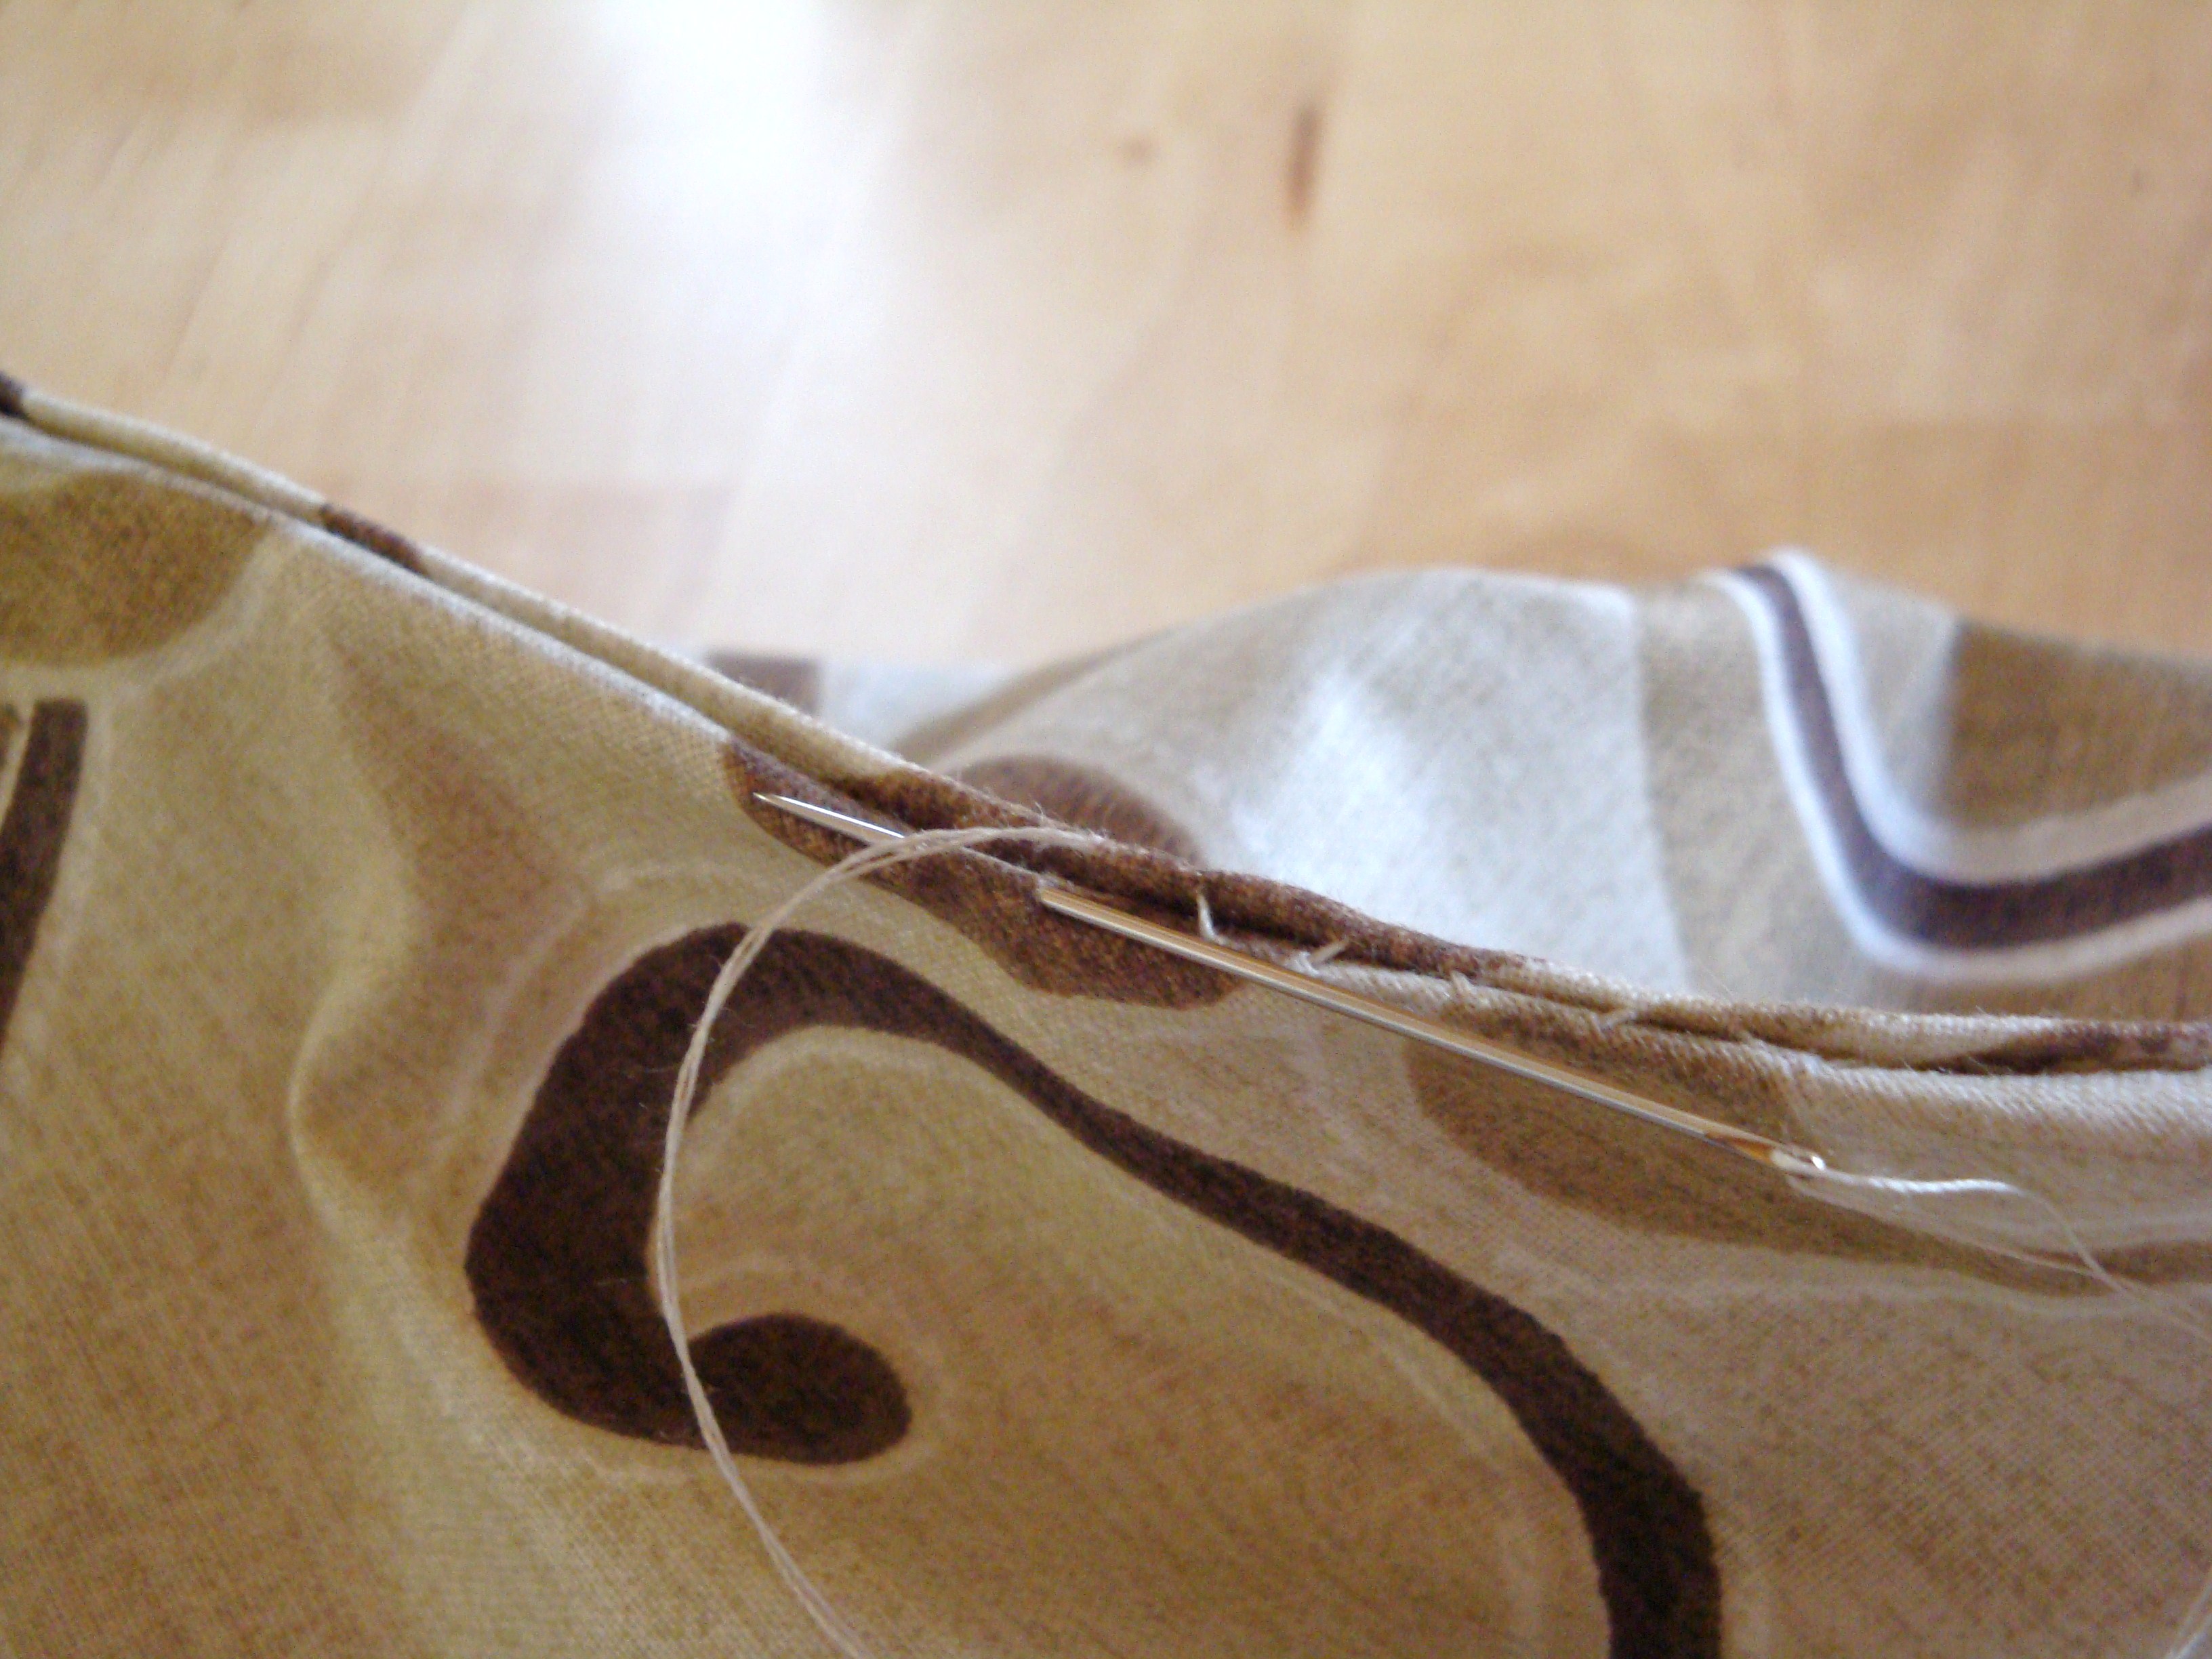
Slide the bucket out of the fabric sleeve and using a blind stitch, hand sew the seams together following the placement line.
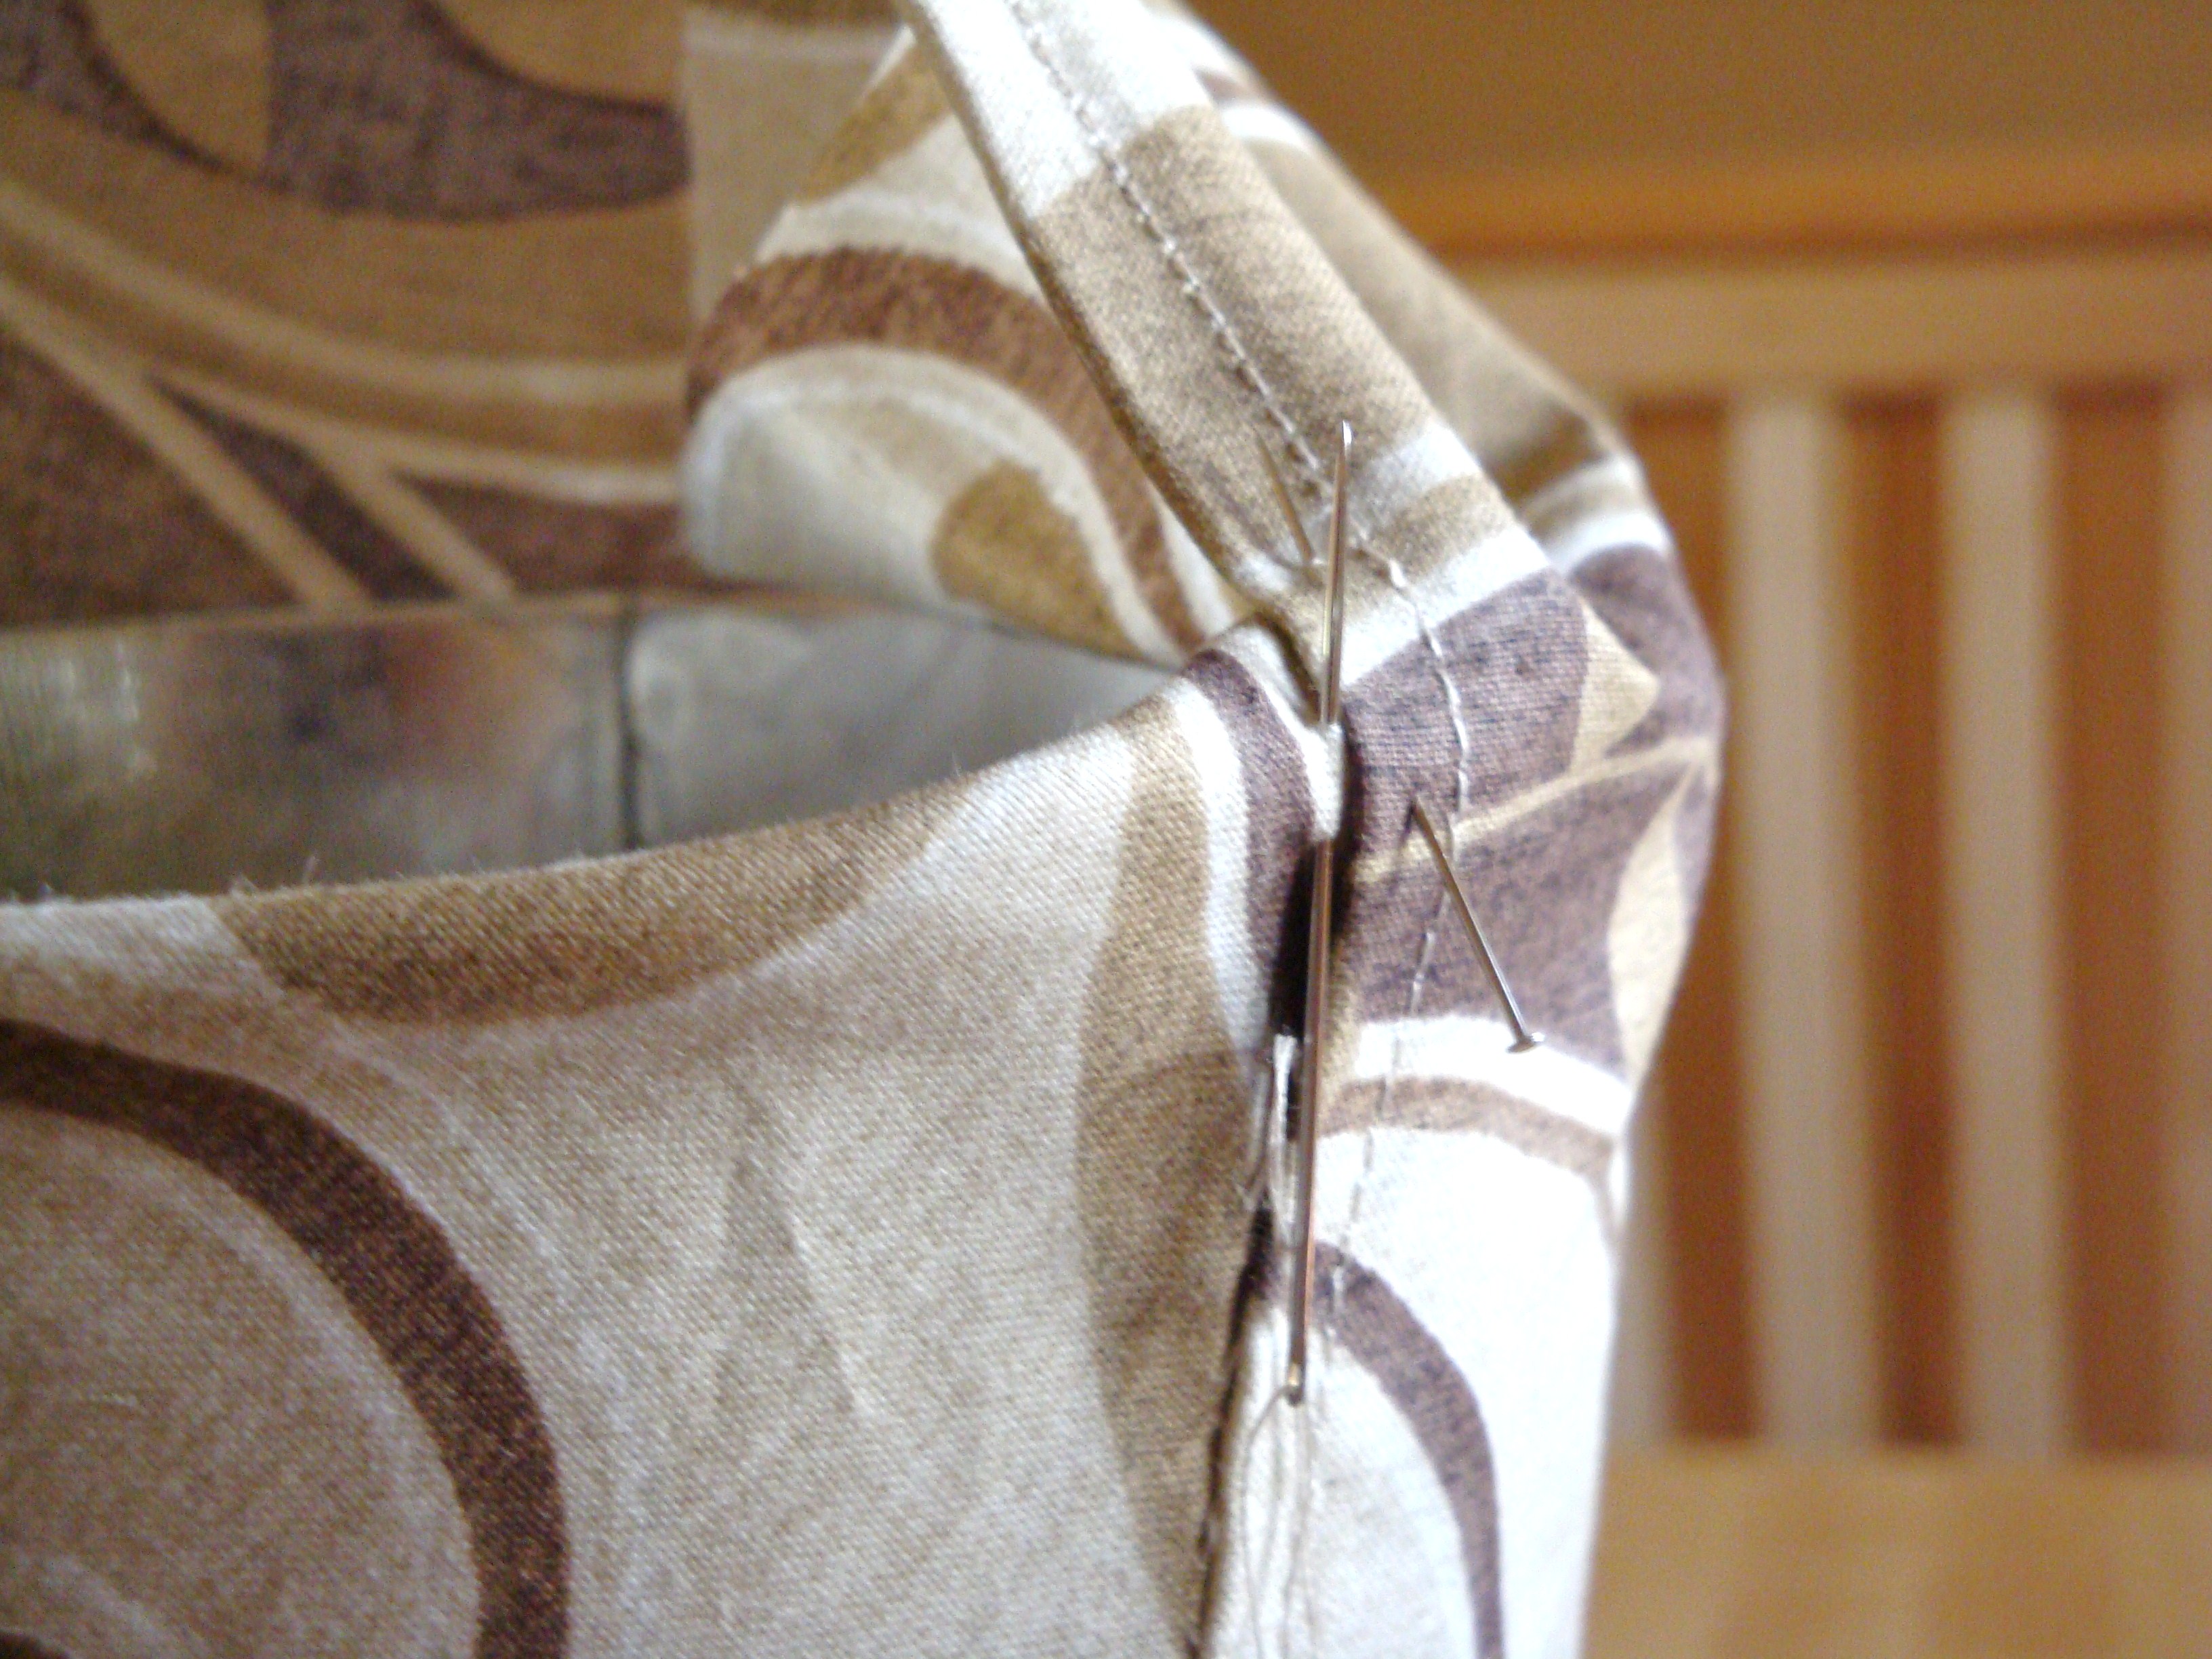
When you get to the top, insert the bucket back in and fold over the top edge into the bucket, overlap the sides so that they lie flat inside the bucket, pin, then stitch the remainder of the seam.
With the excess fabric at the top, fold inside the bucket and using fabric glue or a hot glue gun, apply to the wrong side of the fabric and press to the inside.
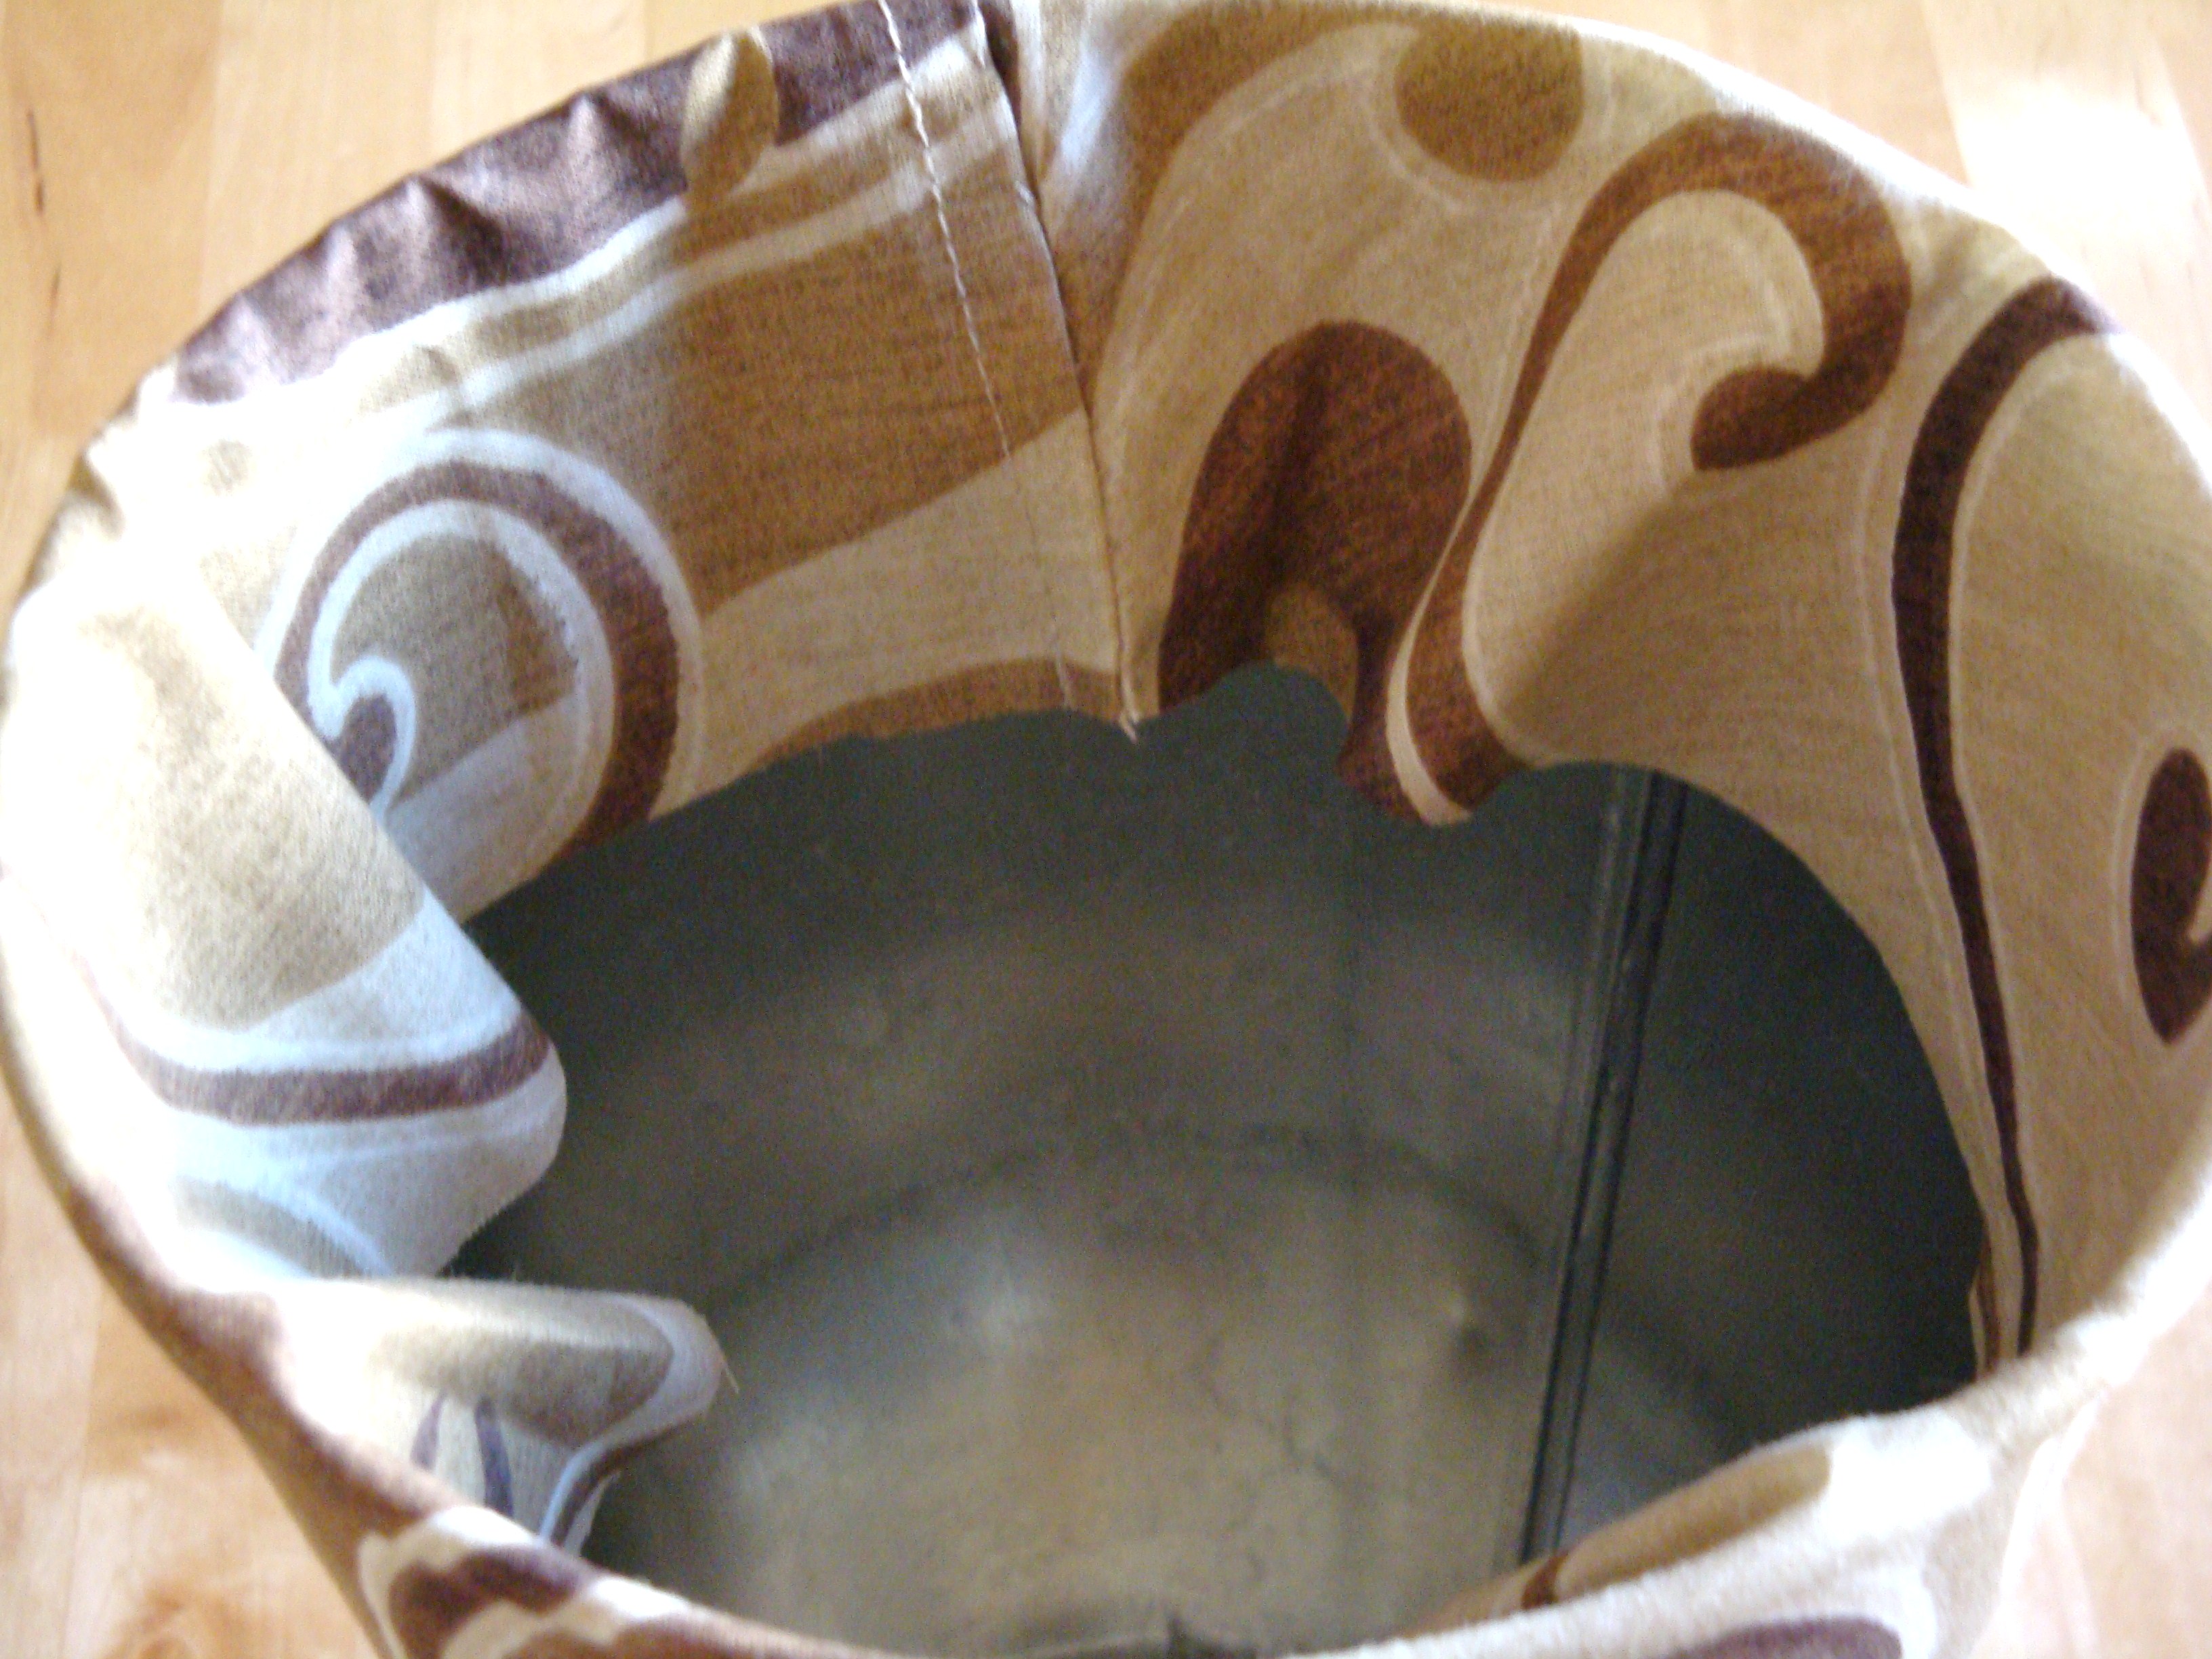
Depending on the size/weight of your bucket, you may need to add some weights to keep it from toppling over. I used white decorative garden stones (out of my garden, washed) and filled the bottom.


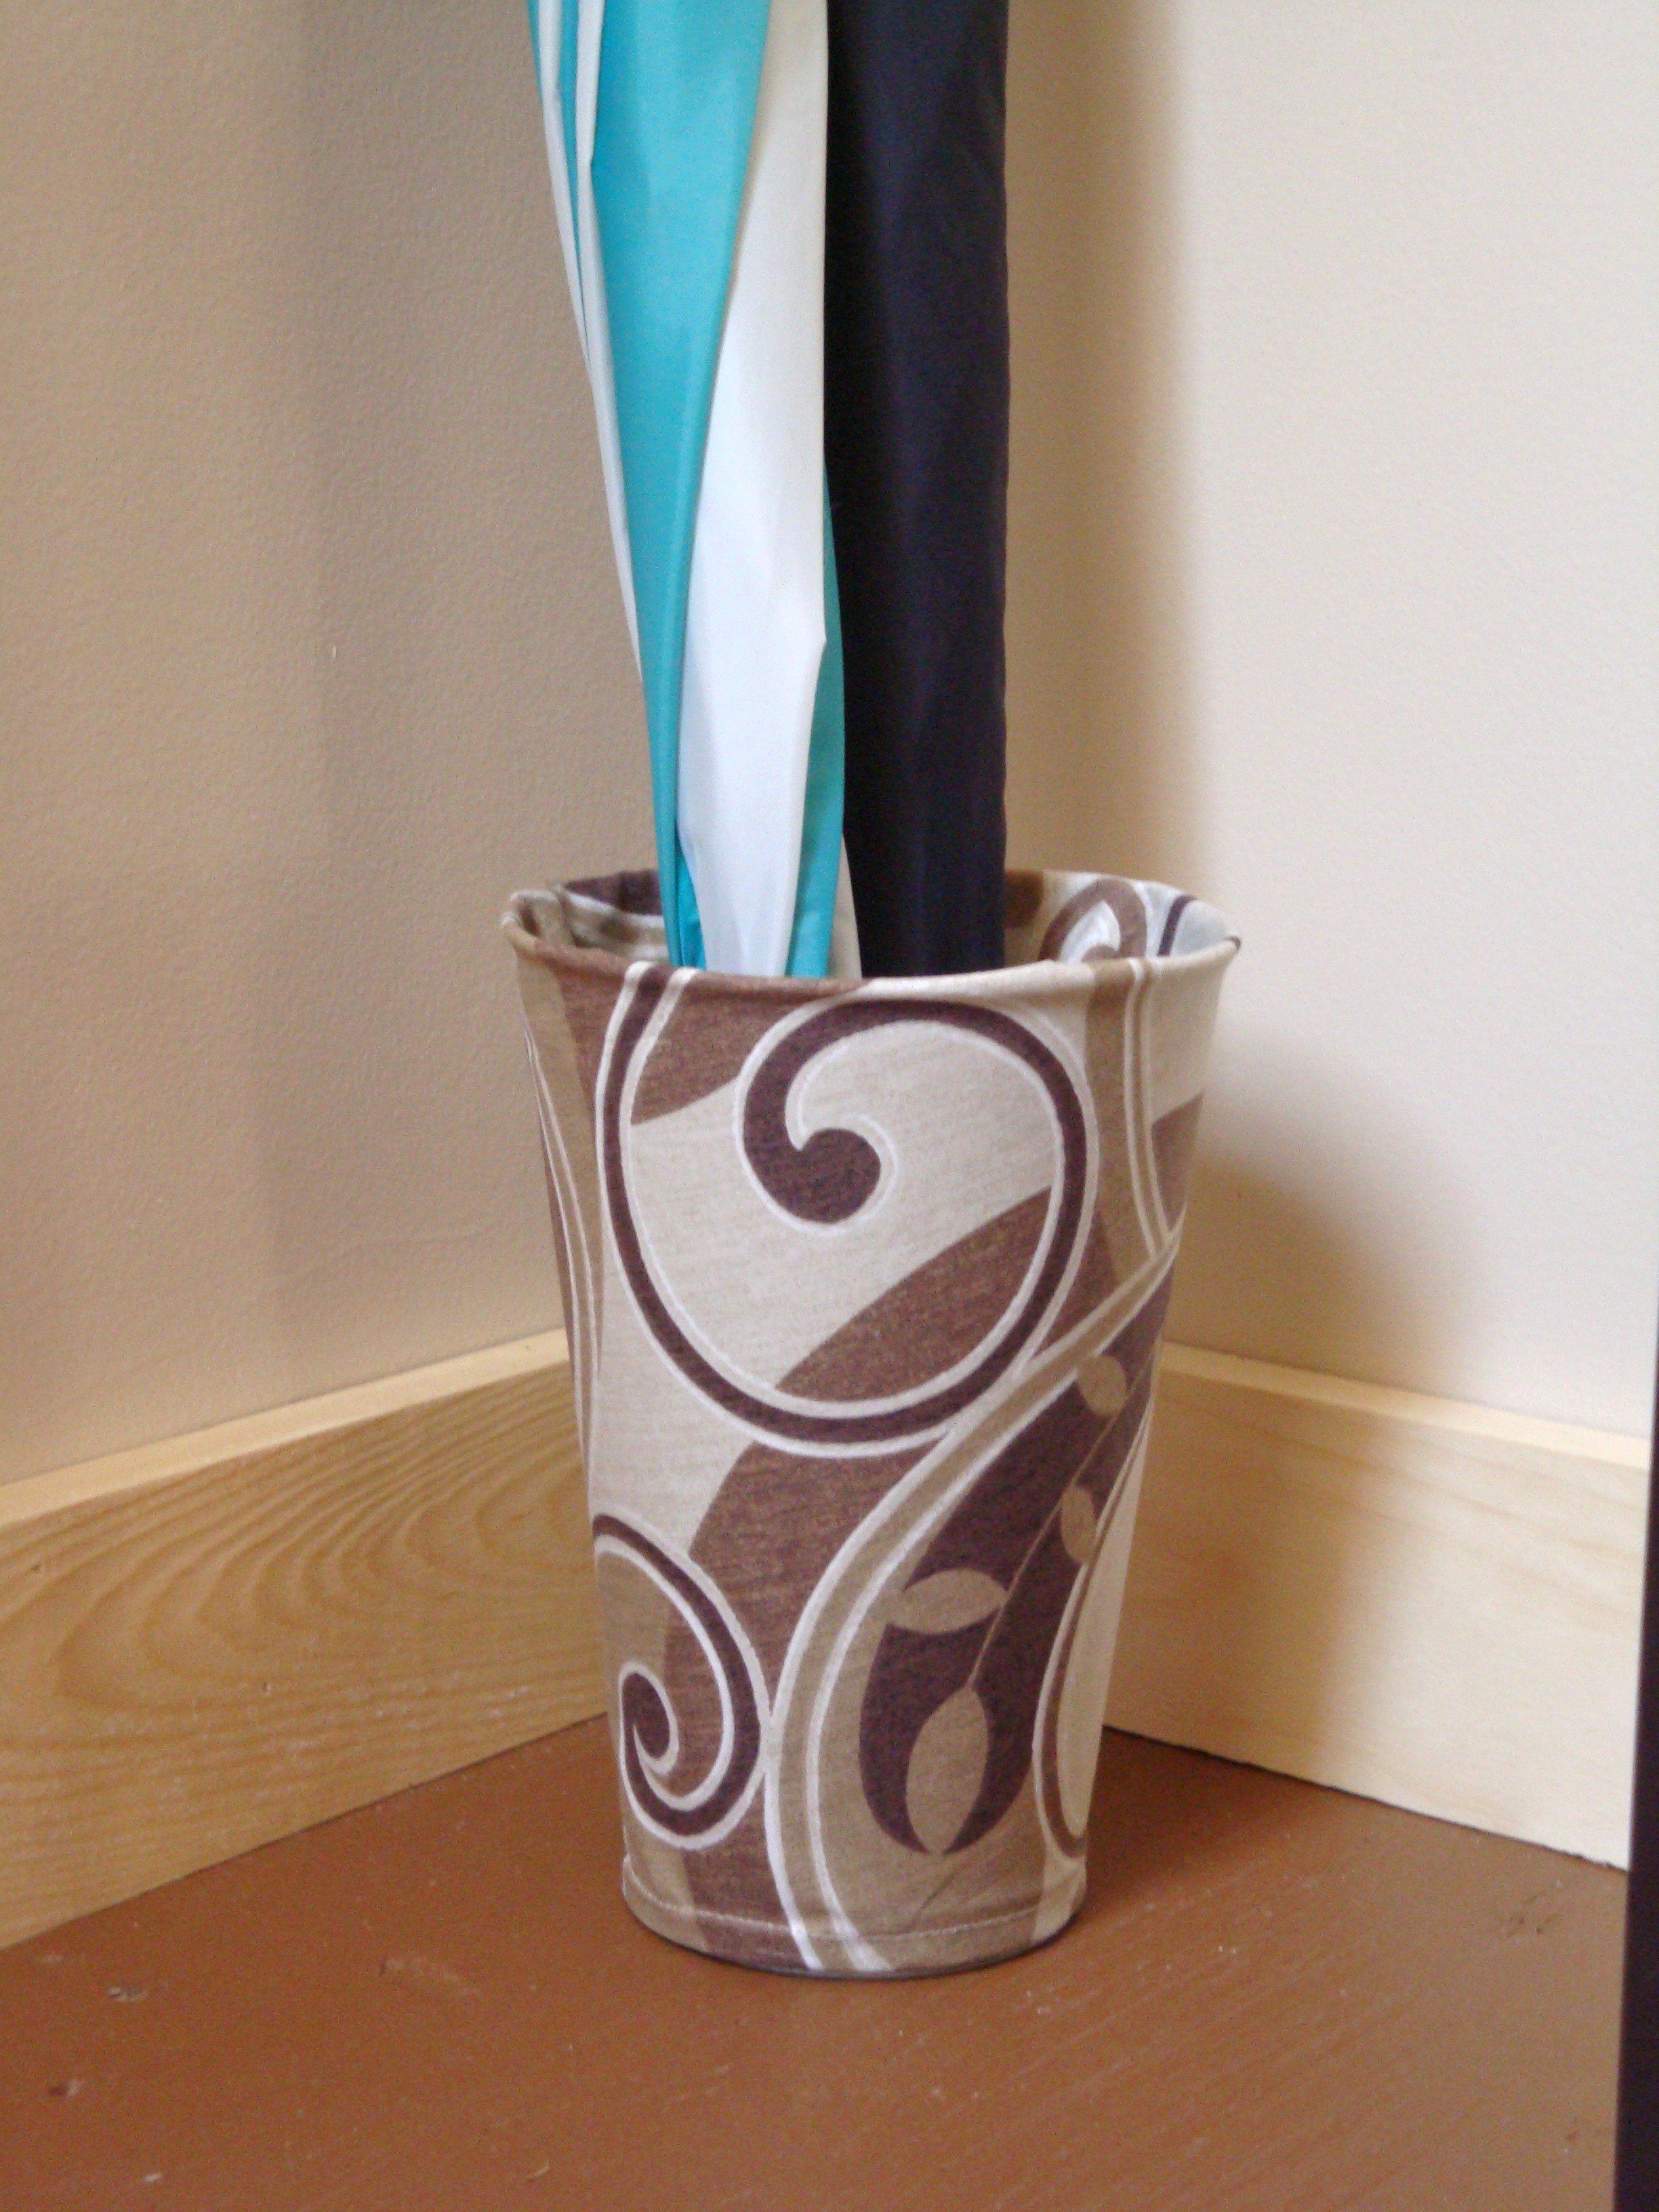
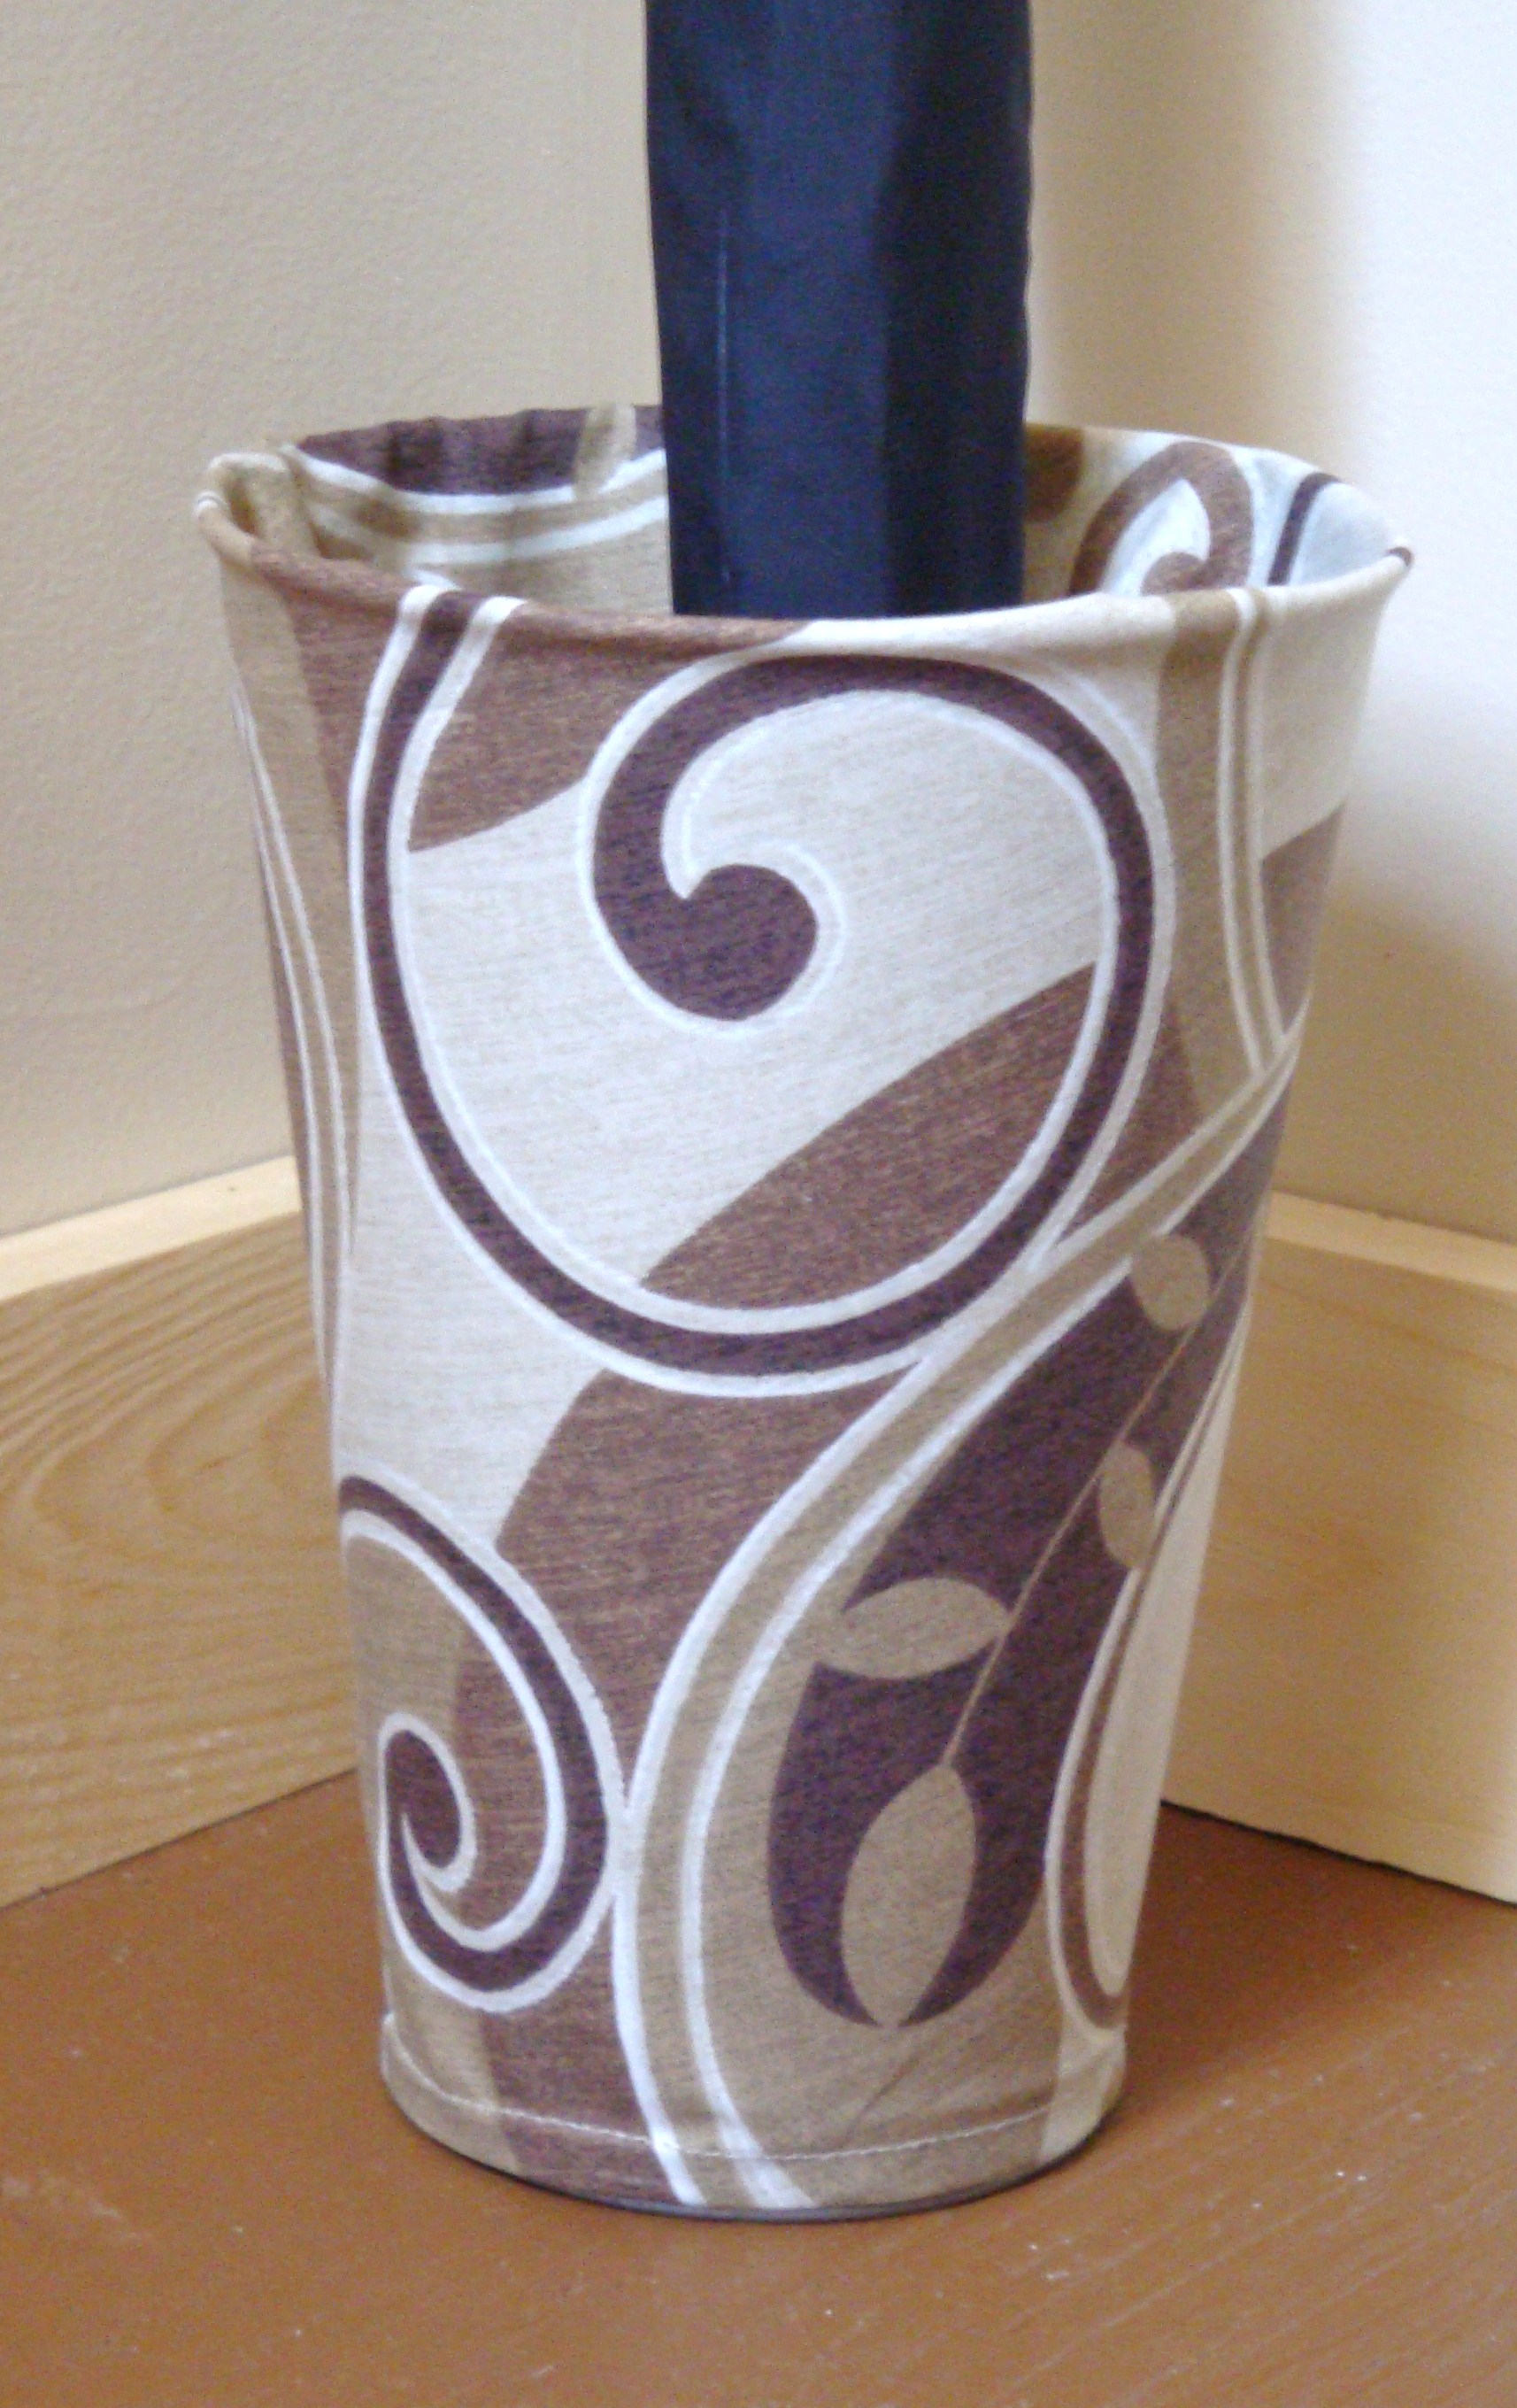
Now you are ready to add your umbrellas.
I am still on the hunt though for a larger bucket. Once I find it, then this one will be graduated to something else…don’t know what, but I will re-purpose it somehow.
Maybe I will get a goat to milk. Clearly it is too narrow for a milking cow.