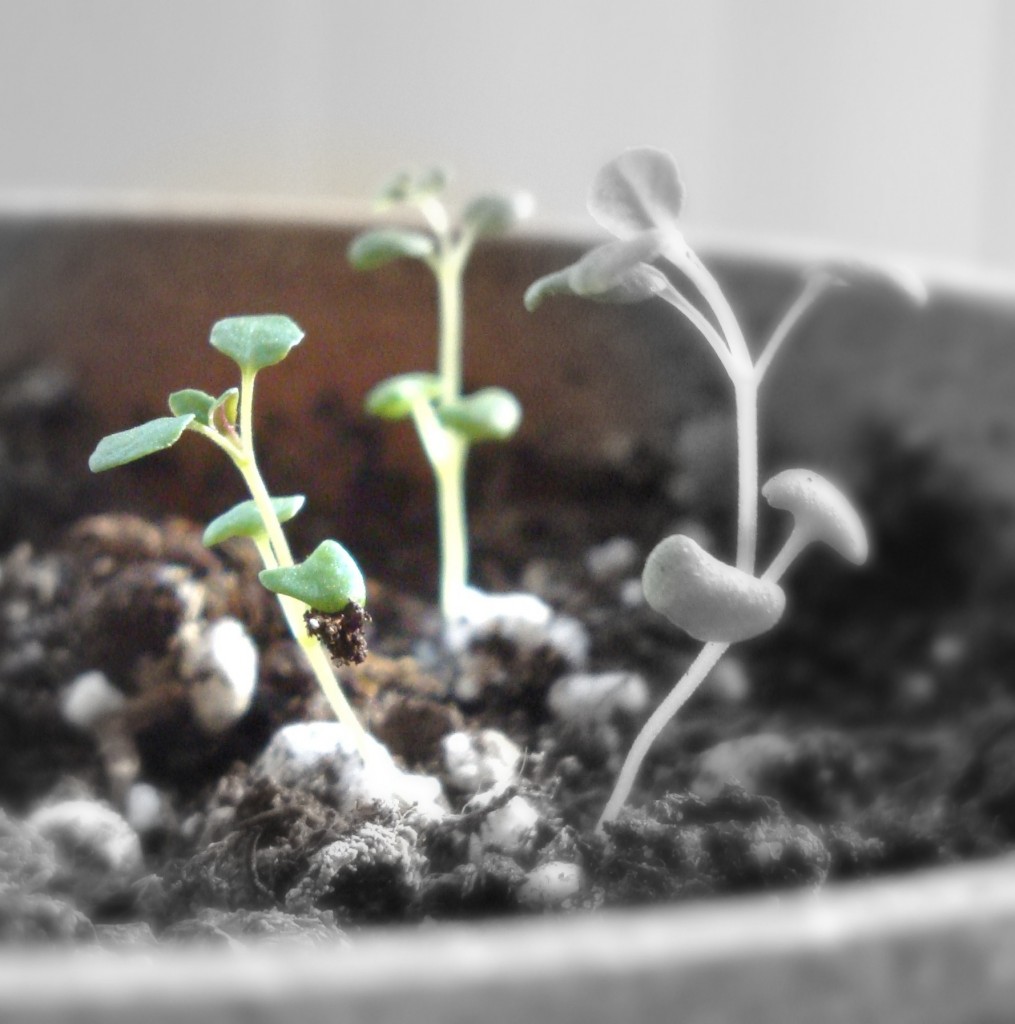
T minus 21 Days…
Mark on your calendar March 15, 2013 as THE Day.
Why you ask?
It is THE day I get to play with dirt, peat pots and seed packets…
Because it is PLANTING DAY!
Now I know what your next question is going to be…Why that specific day? Well, because you need to count back 6-8 weeks from the last expected frost date in your geographical area in order to know when to start your seeds….pretty simple eh?
What I have learned the last 2 years growing vegetables and flowers from seeds has been extremely beneficial….like…you don’t actually NEED to keep every single tomato sprout that sprouted, unless your garden is the size of an airplane hangar…
Here are my Top 10 Gardening Tips to successfully growing plants from seeds
1. Do Not Overwater ~ sounds simple right? Easier said than done though as you suddenly find yourself in over-protective mothering mode, drowning your seeds before they even have a chance to sprout. The best way to germinate seeds is to keep a dome of plastic over the soil either buy using a tray with a domed lid or using plastic wrap to keep the humidity constant which will prevent the soil from drying out too quickly and therefore less chance of root rot due to overzealous watering.
2. Only plant what you will realistically grow ~ By all means, plant a few extra seeds of each type as insurance, but be prepared to thin out your seedlings and only keep the strongest ones to transplant later into the garden.
3. Do NOT fertilize seedlings until they have their 3rd set of leaves, if you fertilize too soon, your seedlings will shrivel and keel over from shock.
4. READ ~ each packet of seeds and take note of what has to be done when and how each particular plant prefers to be raised… i.e., most plant seeds prefer to germinate in cooler temperatures (18C to 21C), but there are some (peppers most notably) that germinate faster and grow better in soil temps of 23C to 26C. I use a heating pad for my peppers, just place it on top of a towel, then place the tray of seedlings on top and keep on Low Heat.
5. Sunshine or Artificial Light ~ is a necessity, otherwise, your seeds will not grow (unless you want to grow mushrooms in the dark), place your seedlings in a sunny, south facing window or spring for grow lights if you have cheap hydro rates (if you do, I am jealous).
6. Check and Turn Daily ~ you can dote a little, just be careful not to dote too much, check moisture levels by sticking your baby finger in the soil down a half-inch, if it is dry, then water. If you do not have grow lights and rely on the sunshine coming in a window, rotate your plants daily so they don’t become the Leaning Tower of Tomato Pisa.
7. Thin your Seedlings ~ as mentioned above, thin seedlings to one or two per pot, leaving plenty of space for roots to grow. Thin by snipping the stem at the soil level with a sharp pair of scissors (please, no running with sharp scissors from the kitchen though, always practice safe scissor handling techniques).
8. Transplant your seedlings to larger pots once they reach about 8″ to 10″ in height, again being mindful of what type of plants you are growing as some plants do not like to be transplanted. For those plants that prefer to stay in their smaller condo digs before setting them out in to the wide world of dirt, plant them in pots of at least 10cm to 15cm (4″ to 6″) in diameter to allow for sufficient root growth.
9. Hardening off ~ A term meaning to expose your plants to the great outdoors a little at a time each day over the course of 2 weeks until they acclimatize. If you suddenly plunk your seedlings out into full sun on the first beautiful, warm day, you would soon have shriveled seedlings and be left sobbing into your pillow with grief at the loss of all your hard work and effort. Plants started indoors are protected from not only wind and cold temps, but also from the suns UV rays as most home windows filter out these harmful rays. The telltale signs of UV burned plants are leaves that suddenly turn white from overexposure to the suns rays.
10. Condition Your Garden Beds ~ Before setting your seedlings into the bare ground, first prepare the soil by adding organic matter. Mixing in compost will help feed your little green kidlets through the growing season, resulting in higher crop yields and less need for liquid fertilizers.
Once you have transplanted your precious crop outdoors, spread a layer of mulch to keep the weeds at bay and to help curb moisture loss during the dog days of summer. From then on, it is just a matter of time before you are harvesting that first round, red, juicy tomato to be sliced onto a fresh off the BBQ burger.

