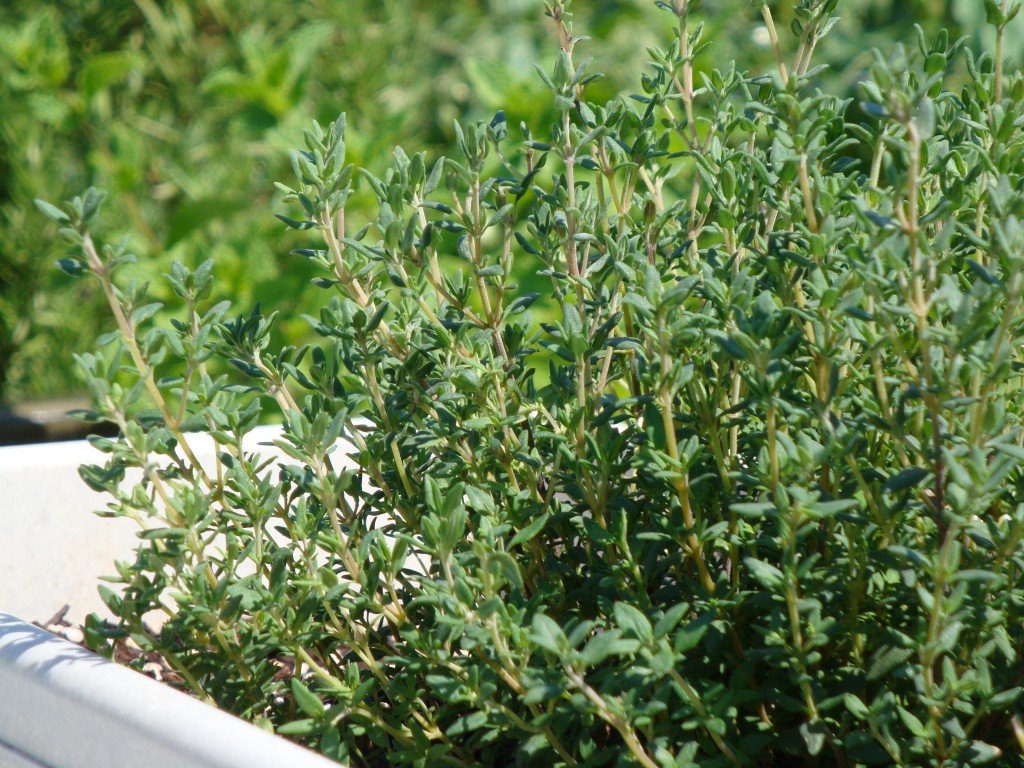
Herbs….Herbage…Herbaciousness….are fantastic for livening up your culinary experiments in the kitchen, whether they are fresh, dried or even fresh/frozen.
Most people use dried herbs purchased in dusty little glass bottles that have been sitting on a store shelf since at least 1982 and cost as much as a small car. These are *ok*, if you like blandness in your food that is. As opposed to the smack-in-the-face whiff of fresh or freshly dried herbs that makes your nose happy to be first in line to smell the wonderful aromas coming from your stockpot.
I have been growing and using fresh herbs for a number of years now and couldn’t do without the basic ‘pantry staples’ of fresh herbs. Rosemary, Chives, Oregano, Parsley, Cilantro, Thyme, Sage and Mint. Unfortunately with our Canadian climate, I do not get to enjoy the fresh for very long.
So to make my fresh herbs last until I can start a new batch indoors in late winter, I have been harvesting and drying herbs to use when I no longer have the fresh ones around.
There are several ways you can dry herbs, and some herbs are better suited to drying than others, more on that later. Always start with freshly picked, unblemished and washed herbs. Pick herbs in the morning after the dew dries but before the heat of the day sets in. This will ensure they stay fresher longer. Wash them in cold water to remove dirt, debris and any teeny insects. Dry on paper towels and then proceed with one of these methods….
The Hang ‘Em High Method: Just as it sounds, this is one of the easiest, least time-consuming way to dry herbs. You tie up little bundles of herbs with string and hang them in a warm, dry place for several weeks and voila…dried herbs ready to be packaged up and stowed away.
Oven Drying Method: This is the quickest way to dry herbs if you are pressed for time. Like if you won the lottery and are planning the next 6 months at sea on a ship…if that’s the case, then I hate you. Spread prepared herbs out on a cookie sheet and place in the oven. Turn the oven on to 200°F and after it reaches temp, turn the oven off and turn the oven light on. Leave the tray inside without opening the door for at least 4-6 hours or preferably, overnight. Remove in the morning and they are ready to be packaged up.
Dehydrator Method: Just as the name implies, if you have a food dehydrator, you can use to dry your herbs following the instructions in the manual. I do not have a food dehydrator, so will abstain from giving any potential useless/erroneous info to you.
Freezing/Preserving Method: For that fresh herb flavour, this method can’t be beat. Just as easy as the hang ’em high method, a little time spent provides a freezer full of flavour for later. Take a couple ice cube trays and fill halfway with water. Take whole or chopped leaves of herbs and push them into each cube portion. Pop in the freezer until firm. Remove and top up with water and re-freeze. Once frozen solid, pop the cubes out into Ziploc® bags and store in the freezer. When you need some fresh herbs, pop them out into whatever you are cooking. This method works very well for soups and sauces and really doesn’t add much liquid to whatever you are cooking.
*Sage leaves are one of the few herbs that take to freezing on their own very well. Just lay them on a cookie sheet and pop in the freezer, once frozen, place the leaves in a Ziploc® and store them in the freezer. When you need a leaf or two, they will be easier to take out than one big blob of sage leaves.
To package up your dried herbs, separate the leaves from the stems (try not to crush the leaves) and then place in clean, glass jars (reusing old jam jars is an eco-friendly idea or use canning jars) and store in a cool, dark place. Dried herbs will spoil in high heat, moisture or sunlight. So keep your herbs stored in a cupboard/pantry and use up within one year. It is extremely important to keep an eye on your jarred herbs for a couple days after you have packaged them up. If you notice any moisture building up on the insides of the jars, repeat the drying process or the herbs will go moldy.
Herbs that dry well: Oregano, Parsley, Rosemary, Thyme, Lavendar, Cilantro
Herbs that need some extra TLC when drying: Dill, Basil, Sage, Mint and Lemon Balm, because of their higher moisture content, should be dried using the oven method. If you try to hang them to dry, they tend to go moldy.
If you are drying and storing seeds (i.e. Coriander from the Cilantro plant), store them whole to be ground up as you need them. Pick herb seeds when they have changed colour from green to a pale, light tan/brown colour but before they pop open and scatter. Place them in a paper bag and hang in a dry place until they are sufficiently hard and dry (several weeks).
There you have it… Herb Drying 101 from The Homesteading Realtor.
Happy Drying!


thanks for the tips, I have left herbs high and dry and dehydrate many, but freezing is one of my fastest, favourite methods. Dill, IMHO, is best frozen. Just pick off the ferns, wash and toss into ziplocs. It does not freeze into a blob, and is easy to grab a couple snipets whenever you need. I toss one head into a brown bag to dry and all the seeds fall off into the bag to be reseeded the following year.
I started drying chives a few years back, though not as pretty as the store bought, they are very tasty on baked taters and in salads.
Pingback: Top 5 Herbs To Grow This Year |