
Necessity breeds…too many ideas and not enough time.
Last year I made a knitting needle case for myself to travel back and forth with between the Northern and Southern Homestead’s.
 I hate it.
The tutorial I found on-line *looked* nice enough, and my chosen fabric was perfectly suited for me (horses of course), but the end result was that it lacked enough room for my needle and accessory collection as well all the pockets were not deep enough. If you didn’t pick it up the right way, everything would fall out the top. Major PITA.
So before Christmas I did some more googling and searching on-line for other ideas as I wanted to make a *New and Improved* version for my daughter for Christmas (she has been enabled by her mother in the knitting department since last summer) and she needed someplace to store all her supplies instead of her couch turning into an acupuncture clinic.
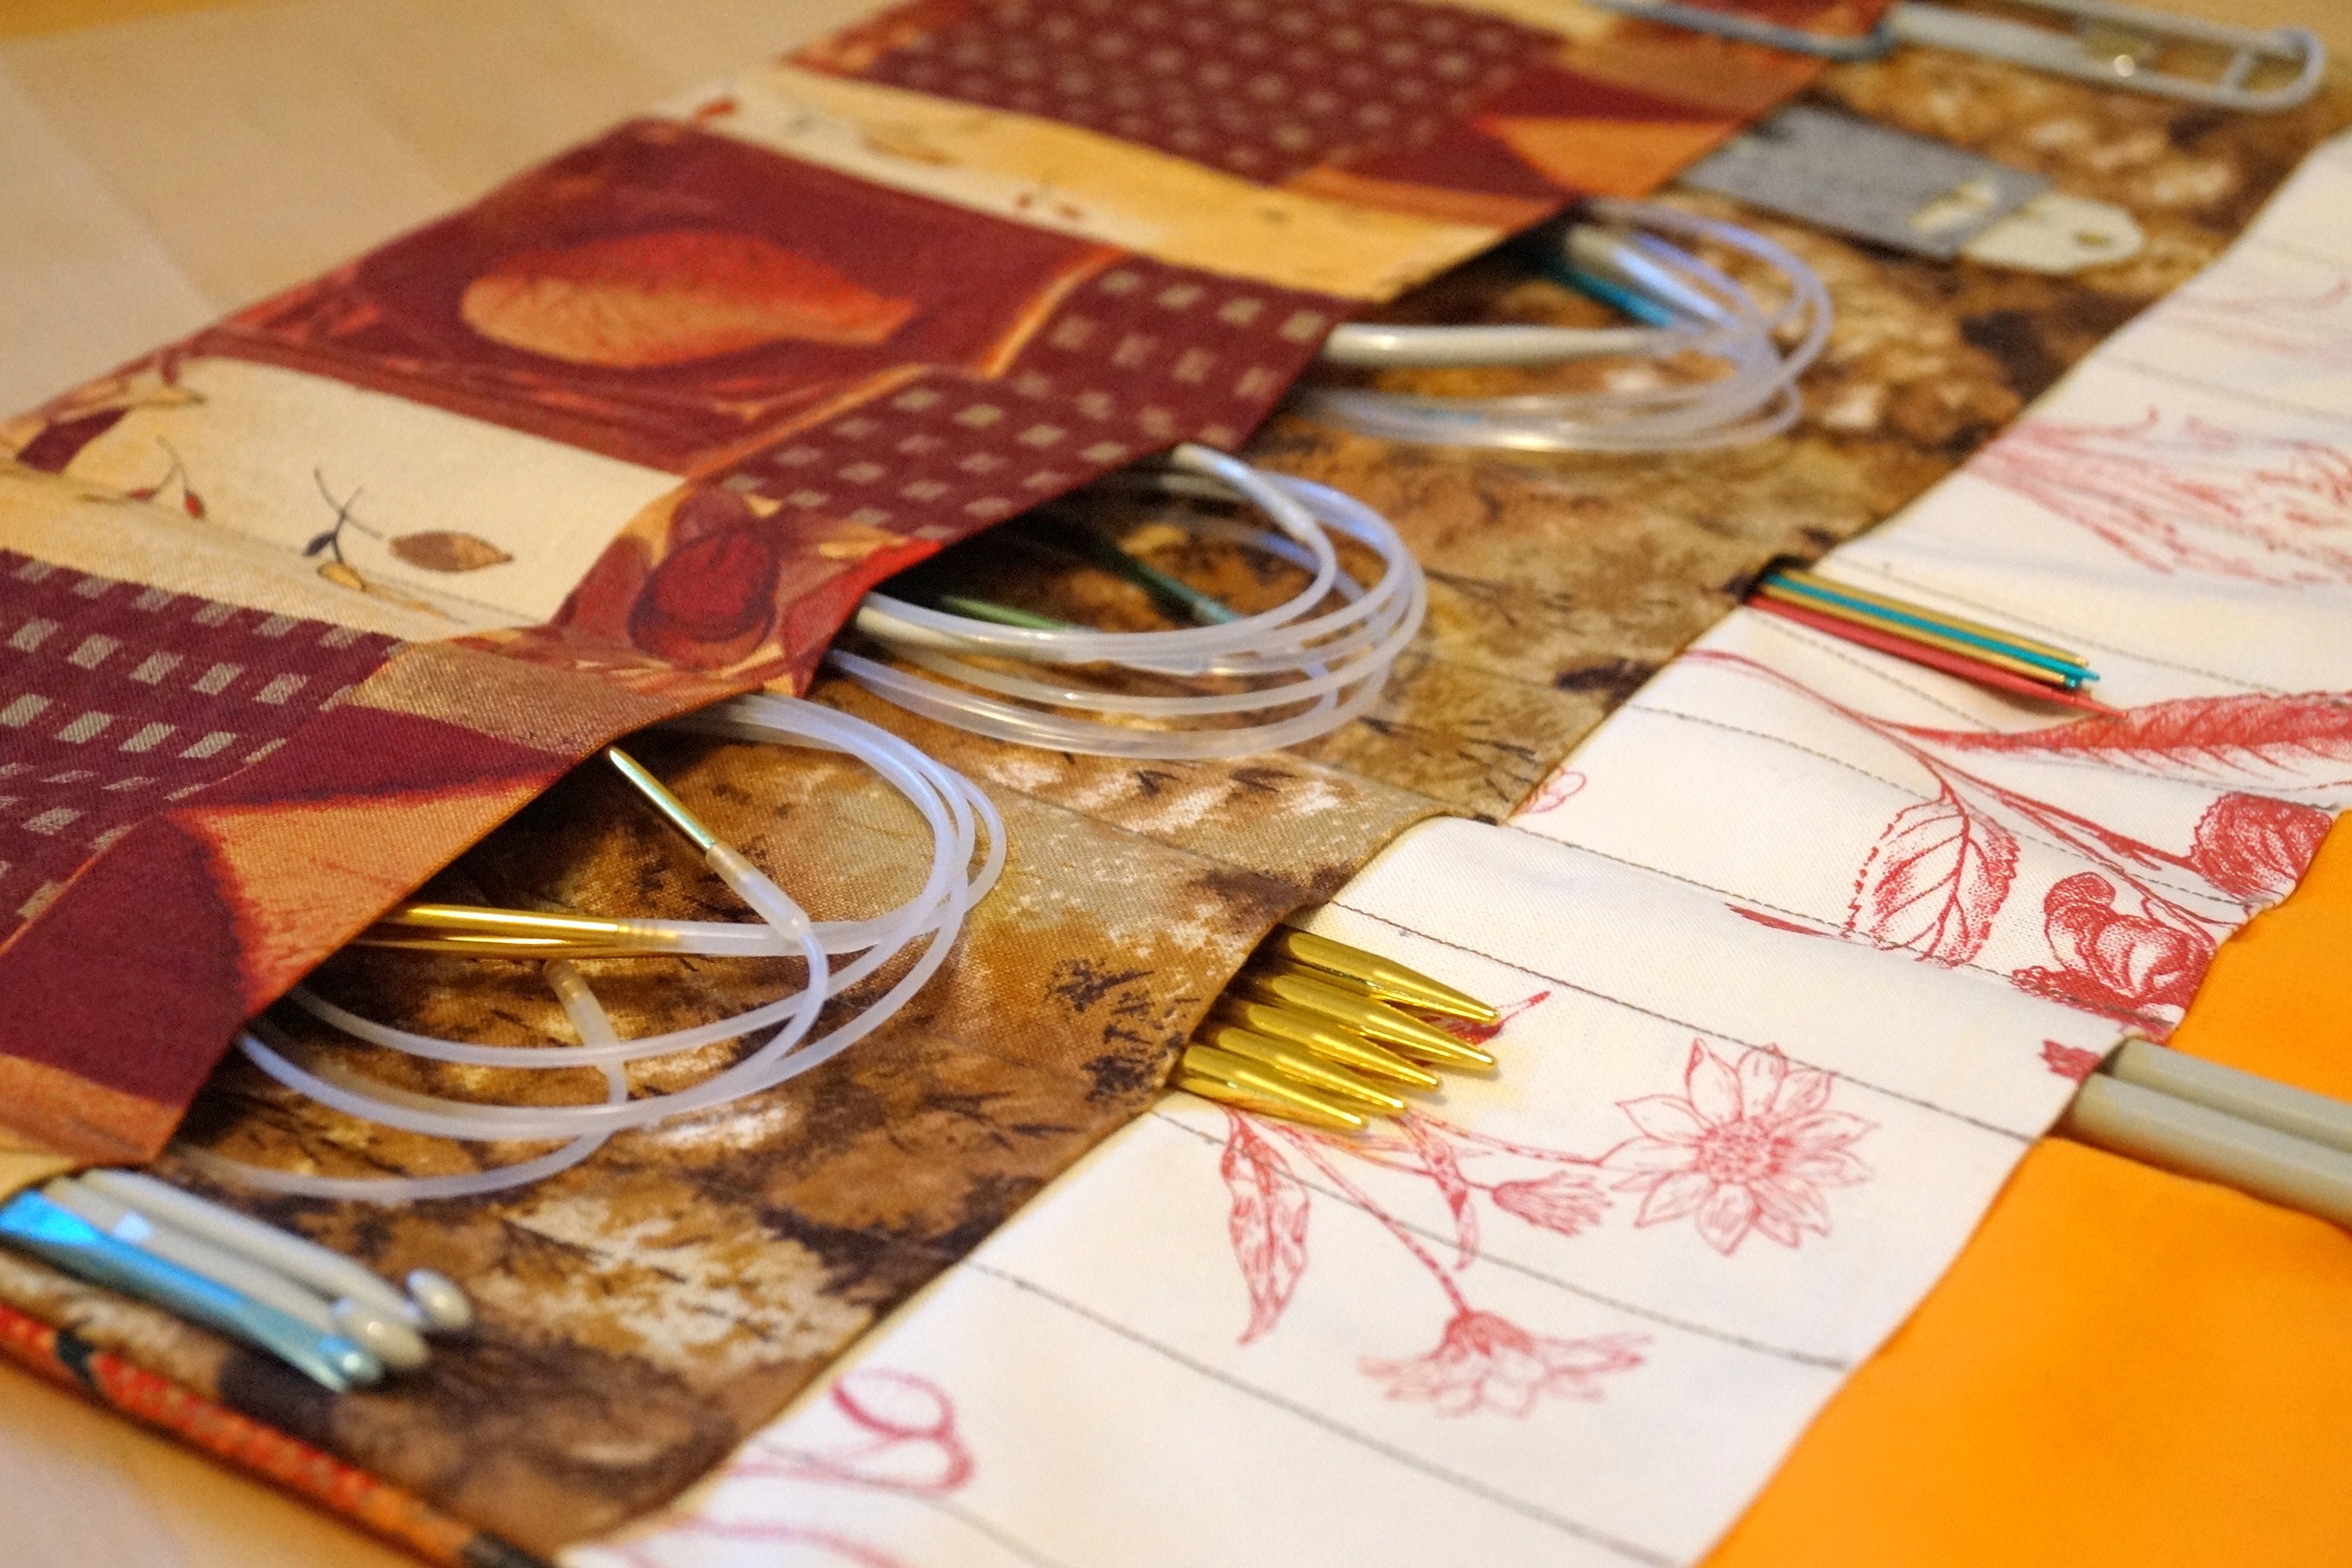
I ended up pilfering ideas from 3 or 4 different sites and combined them into something that would work for her (and ultimately for me) as it needed to be tall enough to accommodate the longest needles with a flap that would fold over and hold things in place when rolled up. This is what I came up with…
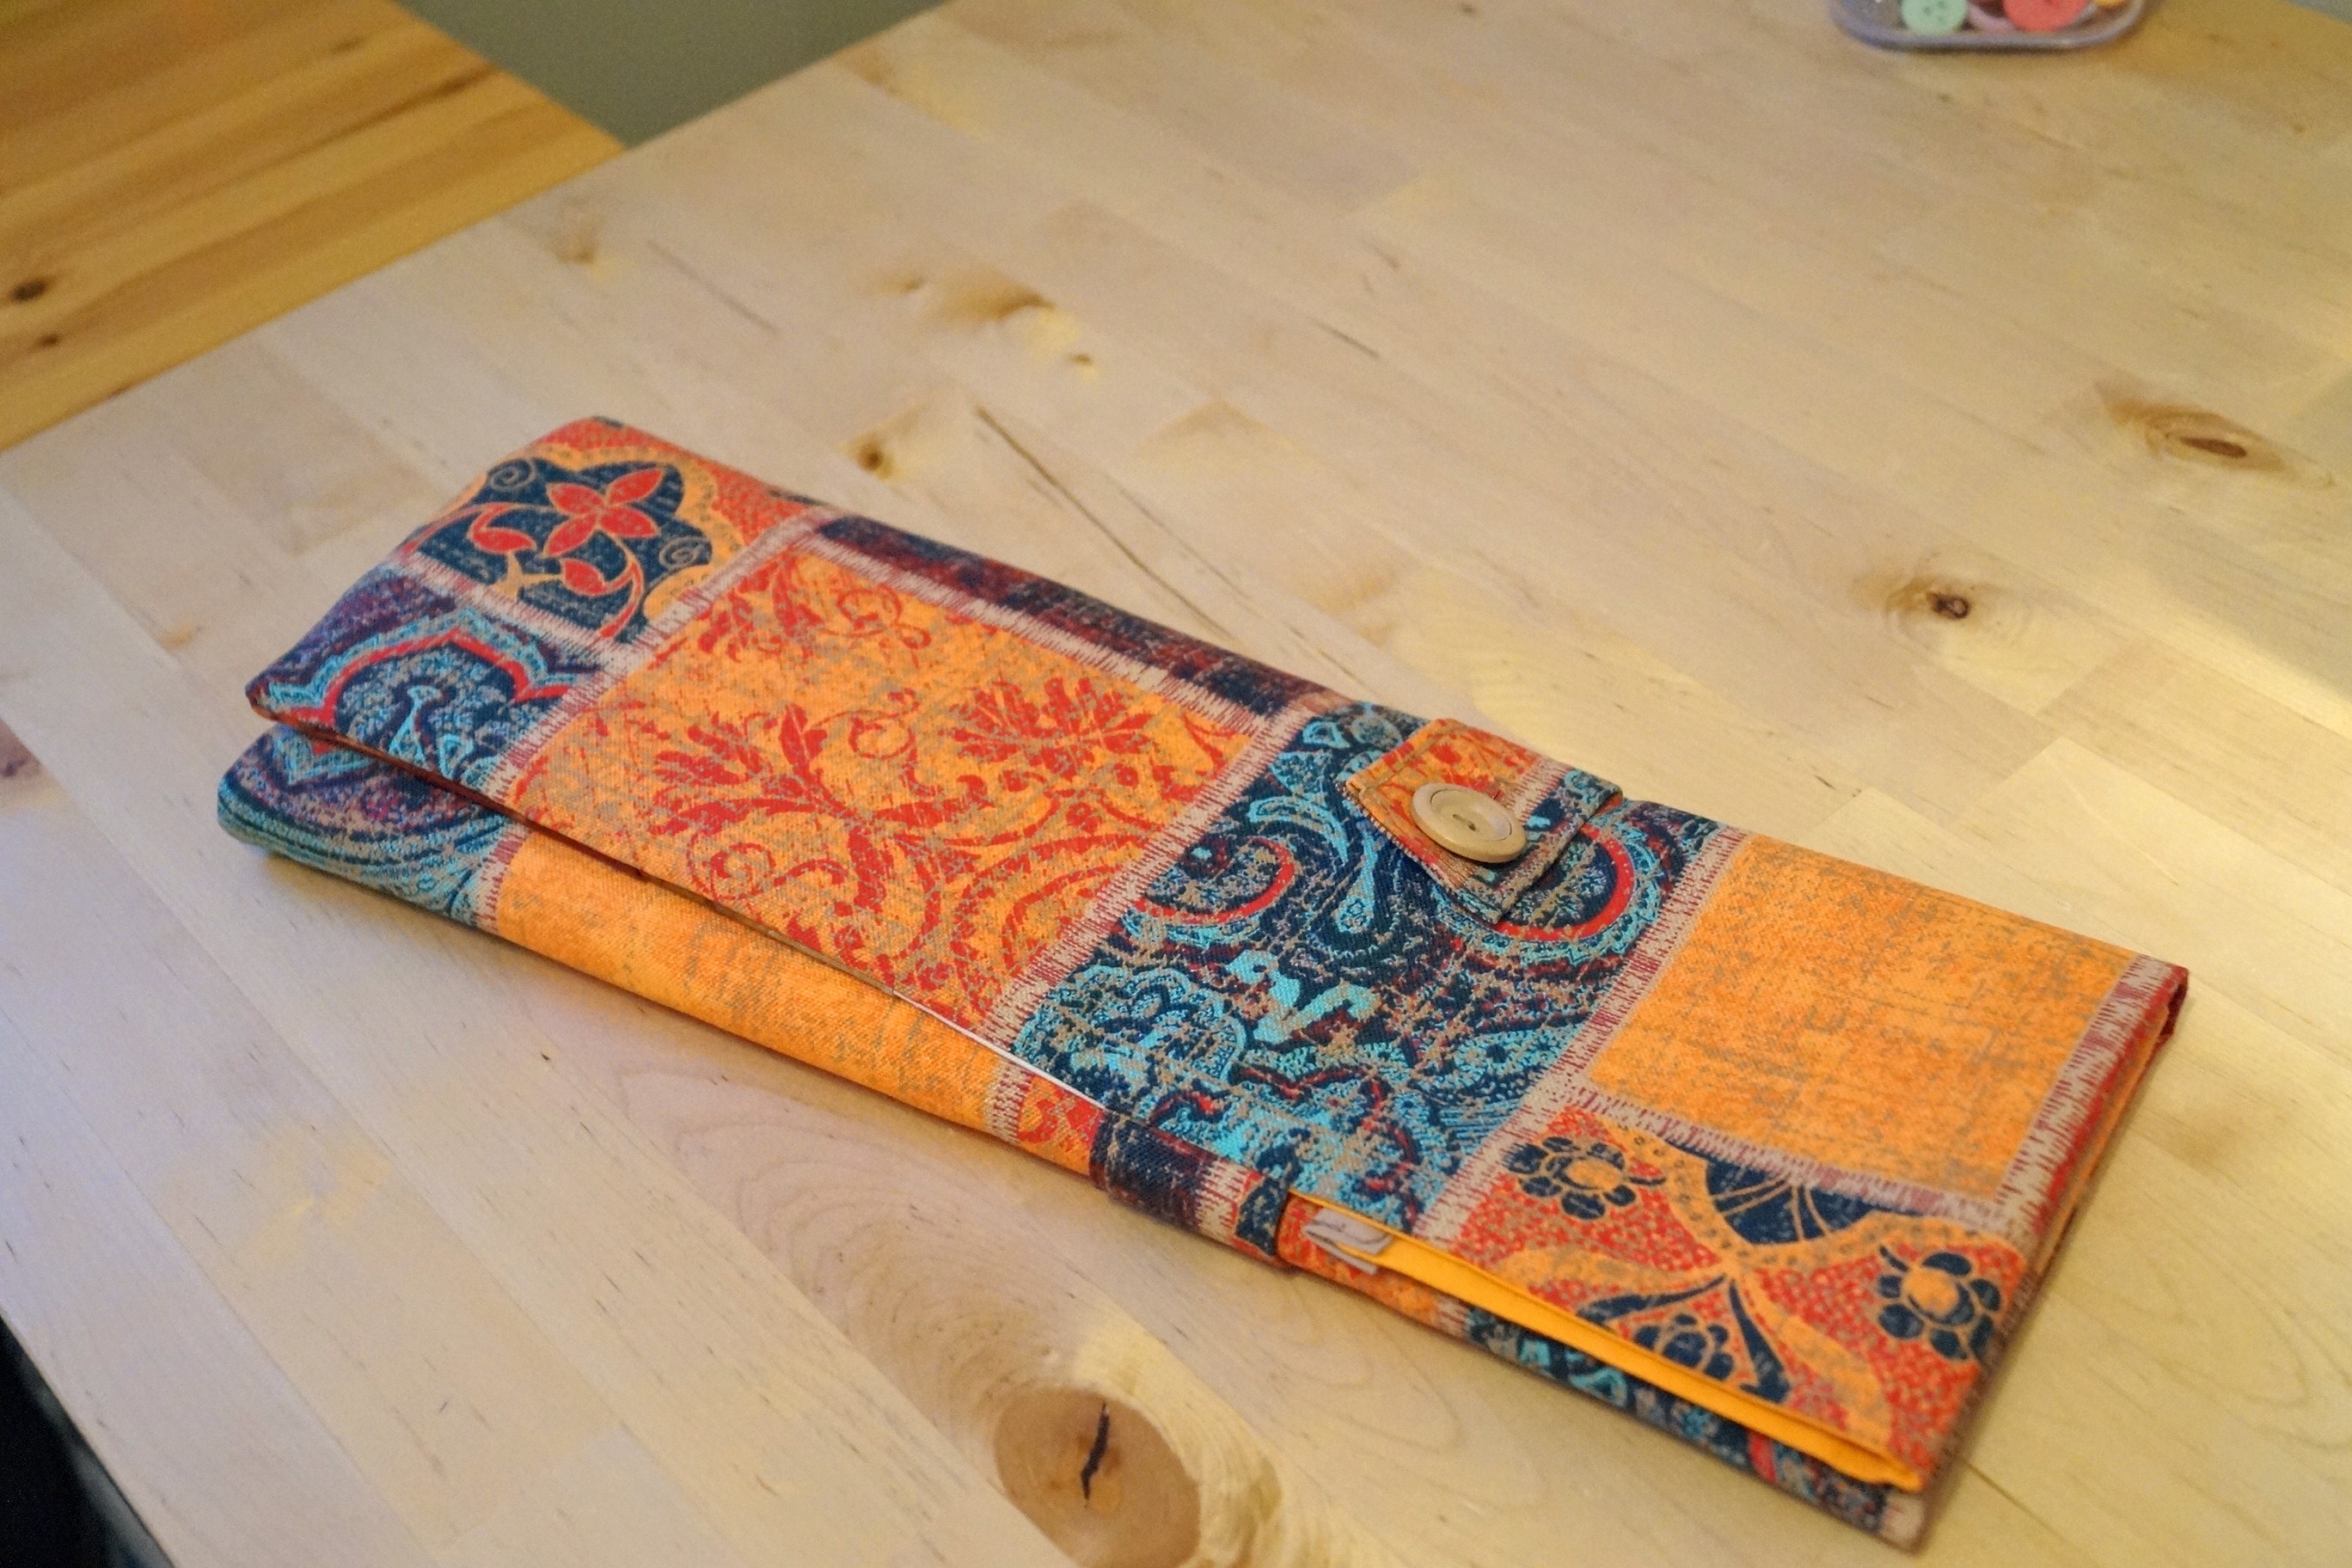 It has a flap about 5″ in length to fold down over the needles and then it is folded into thirds and secured via a button on an exterior flap. Fabuloso indeed! She loved hers so much, she took it into work to show it off….which lead to me making another one for a co-worker.
So while I was making hers, I figured I had better write down how I made it so I would remember when I got around to making a new one for myself.
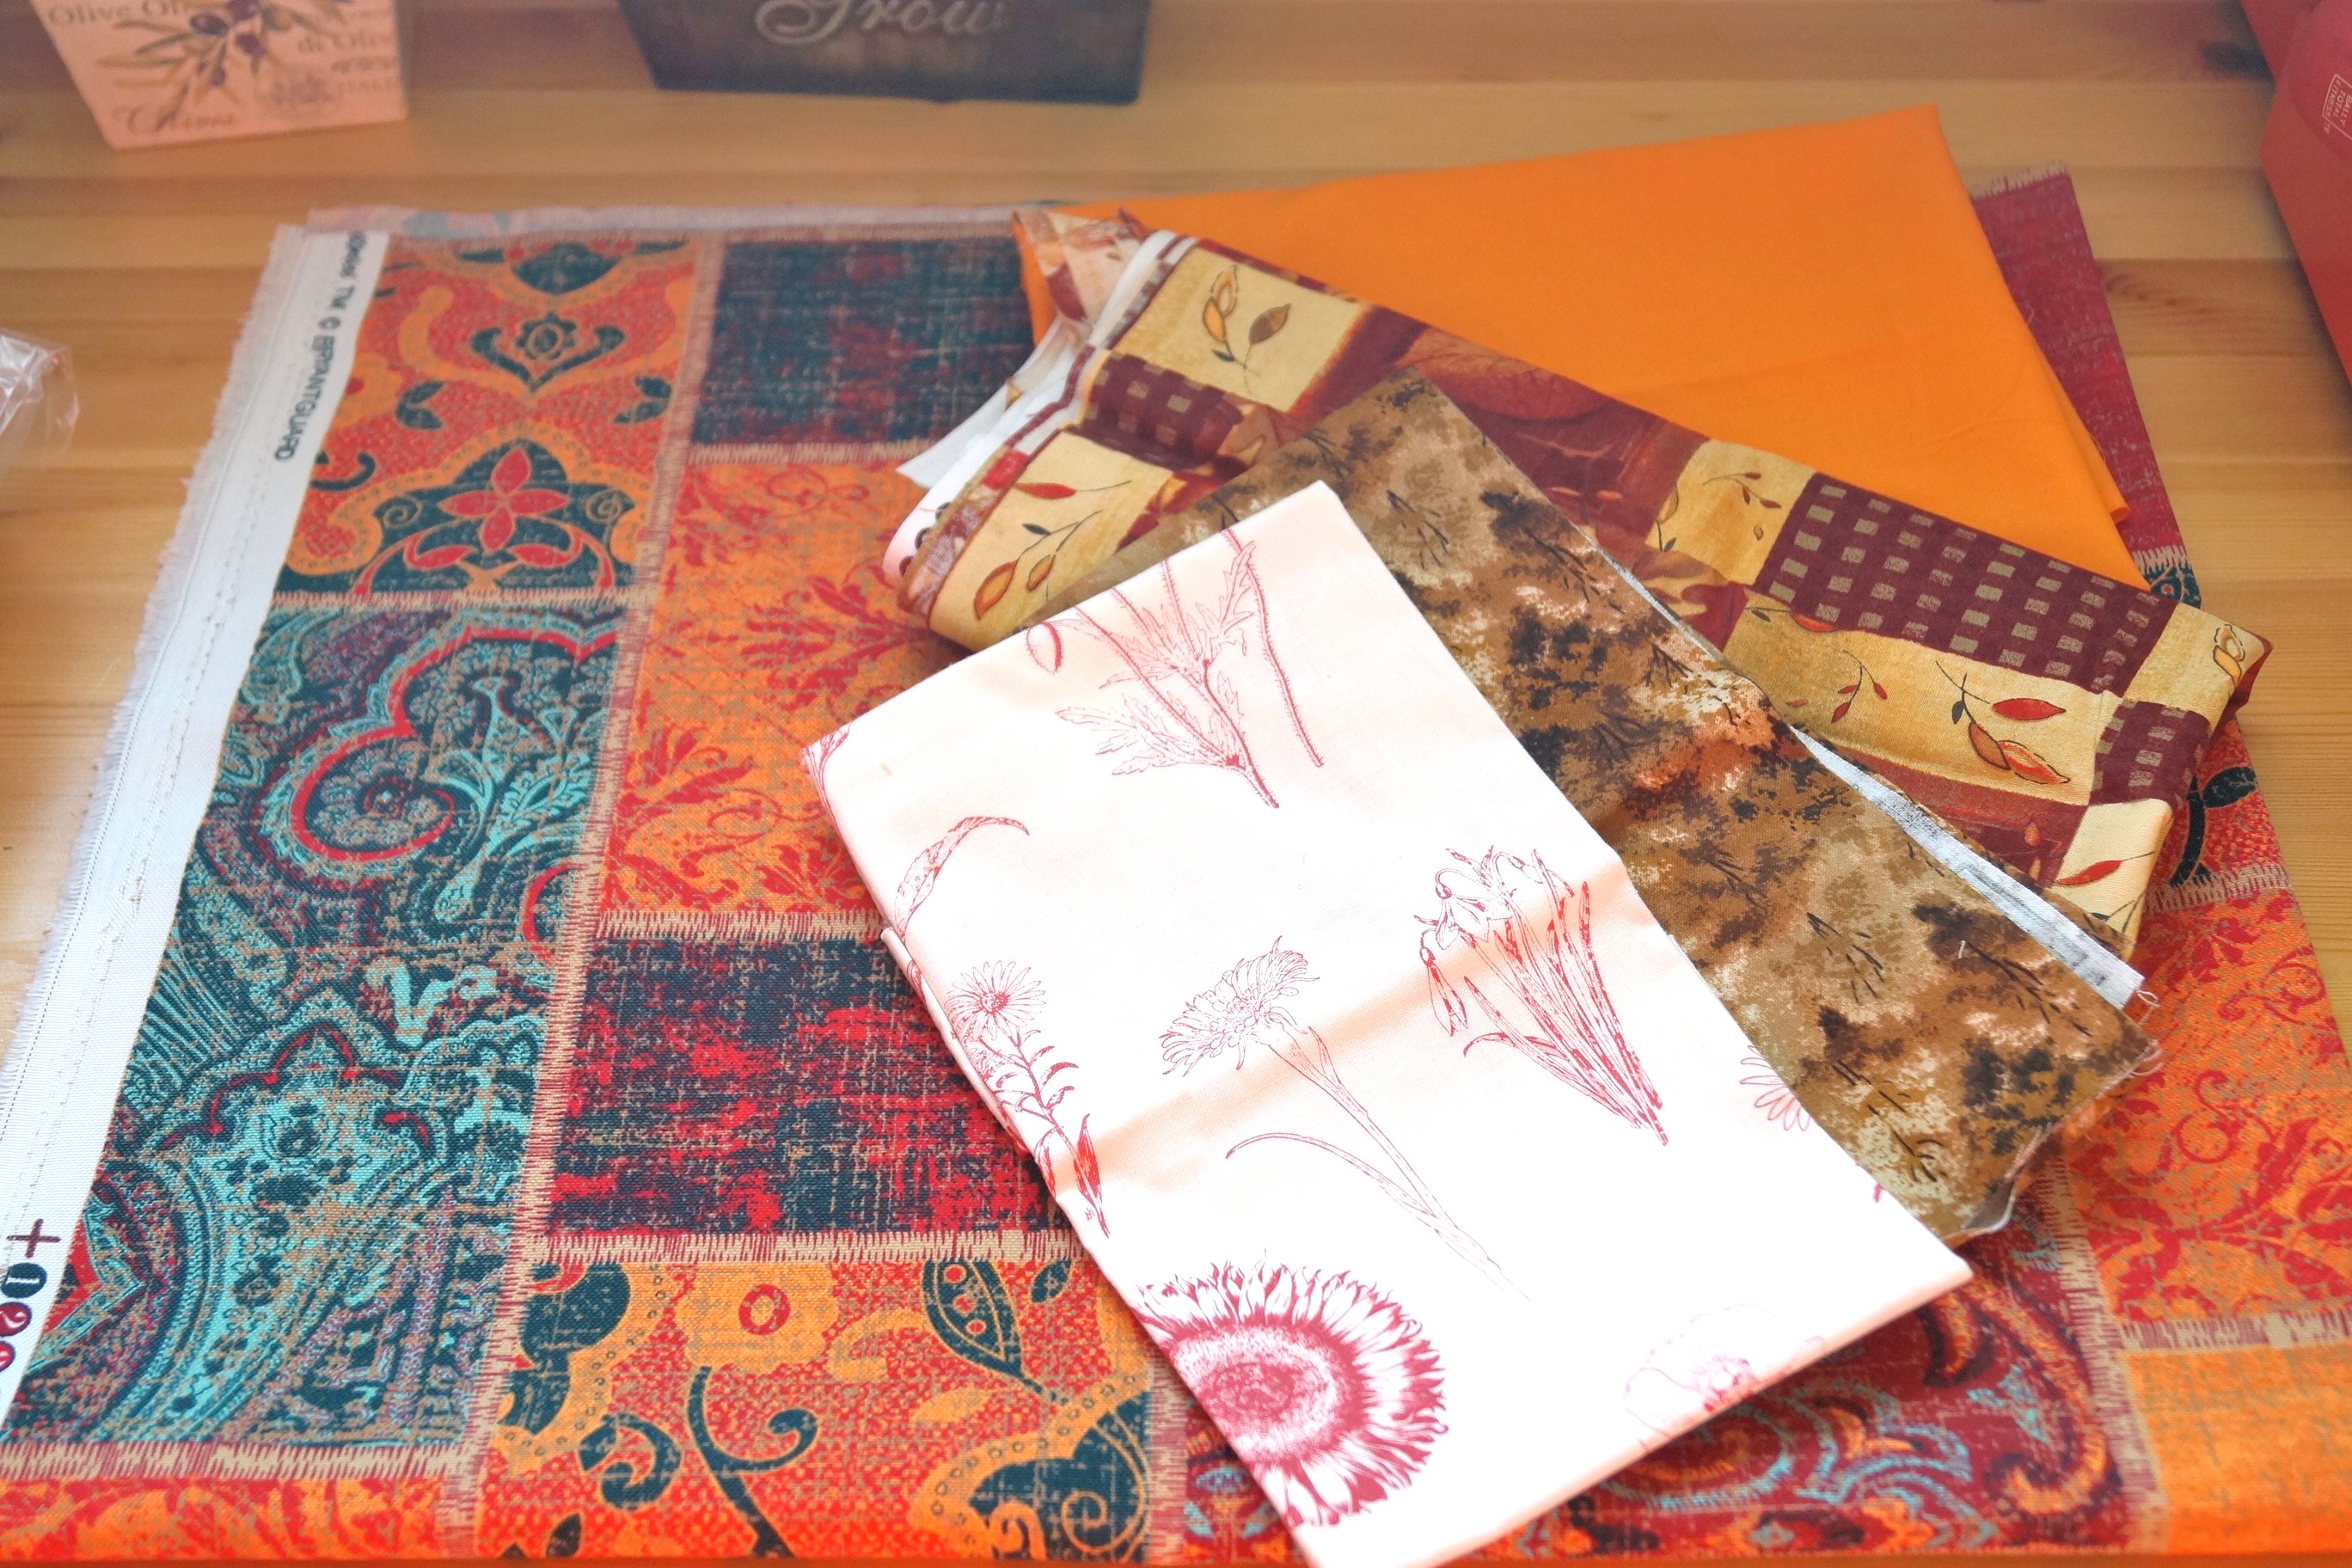
Start off with 5 different fabrics of your colour choice. Be bold with colour, this is your chance to break out of your ‘beige’ mold and go with something cheerful and bright. The outer fabric I chose is an upholstery fabric remnant as you want something sturdy and durable for the exterior. I love the remnant bins at fabric shops, you can really get some good deals on pricier fabrics and you only need a small amount anyway. The inner pocket materials are utilized from ‘Fat Quarter’ quilting squares, you don’t need much and the sizes are perfect for the inner pockets.
 Materials Needed To Make Your Own:
Outer Fabric: 18″ wide x 21″ tall
Inner Lining: 18″ wide x 21″ tall
Contrast Pocket fabric: 18″ wide x 10″ tall (to be folded in half width-wise)
Contrast Pocket fabric: 18″ wide x 16″ tall (to be folded in half width-wise)
Contrast Pocket fabric: 18″ wide x 22″ tall (to be folded in half width-wise)
1 Piece of Outer fabric 10 1/2″ x 4″ (for flap securing the case closed)
1 Large Button (1 1/4″)
1 package of double fold Bias Tape in co-ordinating colour
Thread, sewing machine, erasable fabric marker, ruler
*Note ~ all seams are 1/2″ unless otherwise noted.
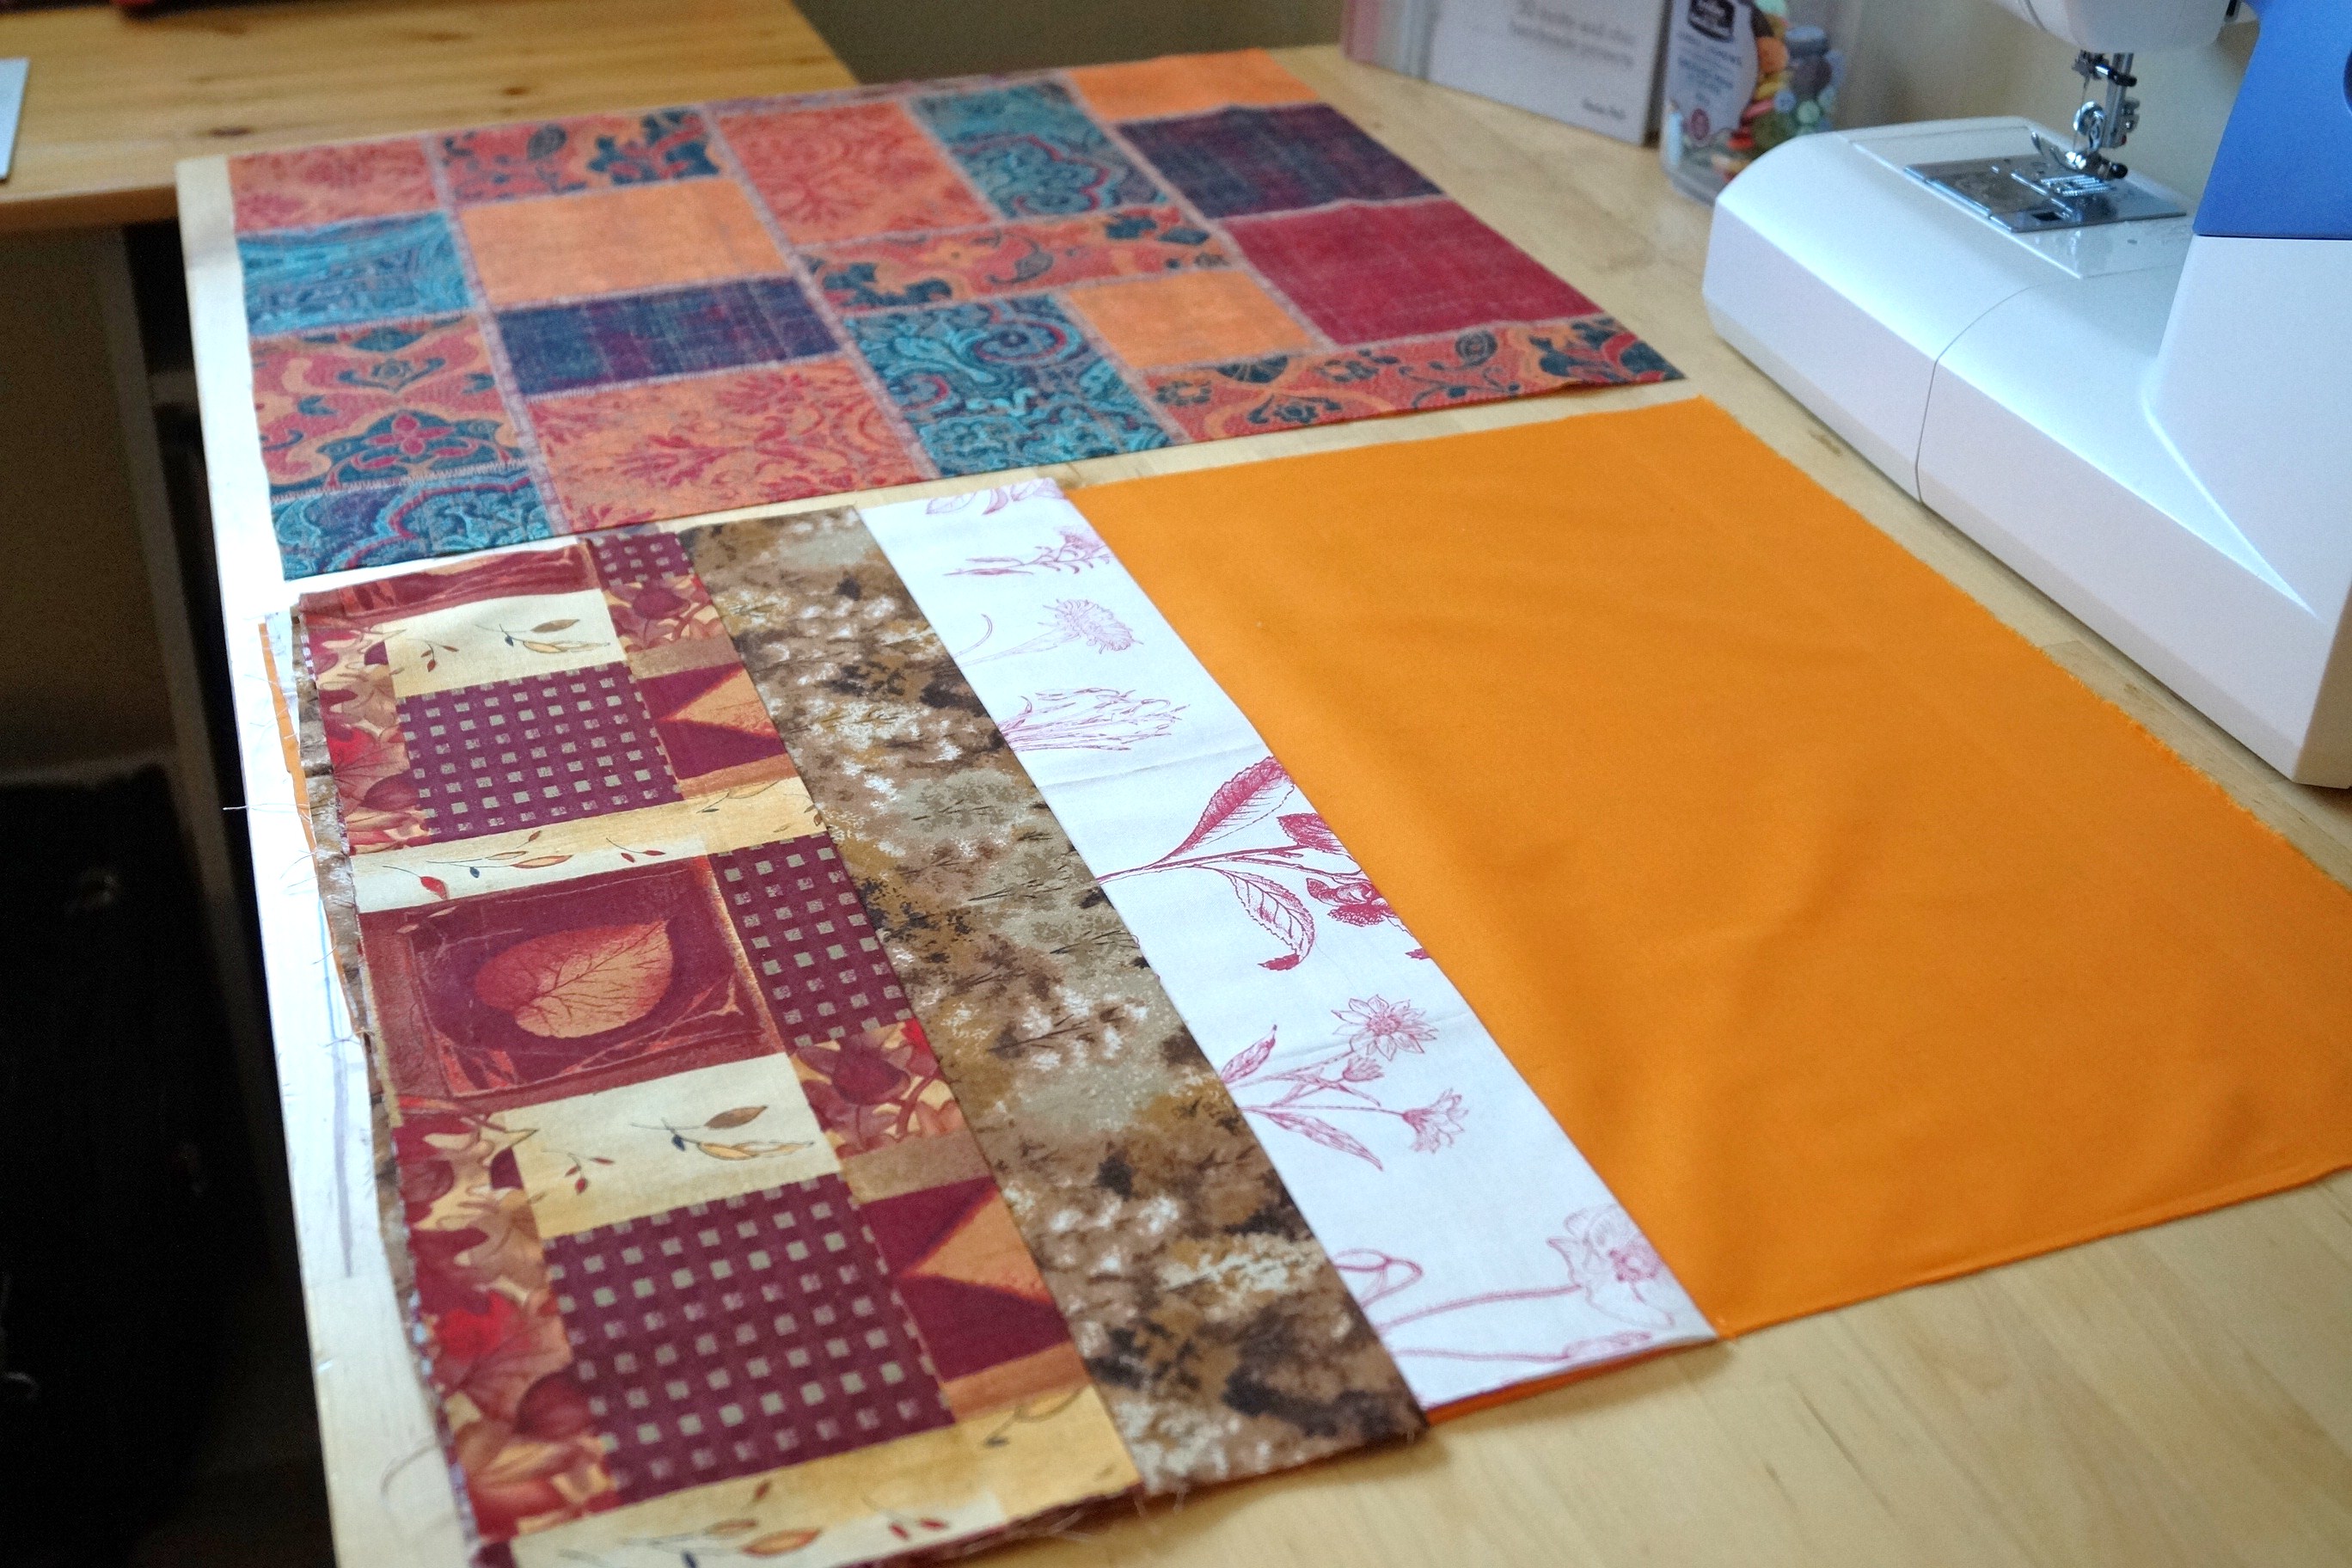
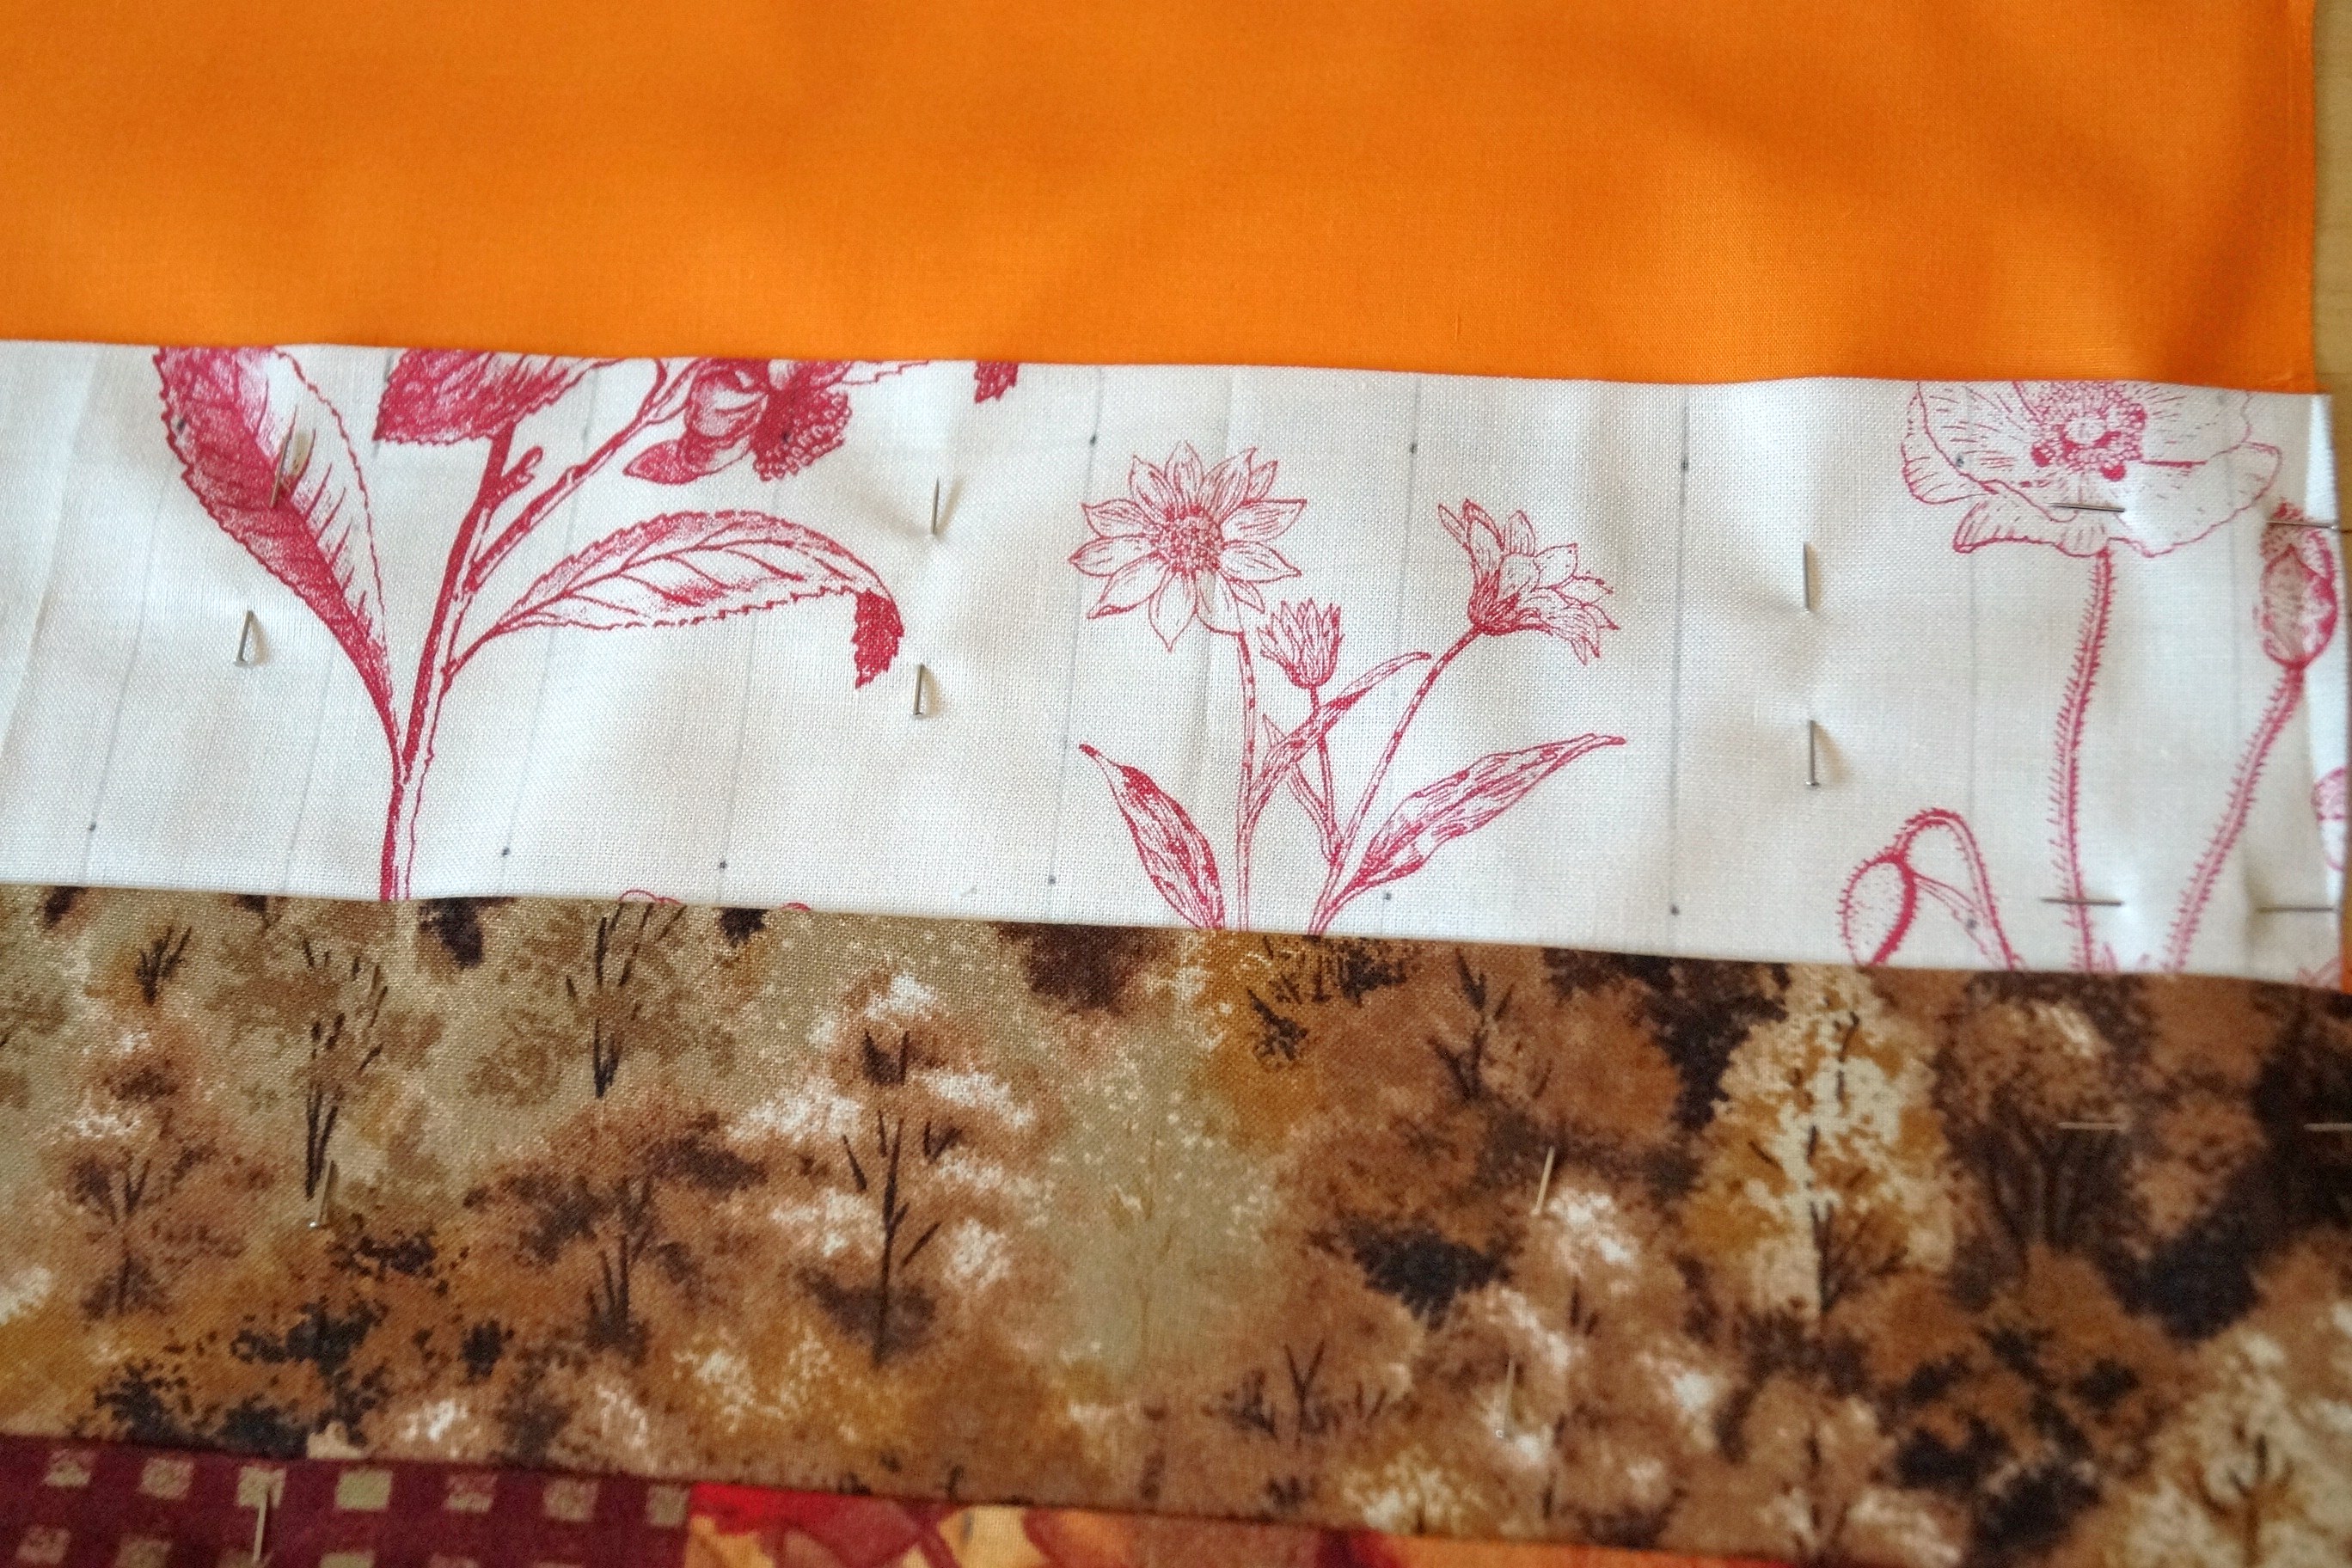
With right side of inner lining facing up, place the folded inner pockets along the bottom edge, lining them up so that the tallest is first, then place the middle one, then the shortest one, having raw edges even along the bottom. Pin in place.
 Baste outer side edges, excluding the shortest pocket lining (more on that later).
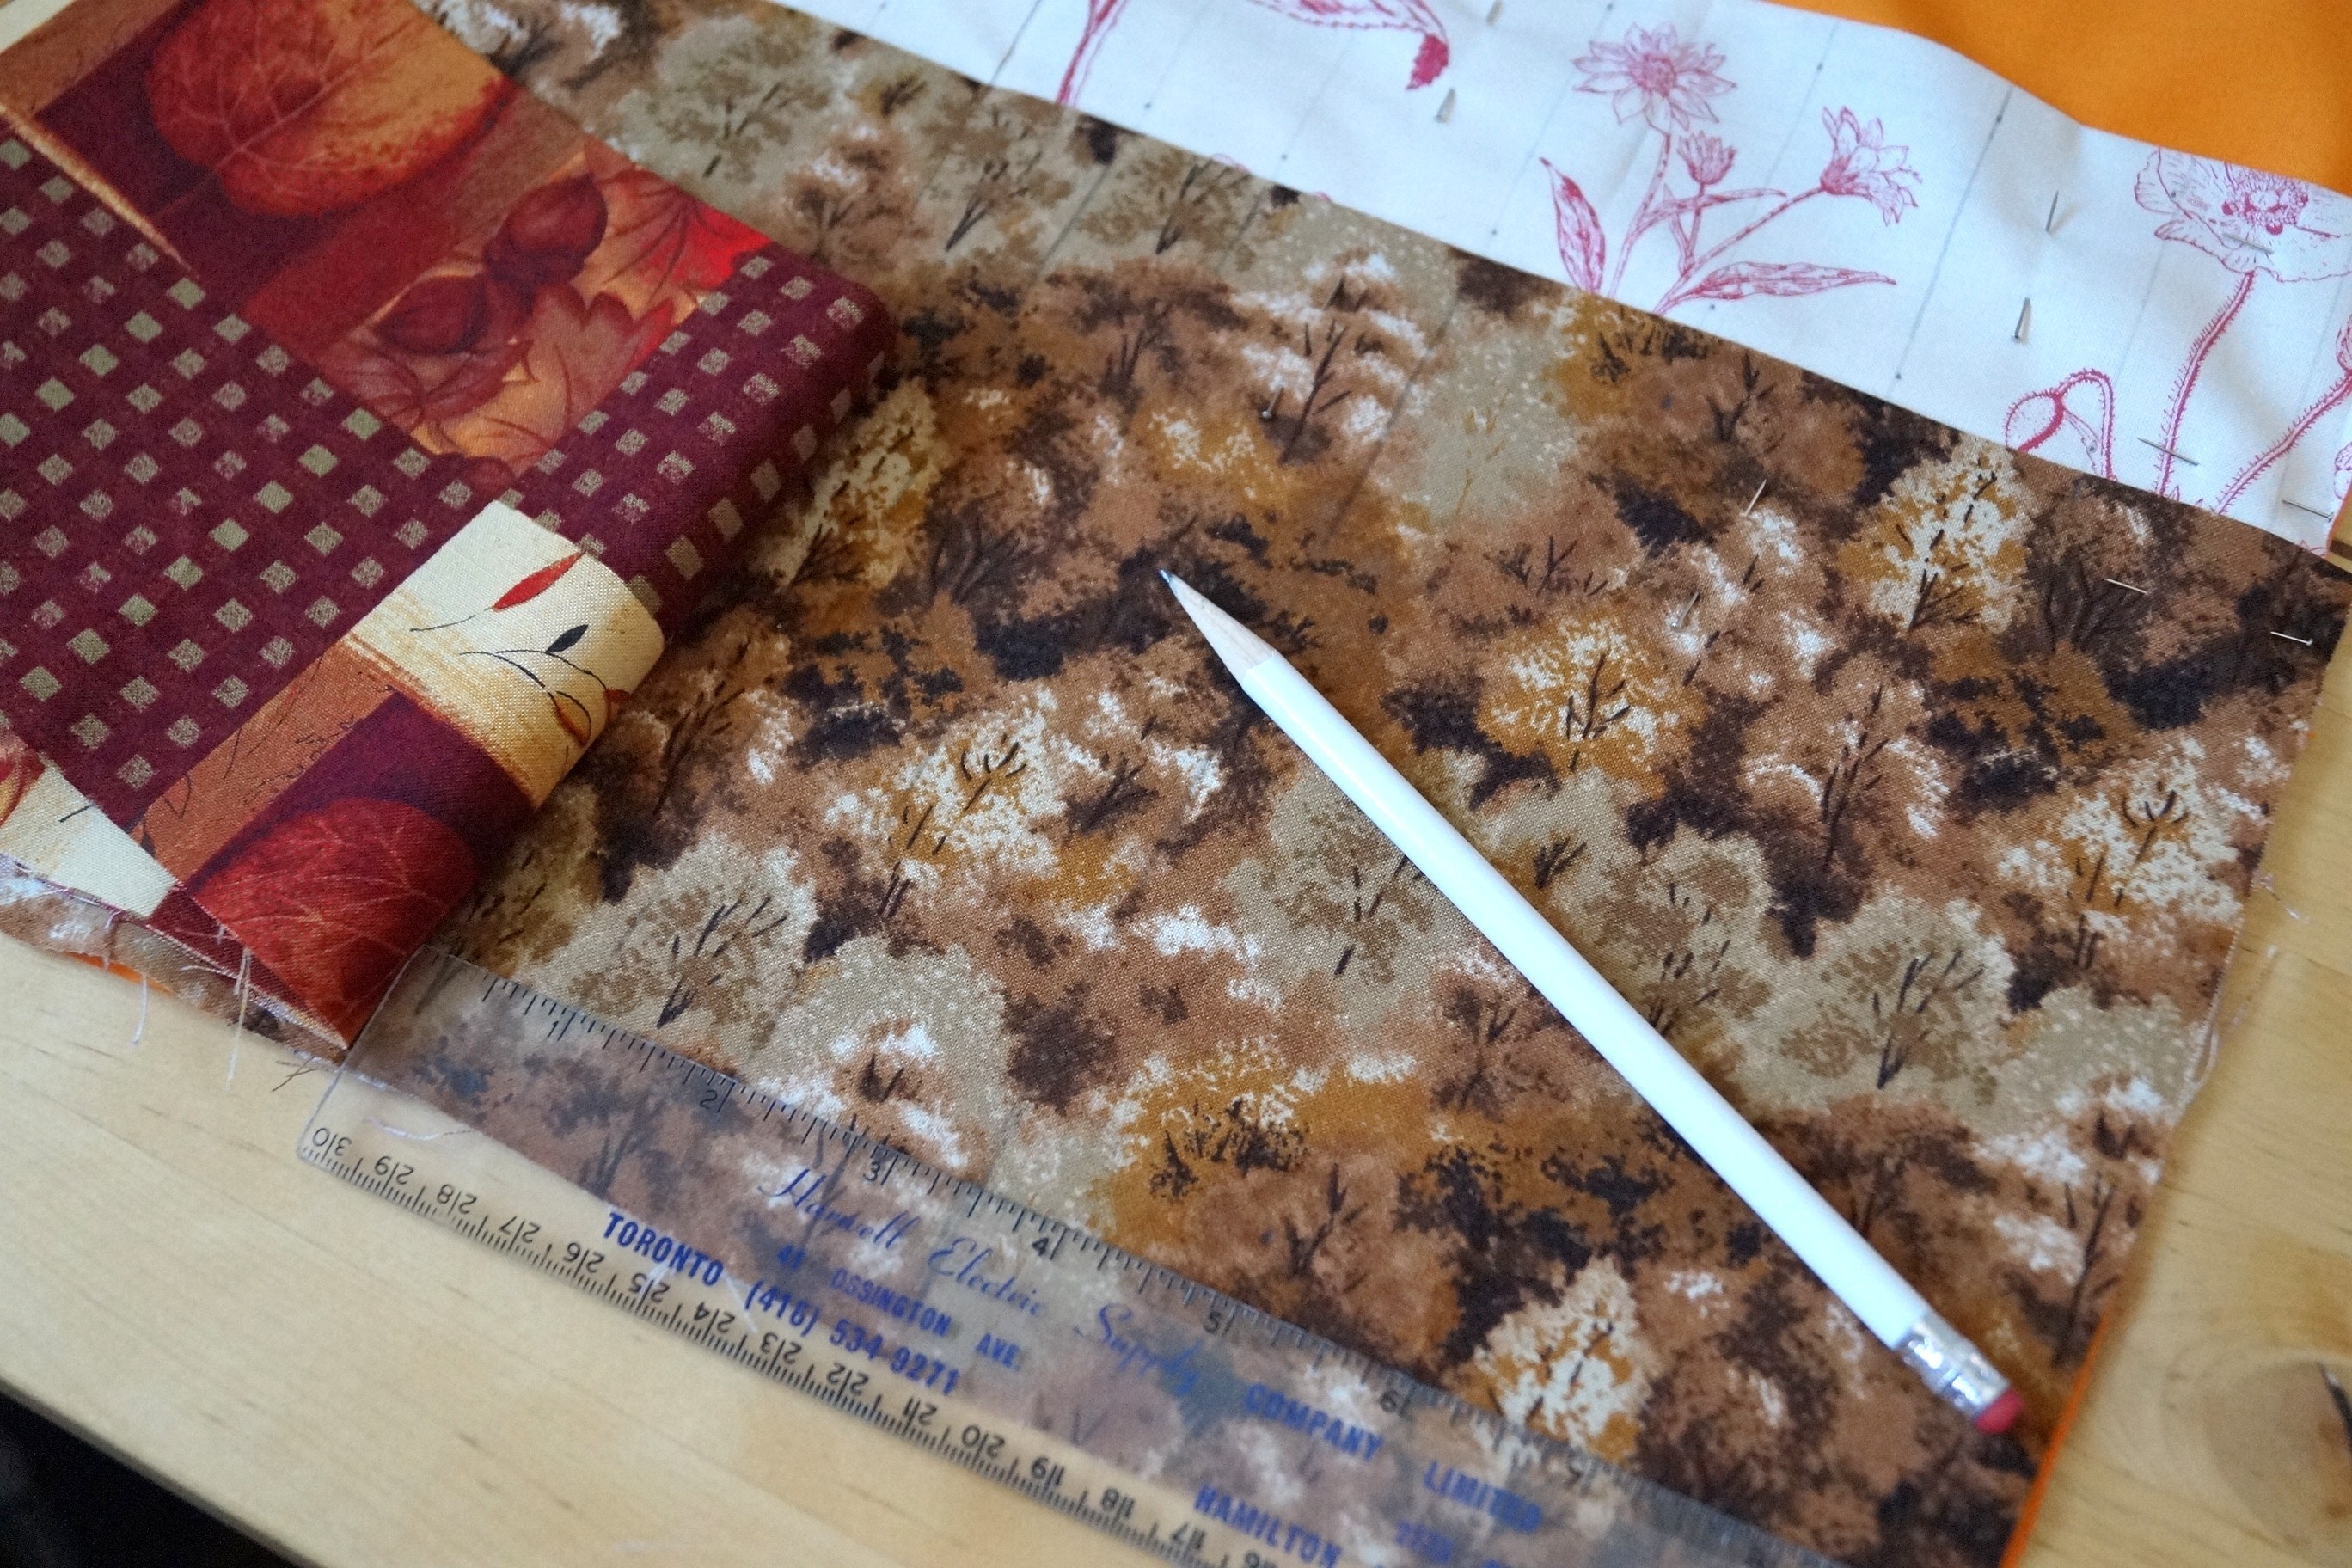
With a ruler and erasable marker, measure and mark lines (I made some that were 1″, 1 1/4″ and 1 1/2″) to accommodate different sized needle widths, pin down the pockets across the width of the case.
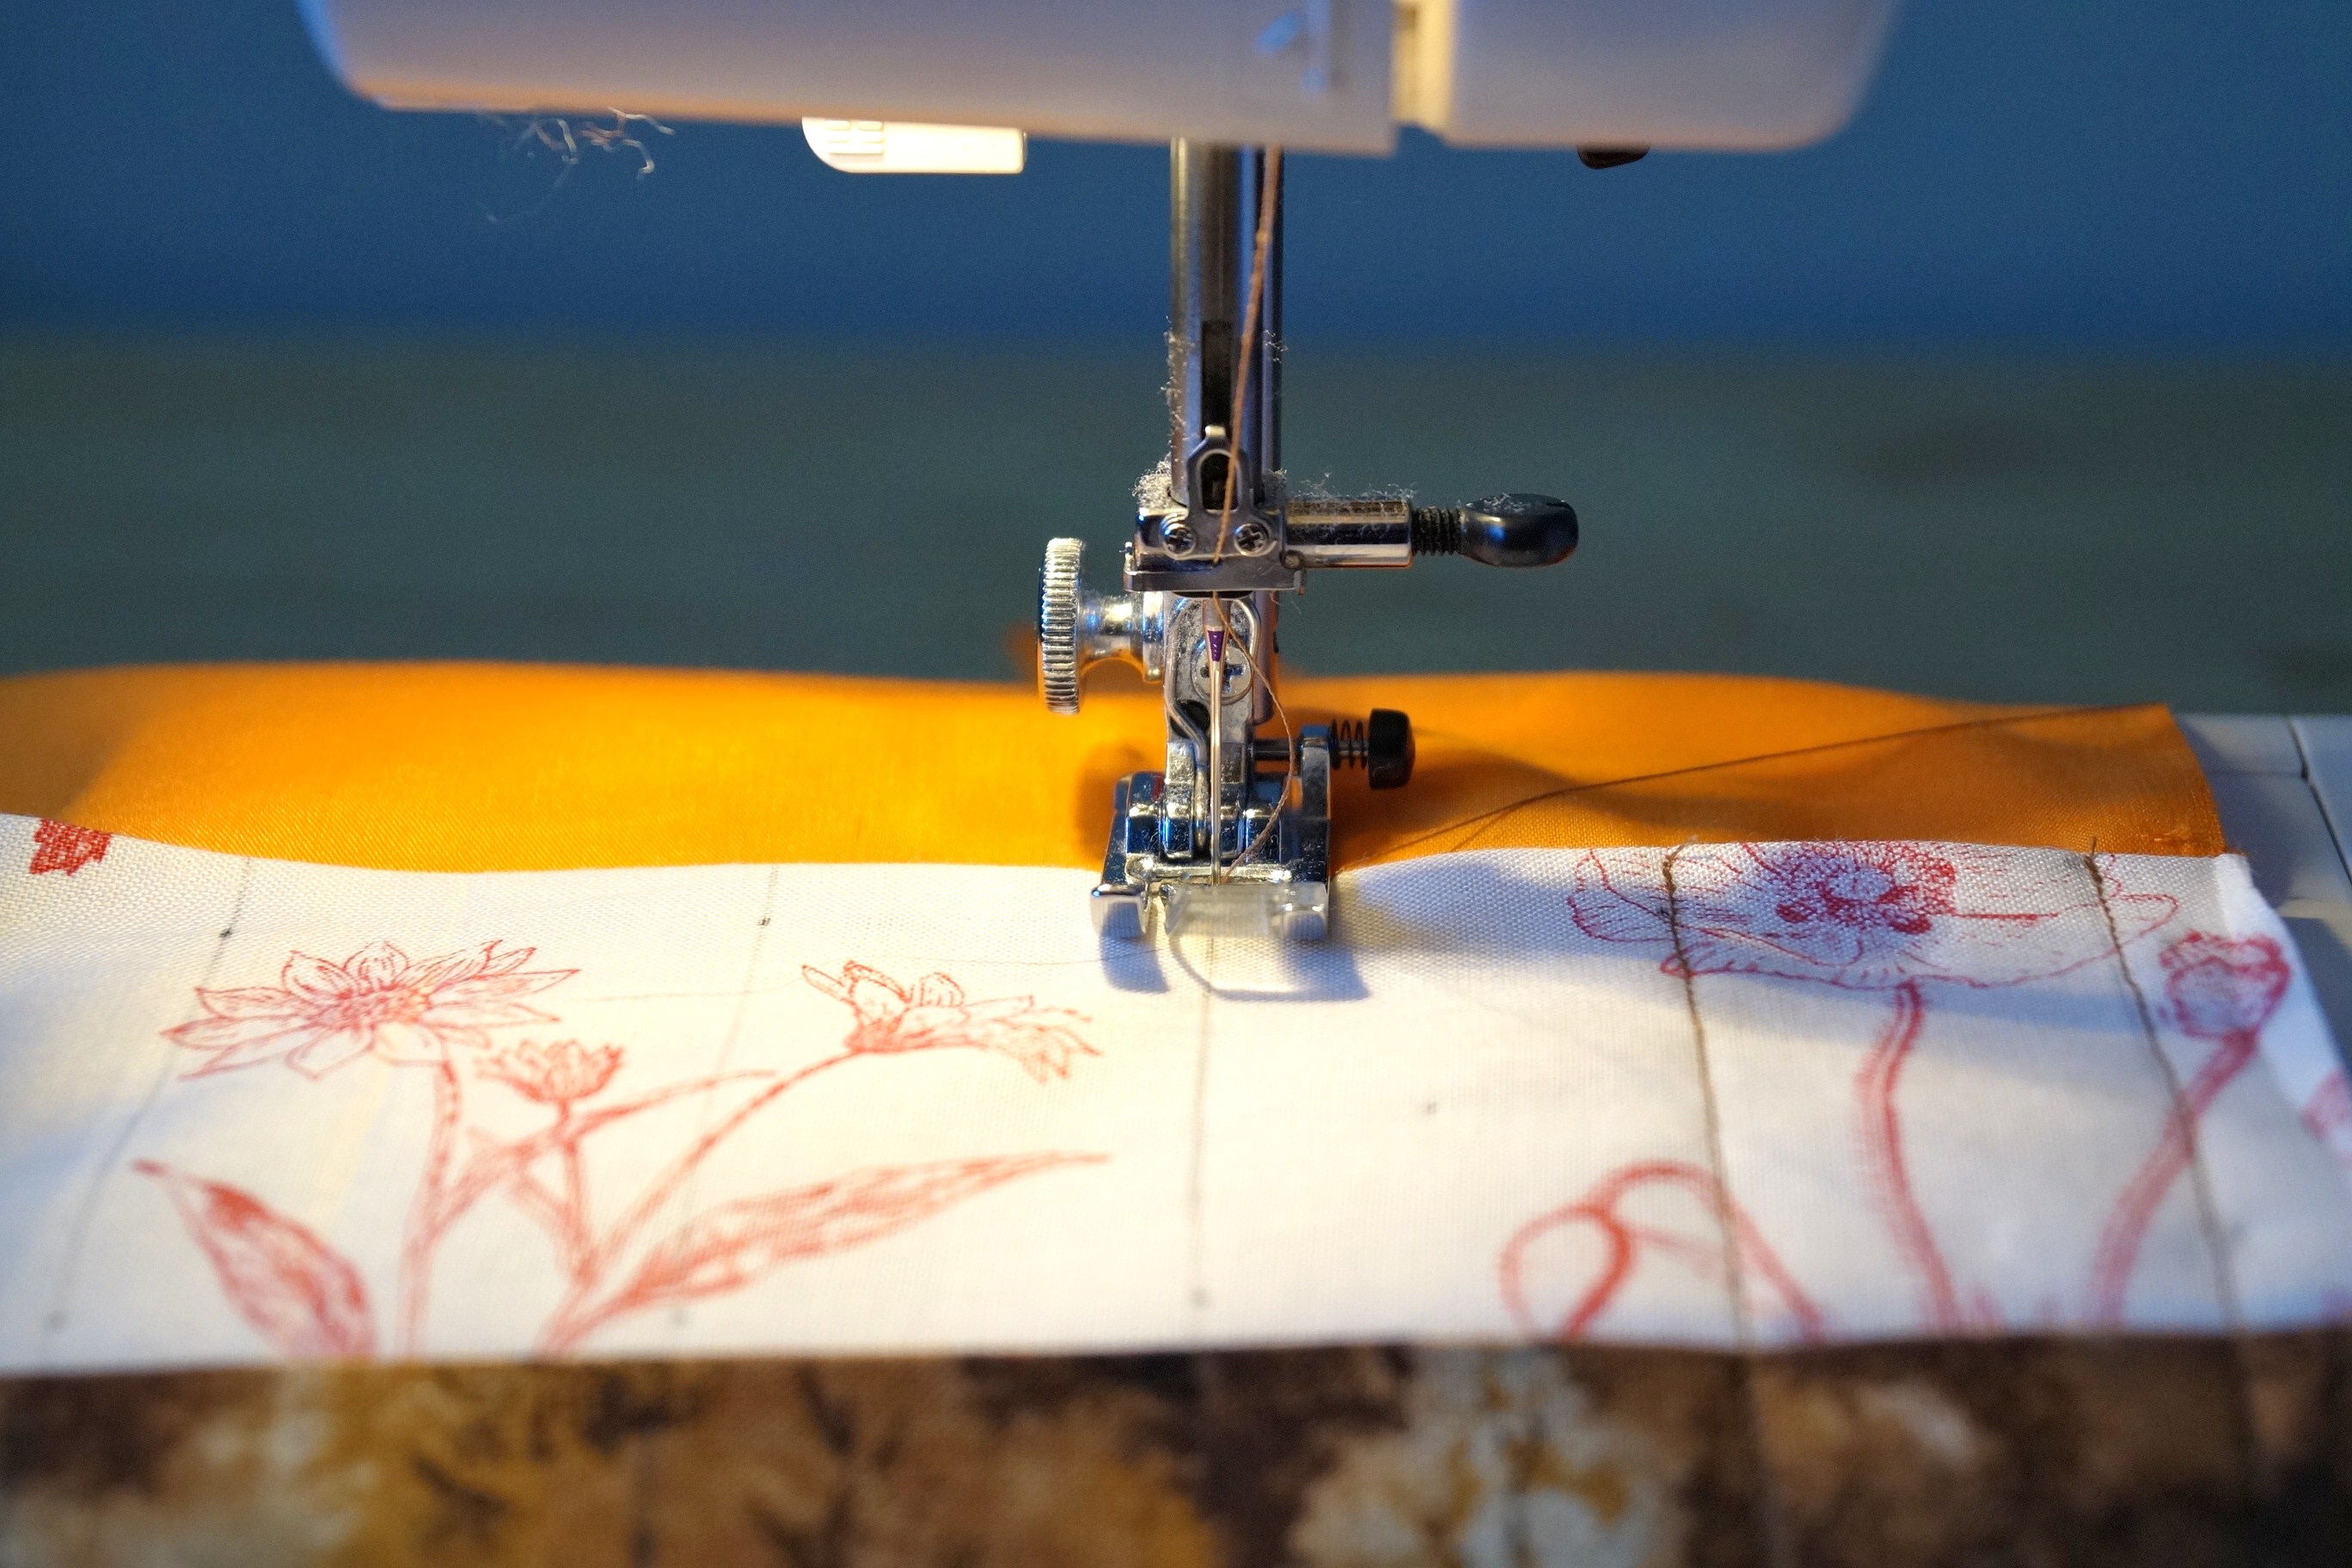 Starting in the center, stitch along the line from top to bottom. The next step is IMPORTANT if you have circular needles, fold back the lowest pocket out of the way, then stitch the next 2 or 3 lines. The lower pockets will be 3″ to 3 1/2″ in width to accommodate circular needles so however many line spacings you marked out, use those as a guide to space out the pocket for the circulars on the lowest pocket. Then repeat until all lines have been stitched.
 Give the project a quick iron to flatten things out and set aside for the next step.
 Fold the outer flap piece (the 10 1/2″ x 4″ one) in half length-wise and press. Press under again a 1/4″ along the two long edges and one short edge. Fold piece in half (wrong sides together) pin in place and top stitch along all 3 sides.
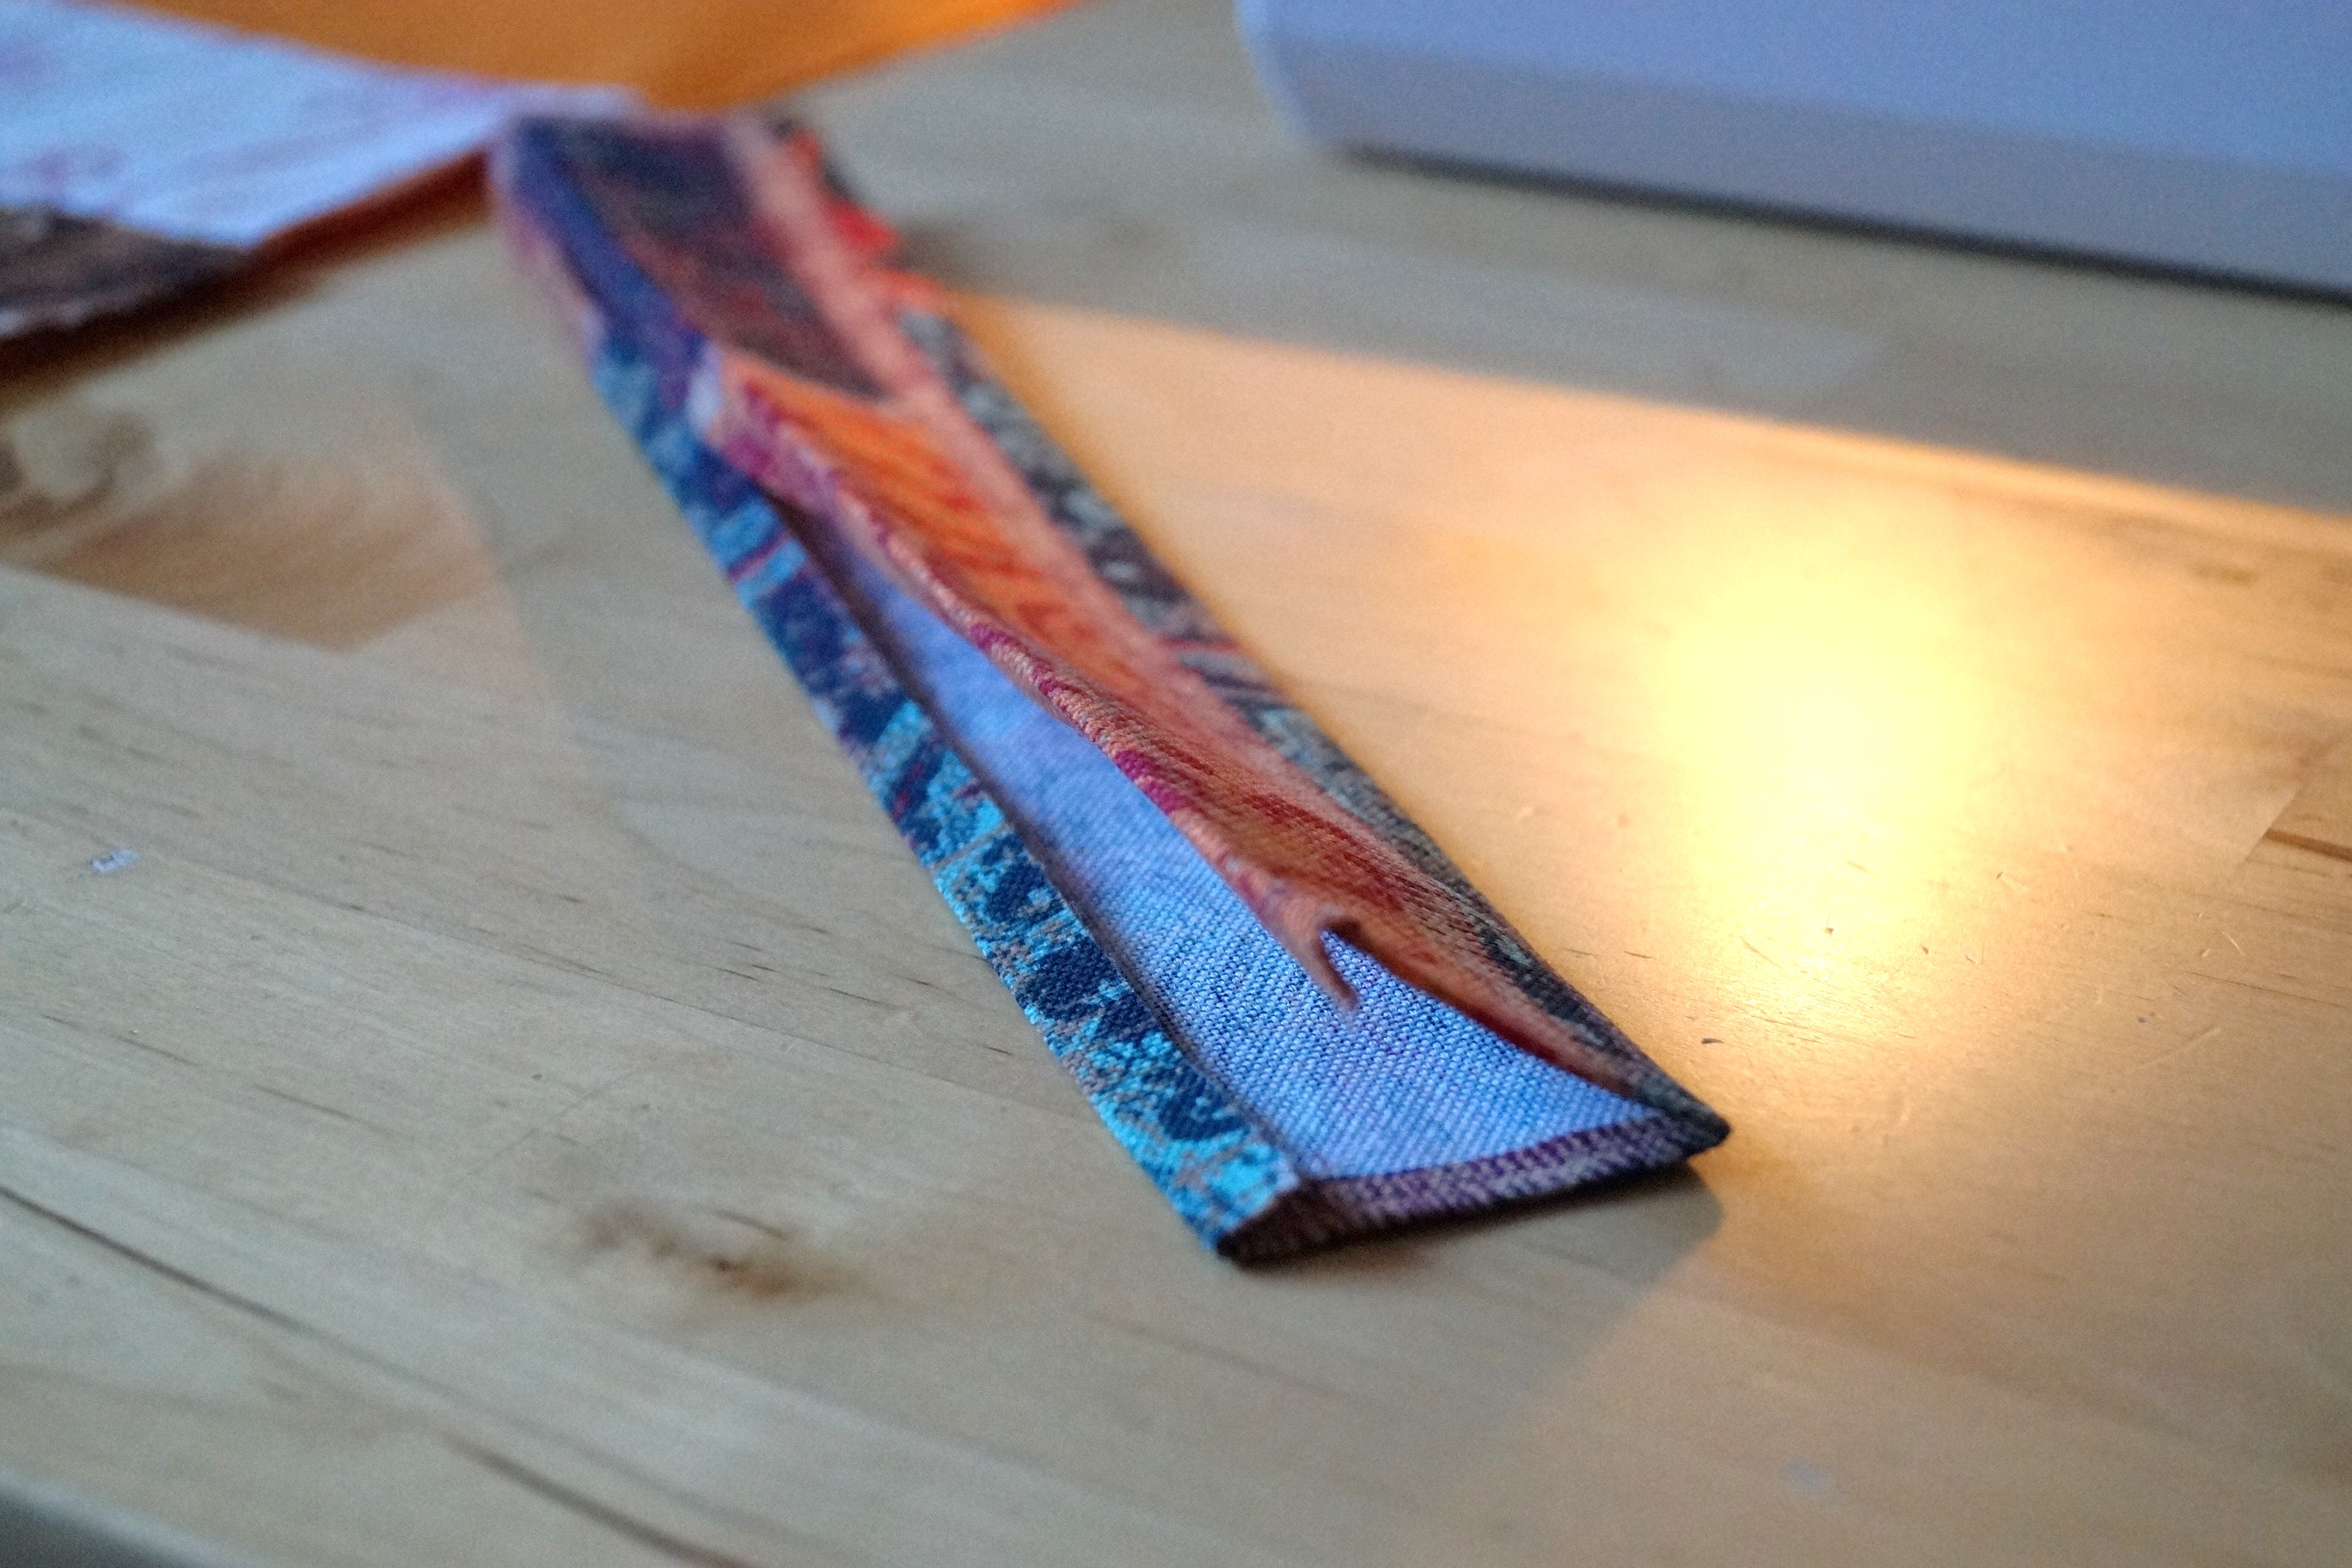 Measure down from the top of the Outer fabric (right side facing) 9 1/2″. Place upper edge of flap at this mark, having raw edges even at the sides. Pin and baste in place 3/8″ from outer edge.
 Place inner lining over outer fabric, right sides together. Pin sides and bottom, then stitch a 1/2″ hem on the 3 sides, leaving the top edge open for turning.

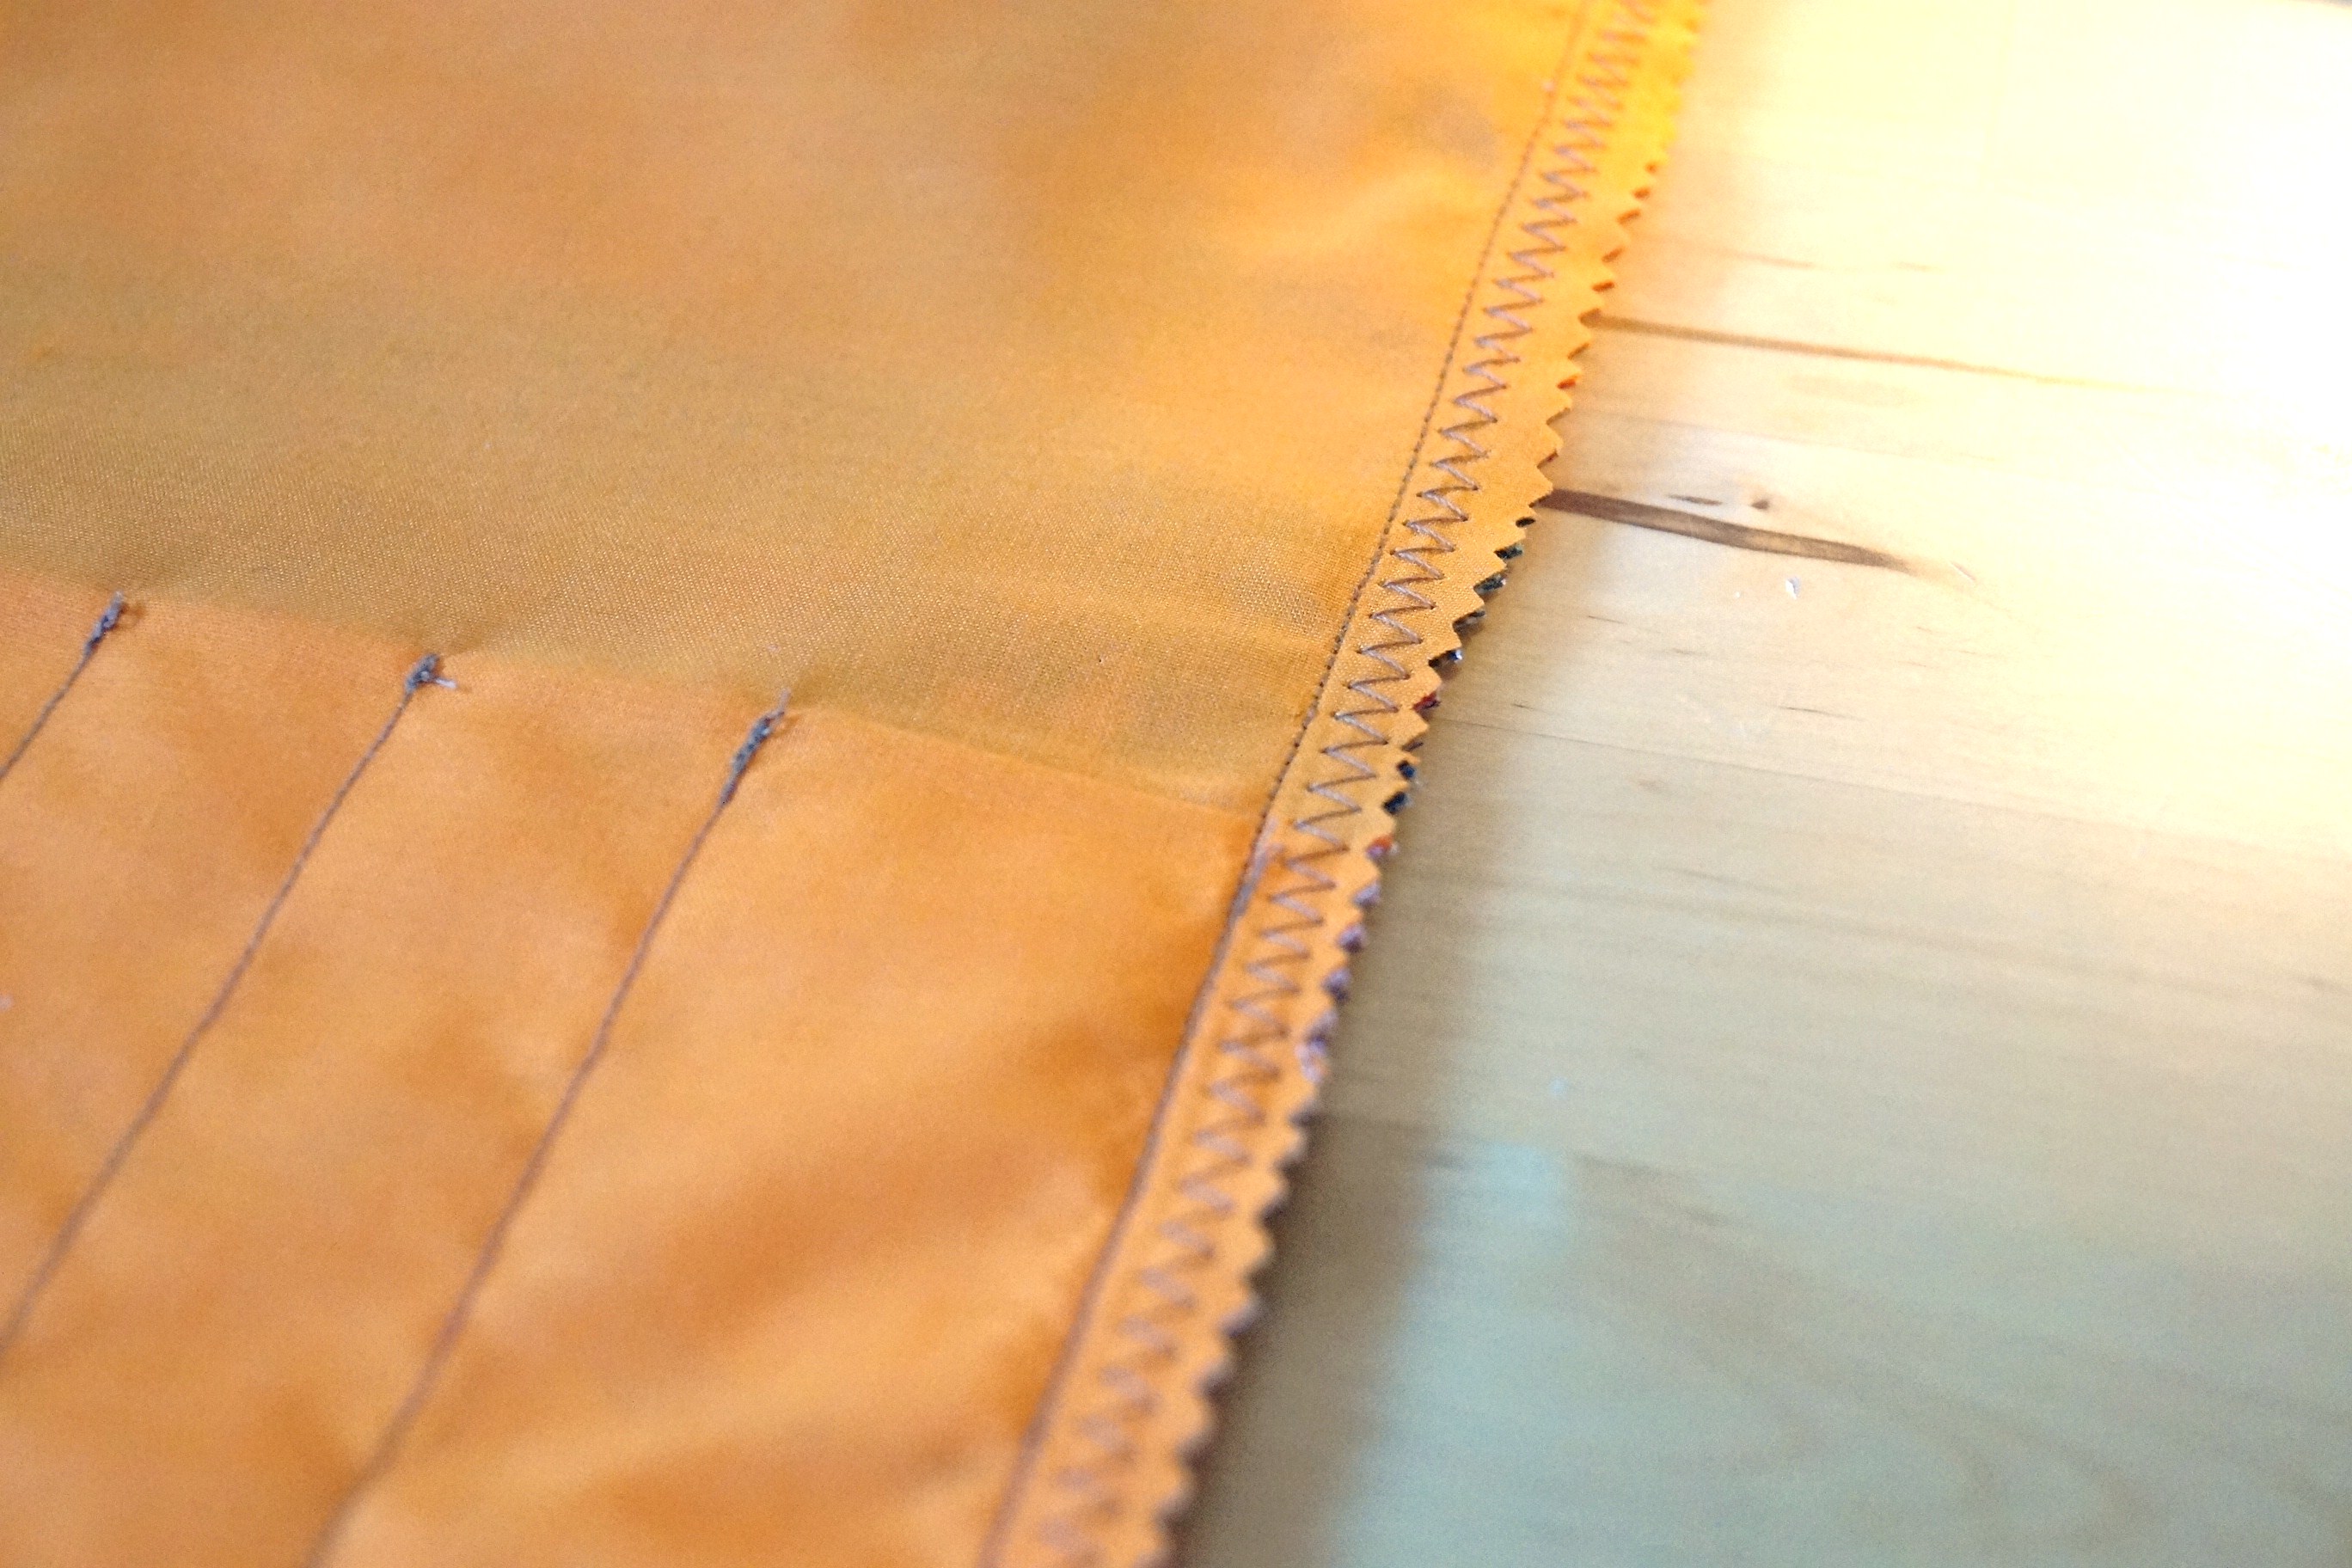 I find most 100% cotton fabrics fray like crazy, so for extra security, zigzag seam, then pink edges close to zigzag stitching or serge edges if you have one. Turn right side out and press.
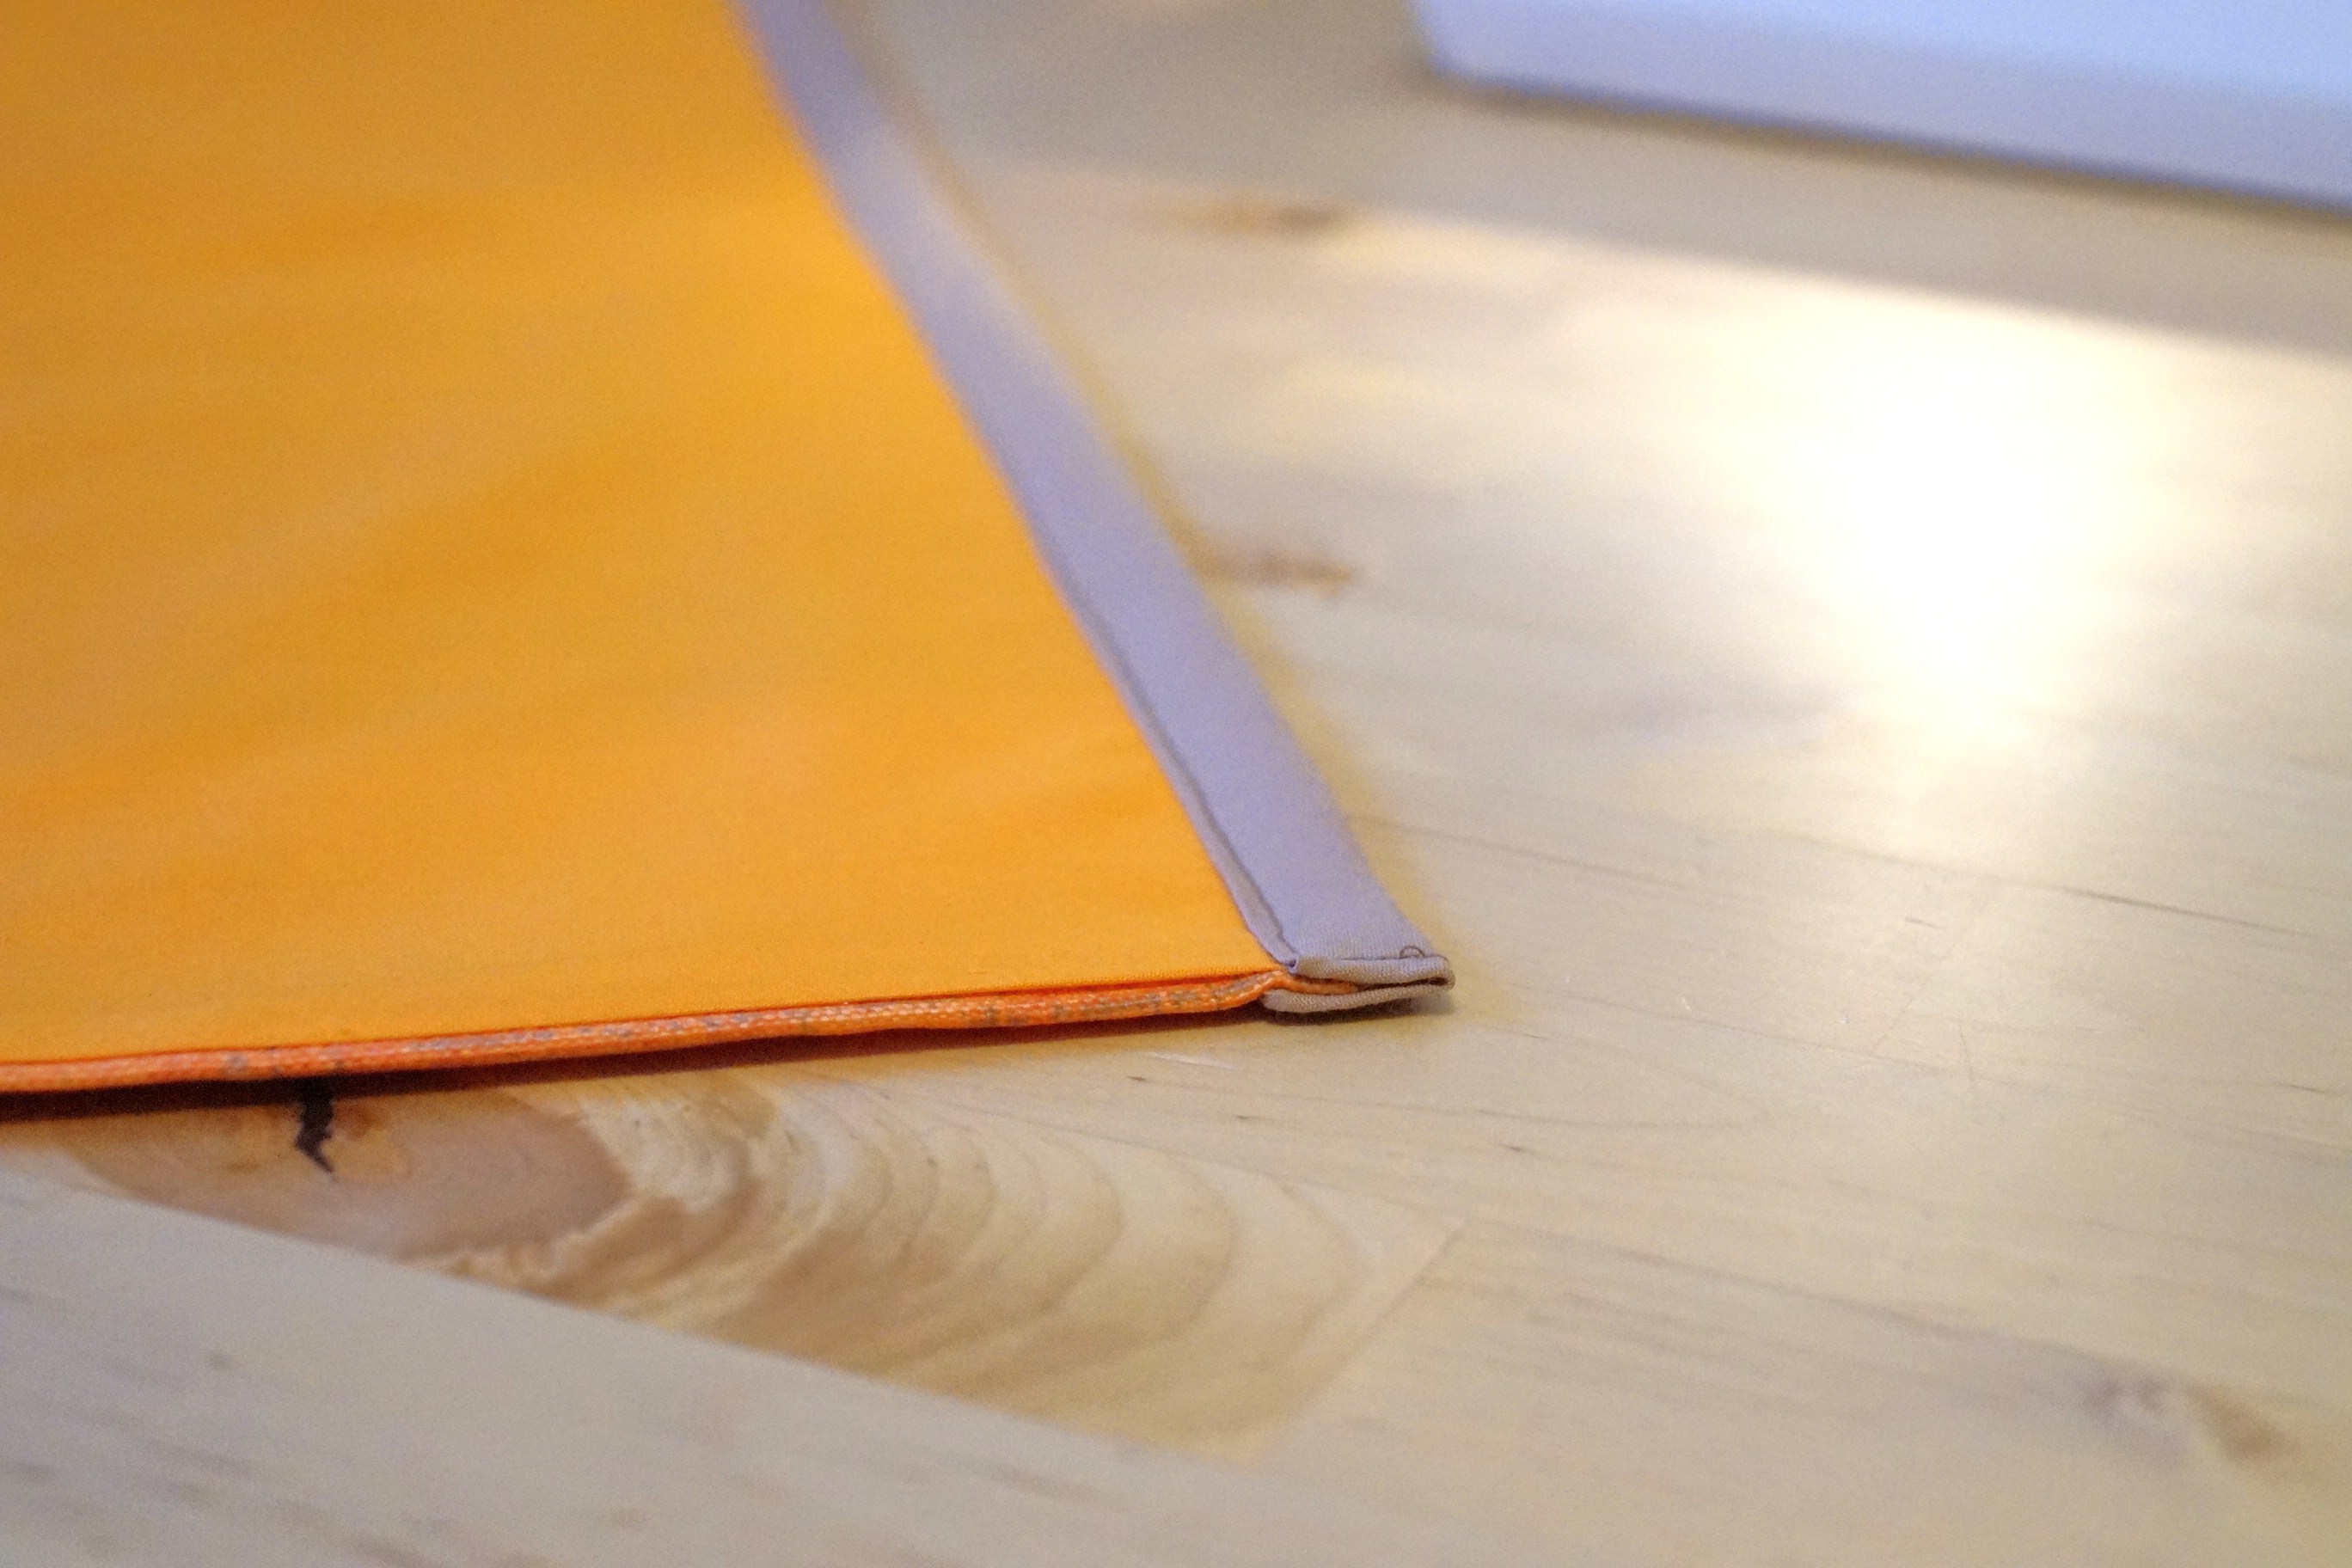
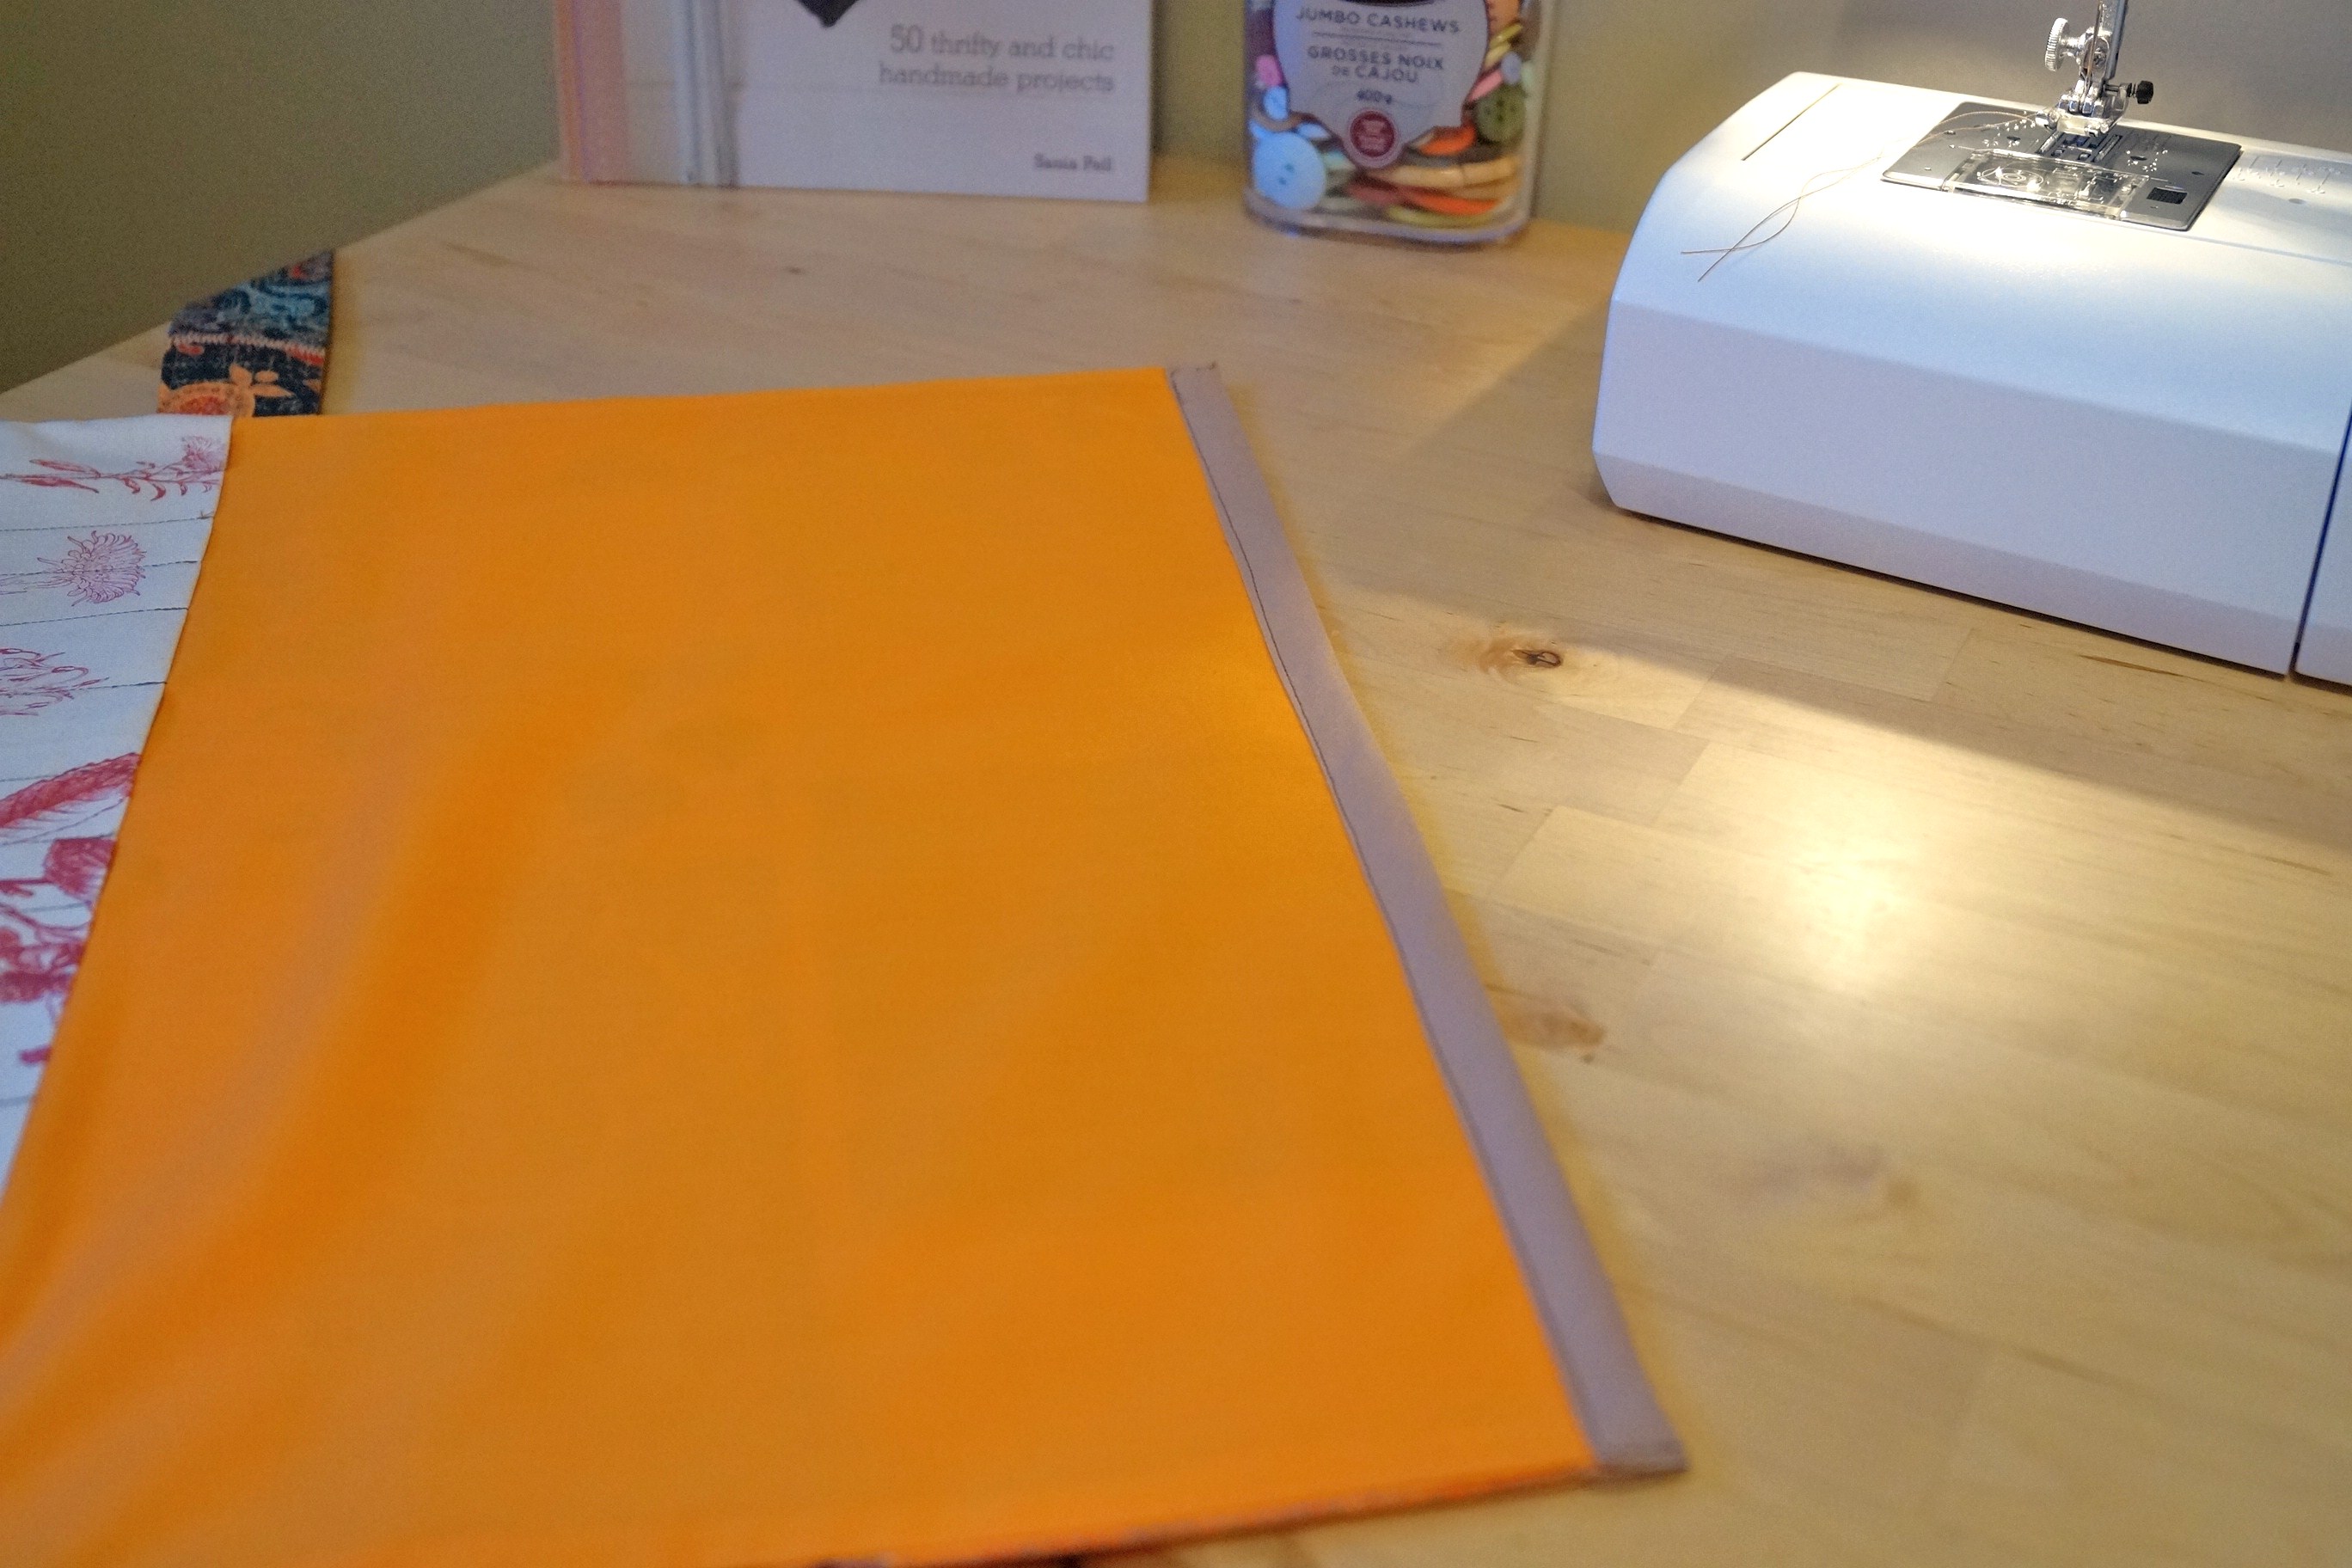
Take a length of bias tape 1″ wider than the top width. Fold under each end a 1/2″ and pin in place (on outside) wrapping around the length of the top edge. Top stitch top edge closed.
 Make buttonhole in outer flap appropriately sized for purchased button. Fold up case into thirds and mark spot where button will go. Hand sew button in place.
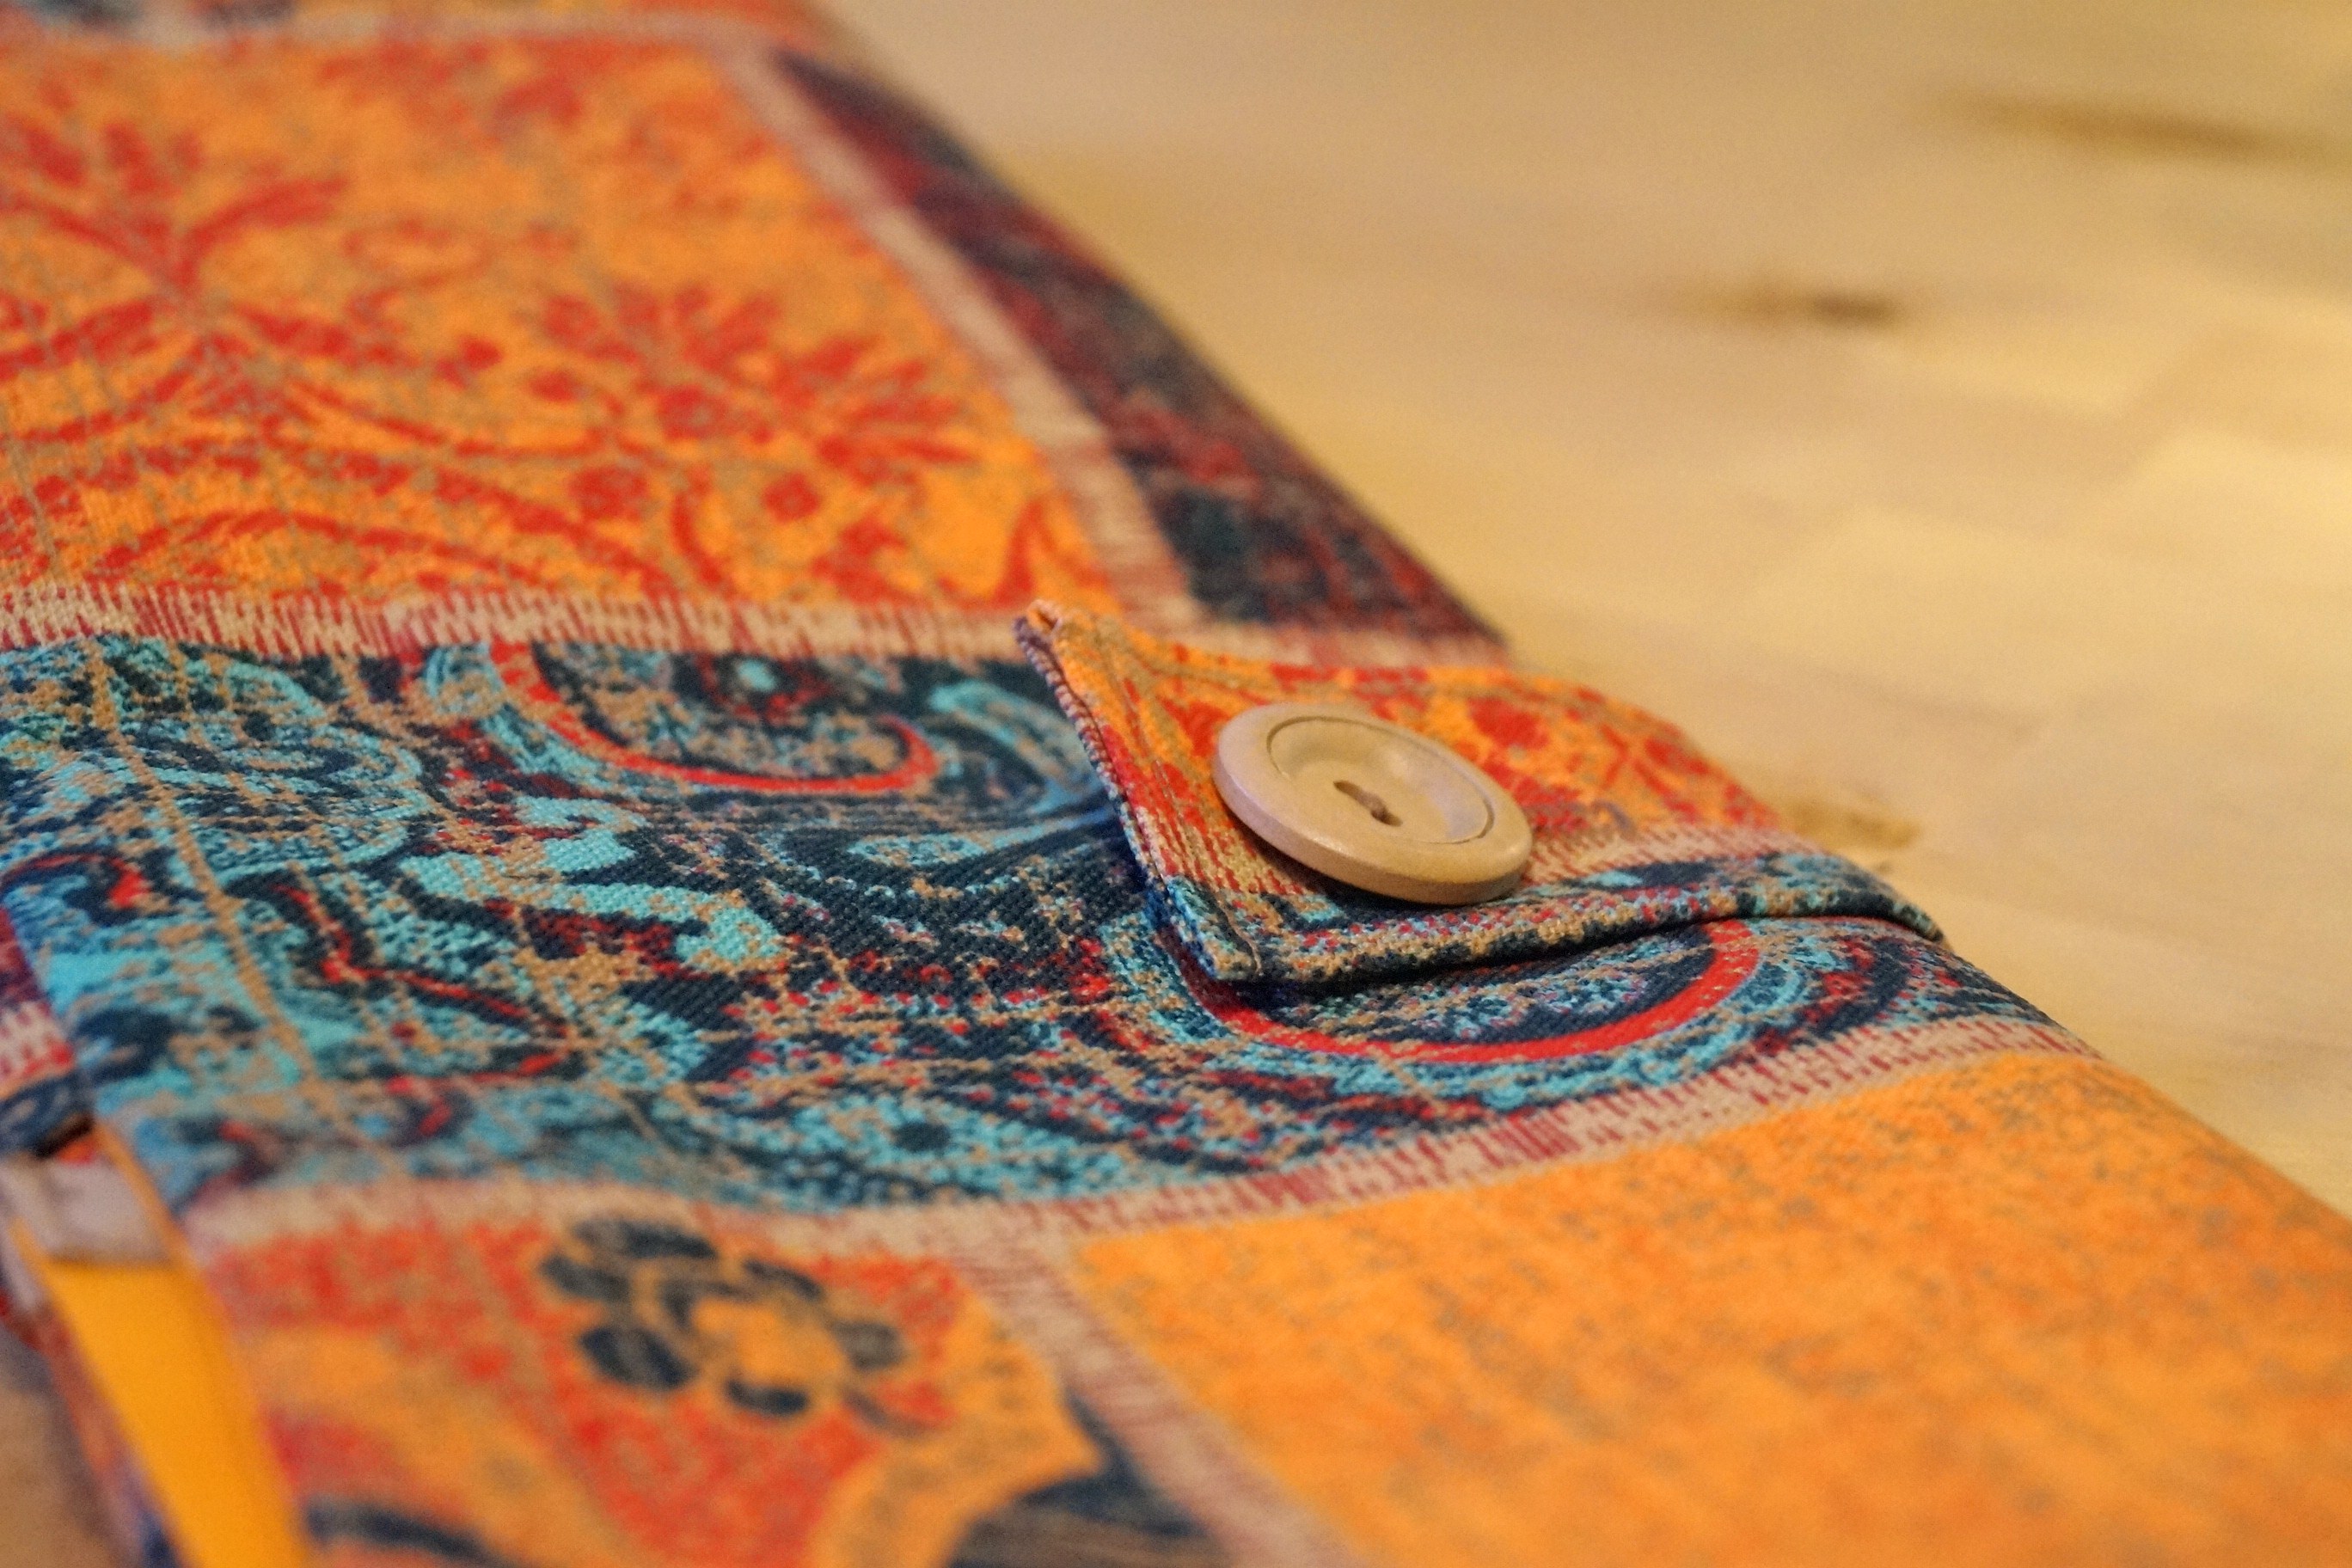


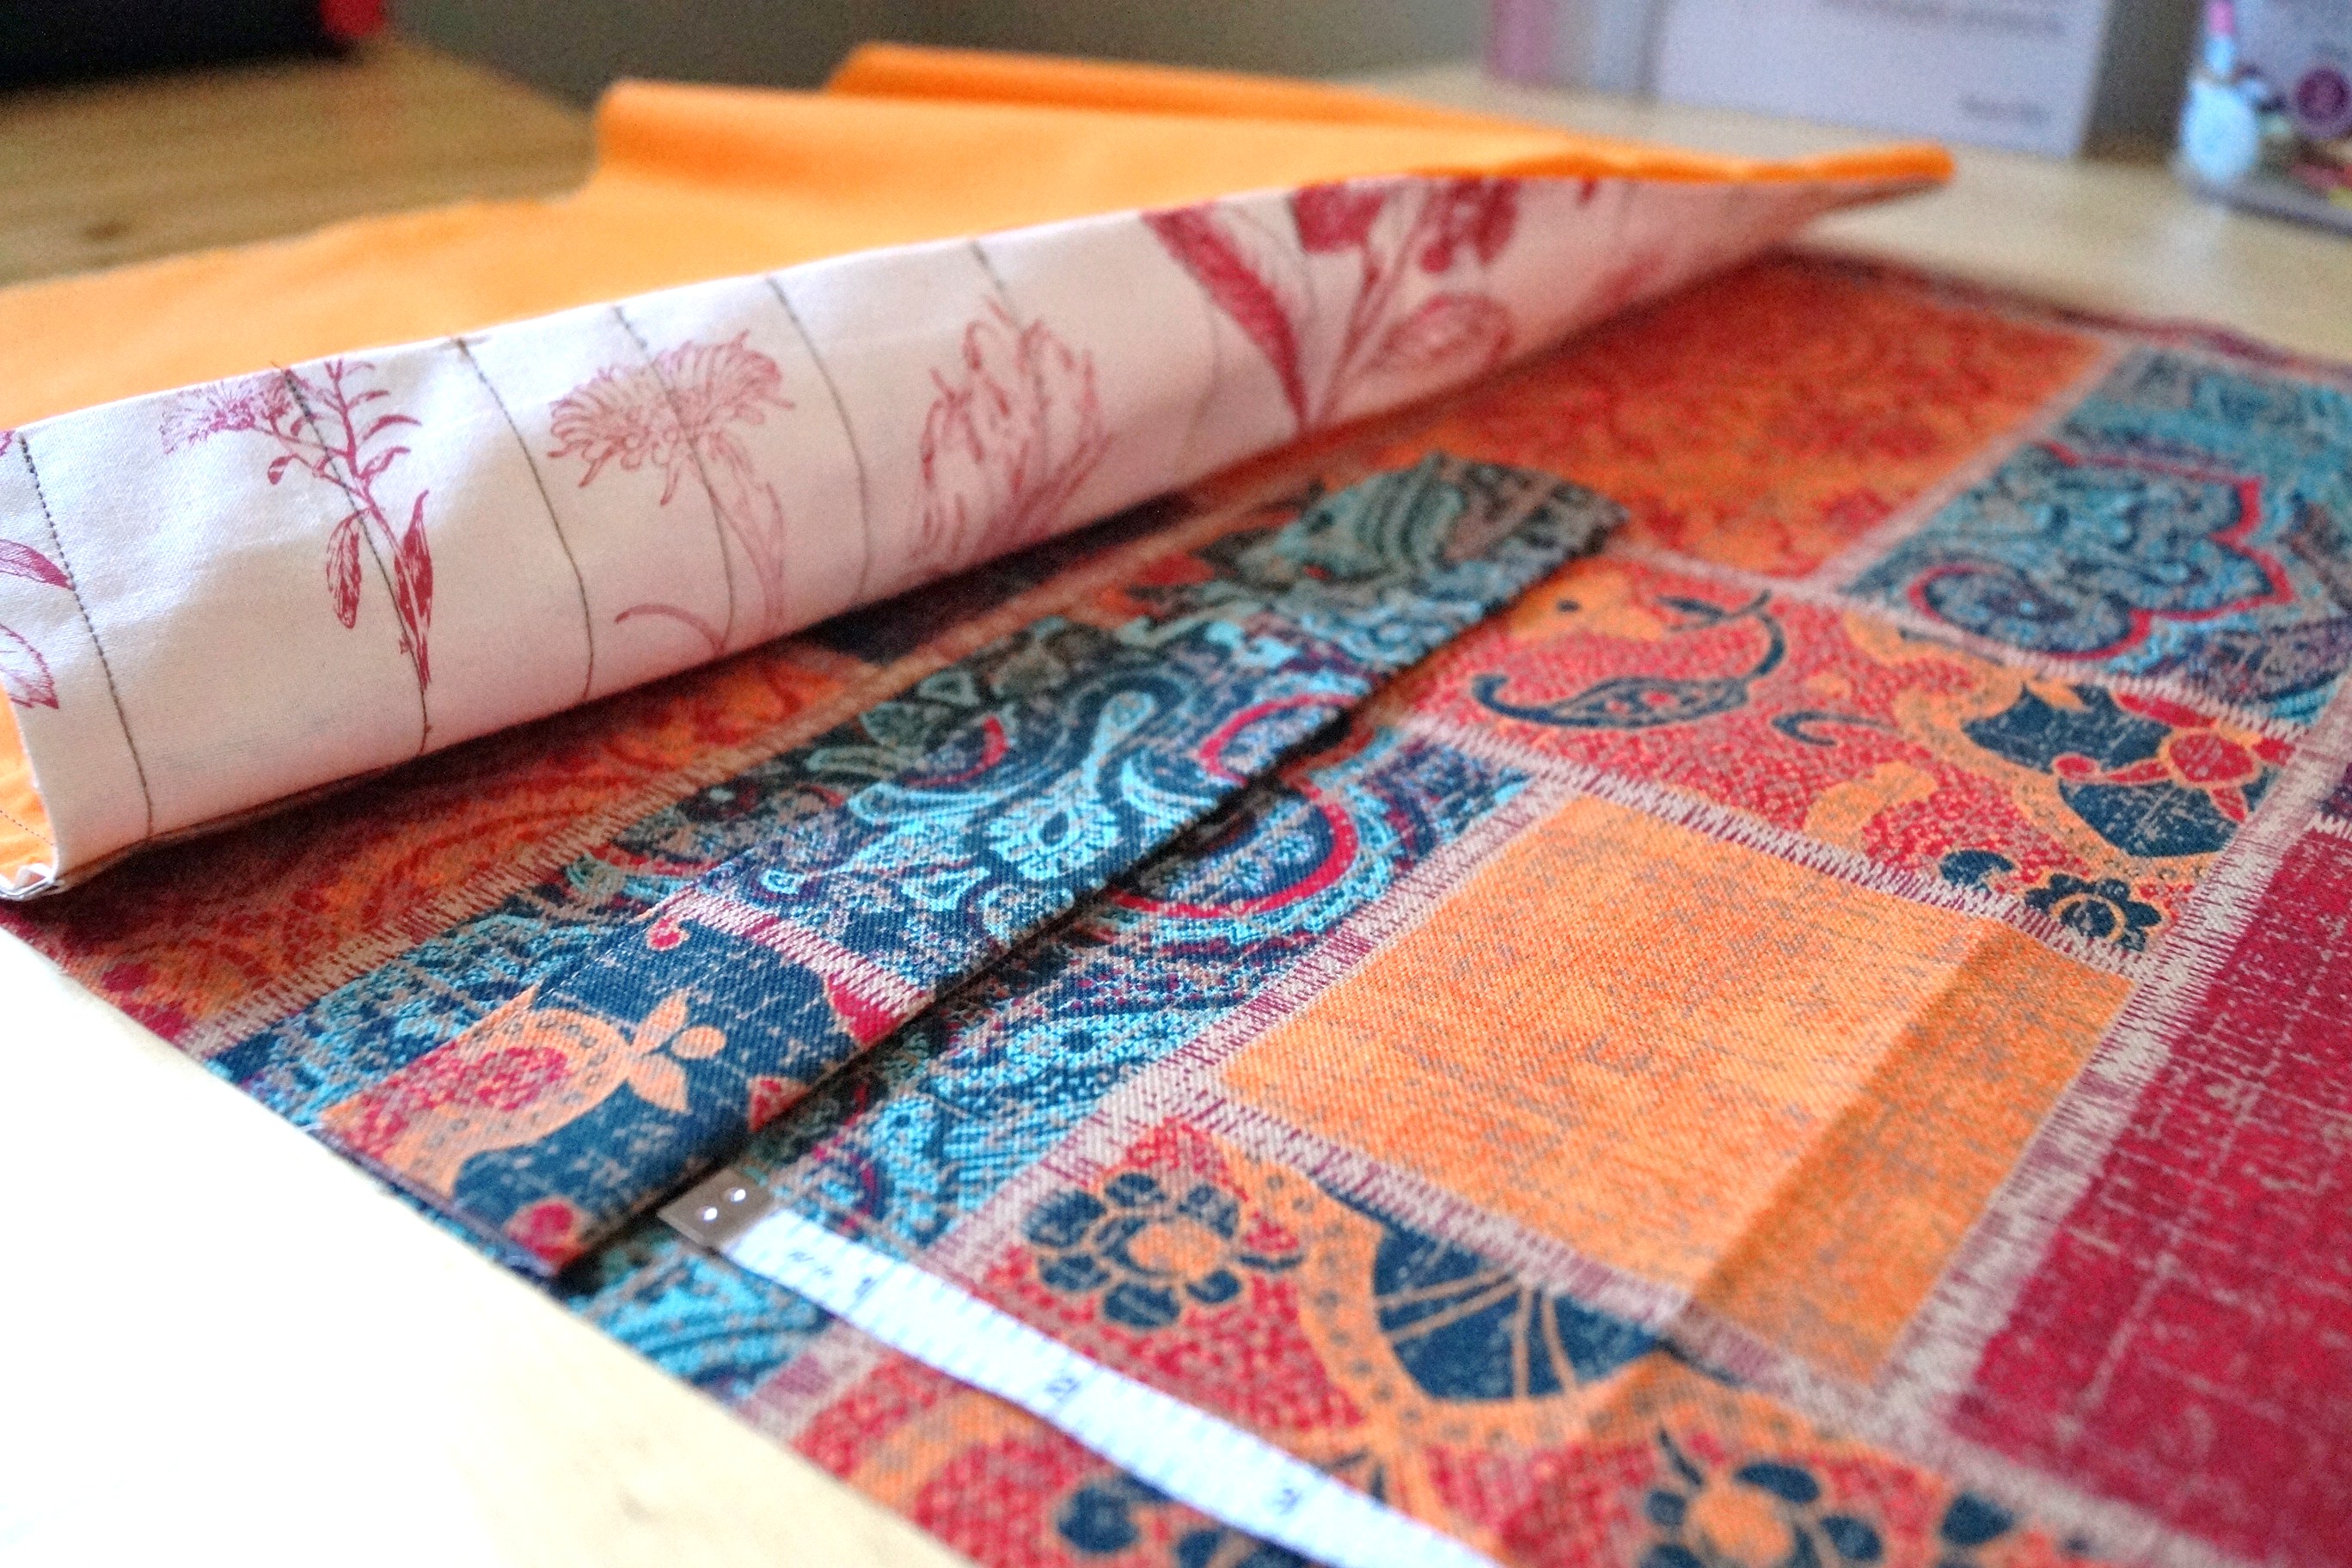
 There, now you have a beautiful, sturdy, and more importantly, a functional carrying case to hold all your knitting supplies.
Now I really must get to making mine….
![]()
I absolutely love mine!! So does Scott… It’s certainly better than having all of my supplies all over the living room 🙂
I figured he would 🙂 Glad you are making good use of yours too!