
Yesterday I posted a recipe using avocados, and in that recipe I said to save the pits and skins for later use. I guess I *should* have been more specific, but I thought it would be interesting to see how many people would be wracking their brains wondering what the heck would you use them for. I mean, they are inedible after all, and unless you are wanting to grow an avocado tree, why save the pit?
So here is what I do with them….
To one 500ml canning jar, I added 3 oz of chopped avocado pits. Combined 3/4 cup of boiling water with 1/2 cup ammonia and added it to the jar. Topped up to about 1 1/2” from the top.
To another 500ml canning jar, I added 3 oz of chopped avocado skins. Combined 3/4 cup of boiling water with 1/2 cup ammonia and added it to the jar. Topped up to about 1 1/2” from the top.
I screwed the bands down snugly on the jars and the heat/steam from the boiling water sealed the jars after about 15 minutes.
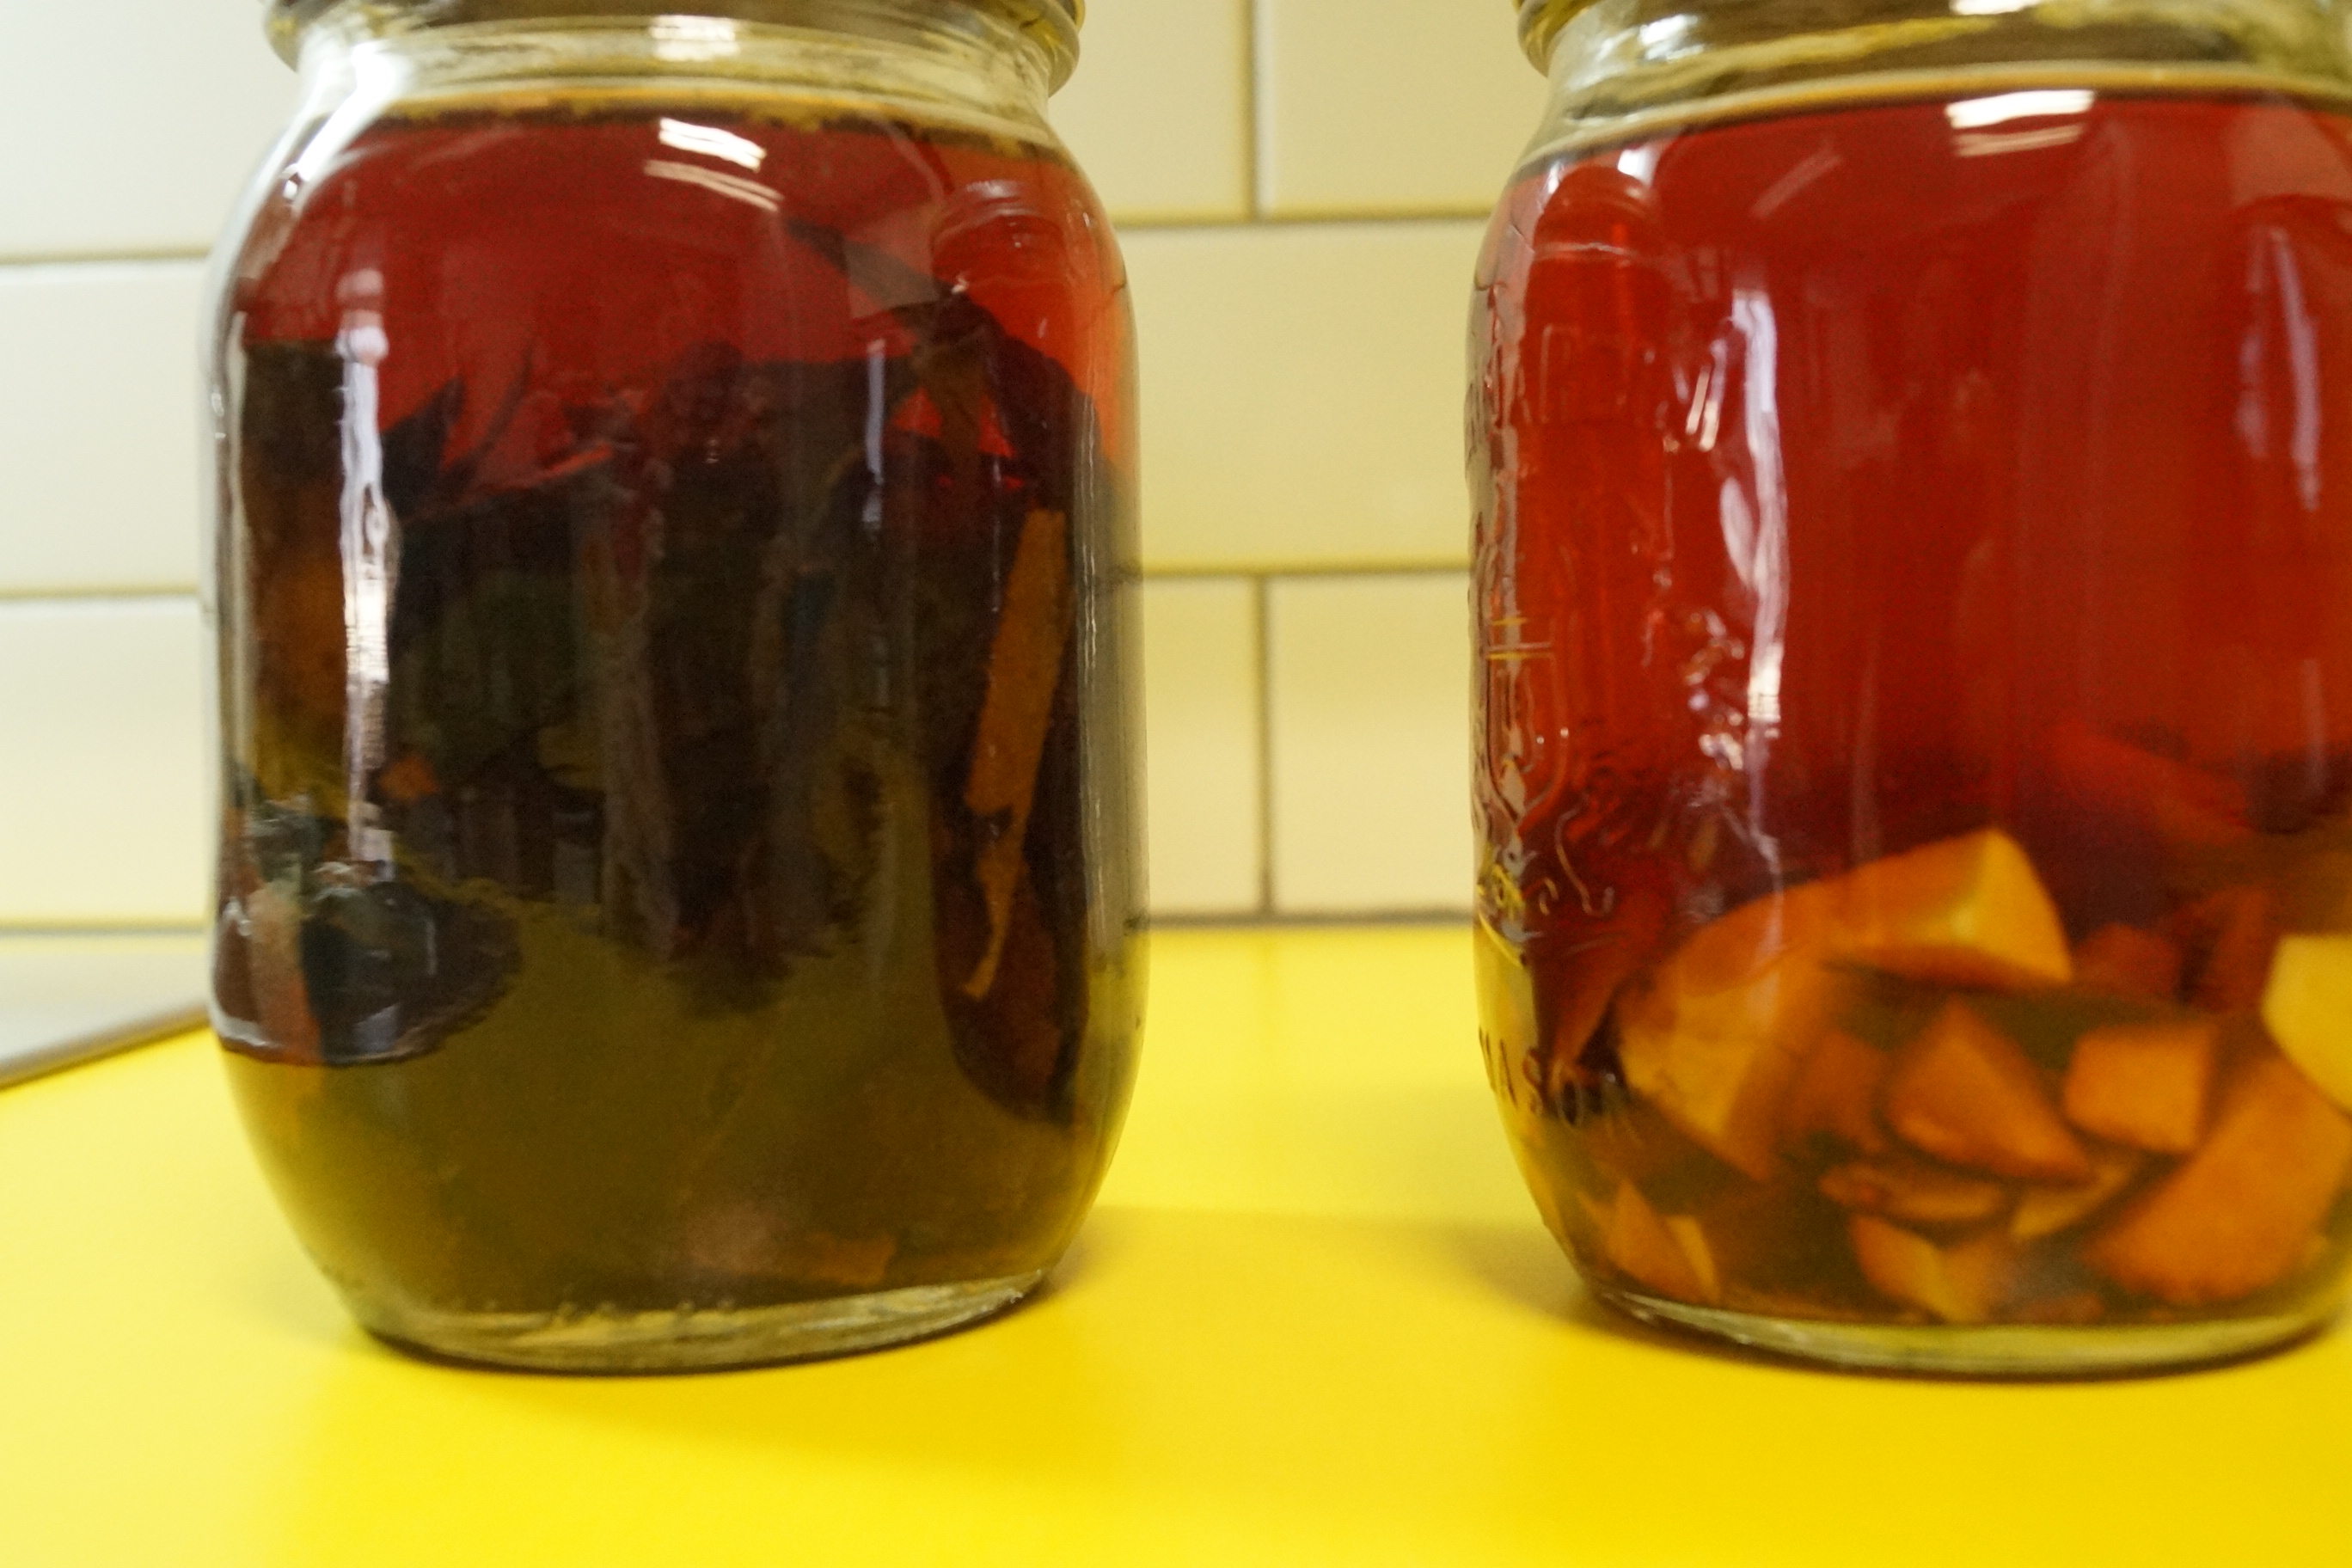 Here on Day 1, the colour starts almost immediately, but it is necessary to let the jars sit for a minimum of 30 days for the colour to develop, if you tried it now, you would not get any colour to stick to the fibers, it would mostly rinse away.
Here they are on Day 3 they are darker, but they still need to sit.
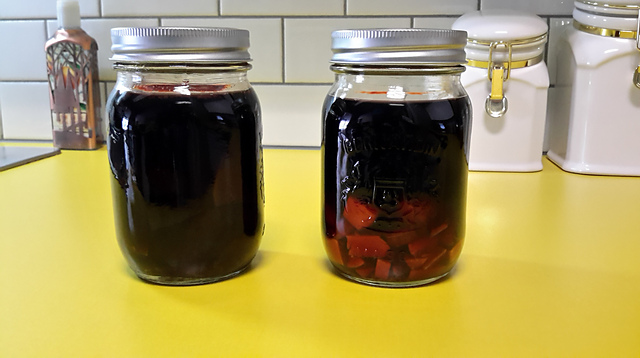 I put these jars up on November 30th and left them until after Christmas. Close to one month later while we were up at the cottage, I finally cracked the jars and dyed 2 skeins of yarn. The larger skein went into the skin dye, which looked purple/green, the smaller one went into the dye made from the pits, which looked rosy-red.
Here are the results…
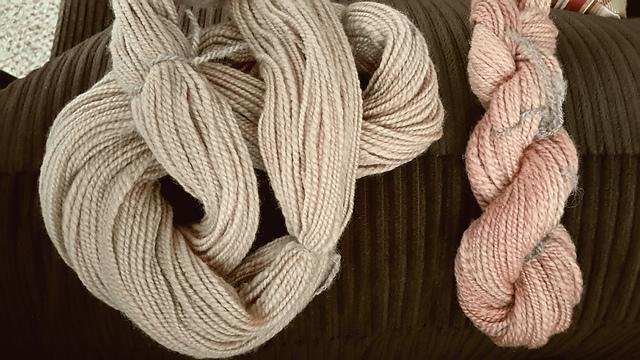 The skein on the left was in the skin dye bath and it came out a gorgeous, soft beige colour. The pinky-rosy one on the right was in the pit dye bath. The colouring on the skein from the skins was much more even, but the pit dye bath took up the dye very unevenly, so it was a more rosy/tan mottled look.
I really liked the colour of the skein from the skins and have another batch fermenting now, but will let the jars sit much longer this time to deepen the colours.
** Tip if you are going to try this ~ when you first get the pit out of the avocado, chop it up into small pieces immediately, if you wait, the air gets at it and it turns rock hard and you will be unable to chop it. I store pits and skins (washed) in ziploc bags in the freezer until I have enough to make a batch with.
There, aren’t you glad you asked? If you want to dye yarn (or fabric), this is what you can save your avocado skins and pits for. 😉
Deborah
How very clever! How on earth did you happen upon this secret? Like who exactly would dream of chopping up pits add ammonia and let it sit around? And then throw spun yarn into it? It seems like a crazy idea but then I see the end result. Beautiful by the way. 🙂
Unfortunately I am not the clever one who figured this out 😉 If you are a member of Ravelry (www.ravelry.com) there is a whole passel of people smarter than me on there in the Natural Dying Fibers Groups. I also have another ammonia experiment going, with lichen, but that one takes from 3-6 months (or longer) to get the desired colour (purples/fuschias). People have been using ammonia for centuries to extract colour, it is the form of ammonia they used to use which really isn’t all that appealing now (can you think of what they would have used?) 😉