
This year I had an abundance…..no…an over-abundance of Marigold flowers around the Homestead. They not only provide cheerful, sunny, colour to my garden landscape, but they are also perfect companion plants in vegetable gardens as their somewhat obnoxious smell wards off harmful insects, as well as luring the pollinators towards my veggie plants.
So what to do with this overabundance of flower heads? Well, you can’t eat them, but you can use them to dye yarn with. Which makes sense since I have been spinning up a passel of yarn in the latest hobby craze to enter my life.
Dyeing with Marigolds is easy on the environment and easy on protein fibers (wool, alpaca, silk, etc.) plus you hopefully get to relive some of that bright, cheery colour in your yarn long after the last flower head keels over from the touch of Jack Frost.
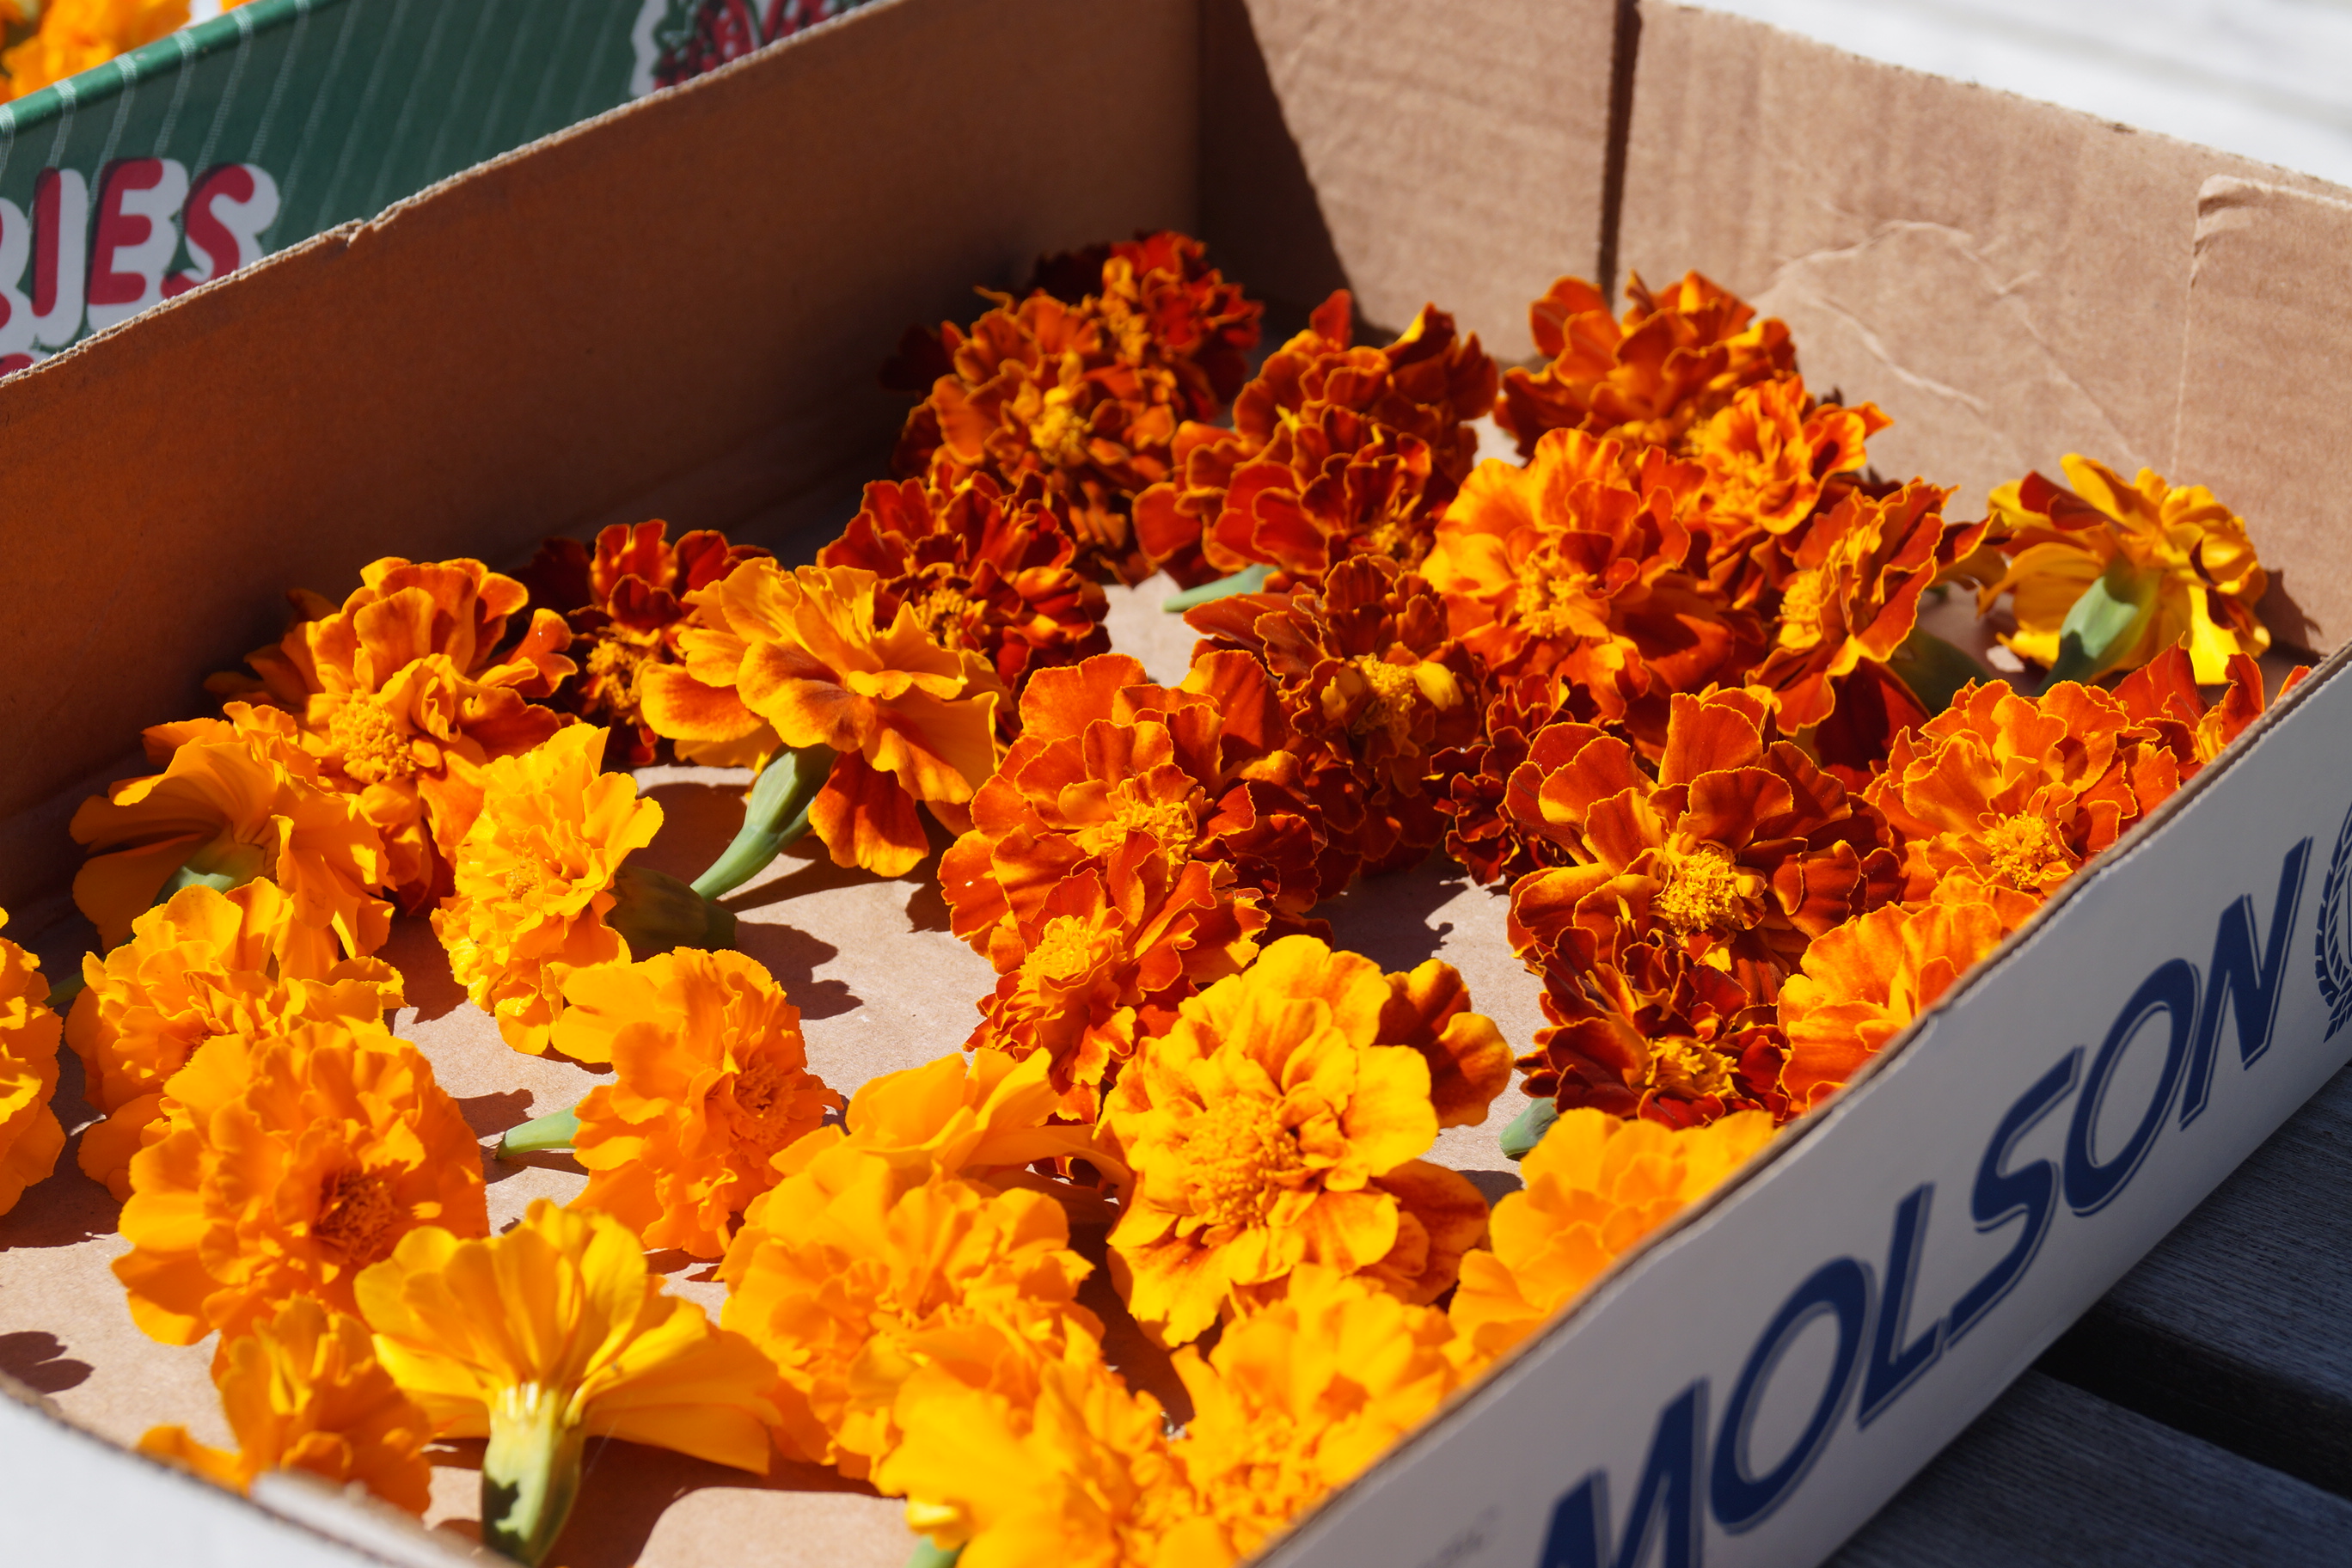
First, cut as many flower heads as you can and set them out to dry. This will take up to two weeks as there is a lot of moisture in them. I picked bright orange ones as well as some darker reddish-orange heads thinking I would get a different tone…more on that later, meanwhile, are these not the most colourful things you have seen?
 Once dried, take some scissors and cut the petals off the flower heads, you can save the seeds that are inside the flower cap for planting next year if you like, but be forewarned, you will have oodles of seeds if you keep all of the remaining heads. Heck, you could package them up and sell them to the neighbours, which could be a nice little side business in the Spring for you.
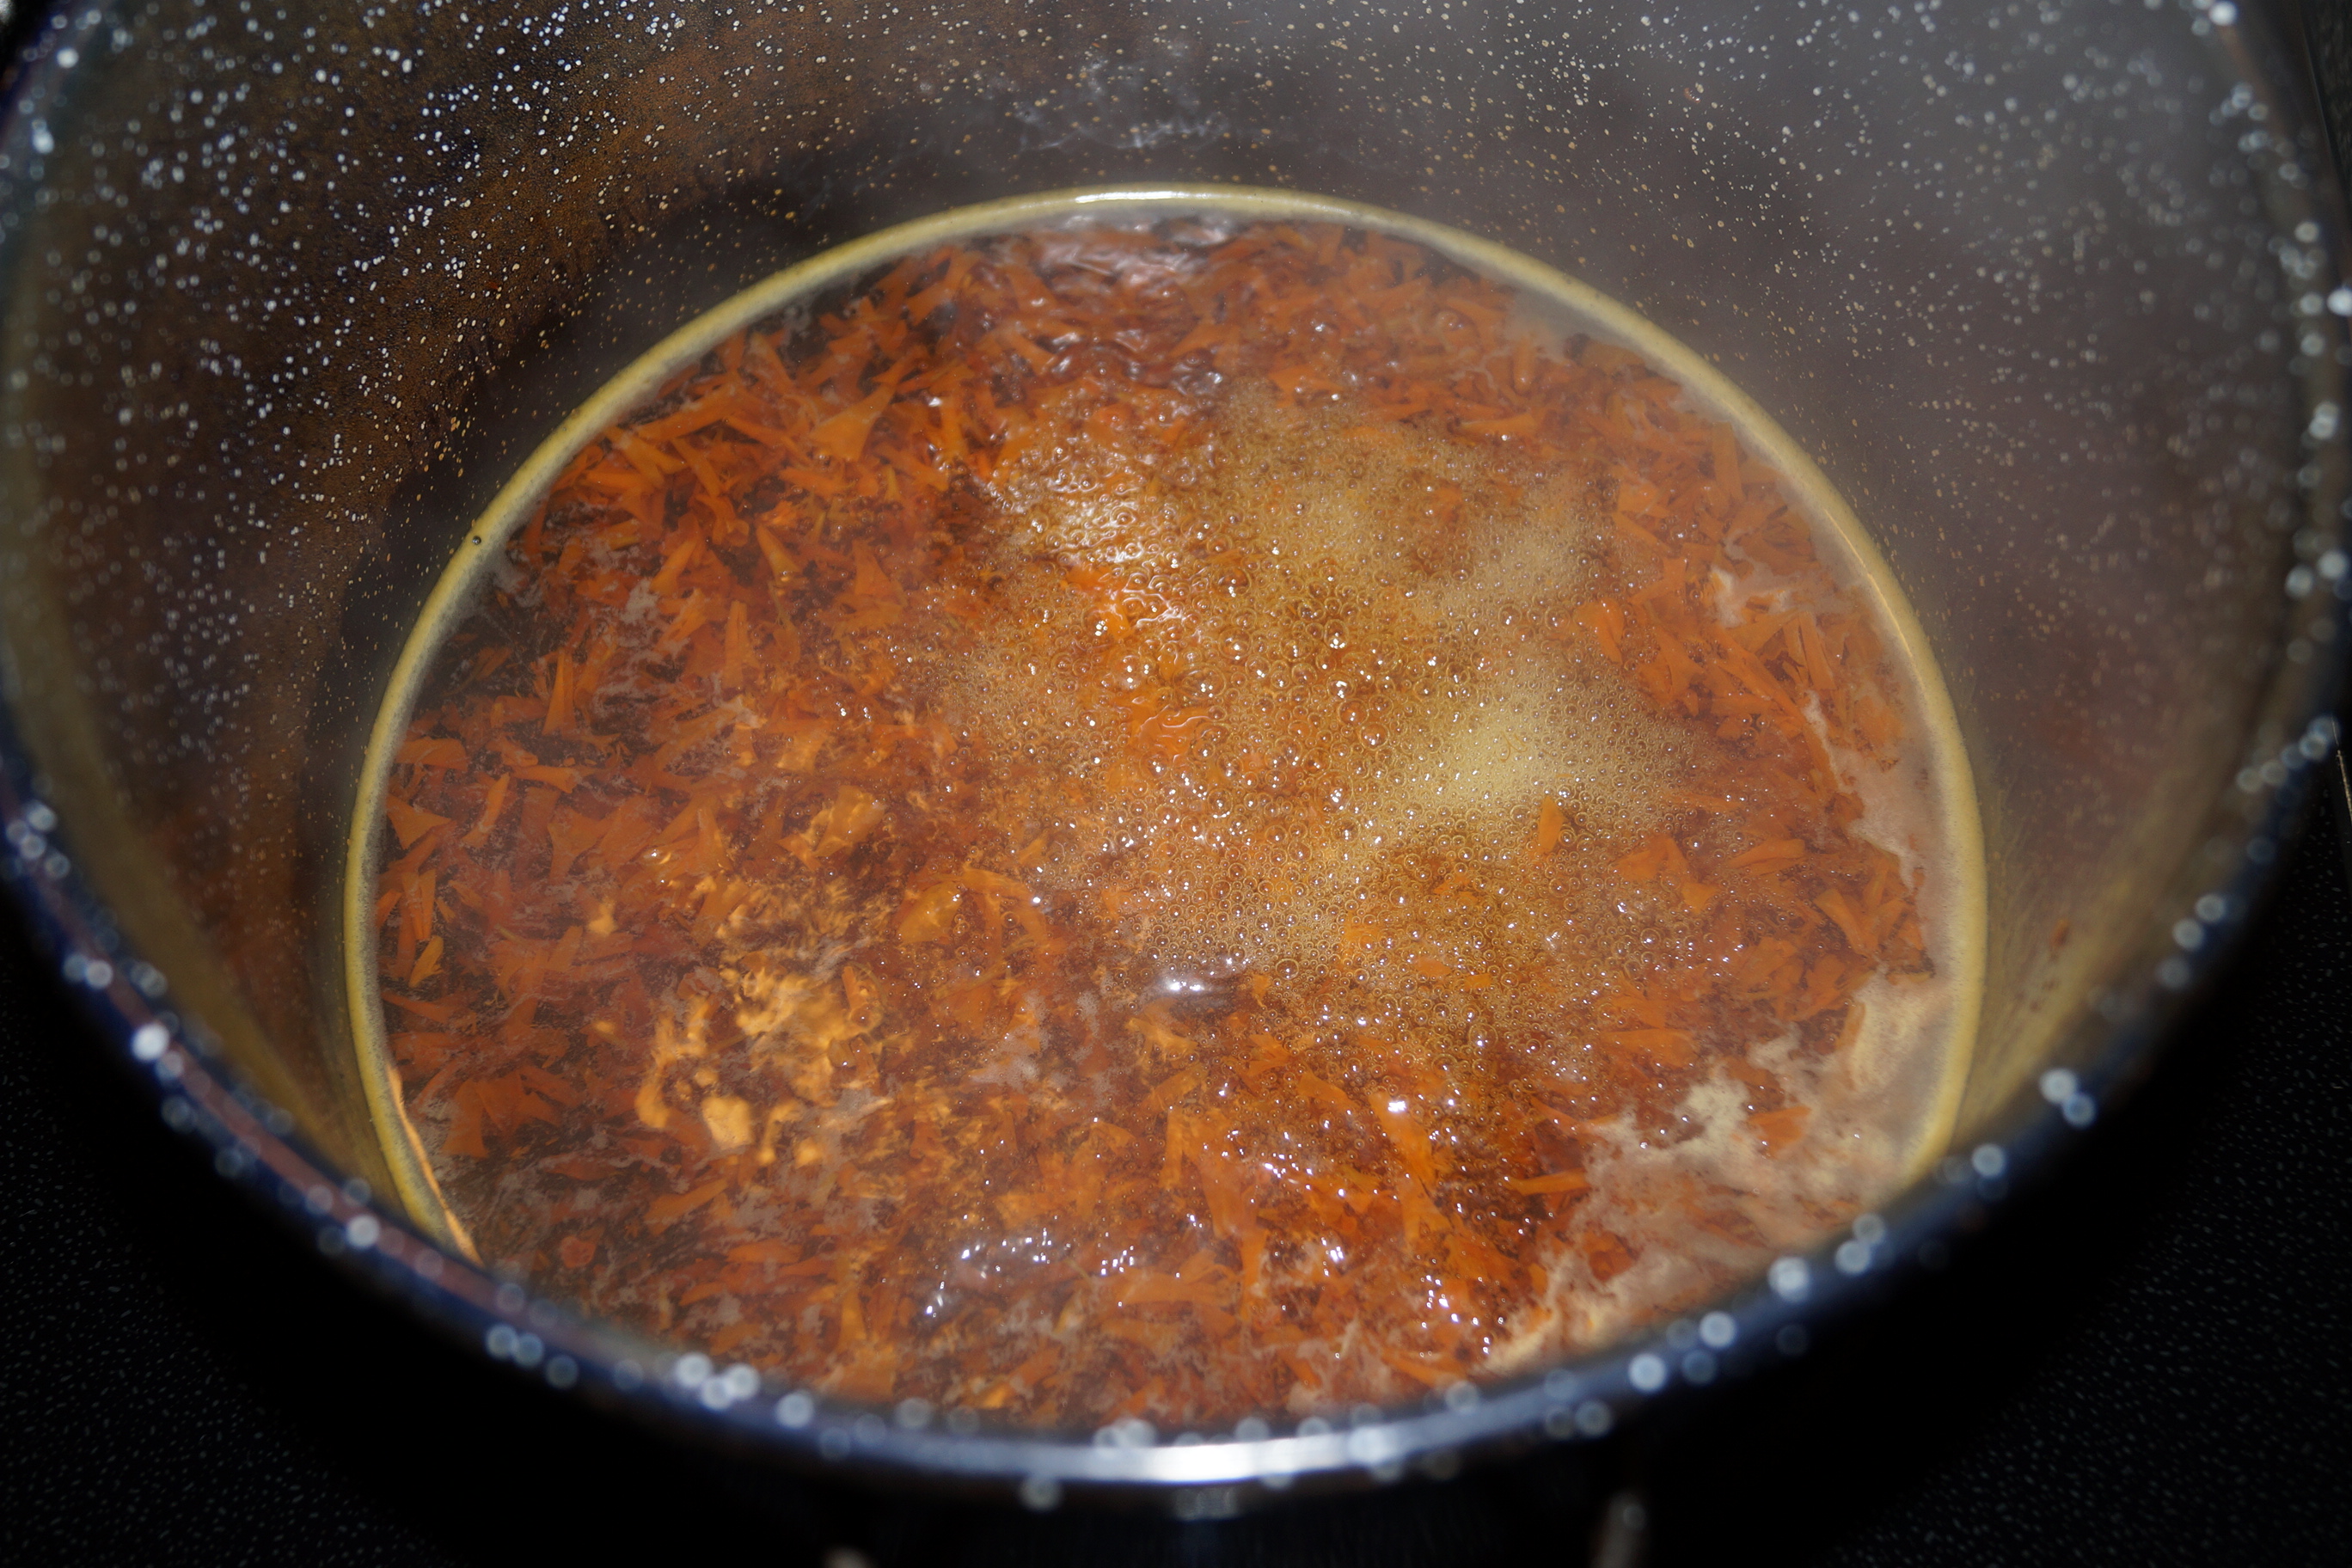
Anyway, back to dying…..If you have a food scale, measure out 2 ounces of each flower head colour. In a stainless steel or enamel pot (make sure they are *old* pots, once you use utensils for dying, they are not be used again for cooking, garage sales and thrift stores are great places to get used utensils), add 2 litres of water and bring to a boil. Boil for one hour, then using a fine mesh strainer, strain out the petals. Then let the dye liquid cool for about an hour.
 While you are boiling the flowers for the dye, you have to prepare your yarn to accept the dye. This is called mordanting. If you do not pre-mordant your fiber, the colour will not take as boldly as it should and it will fade/wash out over time. Certain fiber types call for certain mordants as well as what type of dyes you are using. Since I am using natural dyes on protein fibers (like wool, alpaca and silk), you can use vinegar or alum (potassium aluminum sulphate). There are precise ratios of mordant type to weight of fiber, so make sure you have a scale handy to measure your fiber.
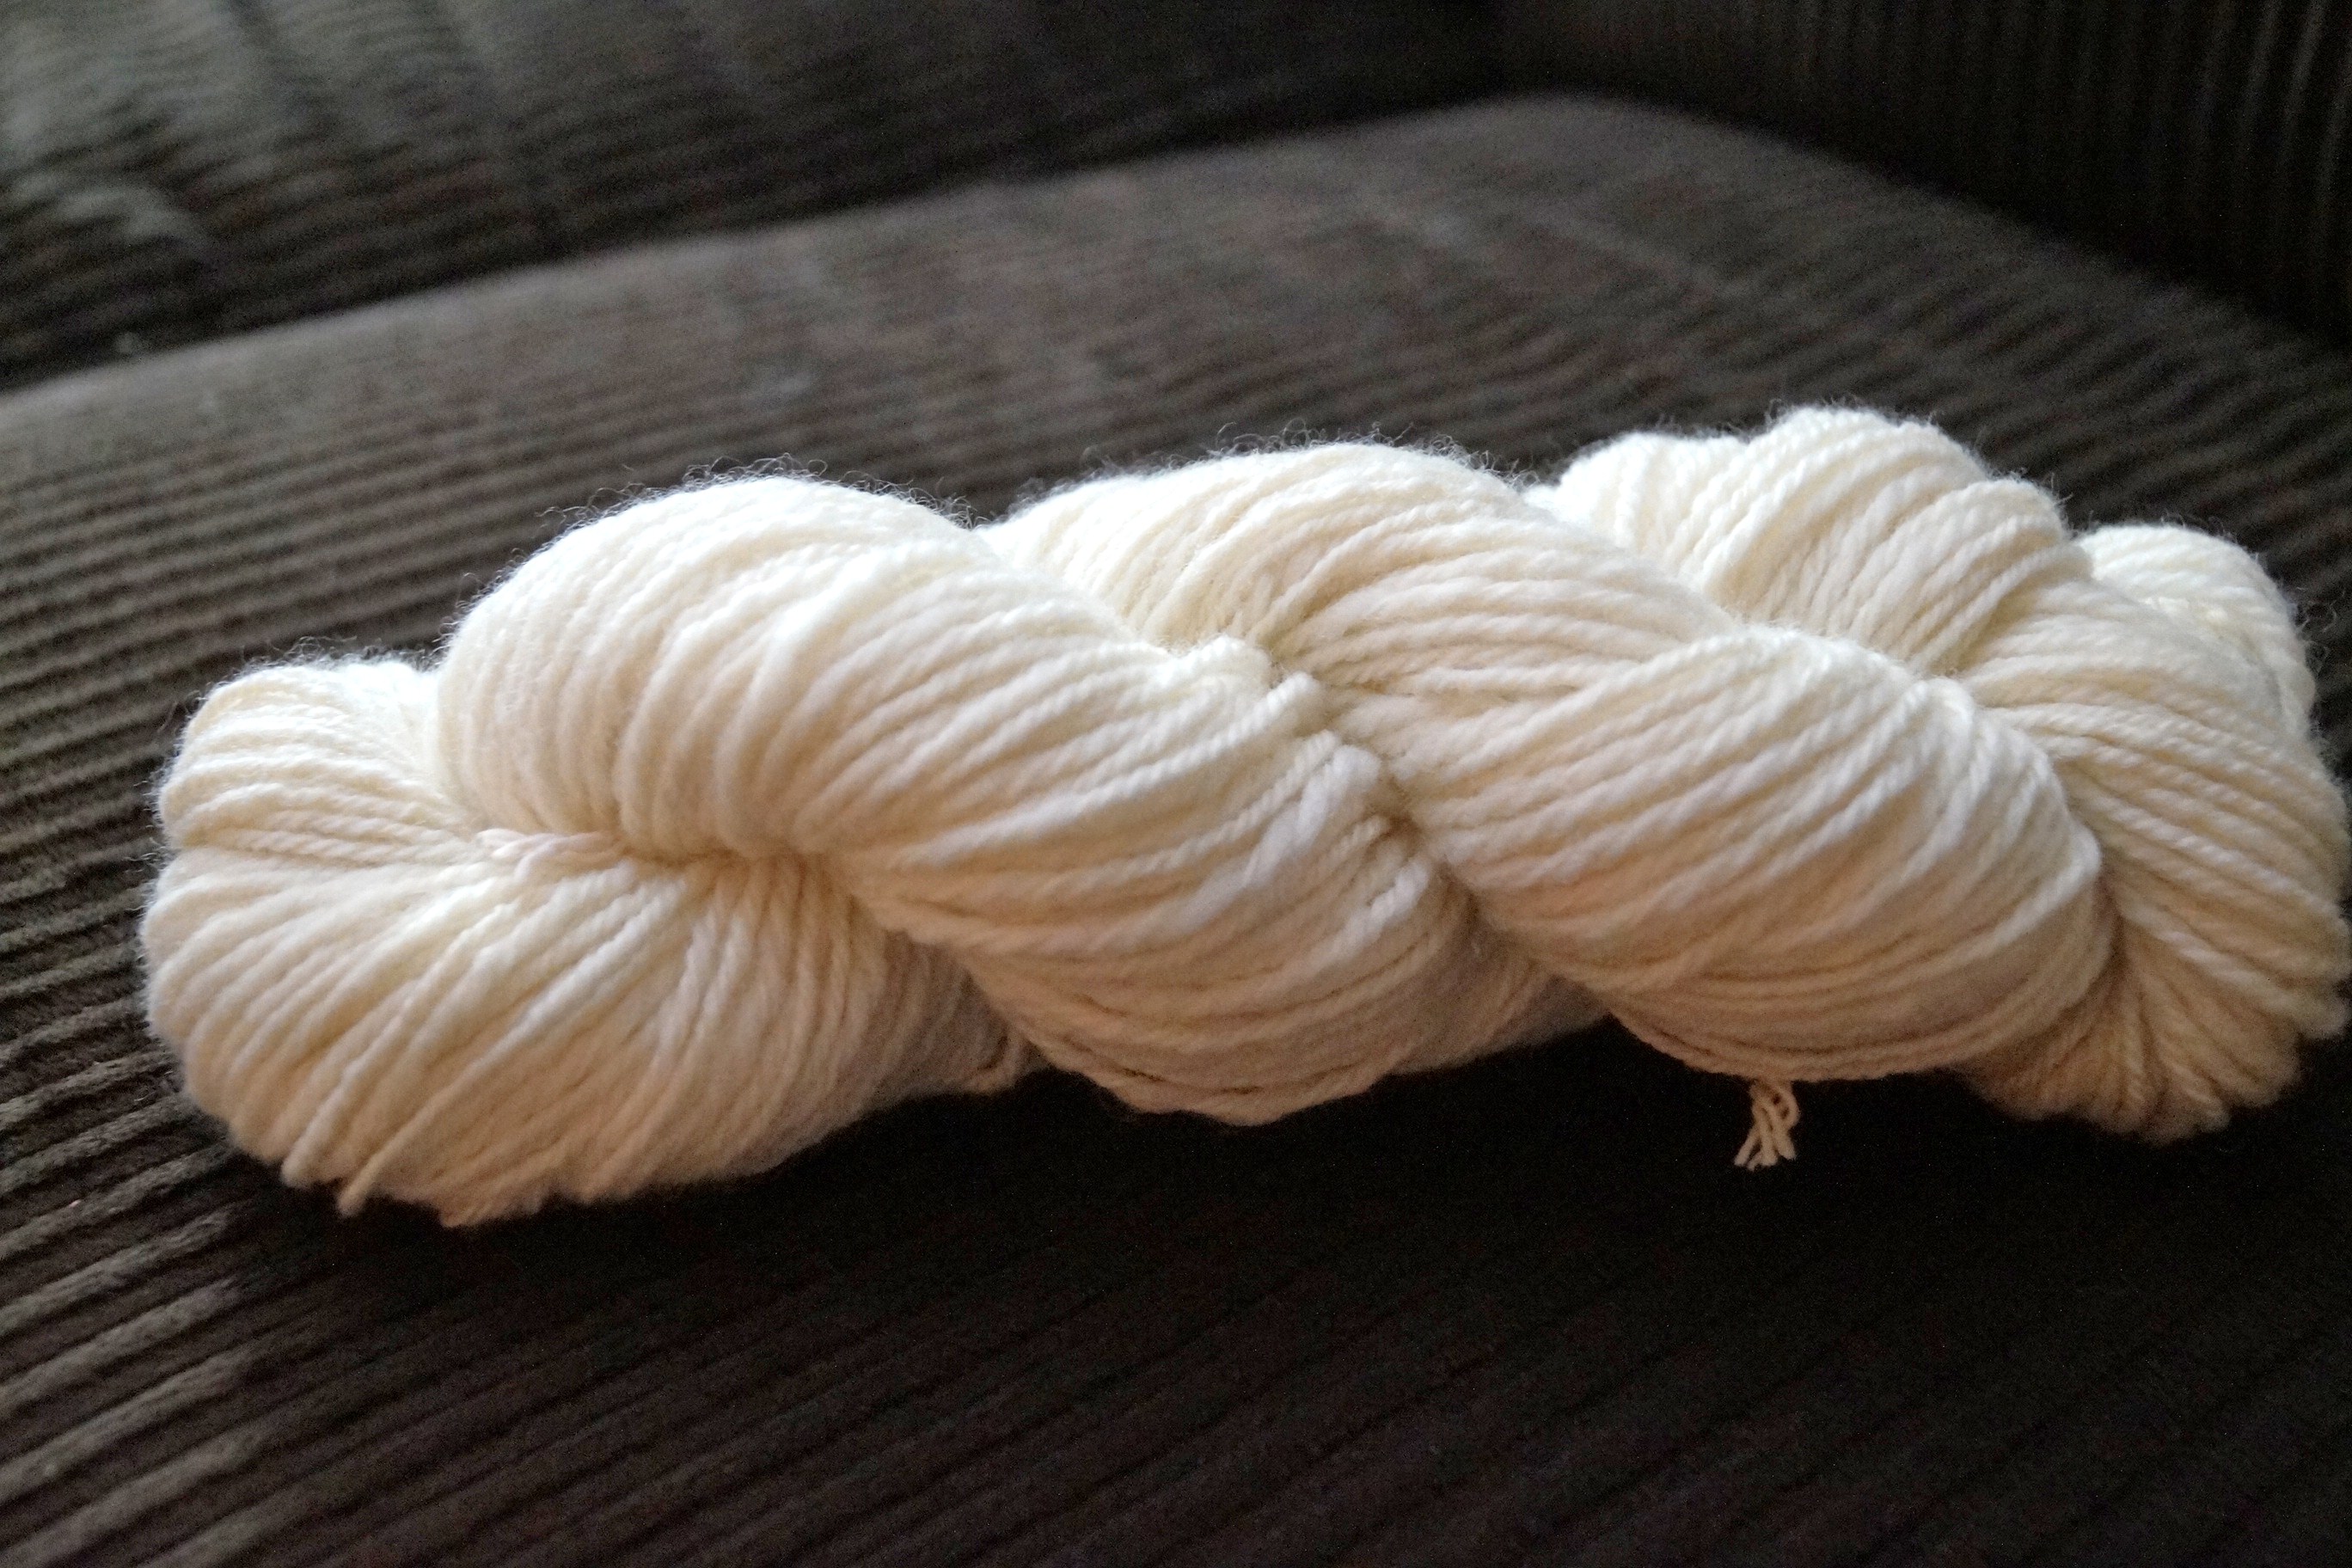 This newly finished hand spun corriedale wool, 3-plyed worsted, weighed in at 3 oz., believe me, it is as soft and squishy as it looks.
I used vinegar to mordant the wool as it was handy and seeing as I was up at the northern homestead, an exhausted alum dye bath isn’t to be sent into a septic system so I pretty much had no choice but to use the vinegar. I measured out one cup of plain, white vinegar to 4 cups of water. Place your yarn in the water, gently pressing it down to soak all the fibers, BUT, DO NOT STIR or AGITATE the fiber or it will felt.
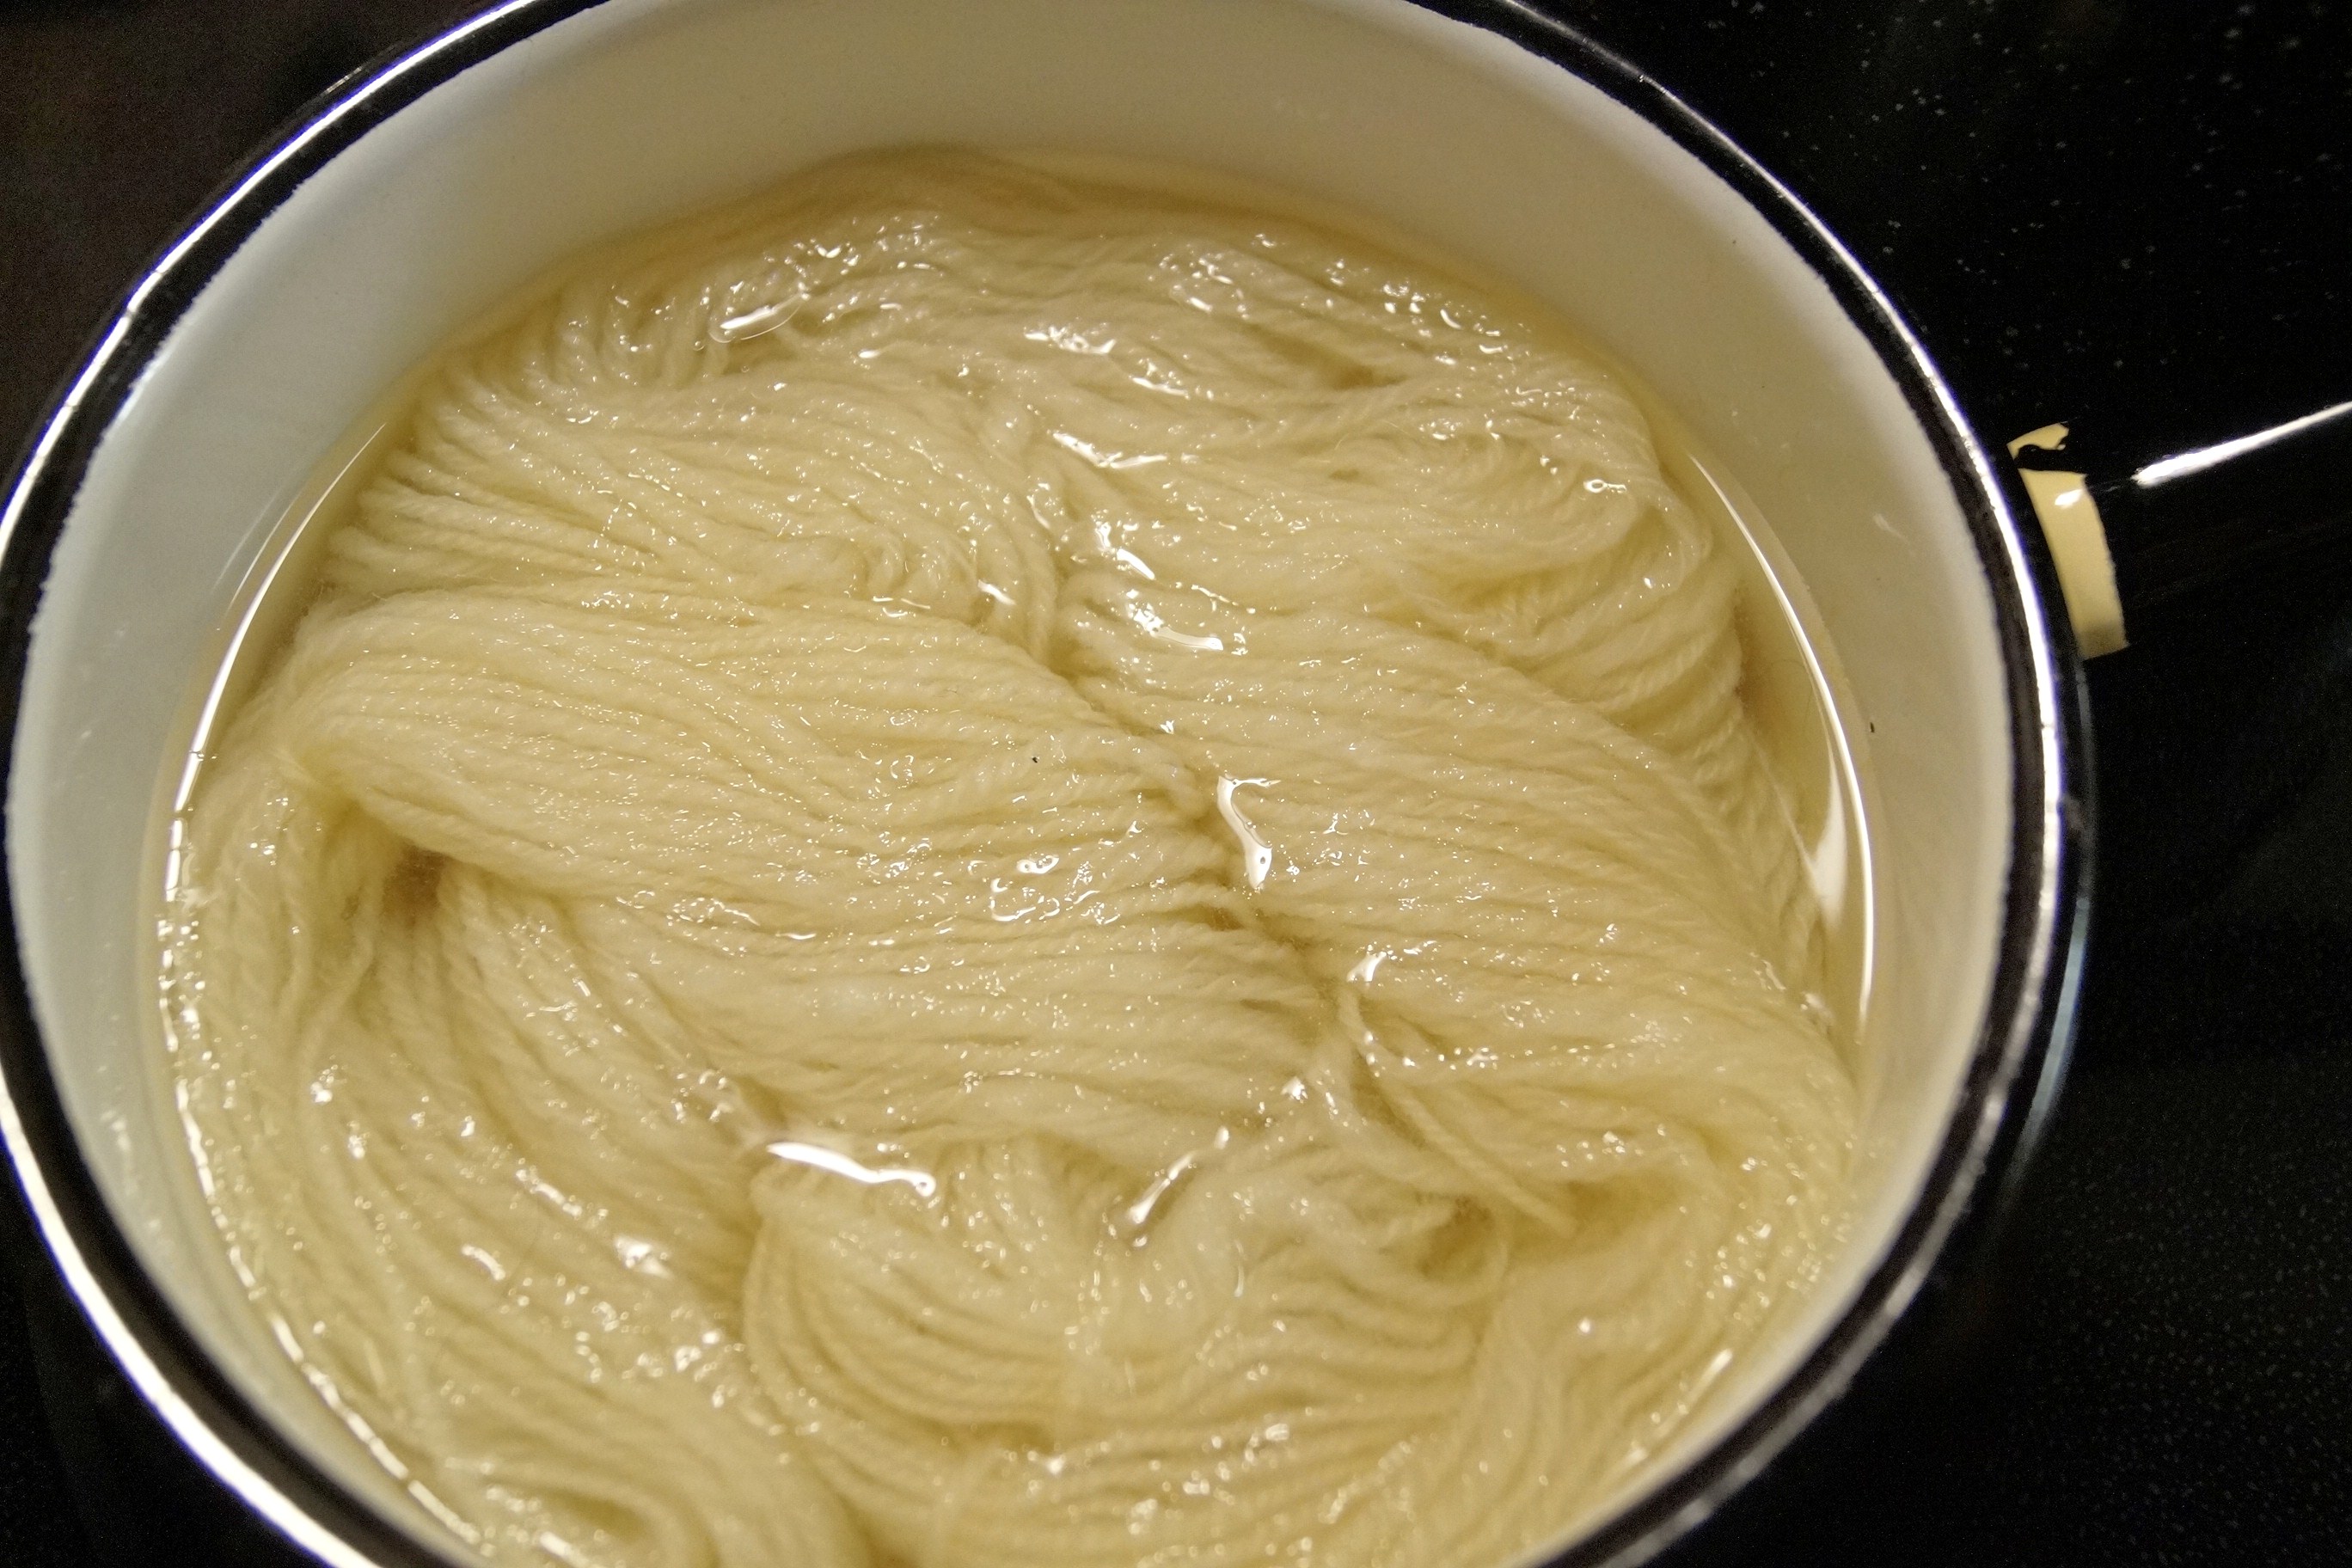 Slowly bring the mordant bath up to 180°F over about 30-40 minutes. Keep the temperature constant and let the fiber soak in its hot tub for one hour.
Drain and rinse the fiber in the same temperature water as any sudden temperature differences will felt the fiber. Squeeze out as much water as you can (do not wring). You can use the fiber right away to dye or hang to dry and dye later. If you dye later, you will have to soak the fiber for at least an hour in water prior to dying. Seeing as my dye and fiber were all set, there was no need to hang to dry.
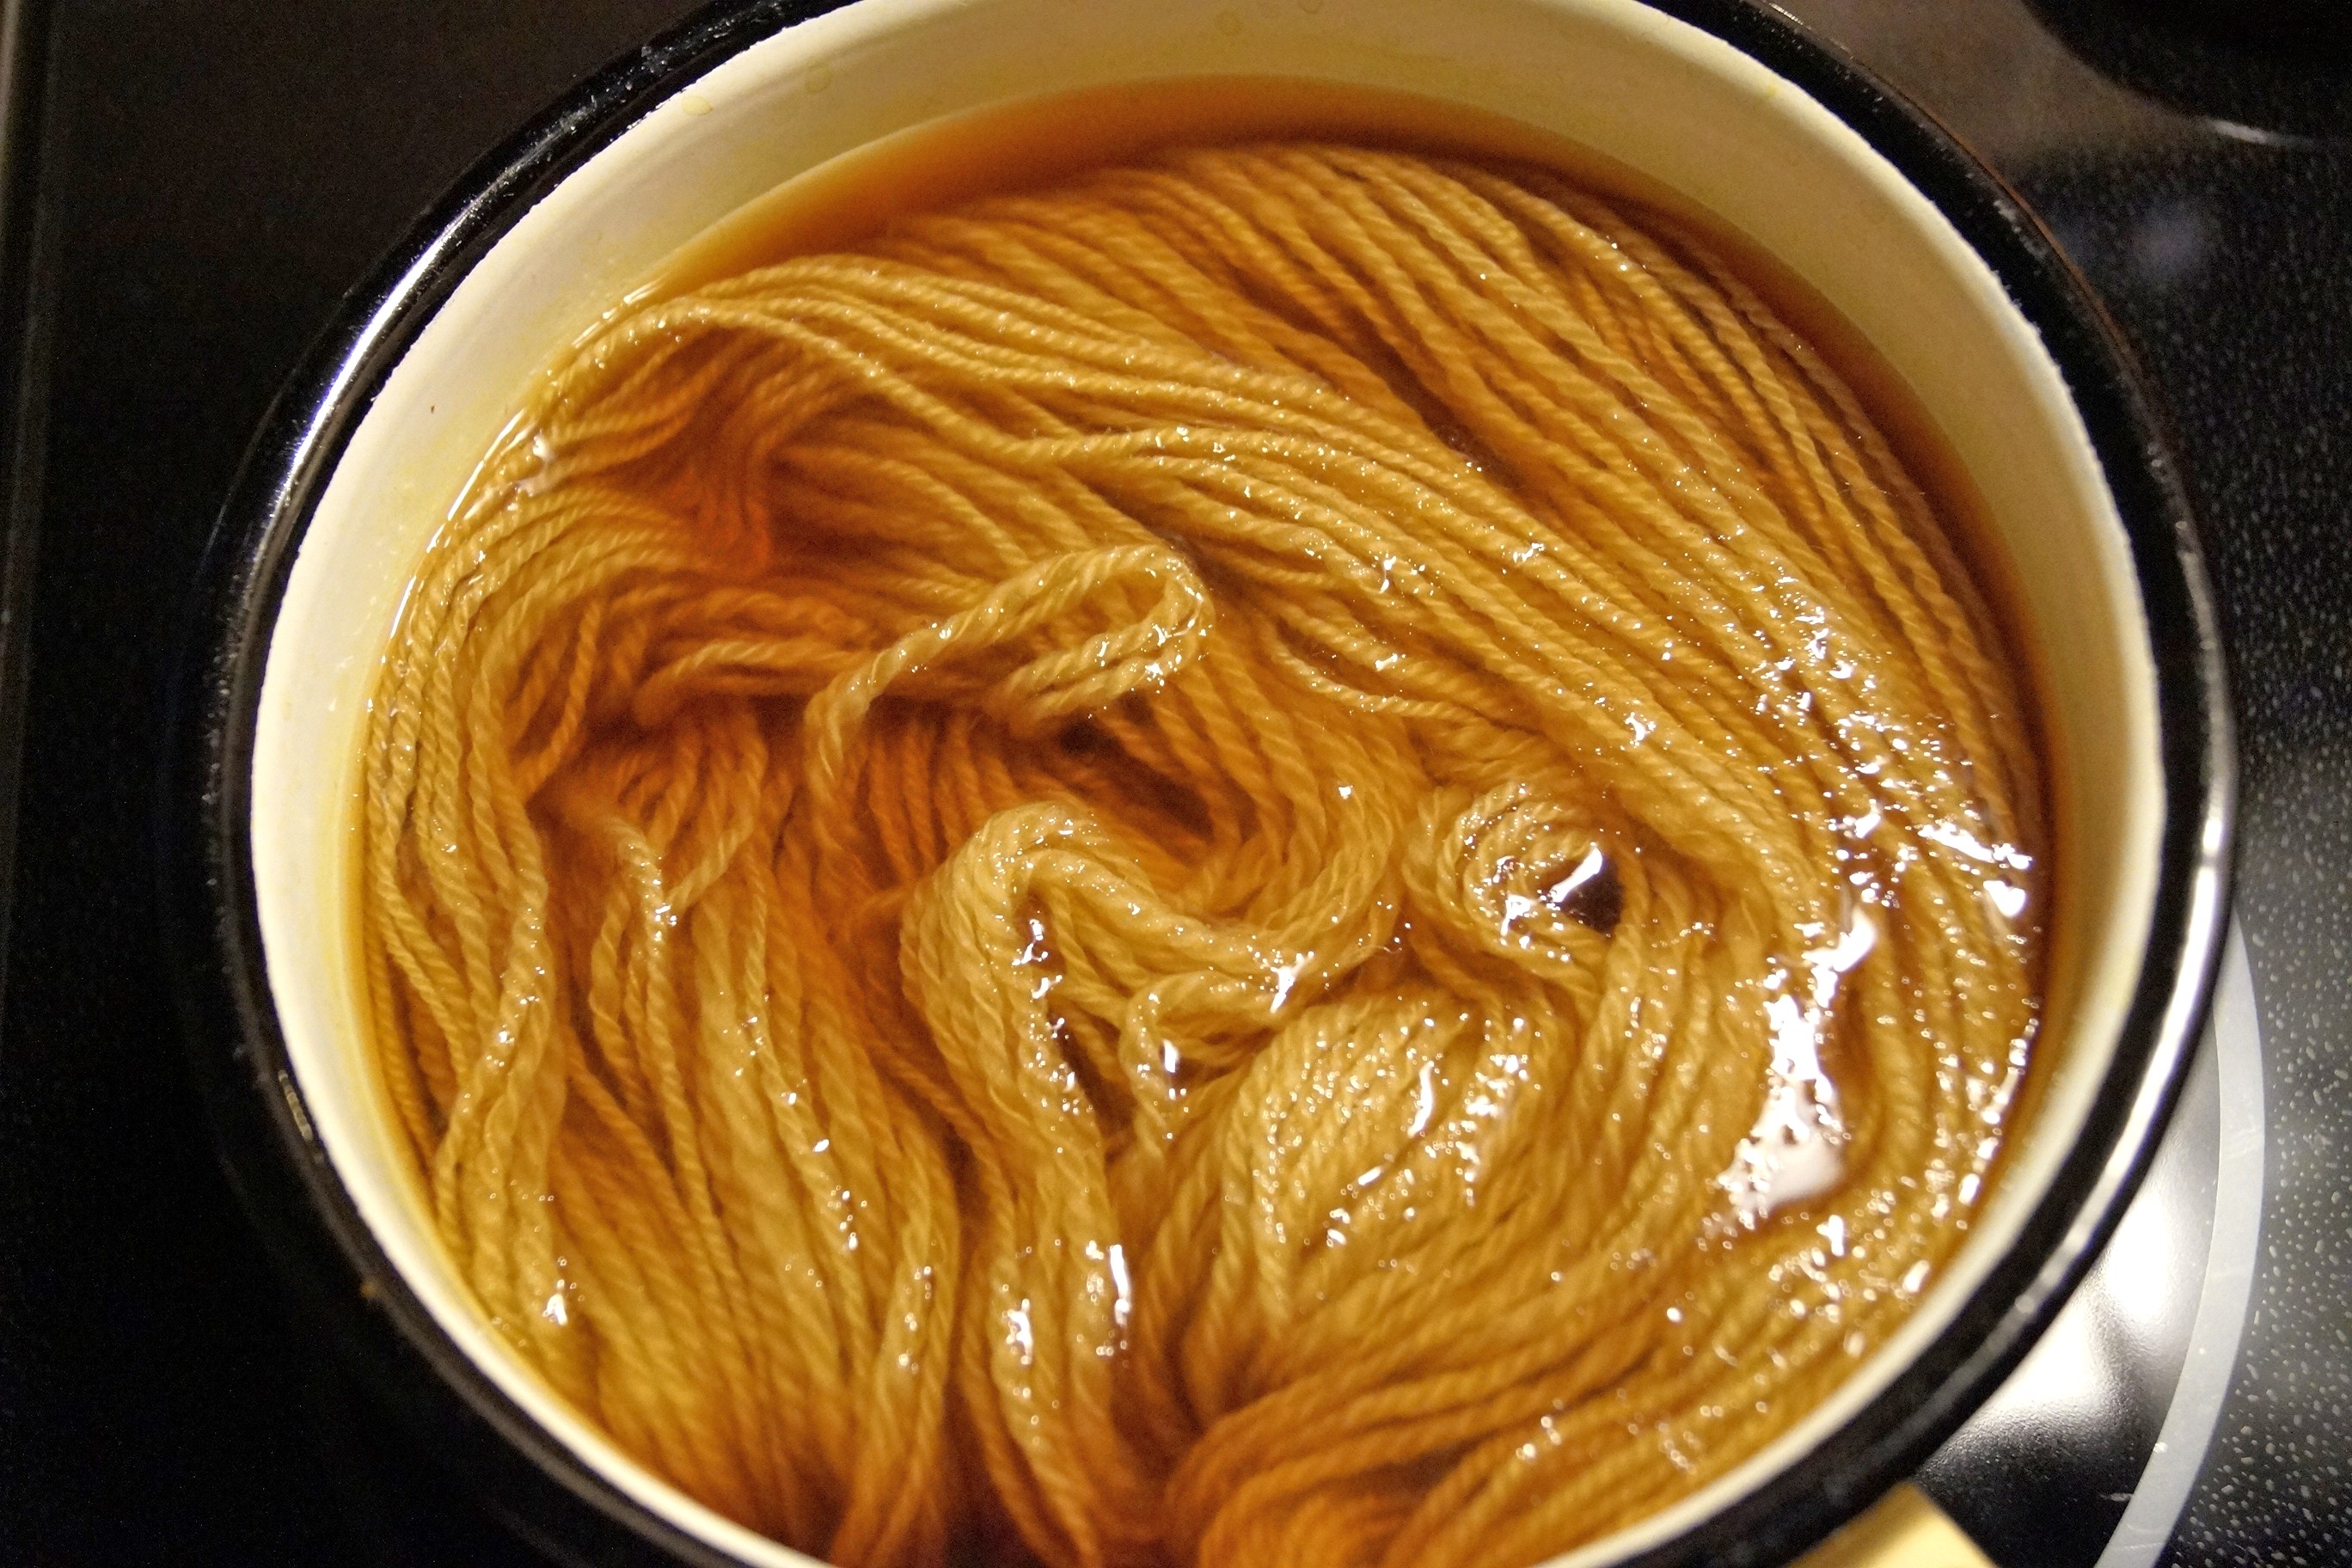
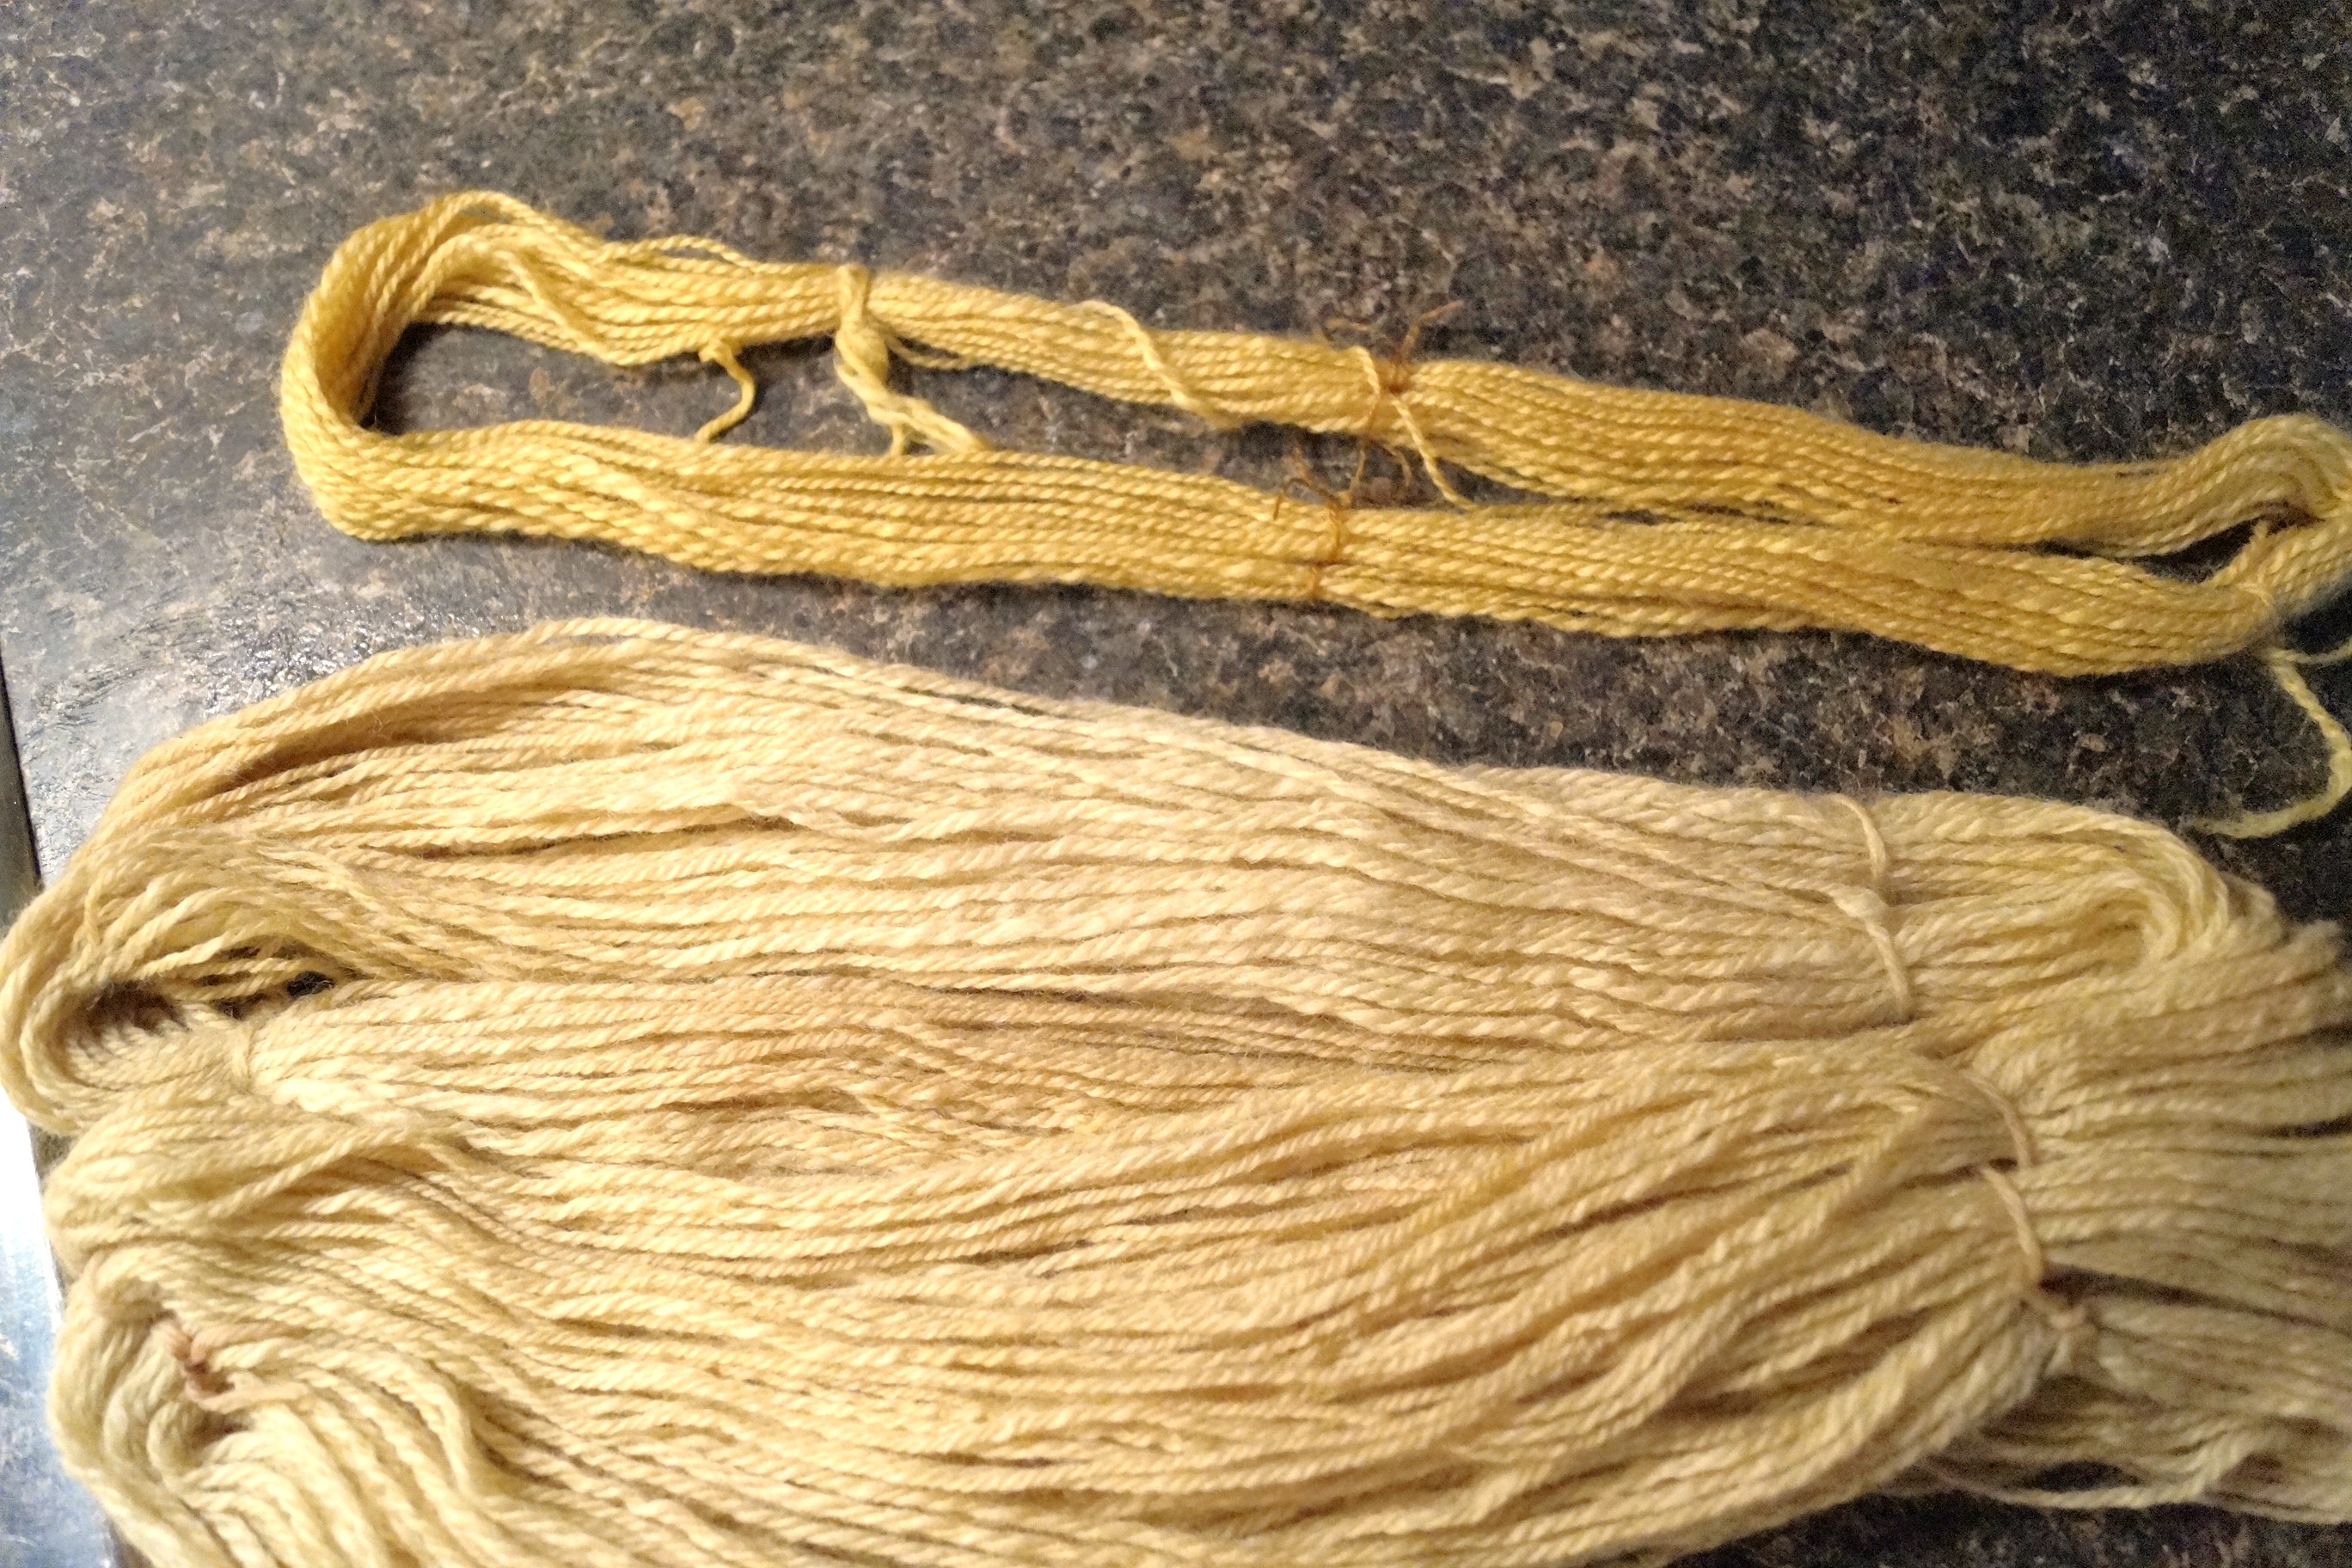
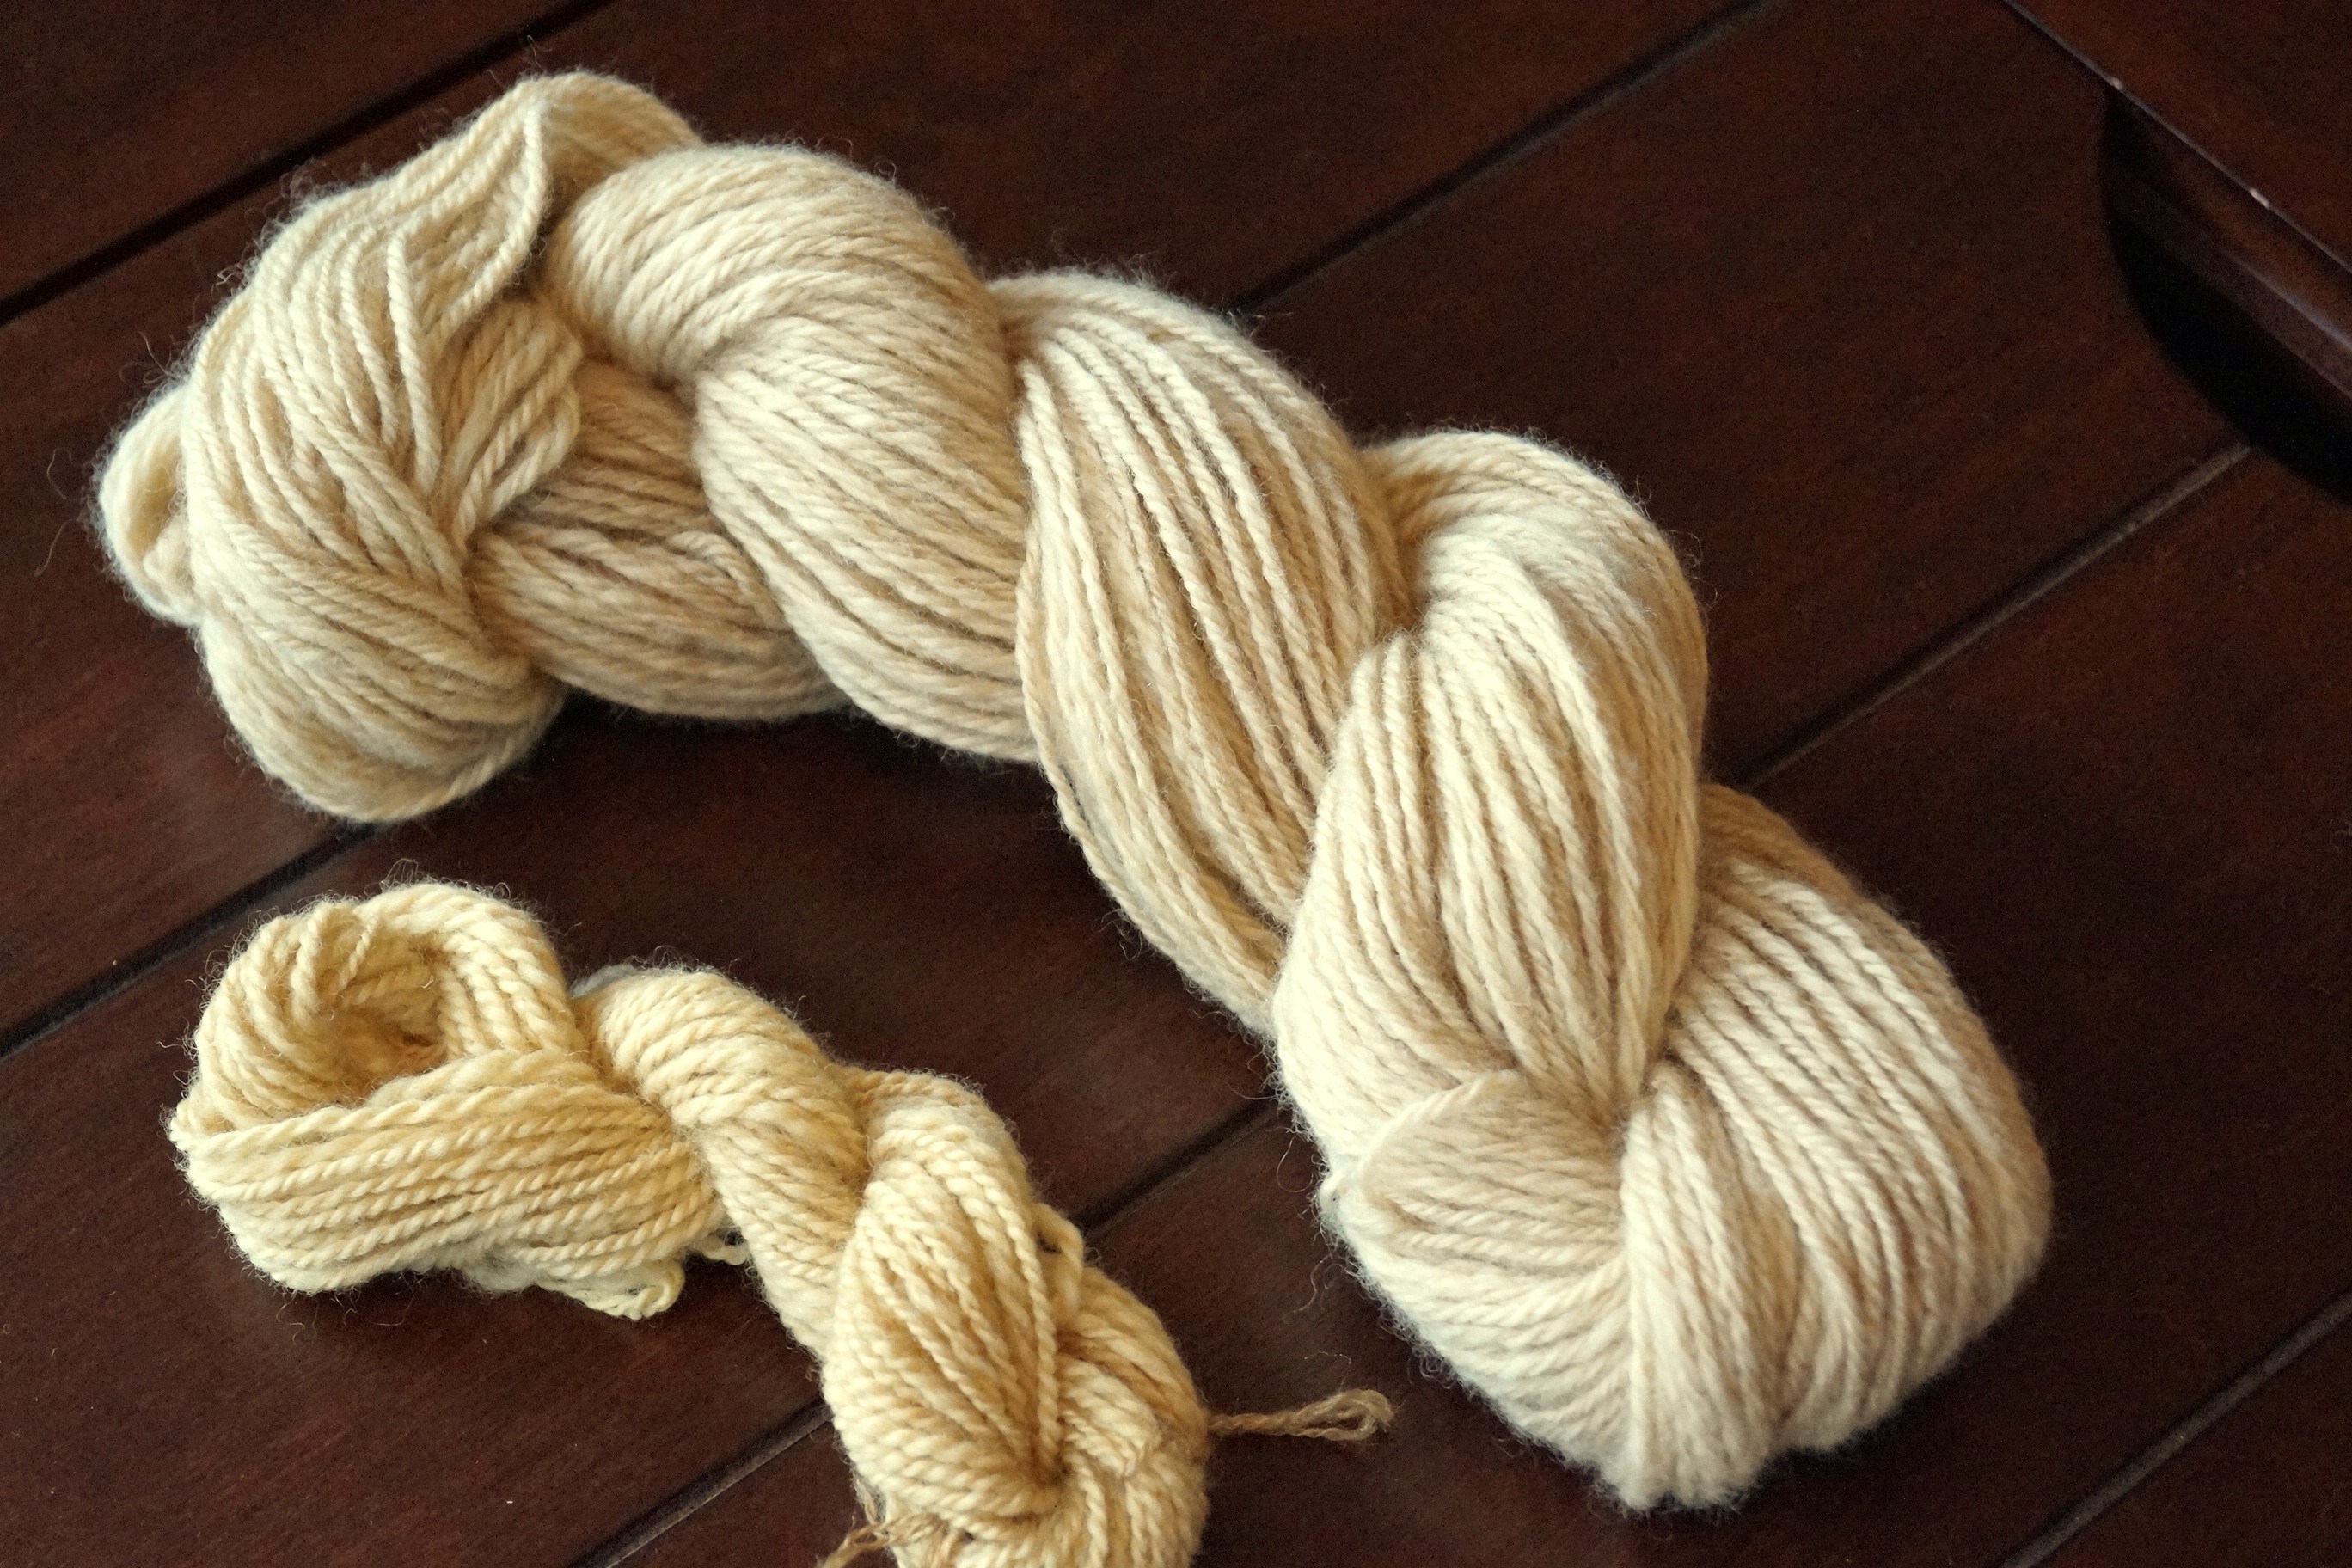
I had two skeins that I coloured separately. The 3 oz. skein went into a pot of boiled reddish-orange petals and a small, leftover skein went into the bright orange flower petals. Was I surprised at the results. The small skein took on a lovely, mustard yellow hue, but the larger skein came out builder beige. I was quite surprised, considering the dye bath was rosy-orange in colour.
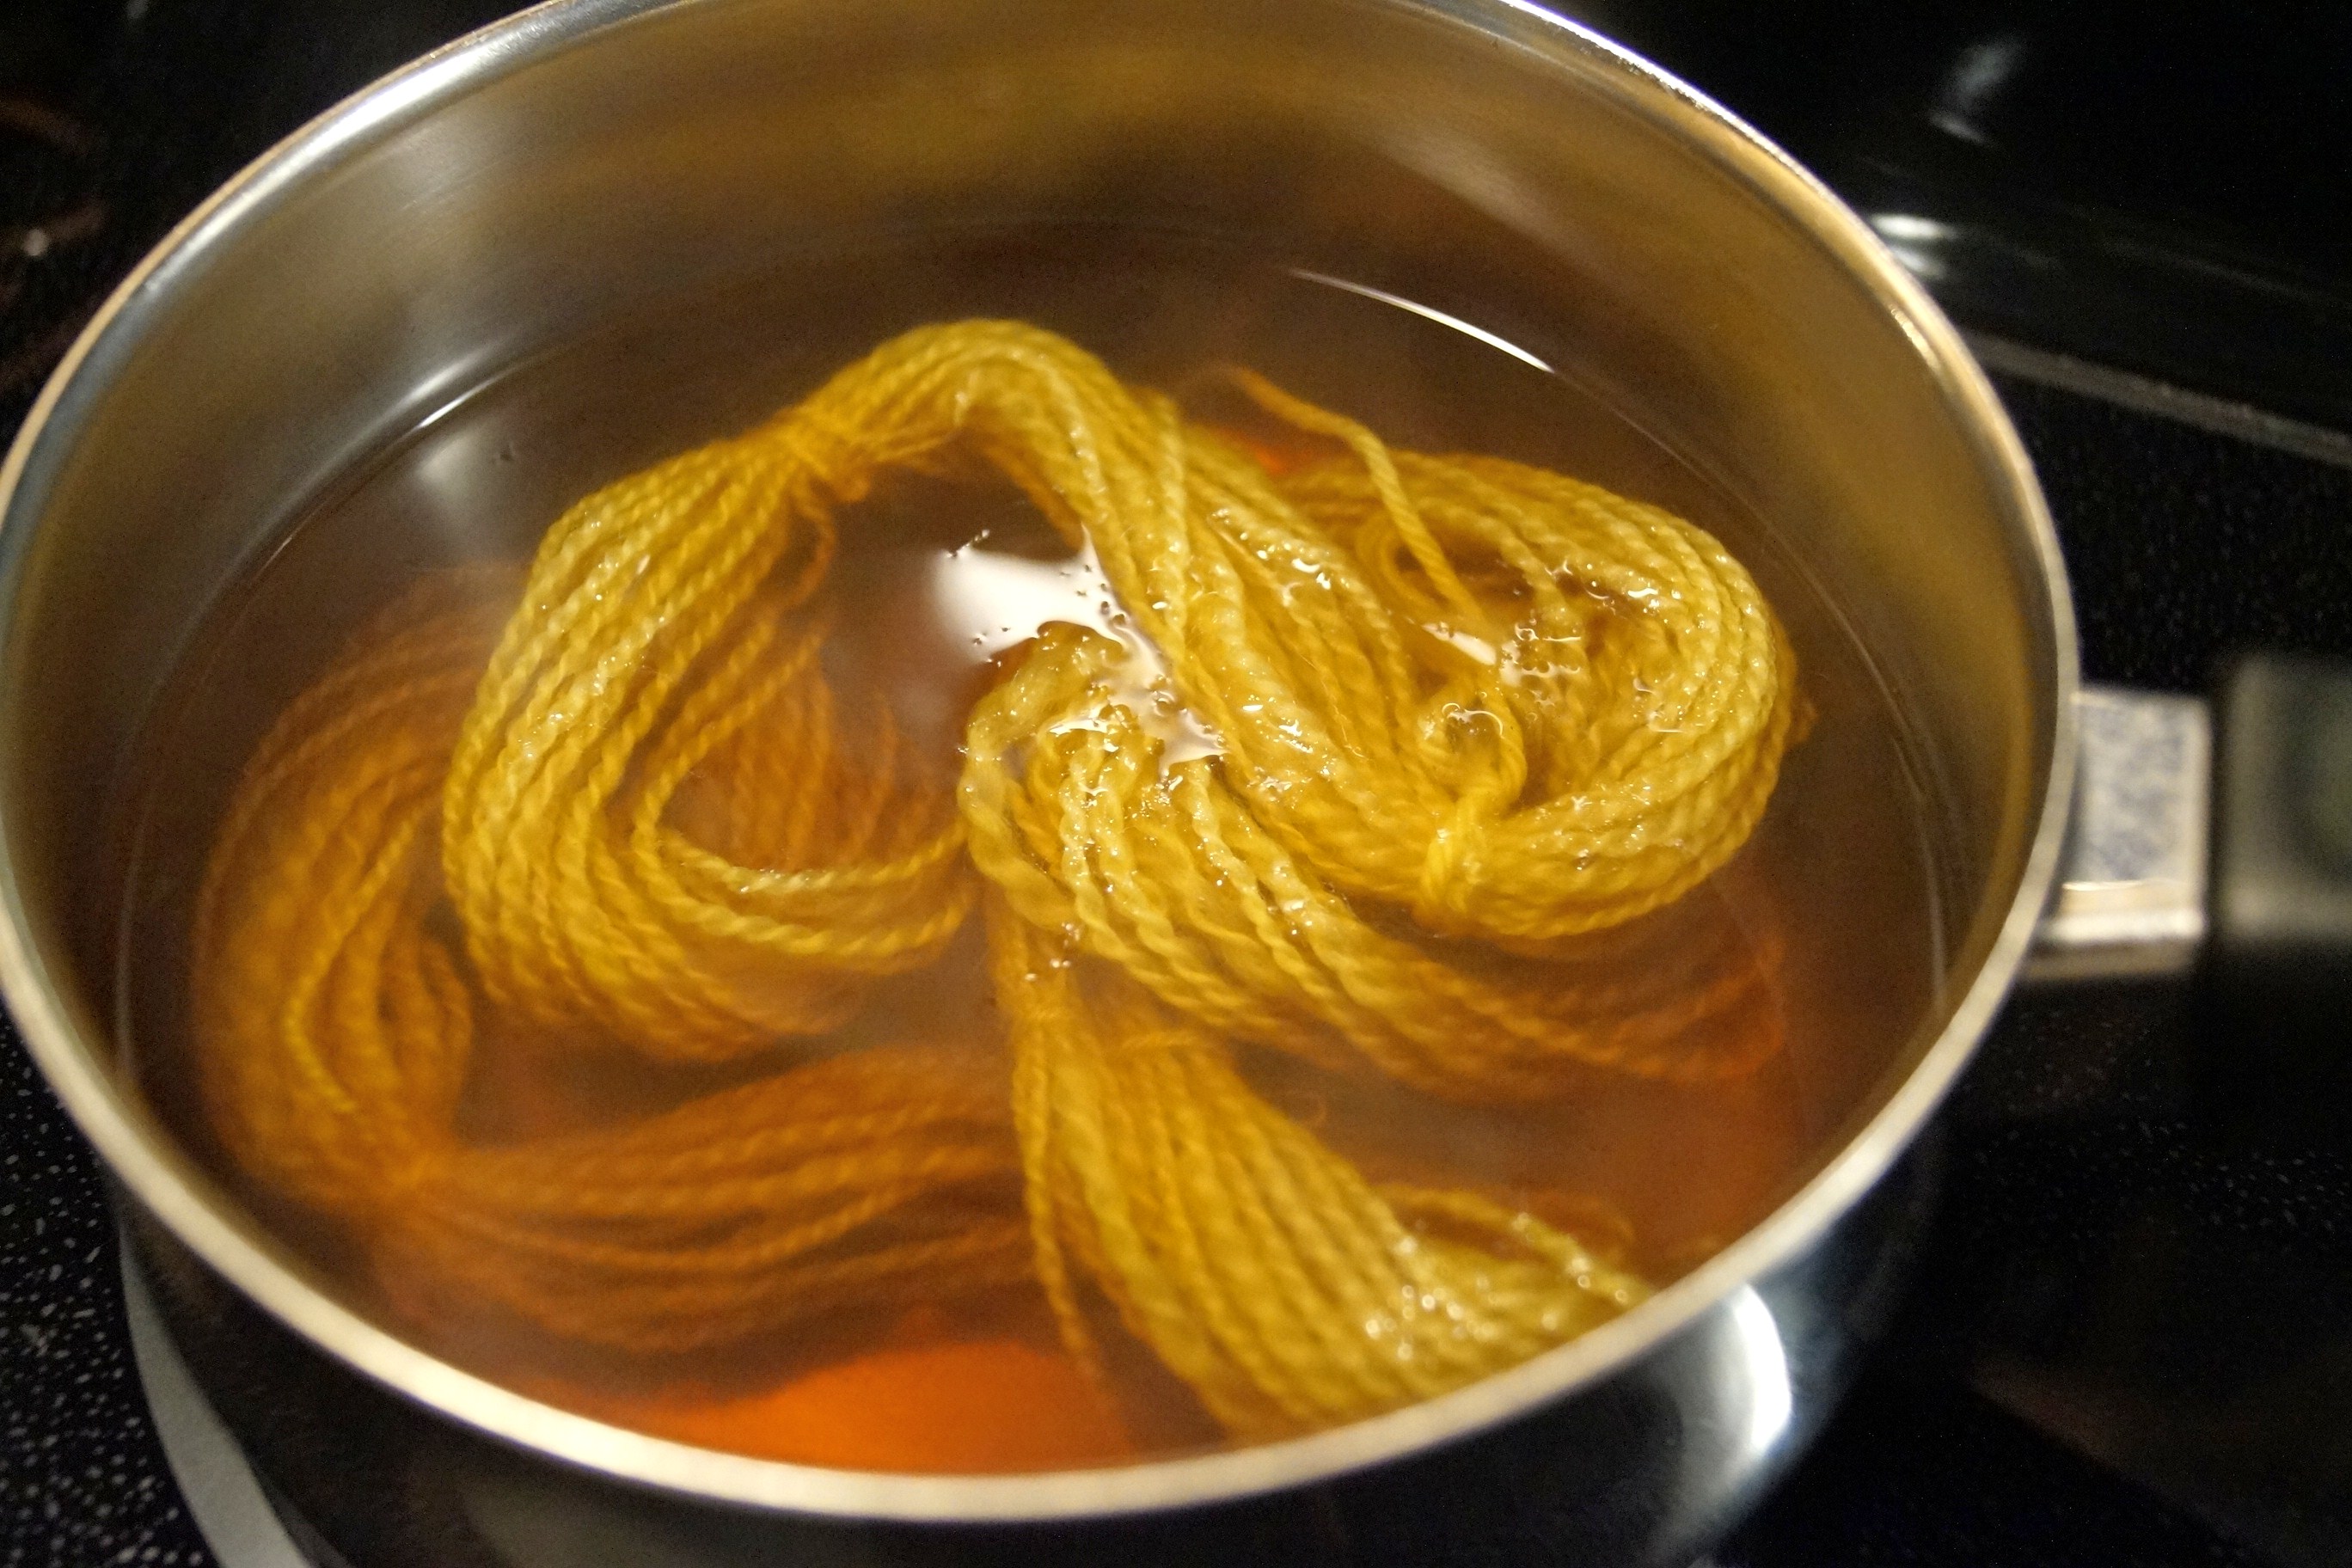
 After I removed the skeins from their respective dye baths, I added the orange petal dye bath into the rosy-orange dye bath, then gently placed the larger skein of yarn back in and brought it back up to temp. I let it sit there for another hour and the colour darkened somewhat, but it wasn’t the same hue as the smaller skein. It came out more camel coloured.
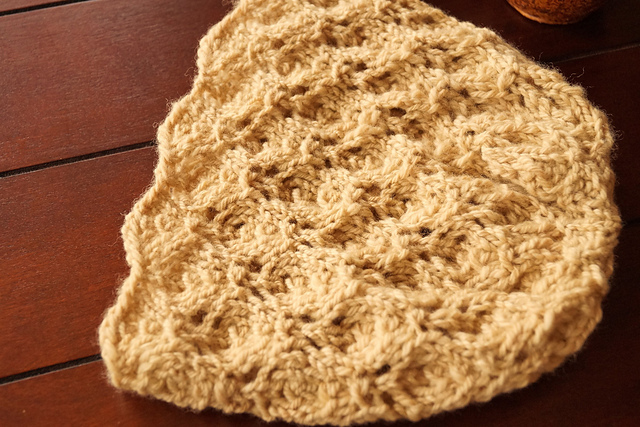
 It was an interesting experiment(s) to say the least. Once dry, I knitted up a hat with the larger skein, mind you, the colour shown above are not truly representative as to the finished product. I was having a hard time getting a true colour to show on the day I took the photo (it was gray outside), the picture below is what it actually looks like. With the leftover yarn from the hat, I knitted up a coaster with it and the darker yellow skein, then felted it. It now graces my office desk as a place to keep my tea mug.
 I am now anxious to try my hand with other natural dyes in different hues, but first I need to spin up some more yarn…and I have just the fiber too…..Alpaca, in all its soft and snuggly glory… coming soon to a drop spindle near you.
Deborah