
For those folks that are short on actual yard/garden space, here is a great option for growing tomatoes, peppers, peas, beans, whatever your heart’s desires….even if you just have a balcony to work with.
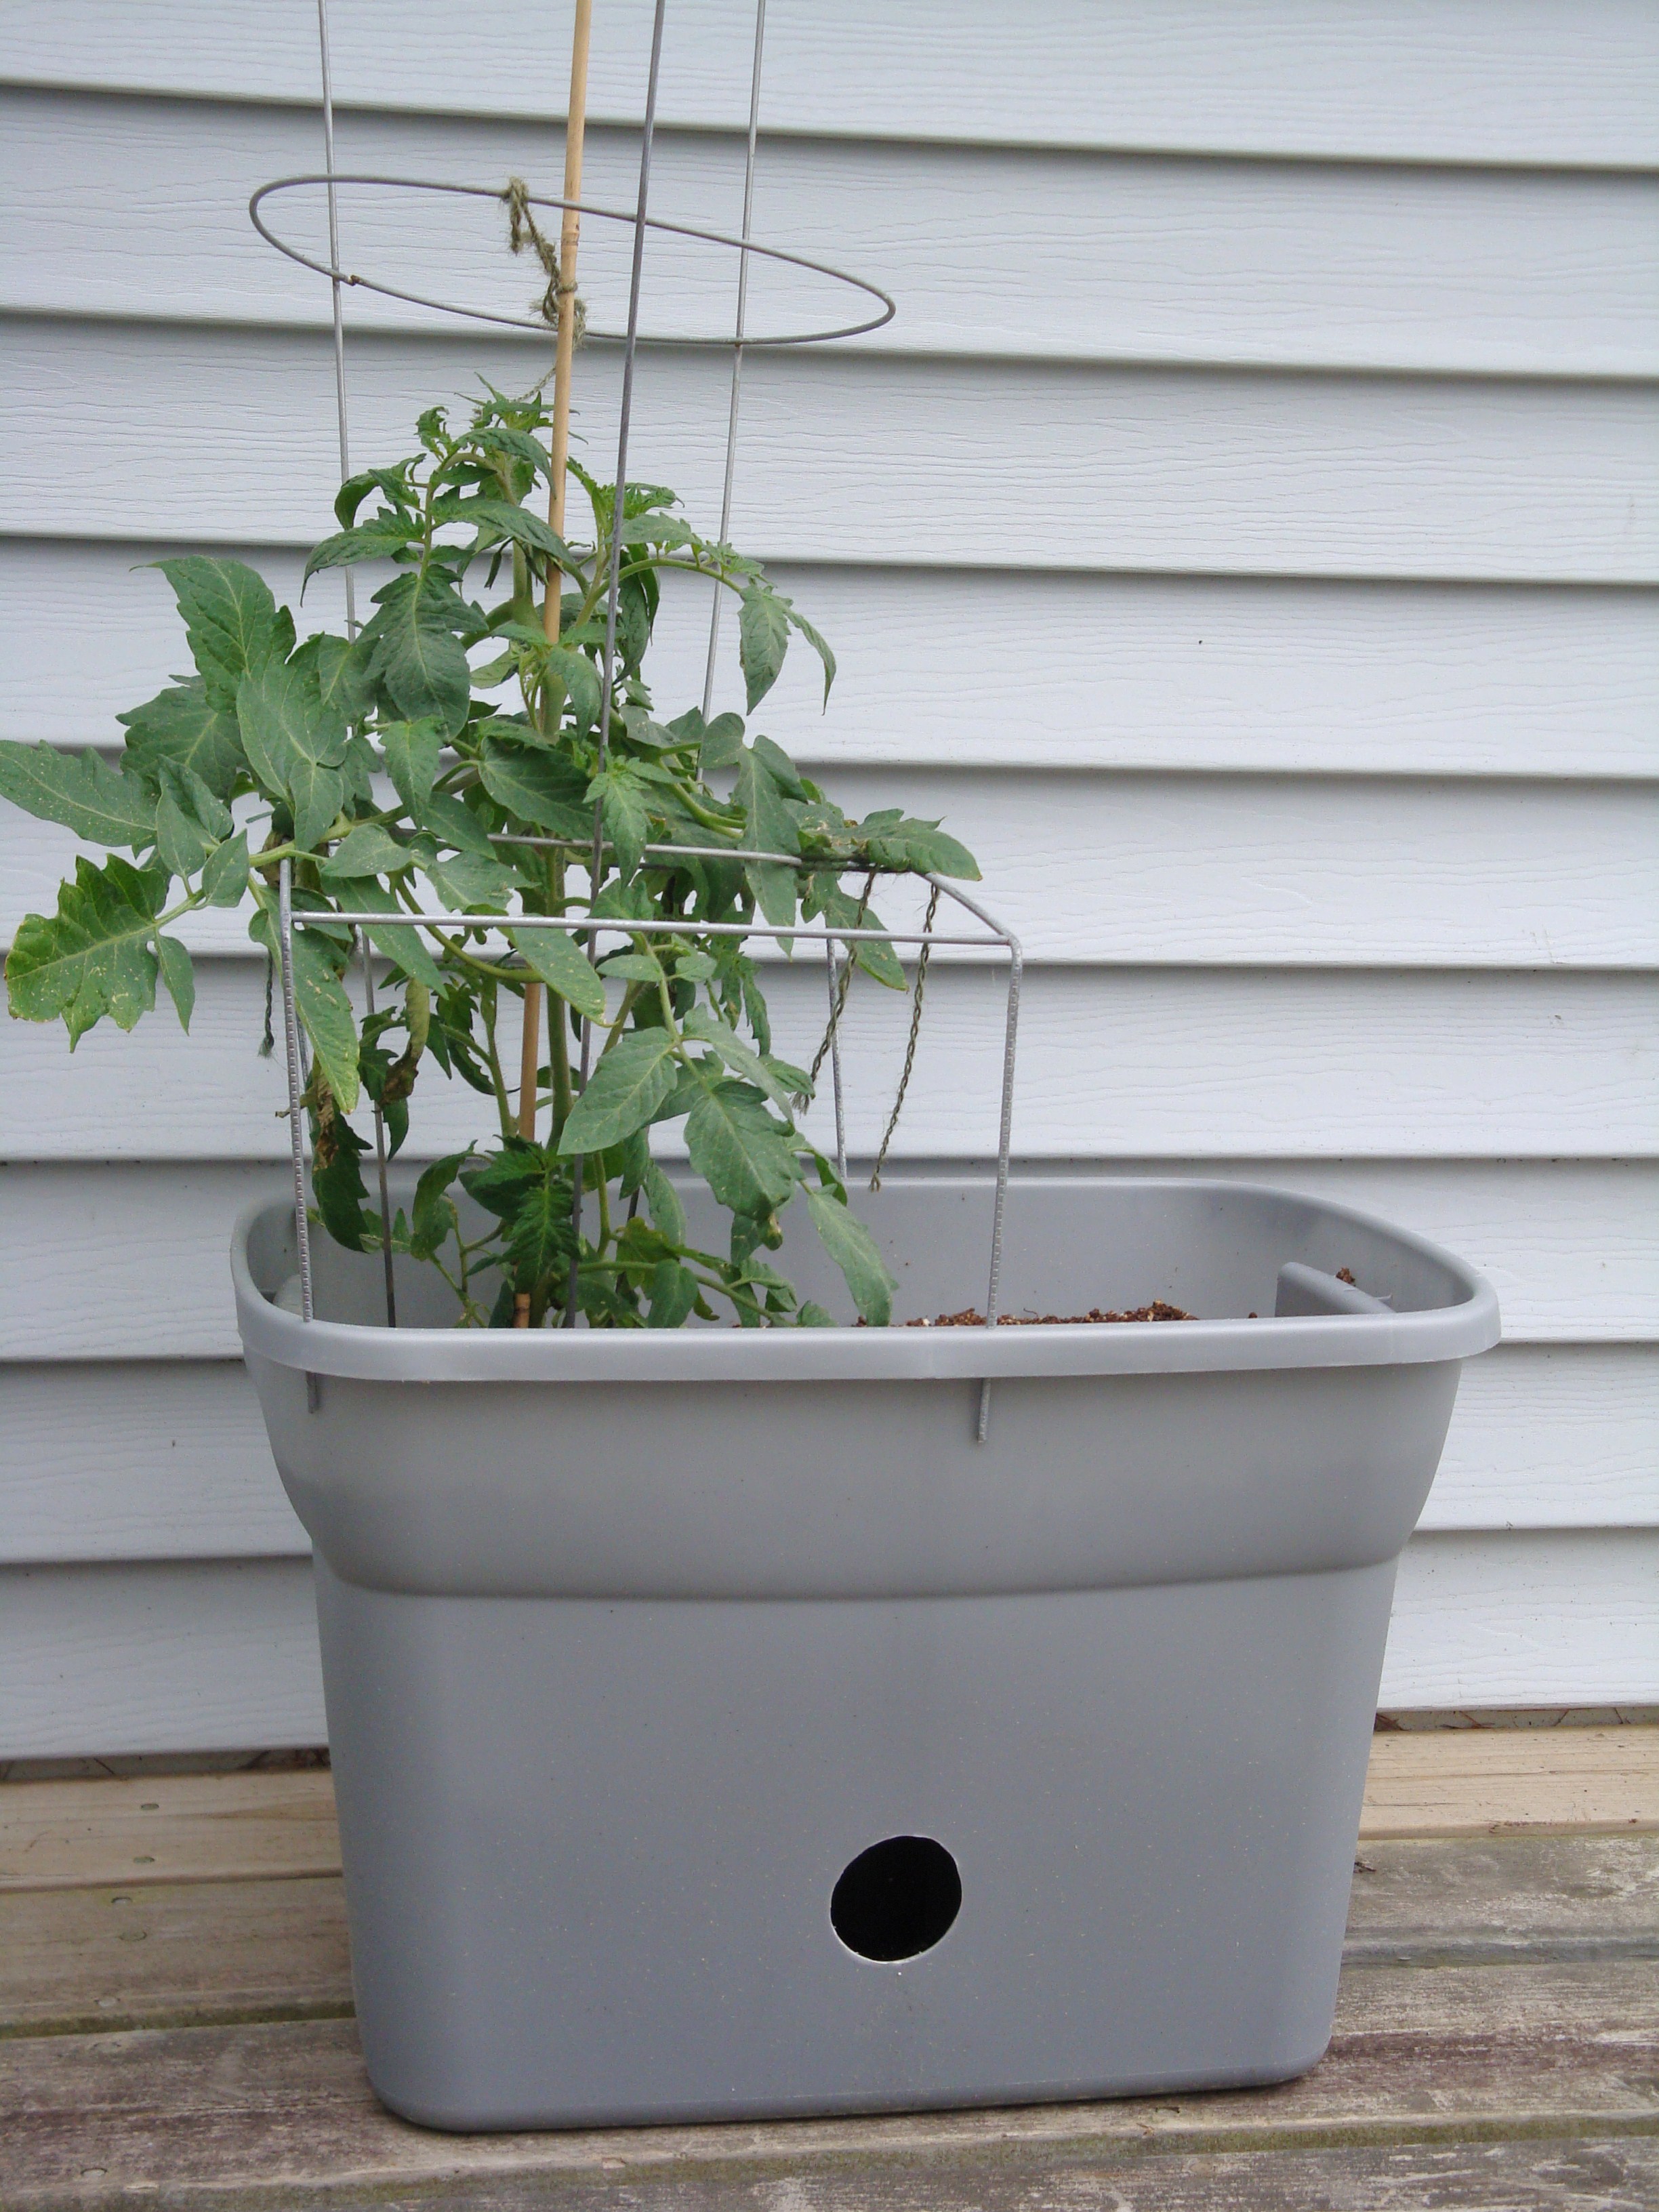
Here is one I have with 2 cherry tomato plants. I had hubby also drill 4 holes around the rim so I could use a thin gauge wire for support when the plants need it later when they get taller (or if you need a trellis for peas/beans).

Take a simple Rubbermaid Tote (medium to large size) with a regular lid (do not use the domed lids) and then using tin snips, cut off the outer rim of the lid.
Once you have cut the lid, take the middle, flat portion of the lid and sit it inside the tote until it rests on the narrowest part of the tote. Mark a line on all four sides where the lid rests, it should be around 5-6 inches up from the bottom. Remove the lid and set aside.
Now take a length of plastic ABS pipe, approx. 3″ to 4″ in diameter. Cut 6 lengths of pipe 5 1/2″ long. These will become your spacers and hold the lid up that will bear the weight of the soil and plants.
On two of the lengths of pipe, drill 1/4″ holes in random all over the lengths of each one. These will be your ‘wicks’.
Set the lid back inside the tote and sit all six of the spacers on the lid with the 2 ‘wick’ ones on opposite corners and mark the location of the wick pieces by outlining with a marker. Take the pieces and lid out and cut the two holes that you marked for the wicks in the lid.
Now arrange the spacers and wicks evenly in the bottom of the tote, making sure to place the wicks in the same location as the holes you cut for the lid. Using a caulking gun, seal the spacers and wicks to the bottom of the tote.
Place the lid back on top of the spacers and carefully slide the 2 wicks into the holes that you cut out. Caulk them in place.
On the outside (on one side of the tote), mark a line at the edge where the lid meets the side wall. Drill a pilot hole and cut out a 2 inch diameter circle or use a holesaw, this will be your watering gauge and overflow.
Before you fill the tote with soil, you need to mix together some potting soil and water to get it damp (not soupy, just damp) and fill each wick with wet soil so it can do it’s job of wicking up the moisture from the bottom of the container. Now you are ready to fill the rest of the container with soil and get your plants into them!
* Remember to use a good quality potting mix otherwise your plants will rot and all your efforts will be wasted.
Fill the bottom with water up to the bottom of the hole you cut in the side and also water deeply from above to make sure the soil is moist. If you allow the bottom to dry out, you will have to water from above to ensure the soil is moist from top to bottom before filling the bottom with water again.
They may not be the prettiest looking containers, but for the price of a tote and a small length of ABS pipe – pretty cheaply done….I look at it as FRUGAL though as who needs to spend 40-60 bucks on a manufactured one when you can make your own on the cheap!
They are fairly portable too, if you use the largest sized totes, invest in a plant trolley to sit them on so they can be easily moved around your patio to follow the sun without breaking your back.
Happy Gardening!
I had seen this in a container gardening book, but your instructions are much easier to understand! I thought it would be hard and confusing, but even without step-by-step photos I now know what to do!
I don’t care if they look nice, my garden is in my way back yard! I guess you could decorate it with permanent markers, or paint pens. Maybe my kids would like that job!
Thanks.
You are welcome Lisa! They were extremely simple to make, and I don’t care if they don’t look nice, you can buy aerosol paint for plastic (Tremclad) and paint them if you like 🙂 Best of luck with your new Spring project!
Pingback: Are They Here Yet? |
I found this post from your comment on The Art of Doing Stuff. It’s perfect timing, ans I want to plant some tomatoes, but don’t want to invest big bucks at the moment for ceramic pots or planters. Great idea! Do you by chance have any photos of the interim steps in the process? I think I understand what you did, but it would be nice to confirm that I’m setting it up the right way. So is the lid resting on the 4 upright “legs” of ABS (PVC?) pipe? Does that provide enough support? I worry that the plastic lid is not rigid enough, and will sag and bend between the supports, under the weight of all that soil and water. Does the soil that goes down into the wicks seep out of the holes and into the water reservoir, or does it stay in place? Thanks for any help you can provide!
Hi Shauna – there are 6 ‘legs’ of PVC pipe supporting the lid counting the 2 wicks. The lid fits snugly enough, but a small amount of dirt does escape to the water reservoir. At the end of the season, I dismantled it and gave it a good cleaning before storing it for the winter. I should have done pictures for the process…but it really is quite simple. 🙂 Best of luck in your construction! I love mine and they work really, really well!
Another thought: Is the use of the lid just to use what you have instead of buying something else for the platform? Do you think I could use something rigid, like a thin piece of plywood cut to size, instead of the lid? I have some plywood lying around from a construction project. Thanks.
The lid is indeed used specifically for the platform. You could use plywood, but it will eventually rot through with all the moisture, maybe varnish/seal the plywood first to extend its life….
Pingback: Jail House…Planters |